First, I pack my move-in kit with cozy throws and personal photos to instantly soften the sterile space. I maximize every inch with under-bed bins and a rolling cart for daily essentials, then ditch desk clutter with vertical organizers. Adding easy-care plants and a multi-use bench creates a living touch. These ideas transform my room into a sanctuary, and there’s plenty more to explore for a perfect freshman year.
Pack a Move-In Kit for Instant Comfort and Style
Start by packing your own move-in kit with must-haves that instantly make a new space feel like home.
I grab a favorite throw blanket, a few framed photos, and an easy-to-hang tapestry. A cute rug and my own lamp create cozy zones right away.
These personal touches are my secret weapon—they transform a sterile room into my sanctuary before I even unpack my clothes.
Adding soft textiles and personal decor is a key part of creating a cozy dorm room.
Maximize Every Inch With Under-Bed Storage
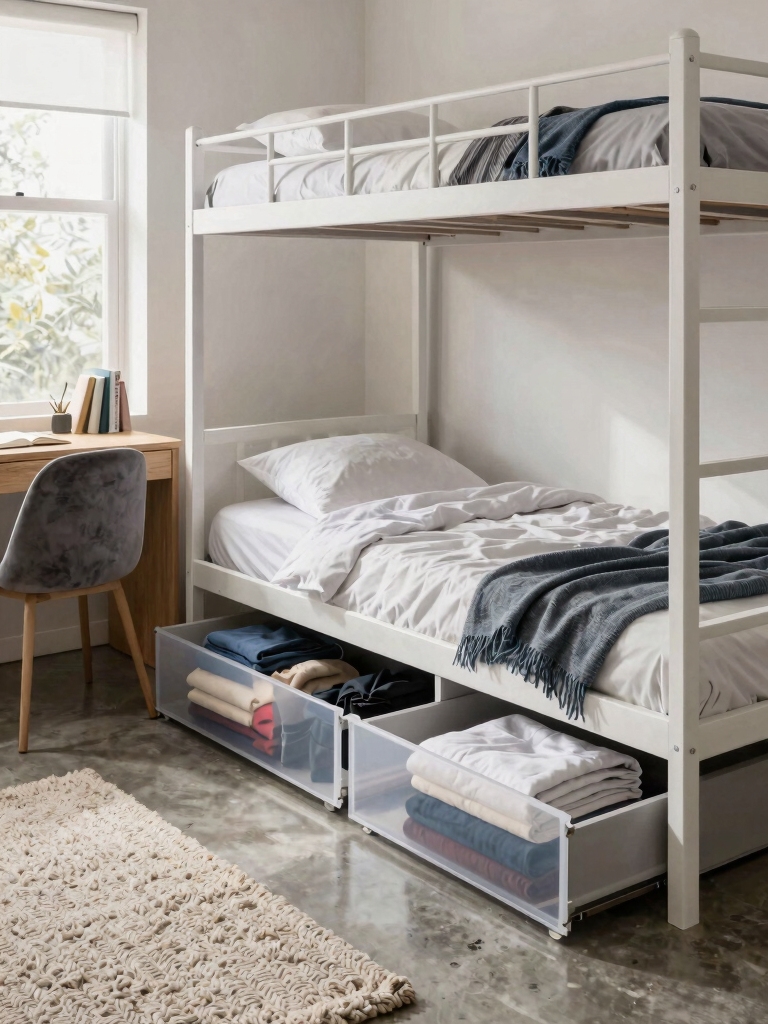
Because every square foot counts in a dorm, I turn the cavern under my bed into a serious storage zone.
I start with bed risers for extra height, then slide in slim, matching bins for off-season clothes. A low-profile suitcase tucks neatly beside them.
It’s amazing what fits! This simple system keeps my floor clear and my everyday items within easy reach, making the whole room feel instantly larger and calmer.
Using clever dorm room solutions helps maximize your space efficiently without cluttering your living area.
Organize Your Essentials With a Rolling Utility Cart
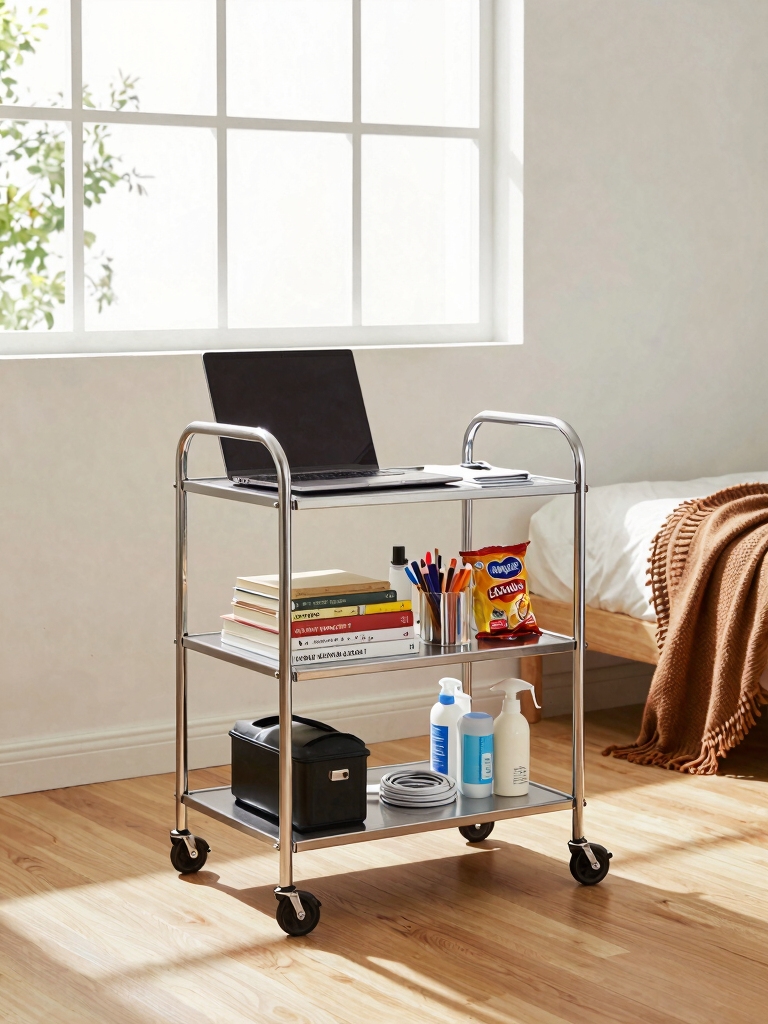
While my under-bed storage handles the big stuff, I keep my daily essentials corralled and mobile with a slim rolling utility cart.
It’s my grab-and-go station for everything I need daily. I easily move it from my desk to my bedside.
My top three cart tiers are:
- Top Shelf: Coffee maker and snacks for easy access.
- Middle Shelf: Study supplies and charging cables.
- Bottom Shelf: Toiletries and a small towel.
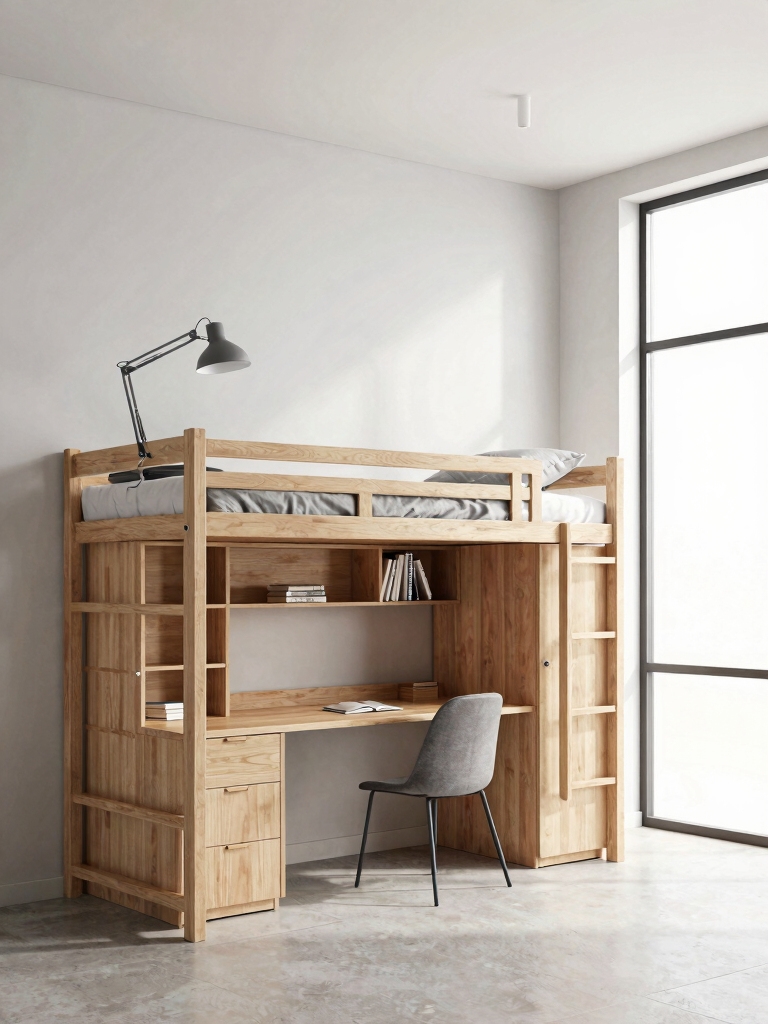
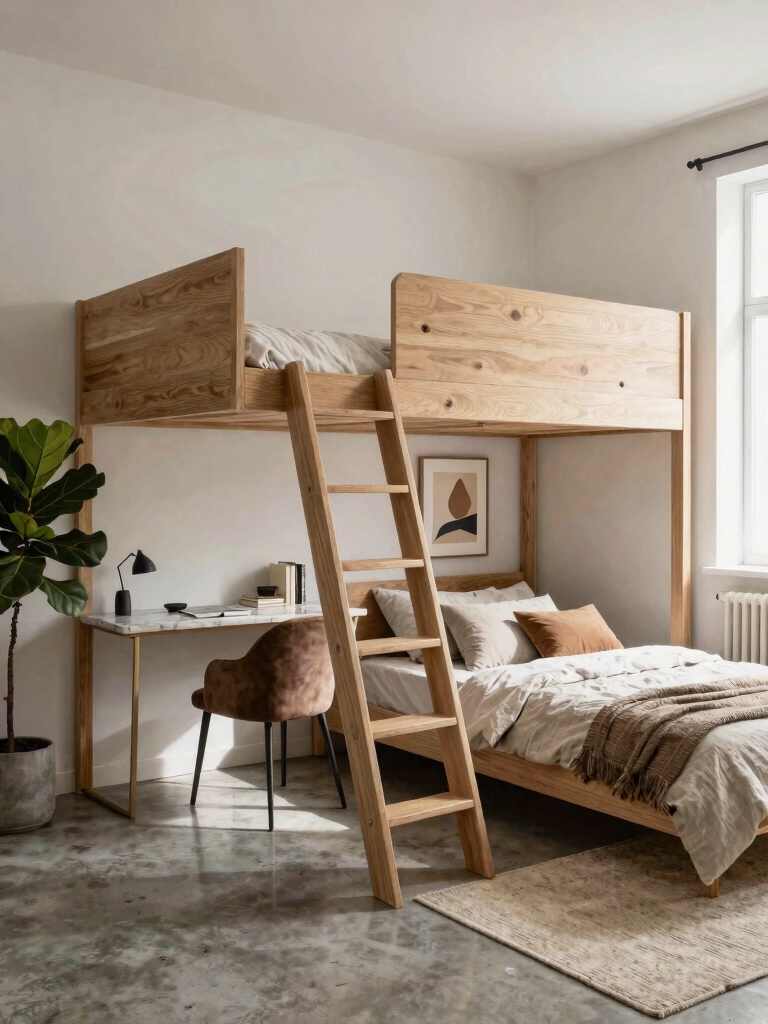
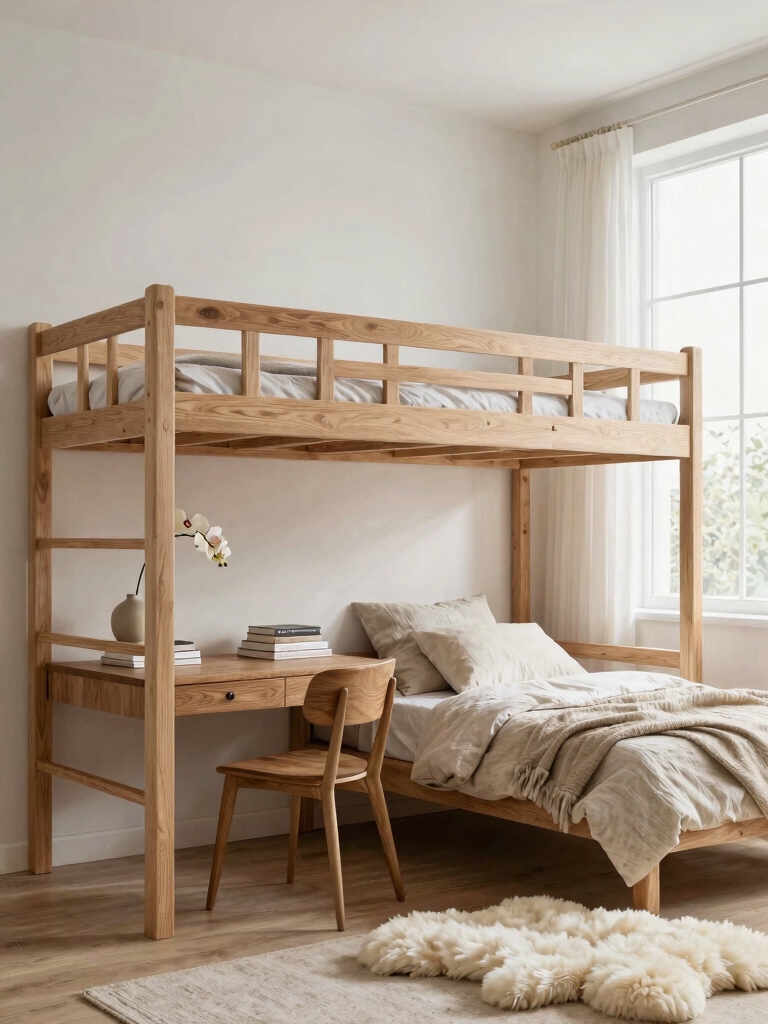
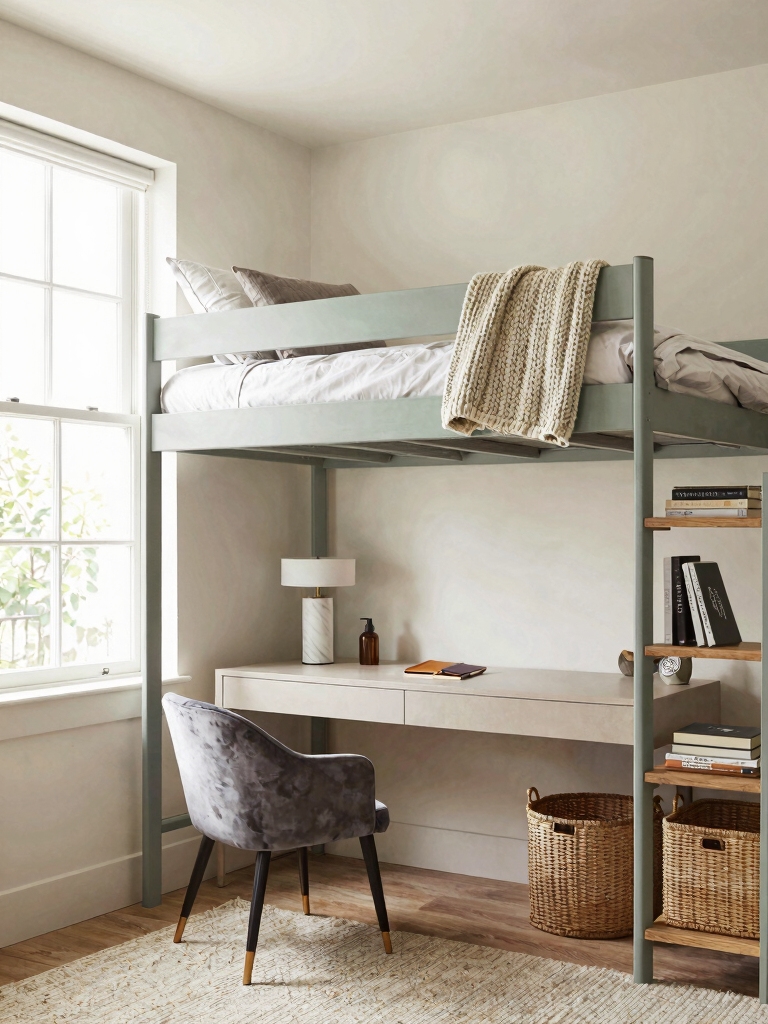
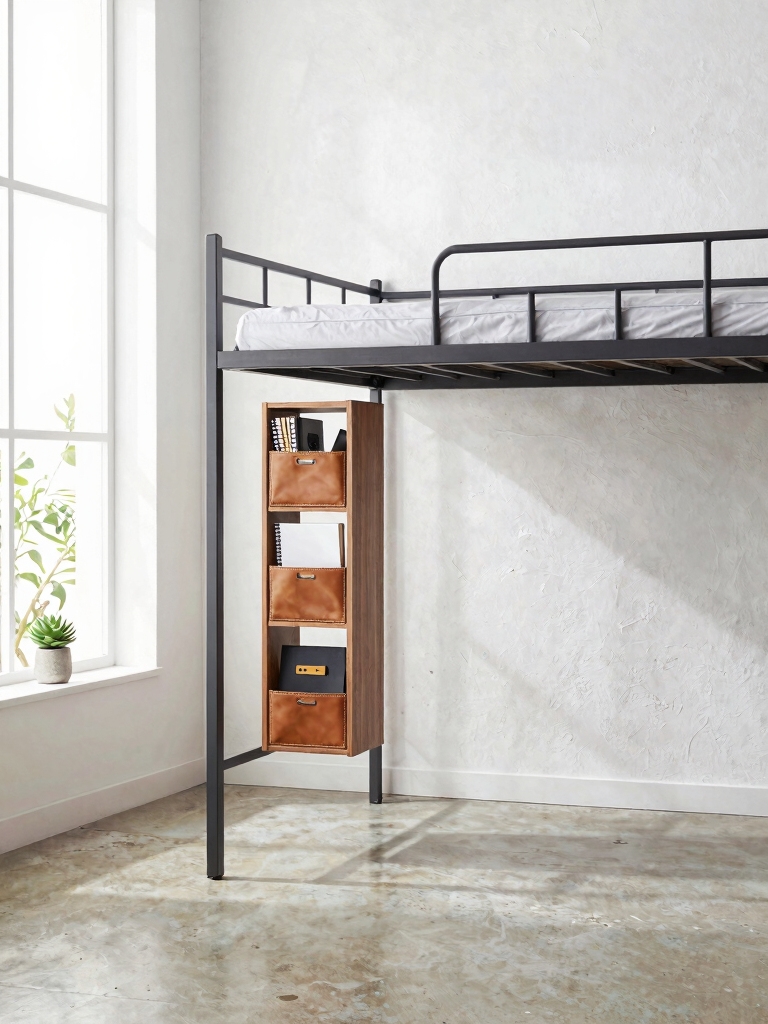
Using a loft bed setup can further maximize your dorm space, allowing more room for carts and other storage solutions.
Ditch Desk Clutter With Vertical Organizers
Just as my cart keeps my essentials on the move, I tackle my stationary desk clutter by thinking up instead of out.
I use adhesive wall pockets for notebooks and a tiered shelf for my laptop and coffee mug.
Mount a pegboard above your desk to hang supplies with cute hooks.
You’ll free up the entire surface for actually studying, which feels incredibly productive.
Incorporating vertical organizers helps create a harmonious shared space by keeping your area tidy and respecting your roommate’s space.
Store Shoes Out of Sight With an Over-The-Door Organizer
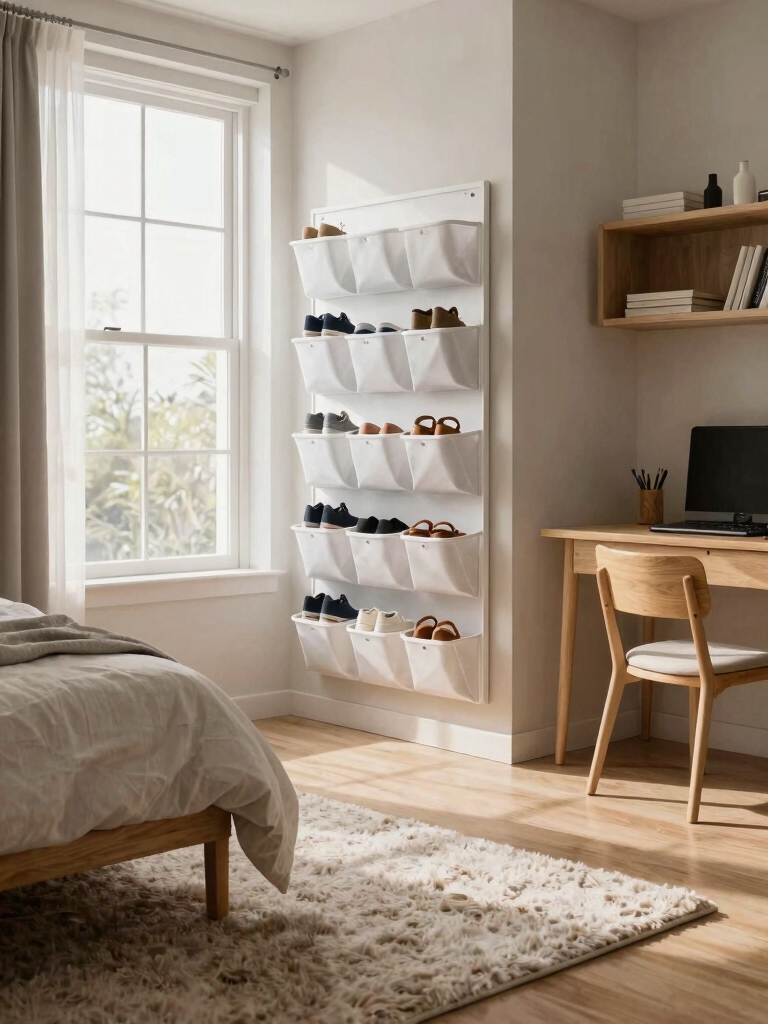
After clearing my desk with vertical solutions, I turn to my shoe pile—which can quickly take over our tiny shared space.
An over-the-door organizer instantly clears floor clutter, creating visual calm. It’s a simple, stylish upgrade.
- Hang it on the inside of your closet door.
- Categorize your pairs: sneakers, flats, boots.
- Each pocket makes daily choices easier and keeps everything fresh.
For Black women, incorporating stylish dorm room inspirations can make organizing both functional and reflective of personal style.
Keep All Cables Tamed and Accessible
Now that I’ve reclaimed my floor from shoe clutter, my charging station‘s messy cords are the next target.
I grab a simple desk organizer or a cute box to create a central charging dock. For stray cords, I’ll bundle them with binder clips or decorative velcro ties attached to the desk edge.
This keeps everything accessible, prevents a tripping hazard, and makes my workspace look instantly more intentional.
Incorporating smart design tips like using vertical storage can help maximize space and keep your area organized, similar to strategies used in small laundry rooms.
Command Your Space With Damage-Free Wall Hooks
Five damage-free wall hooks can transform those empty dorm walls into an organized and stylish asset. They’re my secret weapon for hanging everything without a trace.
I love using them to create a functional and personalized space that feels like home.
- Hang your favorite hat for quick grab-and-go access.
- Display a lightweight tapestry to add color and texture.
- Organize your jewelry on a small hook by your bed.
Using these hooks is one of the easiest ways to transform your dorm room quickly and with minimal effort.
Create a Personalized Gallery Wall on a Budget
I’ll show you how I built my favorite gallery wall without spending much.
First, I gathered art from free printables and my own photos.
Then I played with the layout on the floor before hanging anything.
Let’s get your personality on the wall with some clever, damage-free mounting tricks!
These aesthetic room inspirations can really transform your space into a dream area that feels uniquely yours.
Gather Free And Inexpensive Art
Because creating a gallery wall doesn’t have to drain your wallet, let’s find art that’s free or nearly free.
I’ve filled my walls by looking beyond traditional prints.
- Make your own from magazine pages or thrift-store books.
- Frame personal photos I’ve taken and printed cheaply.
- Ask friends for their doodles or download free digital prints online.
Build A Cohesive Layout Plan
Once you’ve gathered your art, creating a layout plan is your essential next step for a gallery wall that feels intentional.
I first lay everything on the floor. I play with arrangements, balancing colors and sizes until I love the flow.
I sometimes trace the frames on craft paper, taping those templates to my wall to preview the final look. It’s my favorite way to visualize before committing.
Select Damage-Free Hanging Methods
While I love the look of my final layout, securing it all without leaving marks on the walls is my next creative challenge.
My budget-friendly, renter-friendly trio does the trick!
- Command Strips are my go-to heroes for framed prints.
- Fun washi tape creates a colorful border for lighter posters.
- A long, removable adhesive hook perfectly holds my fairy lights or a small banner.
Hang a Functional and Decorative Wall Grid
I love how a wall grid mixes function with flair, so I’m picking one that matches my room’s vibe.
I’ll load it up with hooks and clips to display photos and keep my keys handy.
It’s a snap to install and instantly clears the clutter off my desk.
Wall grids are a popular choice in dorm room ideas for girls because they combine style and practicality perfectly.
Choose Your Grid Style
Choosing the perfect wall grid starts with deciding on its primary role in your dorm. Is it a bold decor statement or a sleek utility hub?
I consider three key things:
- Material: A classic metal grid feels industrial, while a painted wooden one adds rustic charm.
- Shape: Squares are standard, but diamonds or hexagons make a unique geometric impact.
- Color: Match your room’s palette or go for a contrasting accent.
Organize With Hooks And Clips
Because your grid’s style is set, let’s bring it to life with functional flair.
I attach small clips to hold polaroids and notes, and use sturdy hooks for my keys or jewelry. You can layer these pieces to create visual depth.
This isn’t just organization; it’s a living display of your essentials.
Play with the arrangement until it feels uniquely you and perfectly practical.
Personalize Your Door With a DIY Welcome Sign
One simple way to introduce yourself to the hall is by crafting a DIY welcome sign for your dorm door. I love that it’s the first thing new neighbors see.
Just grab a canvas, paint, and some positivity!
My favorite tips:
- Use stencils or vinyl letters for a clean look.
- Add small hooks to hold treats for visitors.
- Feature your hometown or a favorite quote.
Adding a personal touch like this helps create a space that is both charming and practical.
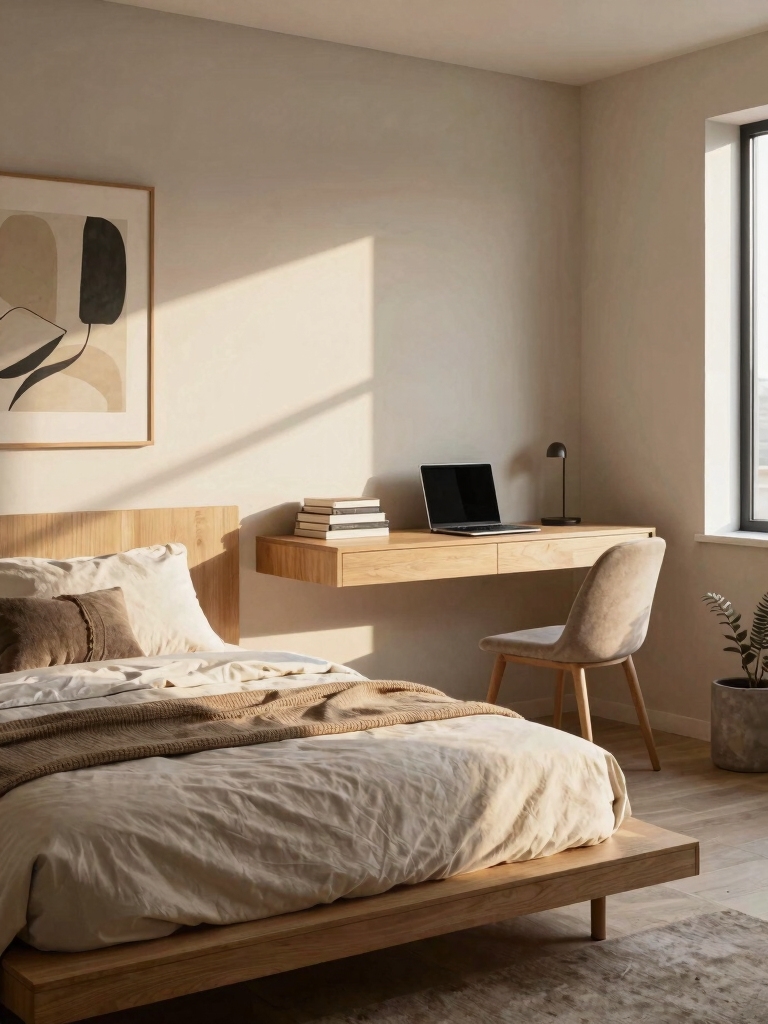
Set Up a Compact and Productive Study Nook
After making a great first impression on the hall, I turn my attention inward to create a space where I can focus.
My desk is my command center. I prop up a cute, DIY corkboard for syllabi and add a small lamp for late nights. A tiered organizer keeps supplies handy, and a comfy chair pad makes all the difference.
It’s a tiny, mighty zone for getting things done.
Upgrade Your Bedside With a Caddy or Slim Table
I’ve found a bedside caddy is perfect for compact storage solutions like my book and glasses.
Adding a slim table creates space for essential items, including a charging station. It keeps everything accessible without crowding my cozy corner.
Compact Storage Solutions
Because floor space is precious in a dorm, you can instantly upgrade your bedside by adding a caddy or a slim table to hold your essentials.
I love these compact solutions for keeping my space tidy and functional without eating up room. Just choose your style and enjoy a clearer floor and a more organized life!
- Try a caddy that clips right onto your bed frame.
- Opt for a narrow, floating shelf-style table.
- Use a compact, multi-tiered rolling cart beside it.
Space-Saving Essential Items
While you’re maximizing storage with clip-on caddies or floating shelves, you’ll also want to stock them with items that truly serve you.
I’d choose a sleek, clip-on bedside caddy over a bulky table any day. It perfectly holds my book, glasses, and water bottle, freeing up precious floor space.
For a solid surface, a slim, wall-mounted shelf creates a stylish, floating nightstand that feels personal and serene.
Charging Station Accessibility
Since space is so limited, a dedicated charging station is a must-have bedside upgrade that keeps clutter in check.
I love using a bedside caddy with built-in ports or a super-slim table that tucks right against the wall. It transforms a tangled mess into a sleek, functional spot.
- Tuck a power strip into a caddy pocket for hidden cords.
- Label each charger with washi tape for instant grabs.
- Loop and secure excess cable with Velcro strips.
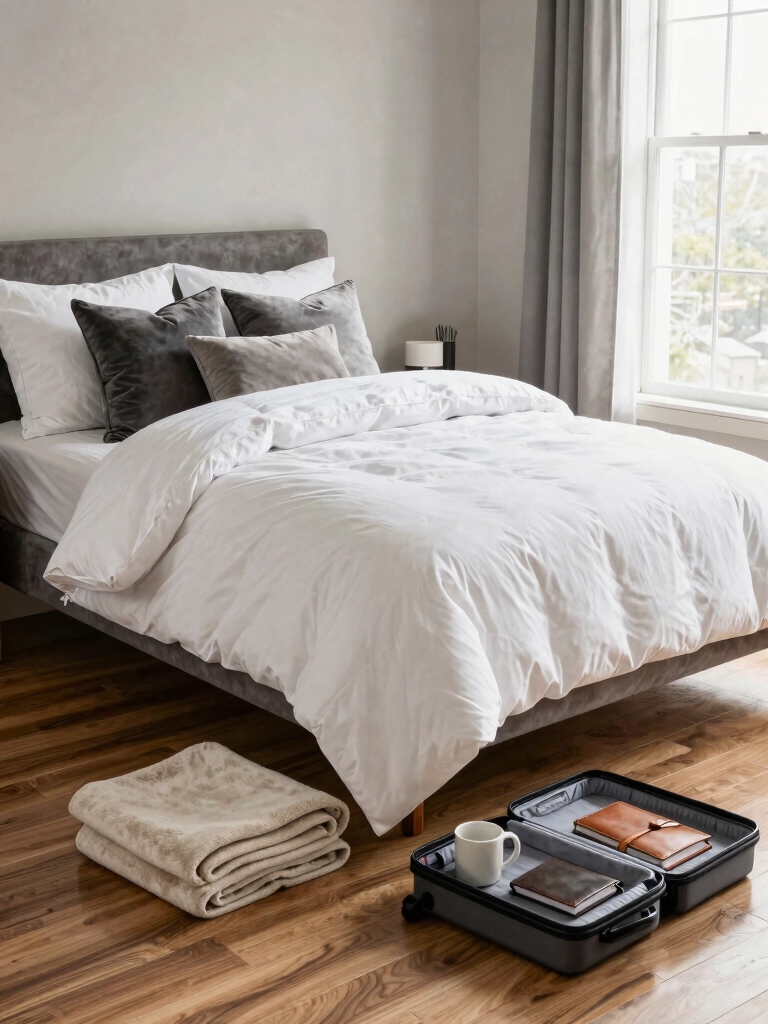
Elevate Your Sleep With a Plush Mattress Topper
One simple upgrade can transform your standard dorm mattress into a cloud-like sanctuary.
I prioritize a thick, plush mattress topper for instant comfort. It’s a DIY luxury you simply roll out and secure.
Choose a hypoallergenic memory foam or a cozy down-alternative version. This layer becomes your personalized sleep foundation, making those long study nights end in true rest.
It’s an essential decor move for your well-being.
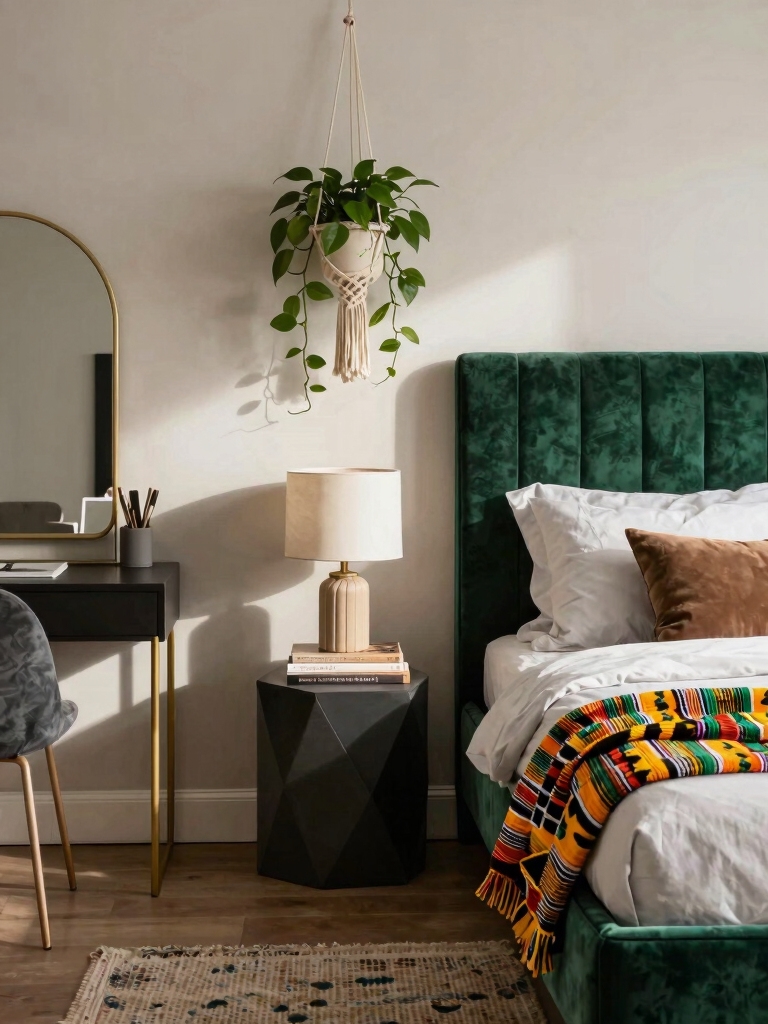
Soften Your Space With Rugs and Throw Pillows
Let’s soften your space with a cozy rug and some throw pillows.
I love how they instantly add warm textures, plus a rug defines your floor zone and pillows can make a bed feel more like a lounge.
They’re really the foundation for your personal style and comfort.
Choose Comfortable, Cozy Textures
Because your dorm floor is likely cold and hard, layer it with a soft, washable rug to instantly warm your feet and the room’s atmosphere.
I build coziness through touchable textures that make my space feel like home.
- Mix and match pillows in faux fur, chunky knit, or velvet.
- Drape a soft throw blanket over your desk chair for study breaks.
- Choose bedding with a high thread count for ultimate comfort.
Define Zones and Functions
Beyond adding comfort, rugs and throw pillows can help carve out distinct areas for sleeping, studying, and relaxing in a single room.
I love using a plush rug to ground my bed, creating a cozy sleep zone.
Then, I cluster pillows on a floor cushion to define a lounge spot.
It’s a simple, budget-friendly way to trick my brain into knowing where to work, rest, or play.
Lay the Foundation for Style
Laying a foundation for your room’s style starts with softening those hard surfaces; a cozy rug and a few throw pillows can instantly warm up even the most basic dorm space.
I layer texture and color to make it mine.
- Grab a durable, low-pile rug that’s easy to clean.
- Mix pillow sizes and fabrics for visual interest.
- Choose a color palette from your favorite piece of art.
Add Ambiance With String Lights or Smart Bulbs
To give your space a warm, personalized glow, I suggest installing string lights or smart bulbs as your first DIY lighting project.
Drape fairy lights over a headboard for instant magic. Or, pop a smart bulb into a desk lamp; use your phone to change its color for any mood.
This simple upgrade transforms harsh lighting into your own cozy, inspiring sanctuary. You’ve just created the perfect ambiance for studying or relaxing.
Build a Snack Station With a Mini Fridge
Let’s build a tiny snack station around your mini-fridge to keep everything in reach.
I’m talking baskets for your must-have chips and ramen right on top, with that compact fridge chilling drinks below.
It’s a lifesaver for late nights and creates a personalized spot that feels just like home.
Organizing Essentials And Staples
Once you’ve scored your mini fridge, I find the real fun begins with turning it into a dedicated snack hub that keeps your cravings organized and within arm’s reach.
Stock it smartly with these essentials:
- Stackable Bins: Corral yogurts and drinks to maximize every inch.
- Chalkboard Labels: Mark shelves for sweet, savory, and roommate-free zones.
- A Lazy Susan: Spin for instant access to all your go-to treats.
Compact Chilling Solutions
A well-stocked mini fridge is your new dorm room command center, so let’s get strategic about turning that compact chiller into a powerhouse snack station.
I designate shelves for drinks, meal-prep, and sweet treats. Clear bins corral yogurt cups and cheese sticks.
Use the door for condiments and a little cash stash. Top it with a cute tray for your coffee setup—instant style and function!
Add Easy-Care Plants for a Living Touch
Because your dorm might feel a little sterile, adding easy-care plants is my favorite way to bring in a living touch without the stress.
I love propping a cutting in a cool bottle for instant, free decor. Just follow these simple tips!
- Start with a snake plant; it thrives on neglect and low light.
- Propagate pothos in water for a cascading, easy green wall.
- Use a colorful mug as a quirky pot to hide a basic plastic nursery container.
Divide Your Room With a Stylish Privacy Screen
While greenery makes a space feel personal, you might also crave a sense of your own zone.
I love using a freestanding screen to carve out a private nook. You can find amazing ones secondhand or craft your own using wooden frames and fabric.
Drape it with tapestries, clip-on lights, or photos for a custom touch. It instantly elevates your space and gives you a little sanctuary to unwind.
Pick a Full-Length Mirror With Hidden Storage
Now that you’ve got your private nook, let’s add a piece that’s both practical and clever.
A full-length mirror with hidden storage is my favorite space-saving trick. It feels like a secret command center.
- Choose a lean-to style that opens to reveal shelves.
- Use it to stash shoes, accessories, or books out of sight.
- Prop it against a wall; no heavy mounting required.
Craft a Multi-Use Bench for Seating and Storage
To tackle that awkward space at the foot of your bed or near your door, I build a simple bench that works twice as hard by offering a seat and hiding clutter.
You just need a sturdy wooden crate or two. Add a cushion on top and some baskets inside.
It’s my perfect spot for pulling on shoes and stashing extra blankets out of sight.
Conclusion
Just like that, you’re armed and ready. Trust me, using these clever little hacks is the secret sauce to making your tiny dorm feel like a true home. So take a deep breath and plunge in. A few simple DIY projects can transform your space from basic to brilliant, creating a cozy, personalized nook that’s perfect for both studying and relaxing. You’ve totally got this.