I’ll help you transform a cluttered laundry space into a smarter, faster workflow with practical, scalable shelf ideas that keep essentials visible, organized, and within reach. Focus on adjustable shelves for growth and open-shelf layouts for quick detergent access. Use clear, labeled containers to speed sorting and reduce waste, plus space-saving or hidden storage to maximize small areas. DIY upgrades keep costs down and customization high. Want more tips to plan your own smart shelf layout? I’ve got you covered.
Why a Smarter Laundry Shelf Matters
A smarter laundry shelf matters because it turns a cluttered, underused space into a streamlined, efficient zone.
I’ve seen how every item finds a home, and routines speed up when shelves guide it. You’ll save time, reduce chaos, and maintain balance between laundry tasks and care.
Let’s simplify, arrange thoughtfully, and keep essentials accessible for smooth, daily workflows.
Incorporating smart and stylish solutions can transform your laundry room into a space that truly works for you.
Criteria for Growing Storage: Adjustable Shelves and Expansion
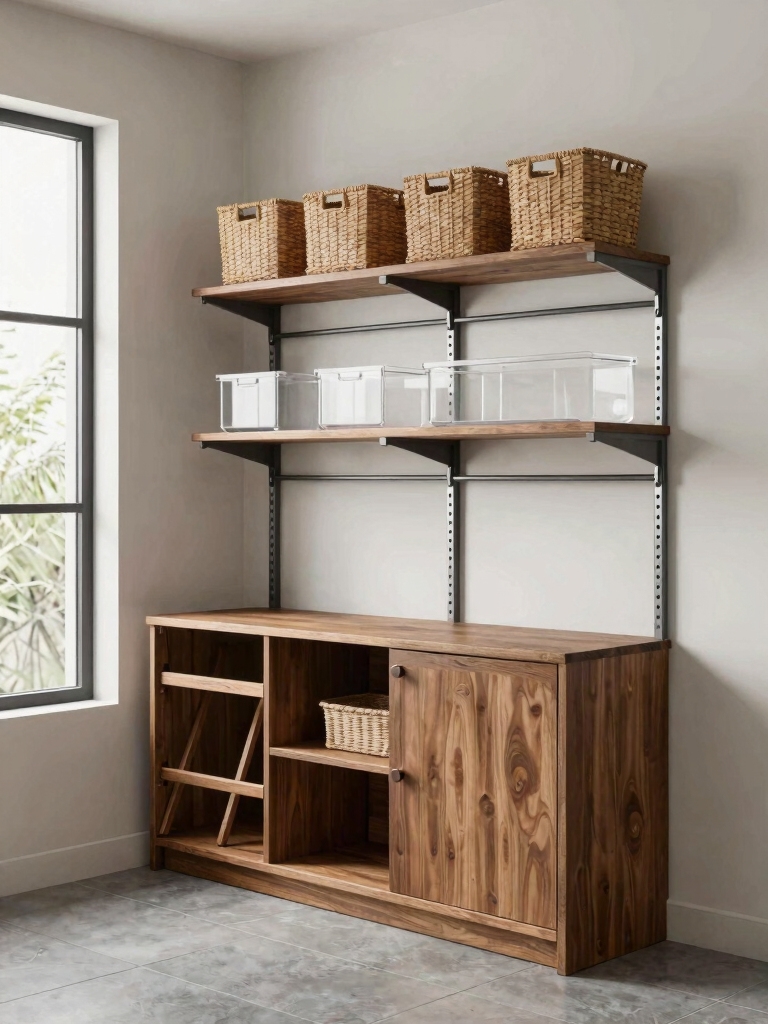
I’ll walk you through how adjustable shelves can adapt as your storage needs grow, starting with simple tweaks now and planning for future use.
We’ll consider how flexible shelf configurations support expansion potential and guarantee long-term storage adaptability without overhauling the setup.
Adjustable Shelf Flexibility
Flexible shelves make it easy to grow laundry storage as your needs change.
I love adjustable supports because you can tailor height for detergents, baskets, and tool trays, not just boxes.
When a season shifts, I swap in mid-height dividers or slide-out bins.
It stays neat, accessible, and adaptable, saving space without clutter or guesswork.
Expansion Potential Planning
As you plan for expansion, I start by sizing up how adjustable shelves can grow with your laundry needs.
I focus on modular parts, track systems, and supported weight limits to prevent sagging.
I map future items, leaving space for reconfigurations.
Prioritize accessible heights, easy reassembly, and compatibility with existing units, ensuring scalable, practical storage without overbuilding.
Long-Term Storage Adaptability
- Choose modular uprights for future reconfigurations.
- Install adjustable brackets at multiple heights.
- Reserve a dedicated expansion zone with clear access.
- Label zones and track item rotation for efficiency.
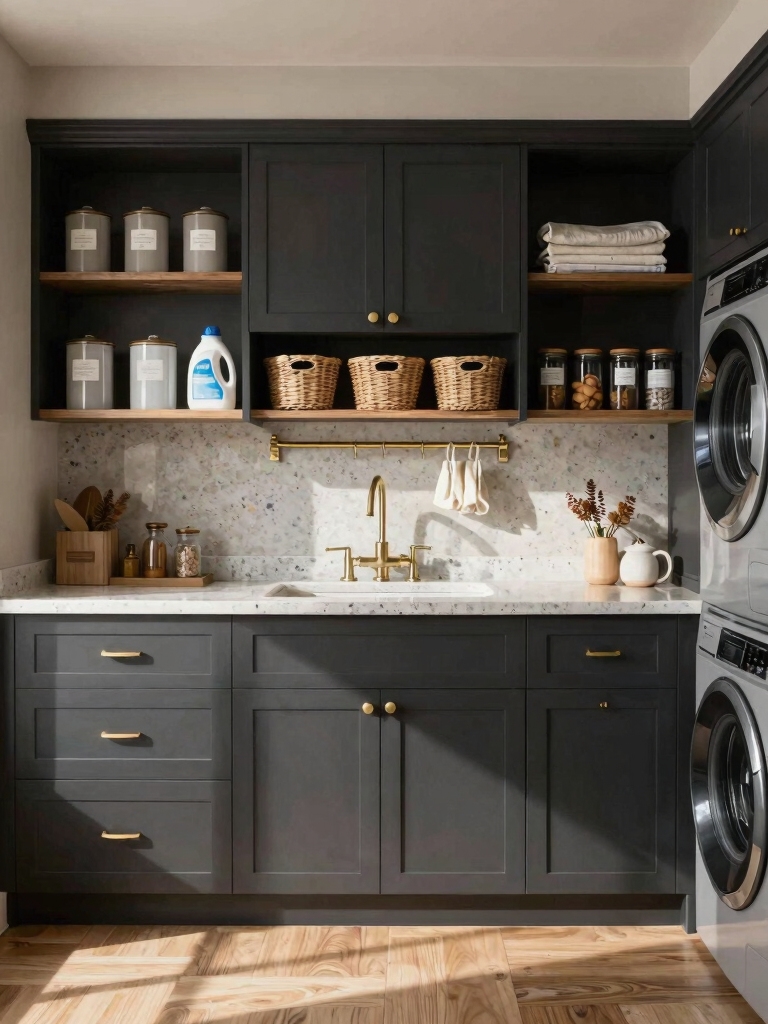
Open-Shelf Layouts for Quick-Detergent Access
Open-shelf layouts put every detergent within arm’s reach, so chores feel faster and less fussy.
I keep labels visible and group by use: laundry boosters together, daily cleaners nearby, specialty products on a lower tier.
I rotate stock quarterly, discarding empty bottles. I wipe spills immediately and keep a compact tray for refills.
Clean lines, quick access, steady rhythm.
Incorporating smart storage solutions can further transform your laundry room into an efficient and organized space.
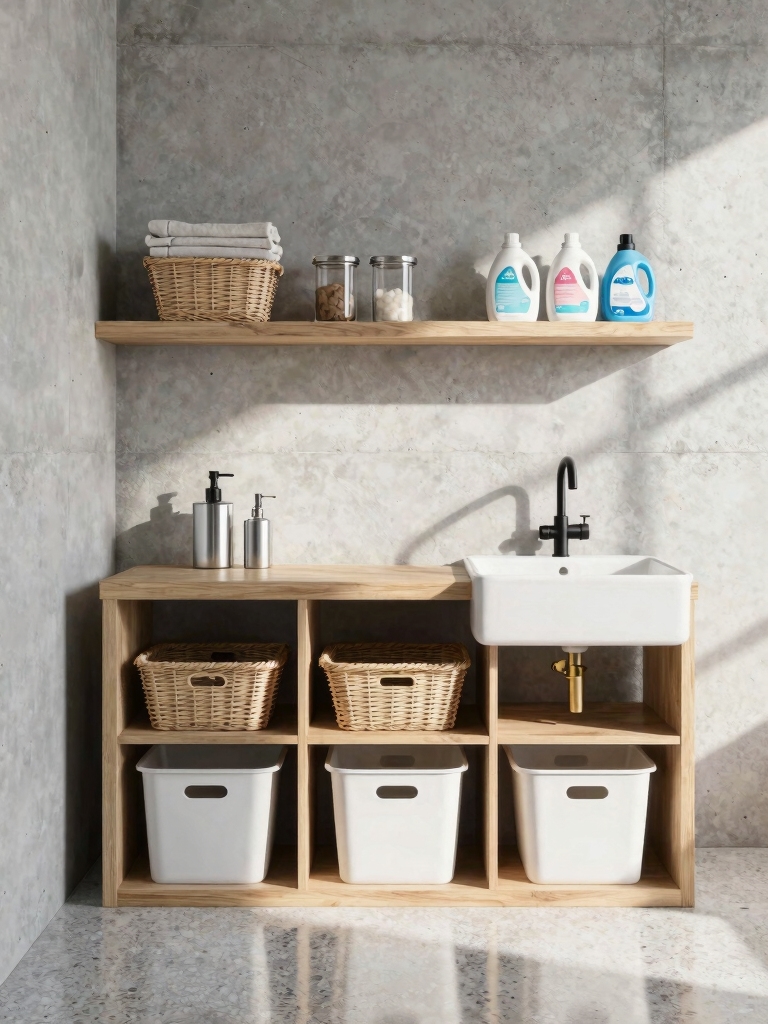
Bins and Baskets: Sizes, Closures, and Visibility
From keeping detergents within easy reach, I’ve learned that choosing the right containers matters as much as the items themselves.
I focus on size, closures, and visibility to stay organized and efficient.
- Clear, breathable baskets for airflow and quick checks
- Medium bins with snap lids to hide bulk supplies
- Open-front fabric totes for daily essentials
- Stackable containers to maximize vertical space
Incorporating creative solutions can transform even the smallest laundry room into a stylish and functional space, making organization a breeze with smart storage ideas.
Labeled Containers to Speed Organization and Reduce Waste
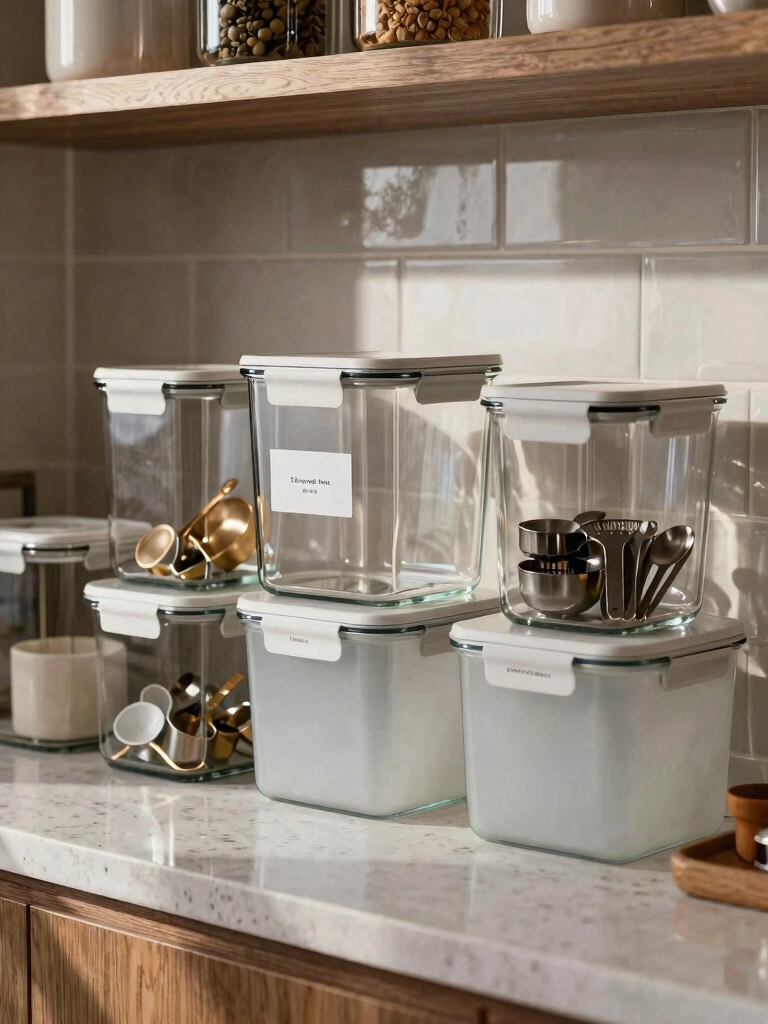
Labeled containers make sorting quicker and clearer, so I can grab exactly what I need without digging.
I’ll share simple labeling tricks and quick sorting techniques that keep things flowing smoothly.
Labeled Containers Benefit
Organize faster by labeling containers, so I can quickly grab what I need and waste less time searching.
Labeled containers cut ambiguity, keep supplies visible, and prevent cross-contamination. I notice patterns, then place items by use. Here’s how:
- Group similar products
- Write clear, legible labels
- Use consistent sizes
- Maintain a maintenance routine
Speedy Sorting Techniques
Sorting fast with labeled containers is all about a simple system you can repeat daily: tag like items together, keep them within arm’s reach, and mirror usage patterns.
I keep bins visible, group products by function, and limit choices to what’s current.
This steady flow minimizes rummaging, speeds restocking, and prevents cross-contamination, so your laundry area stays orderly and efficient.
Waste Reduction Tips
When you label and group containers, waste reduction becomes automatic rather than optional.
I’ll share practical tips you can apply today to curb excess. Keep it simple, keep it visible, and keep you moving toward cleaner shelves.
- Use clear, metric-sized jars for bulk items
- Label with icons for quick recognition
- Empty and rotate contents weekly
- Designate a recycling station near the washer
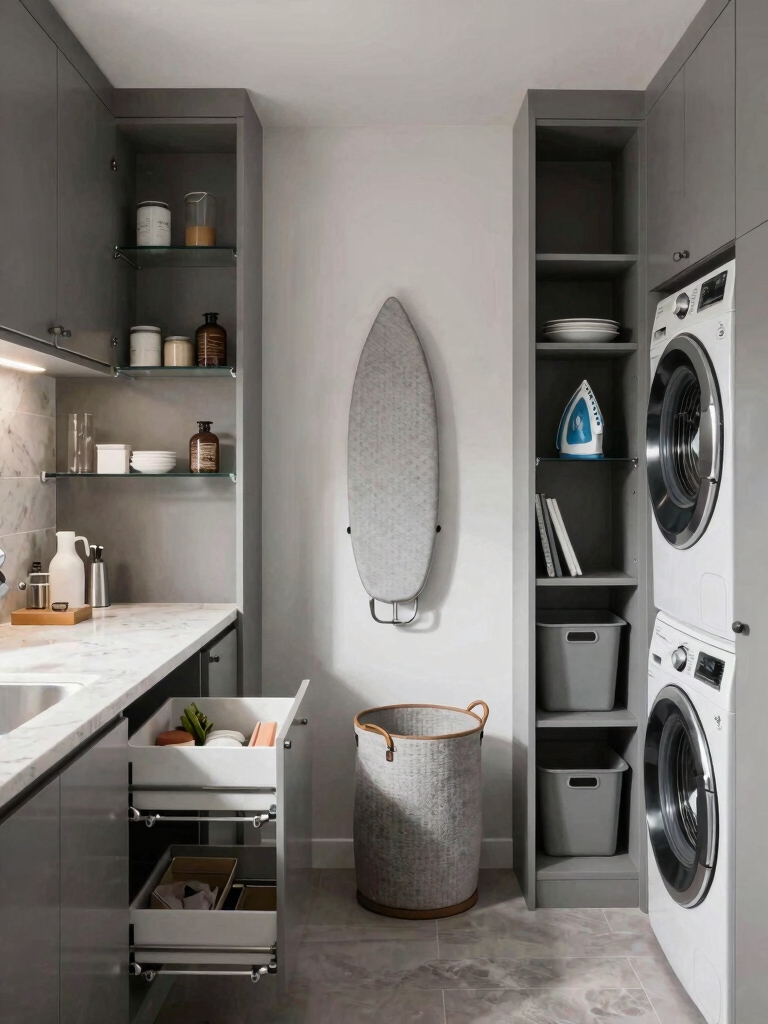
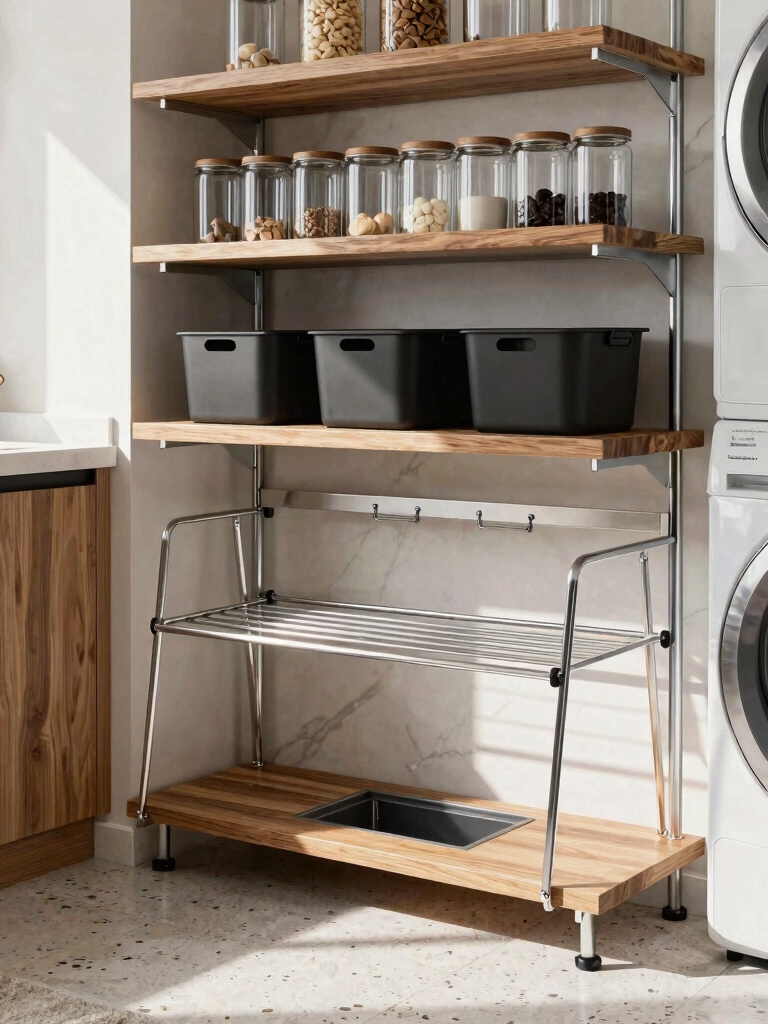
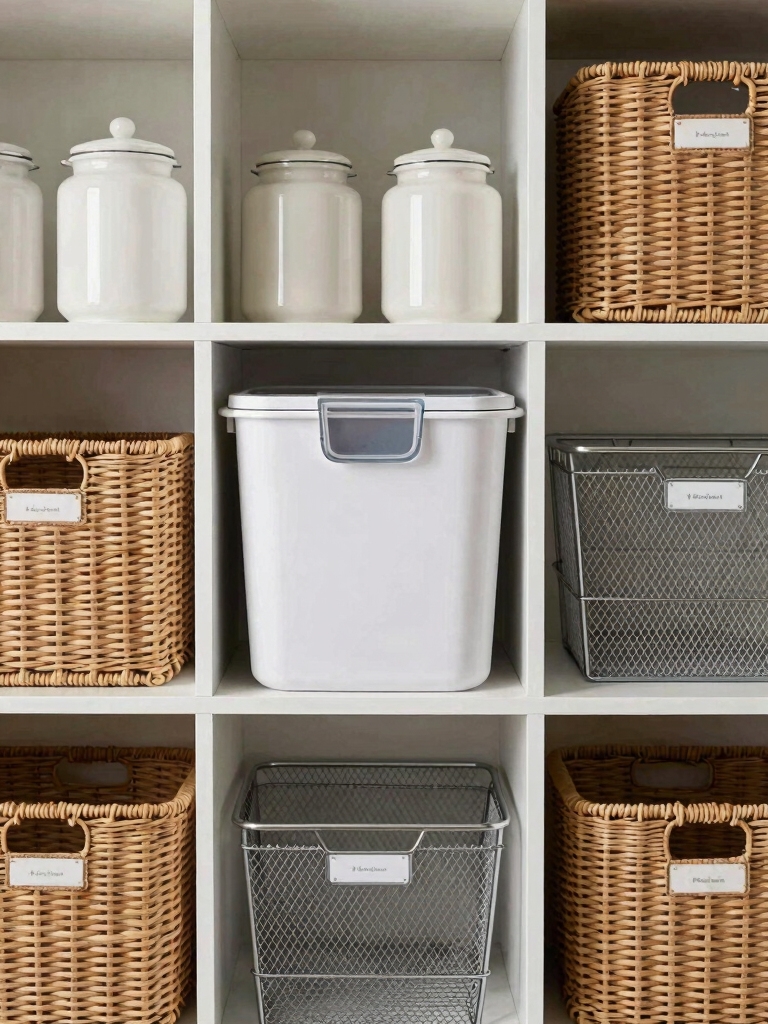
Vertical Shelving Ideas to Maximize Small Spaces
Vertical shelving is a game changer for tight laundry spaces: by stacking storage up the wall, you free floor area and keep essentials within arm’s reach.
I favor adjustable wire or open cubbies that breathe. Install sturdy brackets, label bins, and plan depth for detergents, rags, and clothespins.
Prioritize accessibility, even at counter height, to streamline chores and reduce clutter.
Incorporating these ideas can truly transform your laundry room with smart organization tips that change everything.
Behind-the-Door and Accordion Shelves for Tight Nooks
Behind-the-door and accordion shelves turn narrow spaces into usable storage without stealing square footage.
I share practical picks that fit mood and budget, avoiding clutter. With simple installs, you gain immediate access and visibility.
Here are quick ideas:
1) Over-the-door racks
2) Fold-out wire shelves
3) Sliding accordion bins
4) Slim, adjustable shelves
These clever storage solutions maximize efficiency, making the most of even the smallest laundry rooms with smart storage.
Corner Shelves That Eliminate Dead Space
Corner shelves are a simple, smart way to turn wasted wall space into extra storage without clutter.
I choose compact units that fit corners, maximize height, and keep items visible. I group similar supplies, label baskets, and keep frequently used items within reach.
Clean lines, neutral tones, and predictable spots make daily laundry routines smoother and less chaotic. Incorporating corner shelves can help transform your small laundry room into a more spacious and functional oasis.
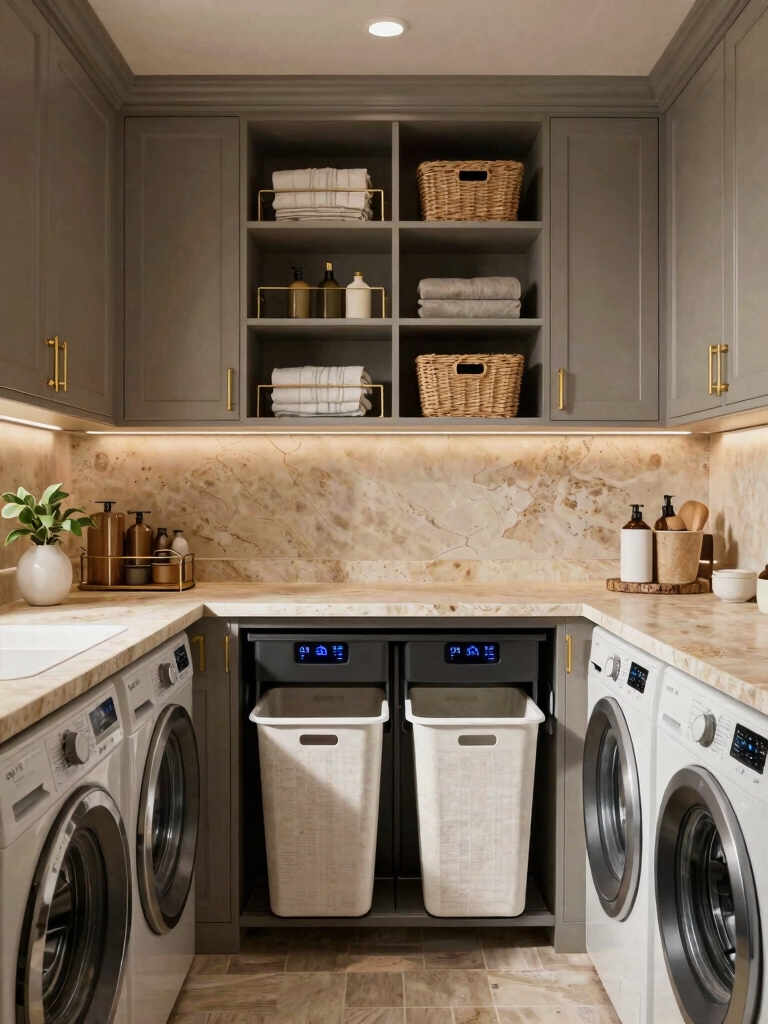
Pull-Out Baskets and Swing-Out Racks for Clutter-Free Floors
Pull-out baskets and swing-out racks are game-changers for keeping laundry floors clear and accessible.
I’ll show you practical uses that save steps and reduce clutter without fuss.
- Install near the washer for sorting dirty clothes.
- Use labeled bins to separate textiles.
- Choose sturdy, smooth-glide tracks.
- Pivot racks to access shelves behind them.
Incorporating these solutions can also enhance your laundry room’s overall style while maximizing storage with smart organization.
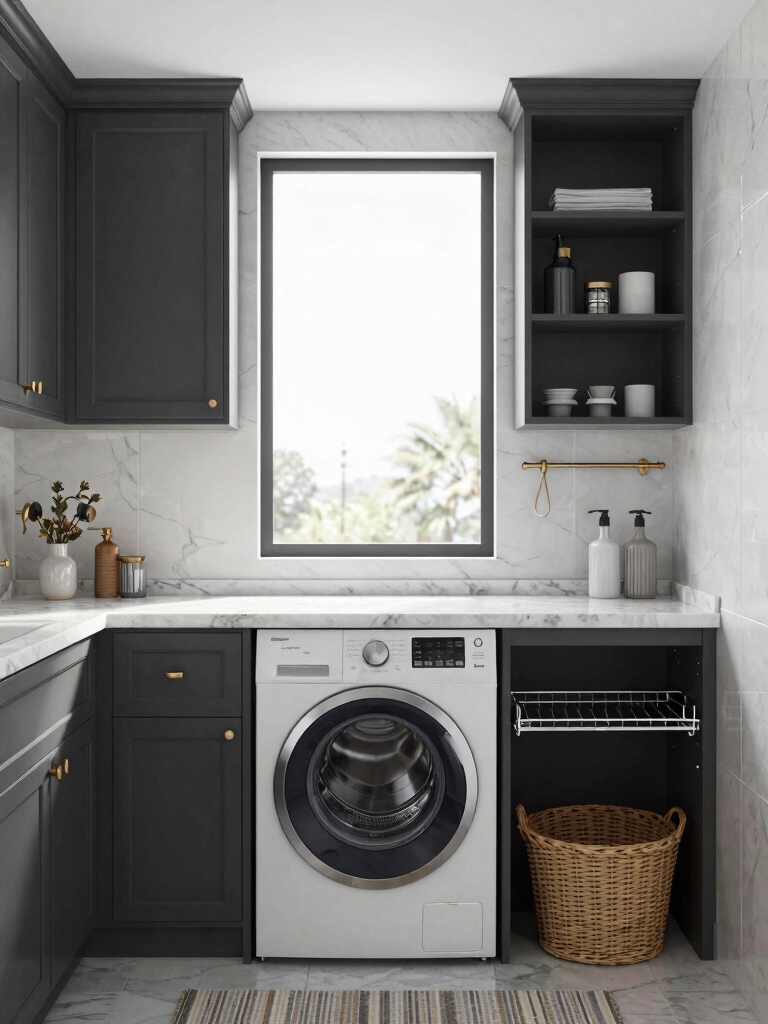
Hidden Storage Solutions for a Clean Look
I’m sharing quick ideas for hidden shelf utilities and tidy cabinet interiors that keep your laundry room looking clean.
I’ll show practical tweaks you can flag as “invisible” storage—like shallow shelves and door organizers—so essentials stay out of sight yet within reach.
Let’s explore simple, efficient setups that maximize space without adding bulk.
Hidden Shelf Utilities
- Pull-out baskets
- Slim vertical dividers
- Magnetic strips for tags
- Over-door hooks for brushes
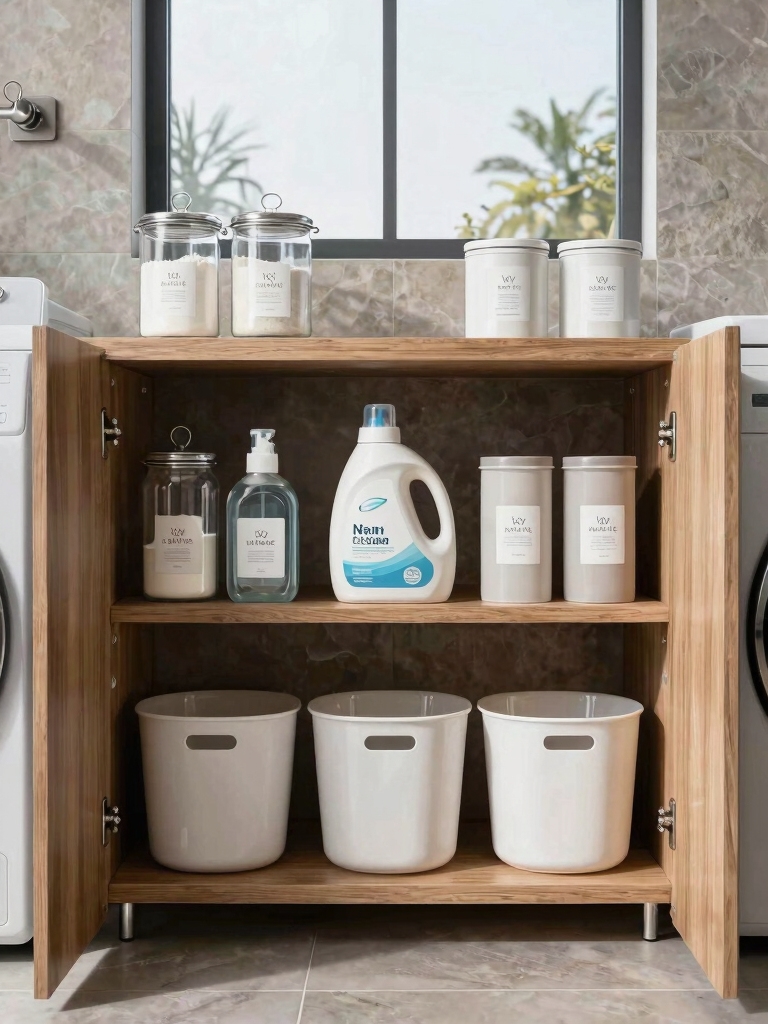
Tidy Cabinet Interiors
I organize by zones: detergents, stain removers, and tools neatly grouped. I use shelf risers and labeled baskets, so everything has a home.
Quiet slides, soft-close doors, and a slim pull-out keep clutter invisible yet reachable. Simple, efficient, calm.
Hooks and Pegboard Combos for Towels and Tools
An efficient laundry room setup often hinges on smart hooks and pegboard combos for towels and tools.
I’ll show you practical, tidy configurations that free cabinet space and speed up chores. Use daily hooks for towels, pegboard for frequently used tools, and labeled zones to stay organized.
1) Install a vertical row of hooks for quick-dry towels
2) Mount a pegboard near the washer with essential tools
3) Use labeled bins on the pegboard for small items
4) Add a low shelf for detergents and sprays within reach
For top load washers, consider placing hooks and pegboards at heights that accommodate the washer’s lid opening to maximize accessibility and efficiency, a key aspect of Smart Laundry Room Solutions.
How to Choose Shelf Material for Humidity-Prone Laundry Rooms?
I’ll walk you through choosing shelf material that holds up in humidity-prone laundry rooms.
I prefer moisture-proof options like PVC, coated MDF, or solid-surface shelves, which resist warping and mold better than untreated woods.
Let’s compare moisture resistance, ease of cleaning, and install practicality so you can pick a durable, low-maintenance choice.
Humidity-Resistant Materials Guidance
Choosing shelf material for a humidity-prone laundry room means prioritizing durability and moisture resistance from the start.
I guide you through practical picks you can trust.
- PVC-coated plywood for stability and water resistance
- Stainless steel brackets with moisture-rated shelves
- High-density polyethylene (HDPE) boards for easy cleaning
- Powder-coated metal with corrosion-resistant finish
Moisture-Proof Shelf Options
If your laundry room walls and shelves regularly face humidity, the best options blend moisture resistance with straightforward maintenance.
I recommend solid-surface or PVC shelves, powder-coated metal, and treated wood with sealed edges.
Avoid porous, unfinished materials.
Choose quick-seal finishes and removable panels for easy cleaning.
Easily wipeable surfaces prevent mold, and modular setups simplify future replacements or upgrades.
Color and Label Coordination to Speed Up Laundry Day
Color and label coordination can dramatically speed up laundry day by reducing guesswork and streamlining workflow.
I’ll show you practical, tangible steps you can implement now.
- Use color-coded bins for detergents, boosters, and cleaners.
- Label shelves by function to keep every item in its place.
- Match labels to frequently used tasks for quick access.
- Keep a small, visible legend near the stack for reference.
Maximizing every inch with clever storage solutions can transform even the smallest laundry room into an efficient workspace with space-savvy organization.
Printable Labeling Ideas to Customize Your System
I’m sharing simple printable label formats that fit any shelf setup, so you can map out what goes where without fuss.
I’ll cover durable material choices and quick customization tips to keep things tidy and label-ready.
Let’s get practical with clear, organized steps you can apply right away.
Maximize your space with creative solutions like stackable washer dryer setups to complement your organized shelves.
Printable Label Formats
I show you simple templates you can adapt, plus quick editing tips for legible results you’ll actually use.
- Pantry tags with short titles
- Detergent back-plates for consistent dosing
- Shelf dividers labeled by zone
- Laundry hampers marked by category for faster sorting
Durable Material Choices
Durable materials keep your laundry labels readable and your system intact, even in a busy room.
I choose laminates, coated cardstock, and wipeable vinyl for labels that survive humidity and splashes.
Durable tabs and box labels stay legible longer, so you won’t rewrite constantly.
Practical, affordable options keep your labeling dependable while you organize efficiently.
Customization Tips and Tricks
If you want a laundry system that truly fits your space and routines, start with flexible labeling that you can tweak over time.
I share practical tricks that keep things tidy and visible.
- Use printable labels with erasable surfaces for quick changes
- Color-code by category, then update as needs shift
- Create monthly refresh labels to track replacements
- Store spare tags nearby for on-demand edits
Budget-Friendly Shelf Upgrades That Feel Premium
To upgrade a laundry room shelf on a budget, I focus on three practical tweaks that deliver a premium look without the price tag.
First, swap plastic bins for fabric-wrapped baskets to hide clutter with texture.
Next, add a slim, labeled tray for small items to reduce chaos.
Finally, install a lightweight metal rod for hanging misc. items neatly.
DIY Shelf Projects for a Custom Fit
Creating a custom-fit shelf starts with a quick plan and simple measurements, so you avoid guesswork and wasted materials.
I walk you through practical steps to shape shelves that fit every nook, with simple tools and clear cuts.
- Measure precisely, note corner angles, and map mounting points.
- Choose adjustable brackets for flexibility.
- Cut supports to match your depths and heights.
- Install with level accuracy for stability.
Maintenance Tips to Keep Shelves Tidy Long-Term
Keeping shelves tidy long-term isn’t magic—it’s a simple routine.
I keep a weekly quick sweep, return items to designated spots, and label shelves for quick recovery. I check for spills, wipe surfaces, and rotate products by expiry.
I limit decor, plan ahead, and use matching baskets. Consistency beats perfection, so I pause, reset, and stay intentional with my system.
Small-Space Laundry Shelf Before-and-After Showcase
I tackled a tight laundry nook and turned a cramped shelf into a functional, well-organized space.
Here’s the before-and-after snapshot, straight to the point, so you can replicate it without fluff or fuss.
- Measured the footprint and cleared clutter
- Replaced flimsy shelves with sturdy steel
- Added labeled bins for detergents
- Created a tool-free, accessible height setup
How to Plan Your Own Smart Laundry Shelf Layout
A smart laundry shelf starts with a clear plan, so I’ll walk you through a practical approach to map out your space before you drill a single hole.
First, measure walls, outlets, and doors.
Next, list tools and containers, prioritizing accessibility.
Then sketch zones for detergents, folding, and lint traps.
Finally, double-check clearance and airflow, adjust as needed, and finalize your layout.
Conclusion
Here’s the bottom line: plan, measure, and tailor. Plan by purpose, measure by space, tailor by needs. Plan for accessibility, plan for visibility, plan for growth. Measure for height, depth, and clearance, measure for weight, measure for future items. Tailor shelves, bins, and labels to your rhythm, to your routine, to your reality. Plan for daily use, plan for seasonal shifts, plan for efficiency now and later. Plan, measure, tailor—and your laundry will finally work with you.