I’ll rearrange my existing furniture first to create a fresh feel. A statement rug anchors everything, and a simple neutral paint gives me a versatile base. I can swap lighting with plug-in pendants and layer texture using pillows and throws. A quick hardware change or a painted accessory adds personality. Mixing old and new pieces makes the space feel uniquely mine. Let’s explore a few more clever tricks that can completely transform your space.
Rearrange Your Living Room Furniture First
Before diving into buying anything, let’s start by rearranging the furniture you already have.
I often find my room feels brand-new just by shifting the sofa or swapping chair positions. It’s free!
Try creating a focal point or improving traffic flow. You don’t need a designer’s eye; just experiment.
Move things, live with the new layout for a day, and see what works best for you.
In small spaces, strategic furniture placement can make a big difference in making your living room feel cozy and stylish, a key tip from Small Space Living Room Ideas.
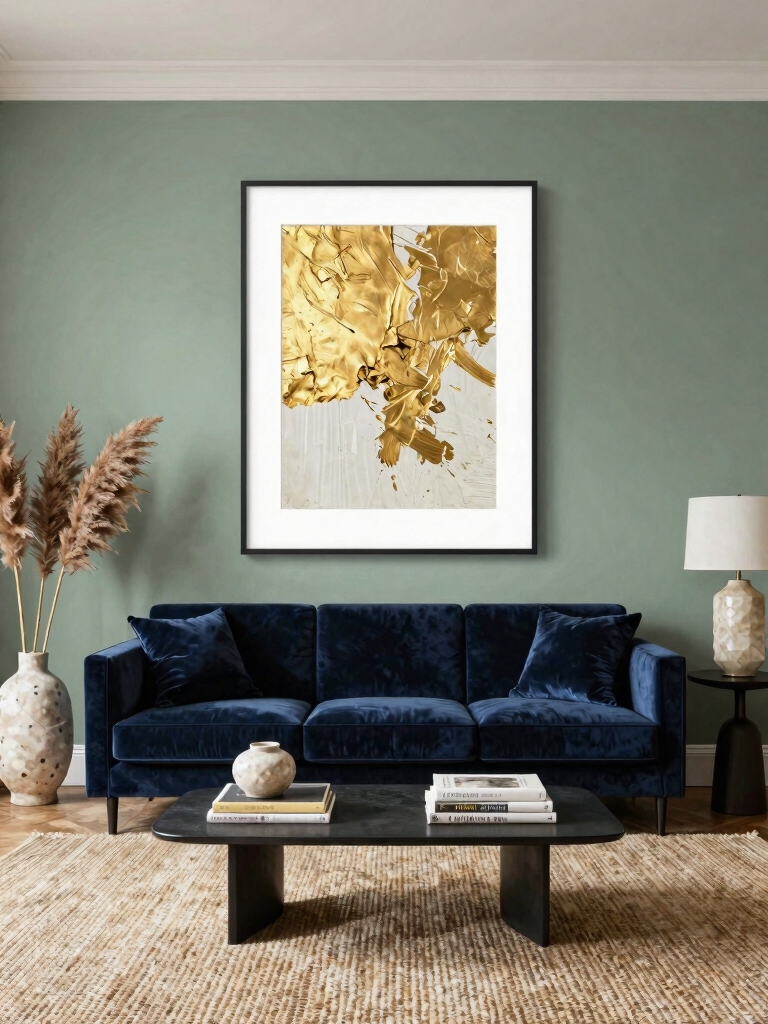
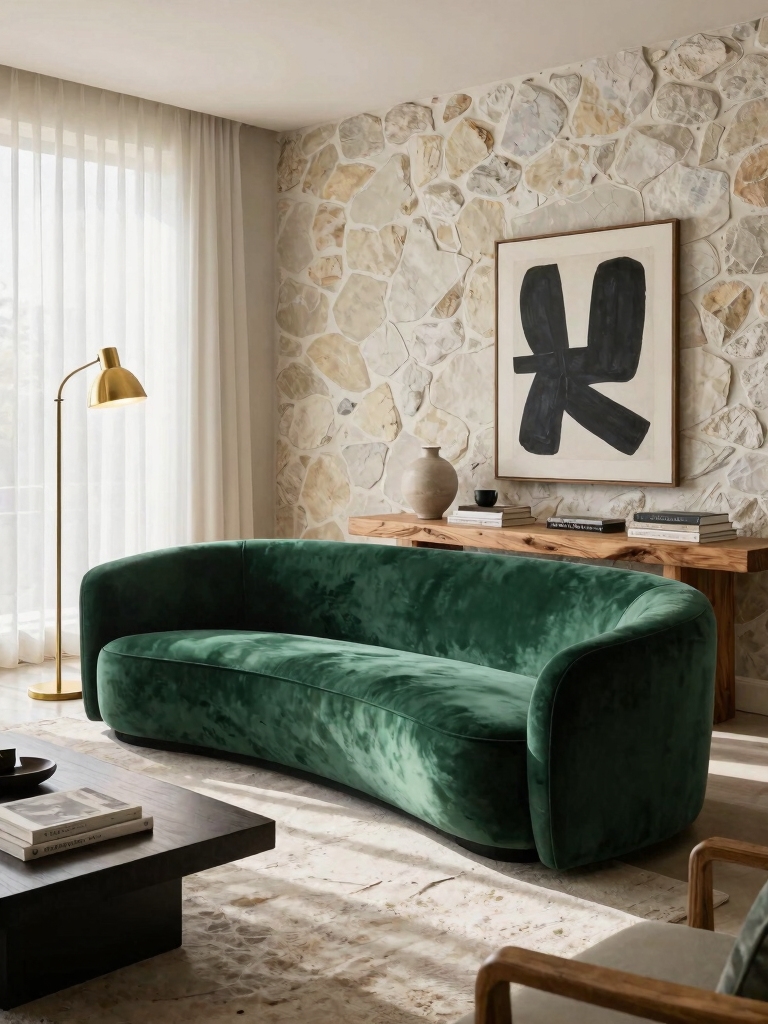
Anchor Your Living Room With a Statement Rug
Why not define your space with a statement rug?
I find it instantly pulls my furniture together and creates a cozy zone. You don’t need a huge budget; I’ve scored great vintage or overstock finds.
Just guarantee it’s large enough—front legs of your sofa and chairs should rest on it. This simple anchor makes the whole room feel intentional and complete.
Adding soft textures and warm lighting can elevate the comfort level and enhance the cozy atmosphere created by your statement rug, making it a perfect weekend project for cozy living room decor ideas.
Choose an Easy Color Palette for Your Walls
I always start with a neutral base paint for my walls because it’s affordable and versatile.
Then I build on that with easy, nature-inspired colors for a calming look.
This simple approach keeps my projects stress-free and my budget intact.
Refreshing your space with fresh room decor ideas can make a big difference without needing a designer.
Nature-Inspired Paint Colors
Bringing the outdoors inside with nature-inspired paint colors can instantly give your living room a fresh, calming vibe.
I always look at my garden for free ideas. Think soft sage greens, earthy terracottas, or warm sky blues. These shades are inherently harmonious, so you can’t really go wrong.
A single accent wall in a nature tone makes a huge impact without a huge budget. It’s my favorite DIY refresh.
Select A Neutral Base
After playing with those nature-inspired hues, a neutral base on your walls makes it simple to layer in other colors and textures.
I think a white or soft grey is my go-to for creating that blank canvas. It’s affordable and gives me flexibility to switch up my accessories later.
This approach saves money and lets my personality shine through my art, pillows, and rugs.
Change Your Lighting Without Changing Wiring
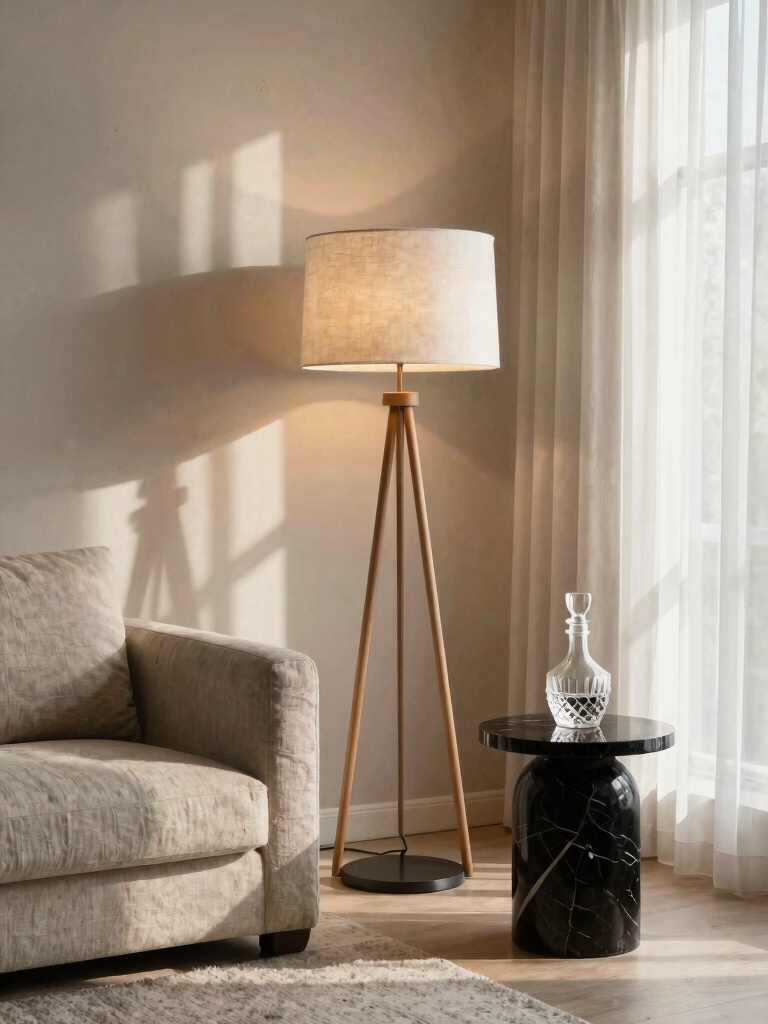
I love that I can change my living room’s lighting without hiring an electrician.
Plug-in pendant lights are perfect for adding a focal point without any wiring.
I also use smart bulbs to instantly transform a room’s mood.
Adding a wall mirror can further enhance the effect by expanding the space and reflecting light.
Use Plug-In Pendant Lights
If you’re looking to change your lighting setup but don’t want to mess with wiring, plug-in pendant lights are an ideal solution.
I just hang mine from a ceiling hook over a reading nook. You plug them straight into a wall outlet, and the cord becomes part of the style.
They’re a quick, affordable DIY trick that adds a focal point without any electrical know-how.
Embrace Smart Bulb Options
While I love my plug-in pendants, swapping bulbs is my favorite way to instantly transform a room’s mood.
I’ve embraced smart bulbs; they screw into existing fixtures so I don’t change any wiring.
Using my phone, I adjust their brightness and color for any occasion.
It’s a budget-friendly DIY upgrade that lets me set a bright white for productivity or a warm amber for cozy evenings.
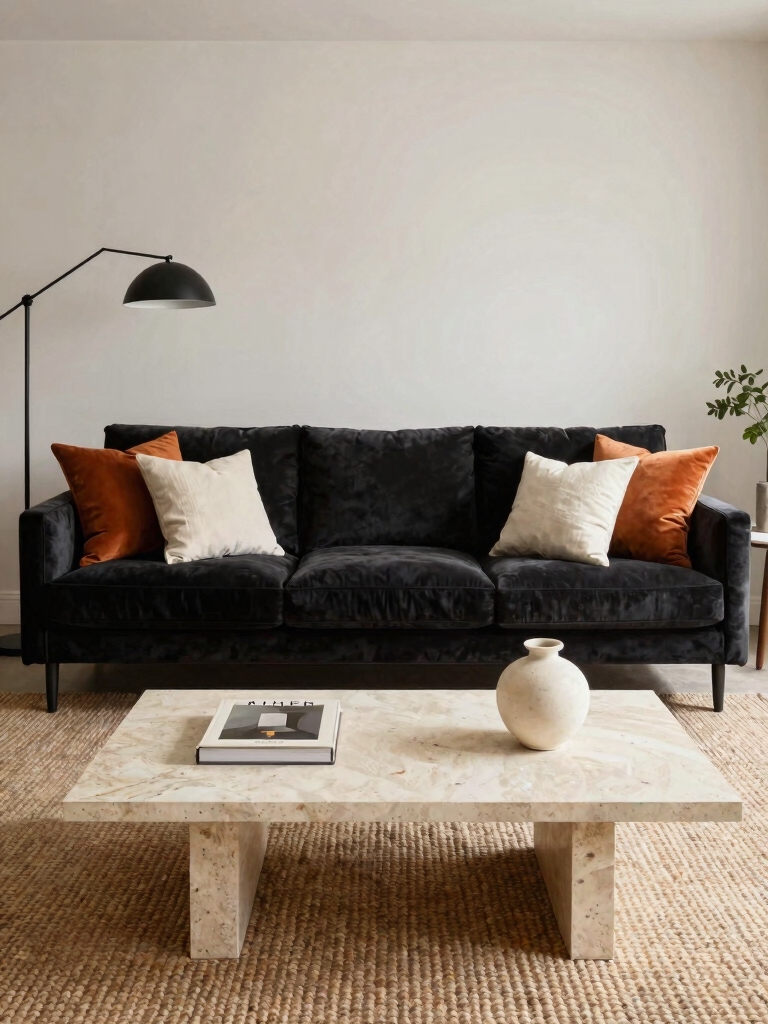
Add Texture With Throw Pillows and Blankets
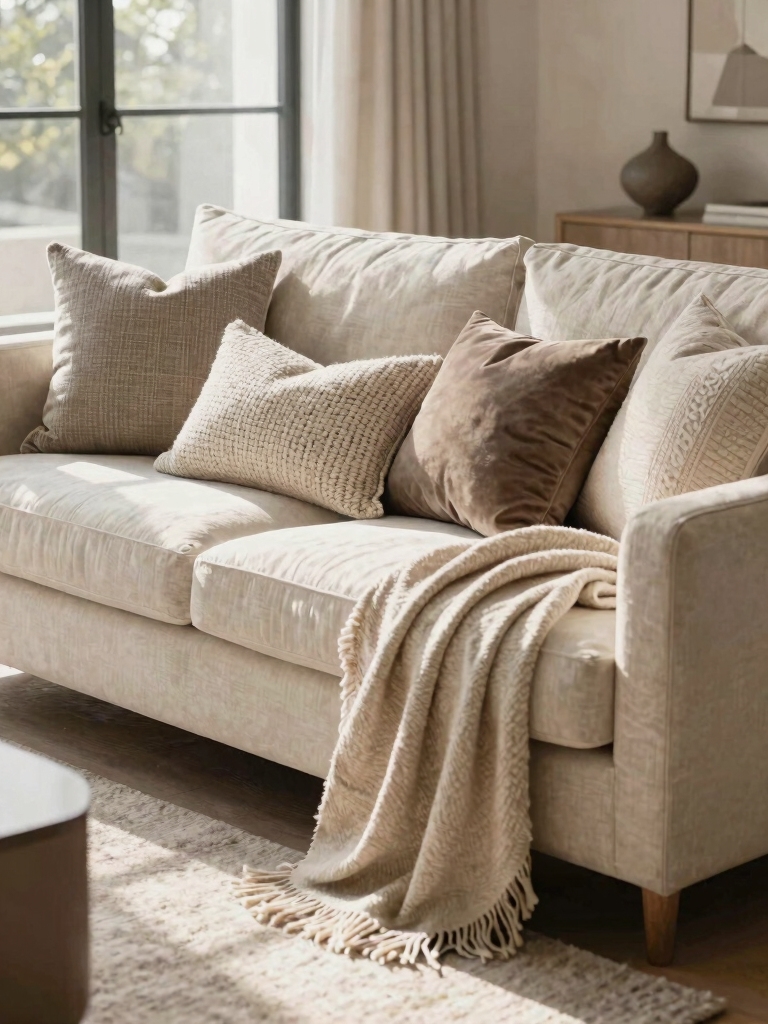
Layer texture into your living room decor by starting with throw pillows and blankets, since they’re an easy, budget-friendly DIY project.
I simply mix and match different fabrics. Try a chunky knit blanket with velvet pillows or a linen throw with faux fur cushions.
You can even swap pillow covers seasonally. Hunt for these at thrift stores or sales to refresh your space affordably and add instant cozy dimension.
Incorporating cozy crochet decor ideas can also enrich your space by adding handmade texture and warmth everywhere.
Define Zones With Strategic Furniture Placement
Next, I’m defining clear zones in my living room with strategic furniture placement.
I’ll start by anchoring each area with a large rug, which is a budget-friendly way to outline the space.
Then, I’ll employ simple seating arrangements to guide how people move and gather.
Using charming decor tips can further enhance these zones and elevate the whole space with style and functionality, creating a more inviting atmosphere through small living room decor.
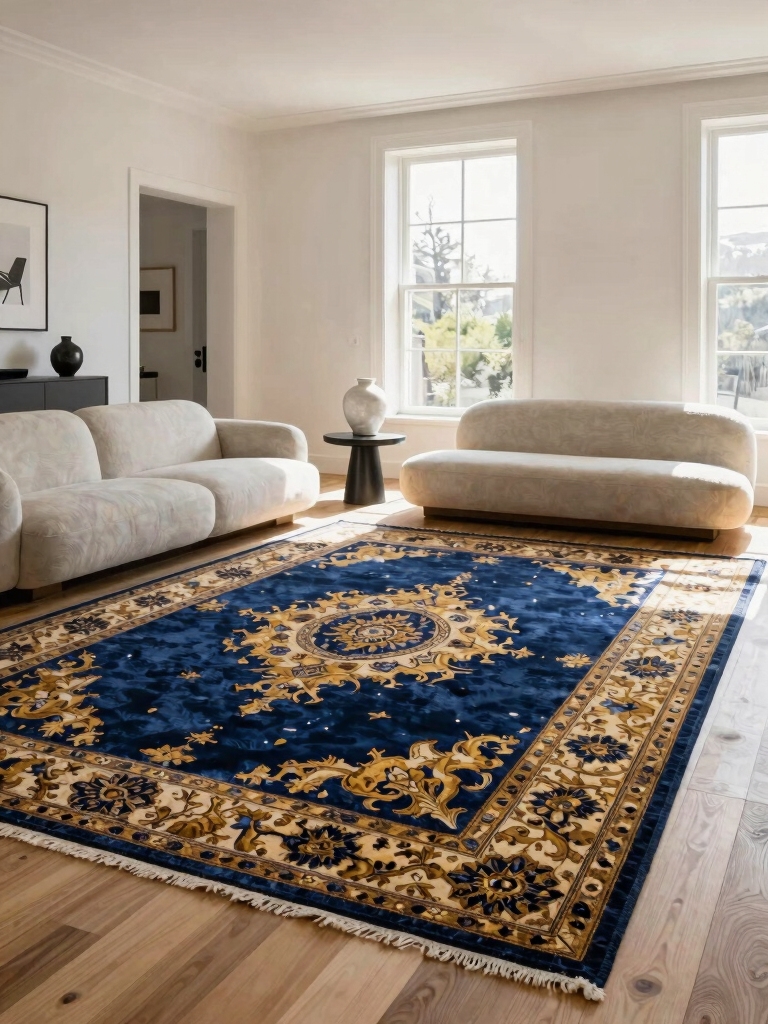
Anchor With A Large Rug
A large area rug is one of the best ways to instantly anchor and define your living room space.
I look for a rug that’s big enough for the front legs of my main furniture to sit on it. This creates a cohesive look without spending a fortune.
Even a simple, affordable rug can make the whole room feel intentional and pulled together, giving you a perfect foundation.
Employ Strategic Seating Arrangements
Once you’ve anchored the space with a rug, I tackle furniture placement to make the room both functional and inviting.
I think of it as creating distinct zones for conversation, relaxation, and activities without building walls.
- Float furniture away from walls to foster intimacy.
- Angle a cozy chair to define a reading nook.
- Use a sofa’s back as a room divider.
- Repurpose a bench for flexible, affordable seating.
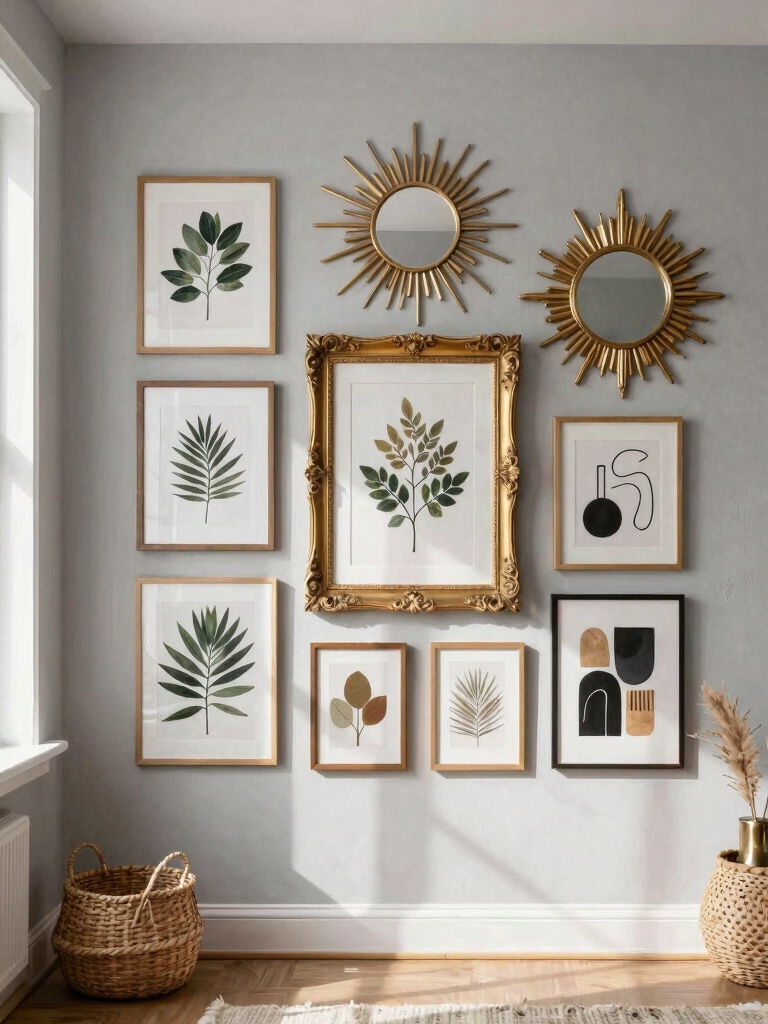
Build a Gallery Wall With Personal Art
While you might think creating a gallery wall requires expensive pieces, it’s actually a perfect chance to showcase the personal art you already own.
I gather my children’s drawings, favorite photos, and vintage postcards. I lay everything on the floor first to arrange it. Using simple, uniform frames makes it cohesive.
It’s a deeply personal and affordable project that instantly makes my living room feel like home. Many inspiring wall decor ideas above the couch can be found on Pinterest galleries, which offer a great source of creativity and inspiration.
Use Mirrors to Add Light and Depth
I love using mirrors to brighten my living room without adding extra lamps.
Try positioning one opposite a window to reflect light and instantly make the space feel bigger.
A large, well-placed mirror can also serve as a stunning focal point, especially in a cozy room.
Incorporating stylish mirror decor can transform your living room by opening up the space and adding a touch of elegance.
Reflect Light Strategically
Four straightforward mirror placements can dramatically brighten your living room on a budget.
I’ve found mirrors are my secret weapon against dark corners. You don’t need a designer to use them cleverly.
Here are my favorite spots:
- Opposite a window to bounce light inward.
- Beside a lamp to double its glow.
- Over a console to create depth.
- In a narrow hallway to visually widen it.
Create A Focal Point
Building on that strategic placement for light, mirrors can also serve as a stunning focal point that draws the eye and transforms a wall.
I love using a large, ornate mirror above my sofa instead of expensive art. You can find fantastic secondhand pieces. It’s an instant style statement that feels designer, but it’s totally DIY.
Grouping smaller mirrors together creates a custom gallery wall on a budget, too.
Expand Small Space Visually
Since we’re building on the idea of mirrors as focal points, let’s use them strategically to make a room feel larger and brighter.
I always hunt thrift stores for inexpensive frames and think about placement.
- Place opposite a window to double natural light.
- Lean a large mirror against a wall for an easy, airy look.
- Use a mirror group to create visual texture.
- Reflect a beautiful corner to expand the view.
Declutter and Creatively Style Your Shelves
If you’re looking to transform your living room, I often find that styling my shelves offers the most impact with minimal expense.
I start by decluttering completely. Then, I mix books with collected objects, creating visual weight by layering items.
I lean artwork for a relaxed feel and use trays to corral smaller pieces. It’s about balance; I don’t overcrowd but leave some breathing space.
Additionally, consider turning underused corners into stunning decor spaces to enhance the overall aesthetic without needing a designer.
Bring in Nature With Simple Indoor Plants
While styling your shelves can instantly refresh a room, introducing a few indoor plants introduces lasting life and tranquility to the space.
I’ve found it’s a cheap, DIY way to soften hard corners and add color. Here’s my simple guide:
- Start with low-maintenance varieties like snake plants.
- Use decorative pots from thrift stores.
- Place them on side tables or shelves.
- Group small pots together for a bigger impact.
Adding plants also helps create a cozy aesthetic that makes your living room inviting and comfortable.
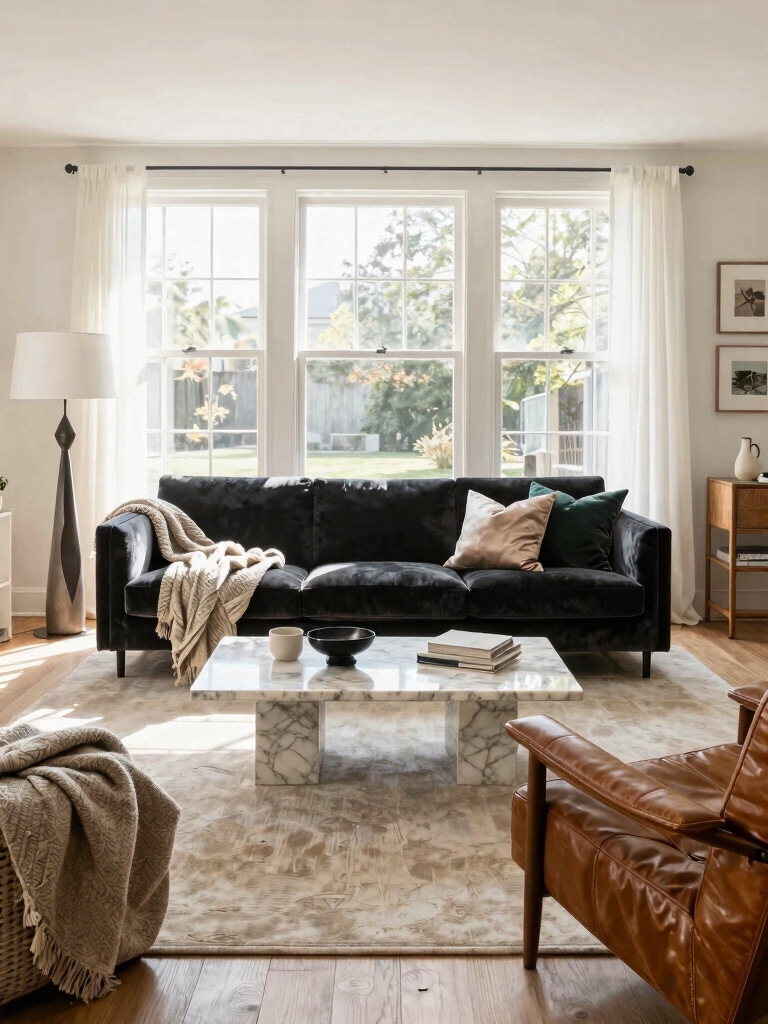
Layer Your Window Treatments for Impact
I want to show you how layering window treatments makes a huge difference without spending much.
Let’s combine a simple shade with drapery, since they’re great at working together.
I’ve found that picking textures that complement each other adds real depth and softness.
Combine Drape And Shade
Because layering window treatments creates a striking look, combining drapes with shades is a powerful way to elevate your living room.
I install a simple roller shade for function, then hang curtain panels wider than the window for drama. It’s a high-impact, budget-friendly DIY project.
- Anchor with a shade for consistent light control.
- Hang drapes high and wide to frame the view.
- Use a simple tension rod inside the frame for the shade.
- Choose ready-made panels to keep costs down.
Select Complementary Textures
To truly make those layered window treatments shine, focusing on texture can elevate the look from flat to fabulous.
I love pairing a sheer linen curtain with a heavier jute or woven wood blind. The contrast is key—it adds so much depth.
You can find these textures affordably if you shop basics. Remember, it’s about complementing, not matching, for that perfectly curated feel.
Create a Cozy Living Room Reading Corner
If you have an underused corner that could serve a better purpose, you can transform it into your personal reading nook without spending a fortune.
I’ll show you how.
- Thrift a comfy chair for a fraction of the price.
- Layer in throws and pillows you already own for softness.
- Utilize a floor lamp for perfect task lighting.
- Add a small side table for your book and a warm drink.
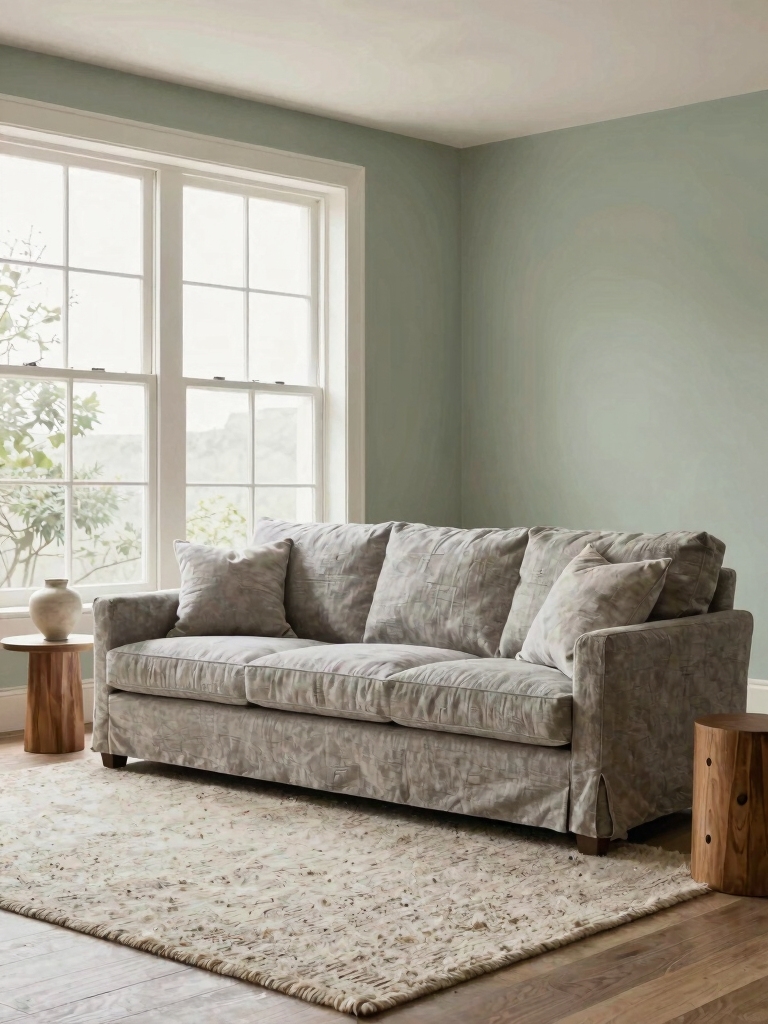
Make an Old Sofa New With Slipcovers
Even if your sofa’s seen better days, I’ll show you how a slipcover can give it a stylish, budget-friendly update in no time.
I’d measure carefully, then choose a durable, washable fabric. Stretch styles are easiest; just tug them into place for an instant transformation.
You can completely change your room’s vibe for a fraction of a new sofa’s cost. It’s my favorite quick-fix.
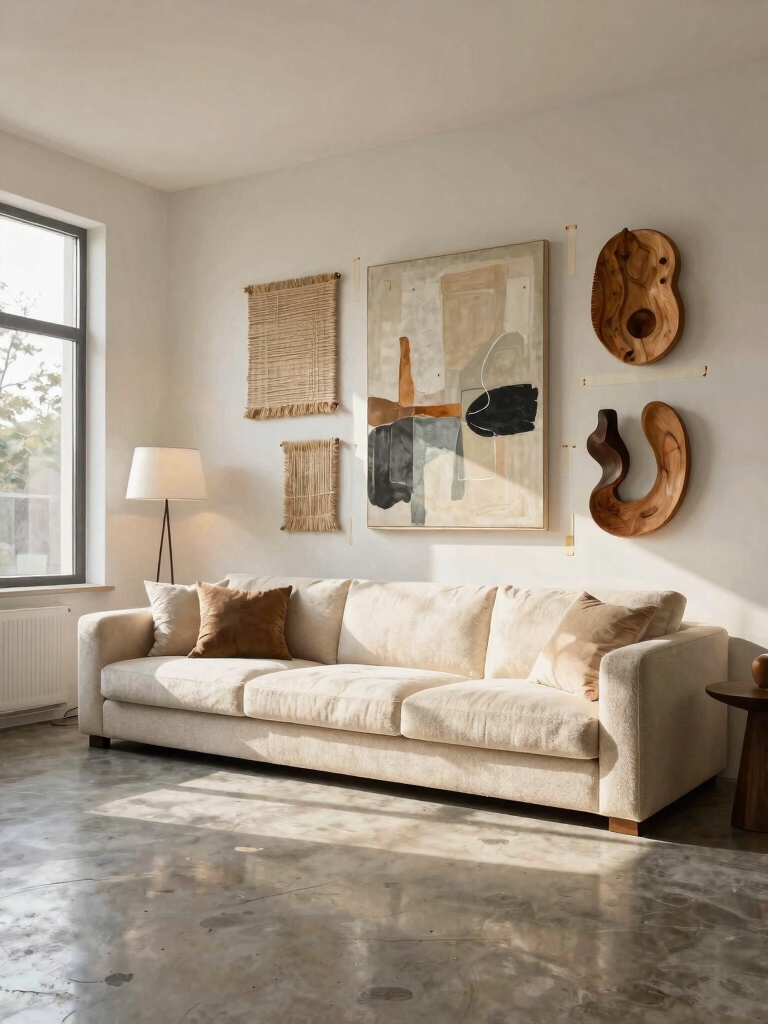
Add Personality With a DIY Accent Piece
Now let’s move from covering the sofa to creating a focal point.
I think the best way to add personality is with a one-of-a-kind DIY accent piece. You don’t need a huge budget, just a little creativity.
- Frame a unique textile or wallpaper scrap.
- Stencil a pattern onto a plain side table.
- Upcycle thrift store art with modern paint.
- Build a simple geometric shelf from scrap wood.
Curate a Coffee Table Display That Tells a Story
While our last DIY project added personality with a handmade piece, let’s focus that creative energy on a daily surface: your coffee table.
I treat mine like a tiny gallery. I layer a stack of favorite books, add a small plant I’ve propagated, and top it with a unique trinket from a trip.
It’s a simple, budget-friendly way to display what you love and spark conversation.
Swap Out Hardware for an Instant Upgrade
If you’re looking for a quick and impactful change, swapping out your hardware is one of my favorite budget-friendly tricks.
Grab a screwdriver and just update a few key pieces to see a dramatic difference.
Think of areas like:
- Old cabinet knobs and pulls
- Your basic light switch plates
- Door handles throughout the room
- Hinges on a statement piece
It’s amazing what new finishes can do!
Mix Old and New for a Collected Look
Since blending vintage pieces with modern elements is an easy way to add personality, I love mixing old and new for a collected, lived-in feel.
I’ll put a modern lamp on a rustic wooden table or style new books beside a thrifted vase.
It’s my favorite budget trick—I hunt for unique vintage items at flea markets and use them to break up my store-bought, contemporary sofa and shelves.
Use Paint to Transform Furniture and Accessories
Another way I refresh my space without buying new furniture is painting what I already own. It’s a fantastic, budget-friendly DIY trick. A simple coat of paint instantly updates tired pieces.
I focus on these transformations:
- Revitalize a wooden side table.
- Give plain picture frames a pop of color.
- Paint ceramic vases for new texture.
- Update lamp bases to match my current scheme.
Unify Your Style With Repeating Colors and Materials
While painting pieces individually works wonders, I also weave a cohesive look throughout my room by repeating colors and materials.
I’ll pick two main colors and use them on pillows, a vase, and art. Similarly, a material like wood appears in my shelves, frames, and a side table.
This repetition ties everything together affordably, creating a designer feel without the high cost or complicated plan.
Conclusion
I’ve learned that my favorite room isn’t built in a day. It’s woven, thread by thread, like that statement rug anchoring it all. Each DIY choice—a painted frame, a rearranged chair—is a stitch in a larger tapestry. It tells my story without a fancy label, proving that a beautiful, collected home is crafted patiently by our own hands, not bought in a single day.