I’ve found my best rustic-chic living room wall decor at Hobby Lobby for half the price. I create large-scale canvas art with textured washes and stretch fabric over canvases for affordable impact. I build personalized gallery walls with thrifted frames and use natural elements like pressed botanicals. My DIY projects, from wooden signs to layered mirrors, make my space uniquely cozy. Let me show you how to get this look yourself.
Craft a Focal Point With a Large-Scale Budget Canvas
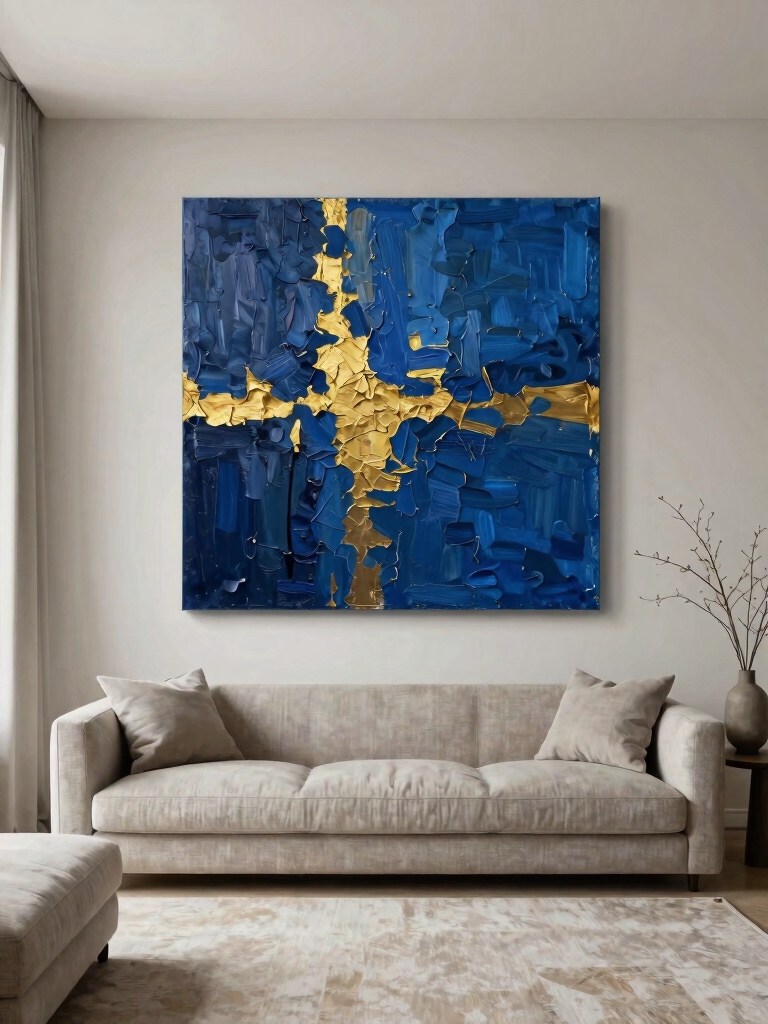
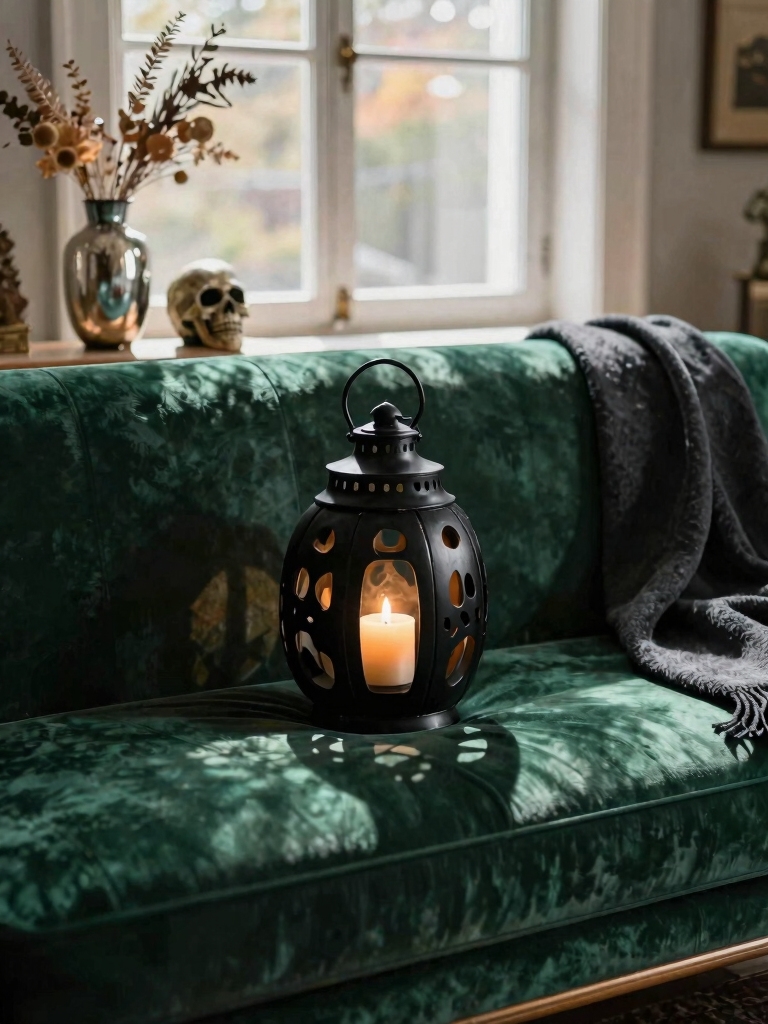
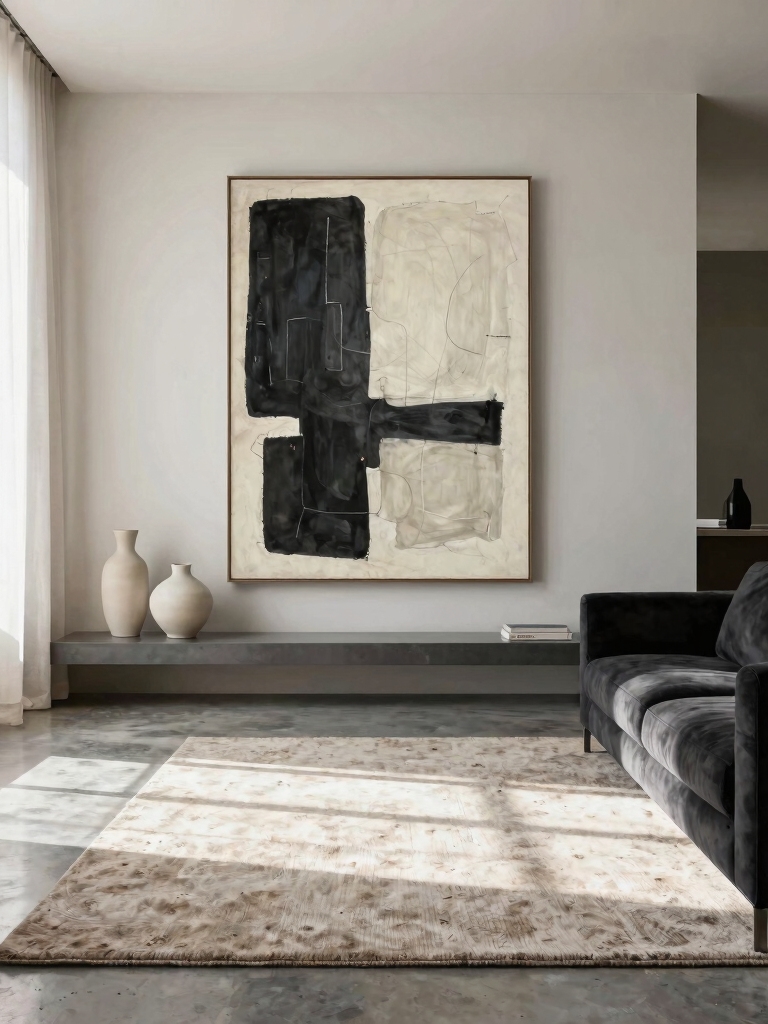
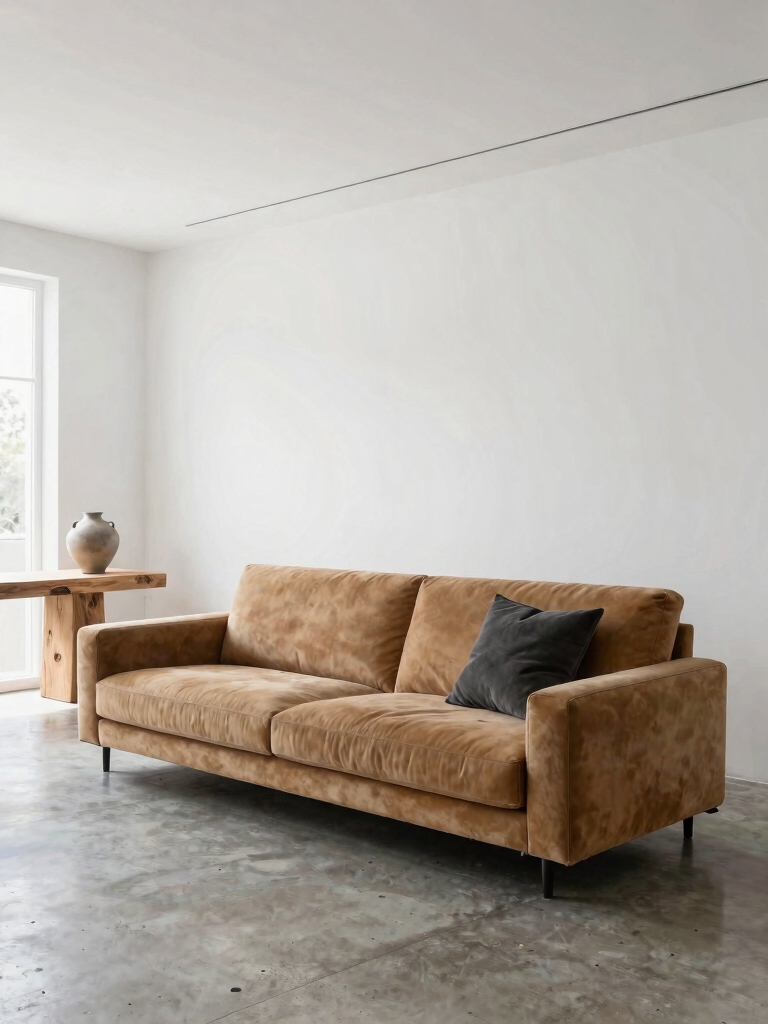
One clever way I craft a focal point is with a large-scale budget canvas, and you don’t need a custom piece or a huge budget to pull it off.
I’ll grab a big, inexpensive canvas from the craft store and give it a textured wash of paint or stain for a rustic look.
Mounting it alone above a sofa instantly commands attention without filling the whole wall. It’s impactful and thrifty.
Using living room wall decor ideas above couch can help inspire creative and affordable ways to enhance your space.
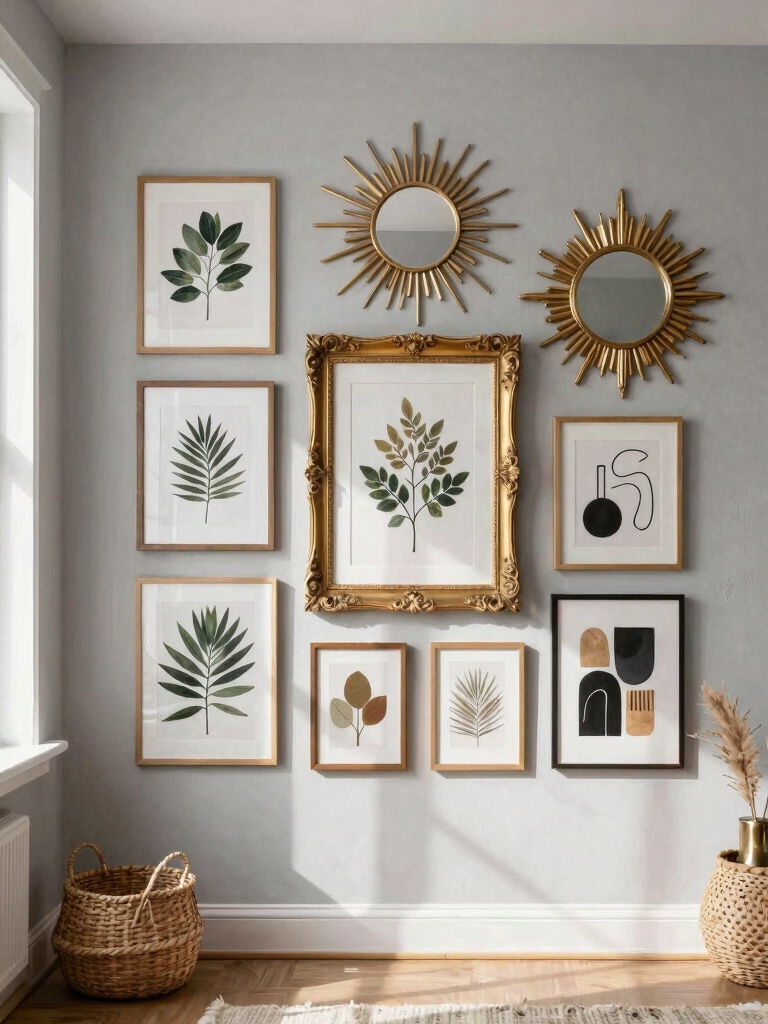
Build Your Own Personalized Gallery Wall
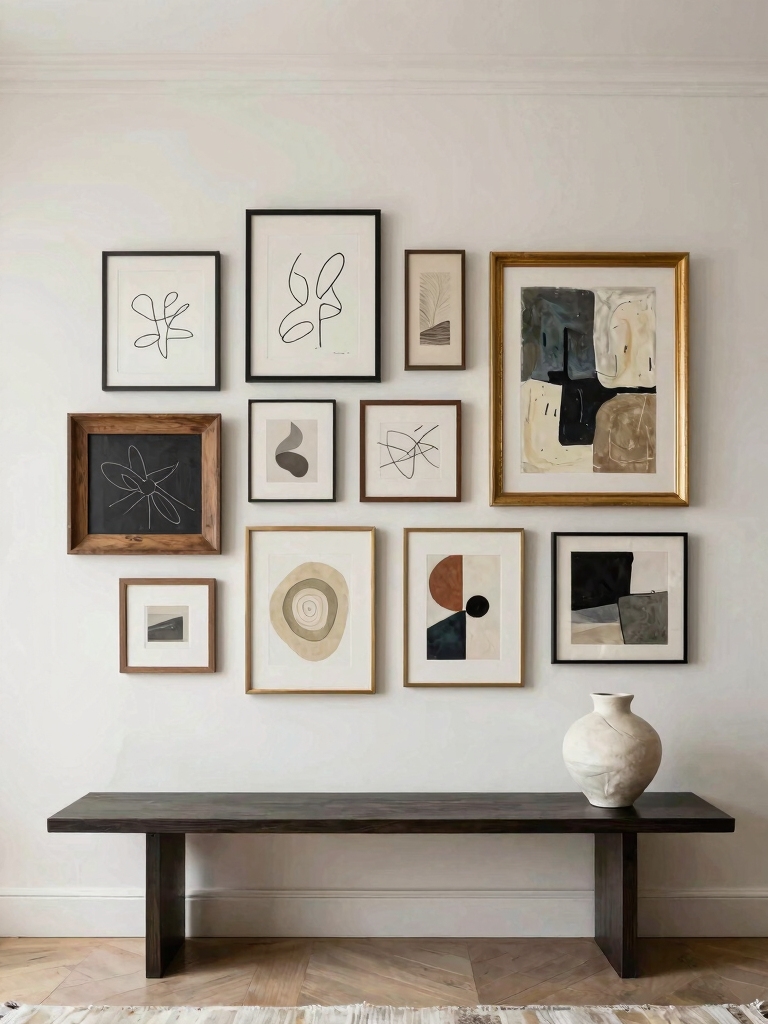
I’m building my own gallery wall with thrifted and sale-priced frames from Hobby Lobby.
I’ll curate a mix of photos, prints, and simple fillers, then personalize it with a rustic-chic color palette and a relaxed layout.
I’m saving money by using budget-friendly hanging hardware that won’t damage my walls.
Top designers suggest incorporating cohesive color schemes and varied textures to elevate your living room wall decor, which enhances visual interest and style from top designers.
Finding Frames And Fillers
To build your personalized gallery wall, let’s start hunting for frames and fillers that fit your rustic-chic style without blowing your budget.
I head straight for Hobby Lobby’s unfinished wood frames or the clearance aisle for discounted pieces I can distress myself.
For filler art, I grab some affordable, printable digital prints.
I also consider using fabric swatches or botanical clippings I’ve pressed in old books.
Personalizing Color And Layout
Once you’ve collected your frames and fillers, grabbing a handful of paint chips from the hardware store gives me my starting palette, letting me tie everything together with a few intentional colors that complement my existing rustic-chic decor.
I lay my arrangement out on the floor, mixing vintage frames with botanical prints, until I’m happy. This way, every piece feels personal and I don’t waste money on wrong choices.
Budget-Friendly Hanging Hardware
Now it’s time to make those curated layers feel right at home on your wall.
I’m a big fan of budget hardware; think jute twine and wooden clothespins or vintage-style cup hooks from the hardware aisle.
I often use simple nail-in picture hooks, too. It’s all about that rustic-chic, handcrafted feel, and it costs a fraction of pre-made kits.
Just measure, mark your spots, and hang your heart out.
Frame Inexpensive Wallpaper Samples as Instant Art
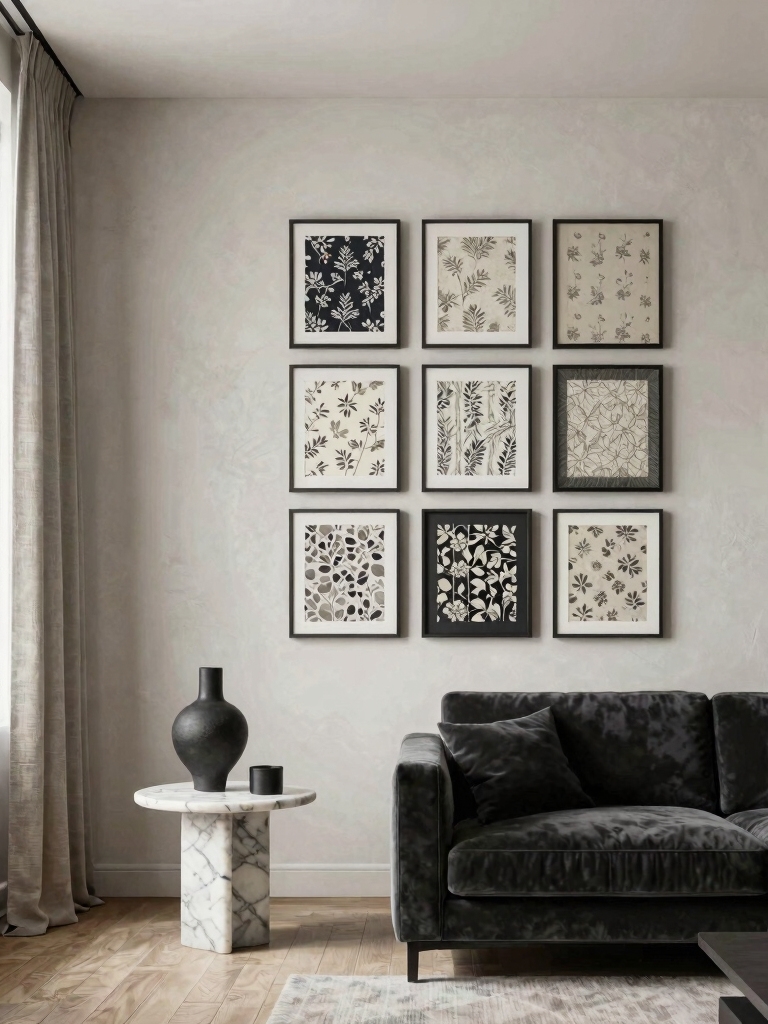
I often turn to wallpaper sample books for my most budget-friendly and unique art finds. Frames from a thrift store elevate them instantly.
- Choose samples with patterns that feel textural or historic.
- Repurpose old frames; a coat of white chalk paint works wonders.
- Don’t overthink the arrangement—mix florals and geometries.
- Your art cost nearly nothing, proving high style isn’t about high price.
Transforming your space with these ideas is a simple way to create Instagram worthy spaces.
Display Pressed Botanicals for Natural Beauty
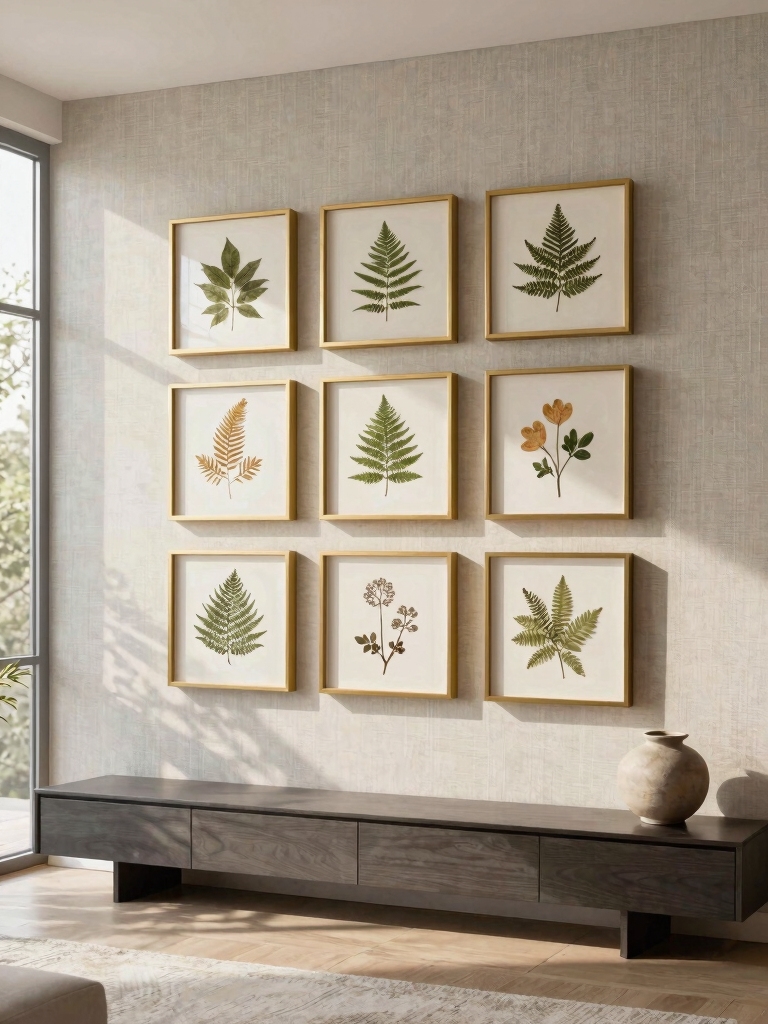
I’ll start by choosing my own botanicals from the garden to press and preserve. Framing them in simple glass showcases their natural beauty without a fuss. I can hang the finished pieces with invisible string for a clean, rustic-chic look that costs almost nothing. Incorporating earthy textures like pressed botanicals adds a natural and warm feeling to the living room decor.
Choose Your Own Botanicals
Capturing nature’s fleeting beauty starts with choosing botanicals that speak to you. I forage free materials from my own backyard or a local park. Your selections should reflect personal meaning or simple visual appeal.
- Seek variety in leaves, flowers, and seed pods.
- Embrace imperfections like curled edges for character.
- Consider silhouettes and how shapes will interact.
- Mix textures between delicate blooms and sturdy foliage.
Frame And Preserve Them
Let’s get your pressed botanicals beautifully framed without breaking the bank. I shop Hobby Lobby’s sales for simple, rustic frames.
Use the included mat as a guide to arrange your pieces on acid-free paper; this preserves their color. Secure them with a tiny dot of clear-drying glue.
Then, I just reassemble the frame, making sure the glass is clean. It’s that easy to create a natural, personalized masterpiece.
Hang With Invisible String
To let my pressed botanicals drift like floating art, I use clear fishing line for a nearly invisible, rustic-chic display. I attach each framed piece and let them hang at staggered heights. It’s a thrifty, impactful statement.
- Creates depth and movement on a blank wall
- Highlights the delicate, natural details
- Offers total layout flexibility for free
- Transforms simple frames into curated art
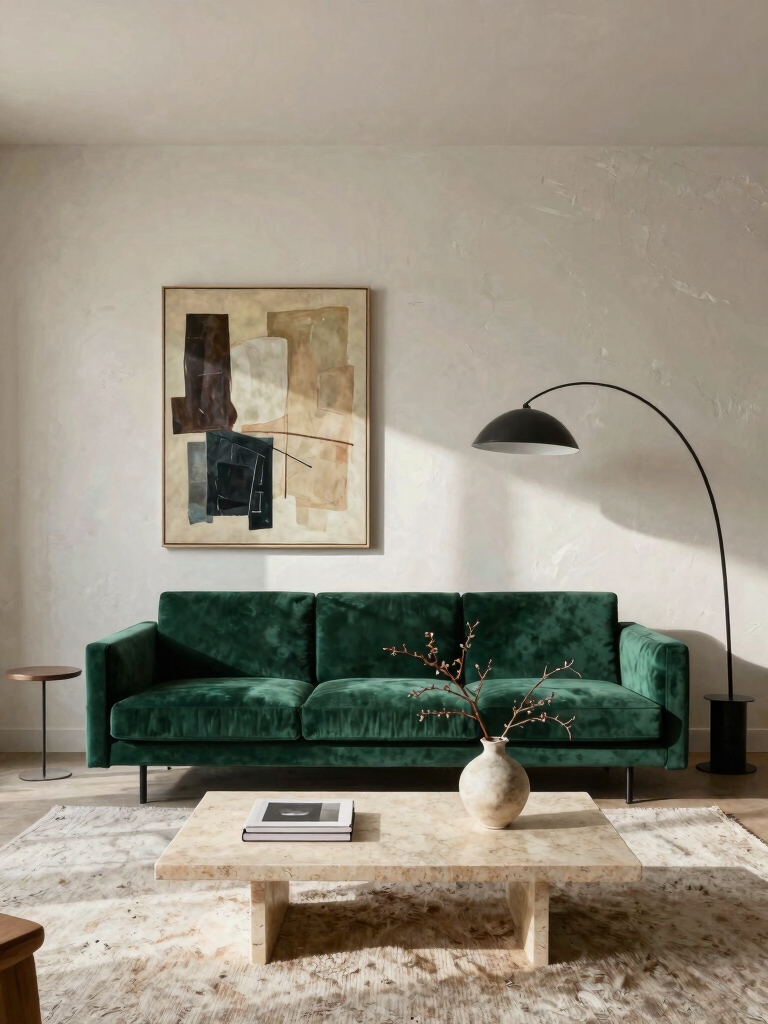
Pair a Themed Clock With Art for a Cohesive Look
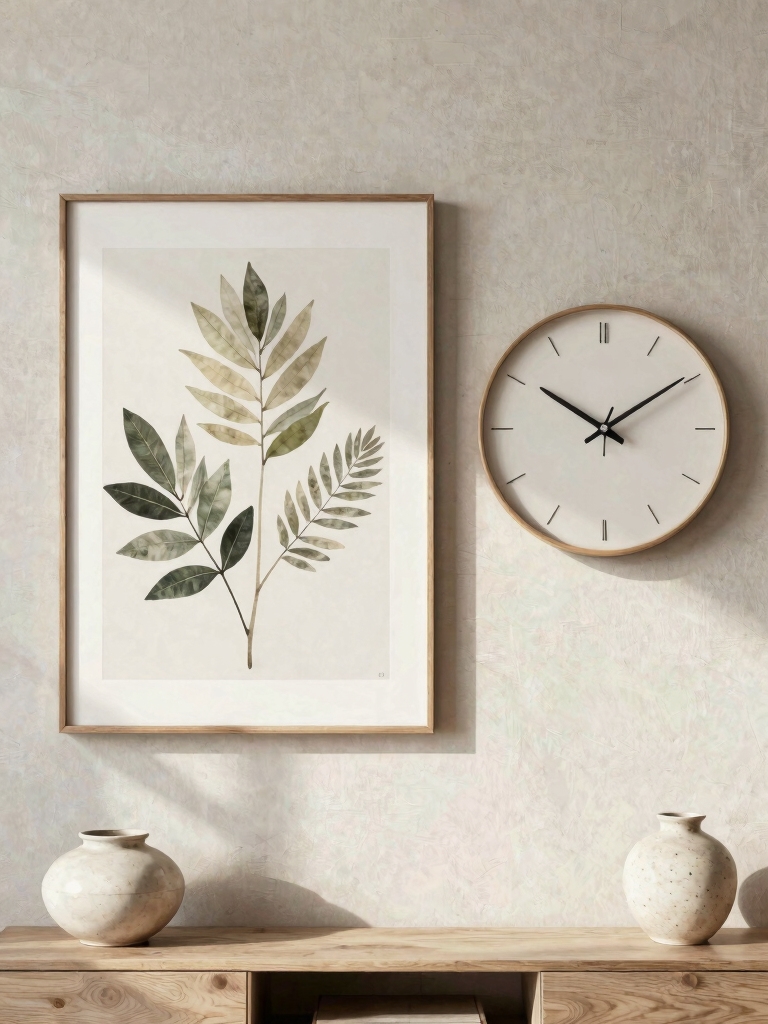
Because a clock is often a room’s focal point, I like to pair a themed wall clock with complementary art for a look that feels intentionally collected.
I’ll find a rustic wooden clock and DIY a simple canvas with similar colors or motifs.
Mounting them together creates a cohesive vignette without spending much.
This approach guarantees my decor isn’t just functional; it’s a curated statement that anchors the room.
Adding creative elements like these is a great way to enhance your living room walls and fill blank space effectively.
Add Rustic Charm With a DIY Wooden Sign
For a quick dose of farmhouse style, I grab a pre-cut wooden plaque from the craft store and give it a light coat of whitewash or stain.
I then create my design.
- Use a projector for flawless script.
- Stencil on simple, meaningful words.
- Add depth with a wood-burning tool.
- Seal it with clear wax for protection.
This personal touch makes my space feel uniquely cozy. Incorporating cozy aesthetic room ideas can enhance the inviting atmosphere of your living room.
Transform an Old Window Into a Shabby Chic Frame
Building on that handmade charm, I love giving a weathered old window a second life as a shabby chic picture frame.
First, I just clean the glass and maybe lightly sand the frame.
Then I attach favorite photos or botanical prints behind the panes with tape.
I don’t over-restore the wood; its chips and cracks are the best part.
Finally, I add a wire hanger to the back.
This simple project adds a touch of cozy elegance to your sitting room decor.
Mount a Woven Basket Collection for Organic Texture
I always start by gathering complementary basket shapes in neutral or natural colors from Hobby Lobby.
I mount them directly to my wall for a quick, textural diy statement. It’s an incredibly affordable way to bring rustic-chic warmth into any room.
This approach fits perfectly with creative wall art ideas that suit every living room wall size.
Select Complementary Basket Shapes
Since you want to build that organic texture, choosing baskets with different but harmonious shapes is key for a collection that looks collected, not chaotic.
I mix round, oval, rectangular, and irregular forms for visual interest. The variation feels natural and handcrafted.
Remember:
- Round brings softness.
- Oval offers graceful flow.
- Rectangular adds structure.
- Irregular provides rustic character.
This mix creates depth on your wall without costing much.
Choose Neutral Or Natural Colors
To keep your display cohesive, you’ll want to stick with a palette of neutral or natural basket colors.
I always hunt for creams, browns, or soft grays at Hobby Lobby to save money. These tones blend beautifully with a rustic-chic room and let the woven textures shine.
Mixing them with my DIY wall arrangement creates a calm, organic focal point without overwhelming the space.
Get the Look of a Sunburst Mirror for Less
Several clever tricks can let you capture that dramatic sunburst mirror look without the designer price tag.
I raid Hobby Lobby’s craft sections for pieces I can assemble myself. It’s about creating that rustic-chic radiance affordably.
- Gather wooden dowels or spoons for handmade rays.
- Use a basic round mirror as your central focal point.
- Stain or dry-brush pieces for weathered texture.
- Arrange and glue everything onto a sturdy backing board.
Adding personalized touches can transform your wall decor into a powder room idea that wows every guest.
Layer Small Mirrors for a Sculptural Effect
I often turn mismatched thrift store mirrors into something sculptural.
First, I select geometric shapes and assemble a balanced layout on the floor.
Then I carefully hang each piece, starting from the center.
Layering mirrors can create an impressive visual effect that helps expand space and brighten your living room.
Selecting Mirror Shapes
Mirrors don’t have to be predictable; layering small, varied shapes creates sculptural depth without a hefty price tag.
I hunt for inexpensive frames in these forms:
- Sunbursts: Add instant vintage charm and texture.
- Hexagons: Offer a modern, honeycomb feel that’s super trendy.
- Ovals: Soften the arrangement with their classic, organic lines.
- Rounded Squares: Bridge modern and rustic for a balanced look.
Mixing these builds wonderful visual interest.
Assembling Your Layout
Before you pick up a hammer, let’s arrange your collection on the floor.
I love layering small mirrors for a sculptural look. Play with shapes—stacking rectangles on circles or nesting ovals creates depth. It’s free to experiment here!
Find a balanced grouping that feels organic, not perfect. This DIY trick gives you a custom, rustic-chic installation without spending a dime on extra pieces.
Hanging With Precision
Now that you’ve arranged your grouping on the floor, it’s time to transfer that layout to the wall with care. I trace each mirror’s outline on kraft paper, cut the templates, and tape them up. This trick prevents a dozen holes in my plaster!
- Test your spacing with the paper shapes first.
- Mix mirror shapes for organic texture.
- Use simple sawtooth hangers; they’re cheap and hidden.
- Layer slightly for a dimensional, collected look.
Group Vintage-Style Mirrors for Eclectic Glam
To pull off an eclectic glam look without spending a fortune, I find grouping vintage-style mirrors is a perfect DIY solution.
I scout Hobby Lobby’s clearance for ornate, mismatched frames. I arrange them in a cluster on my floor first for a rustic-chic composition.
Then, I hang them together to create a statement wall. It adds depth, reflects light beautifully, and looks far more expensive than it was.
Design a Textured Macramé Wall Hanging
I love adding cozy texture to my walls, so I craft a chunky macramé hanging using a few affordable supplies from Hobby Lobby. I use thick, 100% cotton rope for a rustic look and a simple dowel.
I focus on a couple of easy knots—you’d be surprised how far just the square knot and lark’s head can take you!
- Embrace Imperfections: Slight variations make it uniquely yours.
- Vary Length: It creates visual interest and depth.
- Add Natural Elements: Think wooden beads or dried botanicals.
- Keep It Simple: A minimalist design has maximum impact.
Make a Geometric Statement With Wooden Beads
Transform a basic wooden dowel and bulk craft cord into striking geometric art by incorporating wooden beads from the hobby store.
I simply knot my cord into a clean triangle or diamond shape, strategically threading on natural-toned beads for accent points.
It’s an incredibly cheap project that yields a big, modern impact.
This handmade piece brings organic texture and smart geometry to my living room wall in minutes.
Arrange Decorative Plates for a Sophisticated Display
One of the most classic and budget-friendly upgrades for a blank wall is a thoughtfully arranged collection of decorative plates. I scout thrift stores and Hobby Lobby’s sale aisle, then mount them with simple plate hangers.
The key’s in the curation. Craft a gallery that feels collected, not cluttered.
- Mix sizes and patterns for visual rhythm.
- Layer over a mirror for doubled impact.
- Use neutral plates to anchor bolder pieces.
- Stagger heights to create organic flow.
Create Dimension With a Faux Wreath Triptych
For a wall that truly comes alive, I love grouping three faux wreaths into a simple triptych.
I hunt Hobby Lobby’s sales for affordable, textural wreaths in varying sizes. I arrange them asymmetrically on the wall with command strips for a rustic, layered look.
This DIY trick adds incredible depth and visual interest without breaking the bank, giving my living room that curated, chic feel I adore.
Upcycle Hobby Lobby Trays Into Elegant Wall Decor
Continuing our look at affordable wall art, I’ve found another great way to add character without spending much: repurposing Hobby Lobby trays. Their ornate shapes instantly create sophisticated focal points when hung.
I simply clean, paint, or stain them to match my space. Then, I add a sawtooth hanger on the back for easy mounting. It’s my go-to for quick, personalized decor.
- Transforms overlooked objects into curated wall art.
- Embraces imperfections for authentic rustic charm.
- Prioritizes creativity and vision over a large budget.
- Celebrates personal storytelling through handmade details.
Style a Plug-in Sconce as a Decor Shelf
Plug-in sconces offer a clever workaround for renters or anyone avoiding hardwiring, letting you create a stylish decor shelf without a single tool.
I find one with a broad, flat backplate at Hobby Lobby. I simply hang it, plug it in, and then style the top ledge.
I’ll perch a small vintage book, a tiny potted succulent, or a curated stack of decorative plates for instant rustic-chic character.
Spell It Out With Customizable Wood or Metal Letters
I often turn to customizable letters for a quick, personal touch.
You can find rustic wood or industrial metal options that fit your budget and spell out anything meaningful.
I’ll help you pick your letters and share my favorite ways to craft the display.
Selecting Your Letters
One of my favorite ways to make a statement is to spell it out directly on the wall with customizable wood or metal letters. I keep it budget-friendly and personal.
- Choose unfinished wood to stain or paint yourself for a rustic touch.
- Opt for raw metal letters to spray paint your own color.
- Scout the unfinished craft aisle for the best prices.
- Mix up fonts and sizes within one word for visual interest.
Crafting a Display
Now that you’ve chosen your letters, it’s time to get creative with your arrangement before you hang them.
I lay everything on the floor first. Mix up heights by stacking some on reclaimed wood slices or small crates from the craft store.
Don’t just do a straight line—try a staggered layout for rustic charm. Use removable mounting tape so you can adjust it until the look is perfectly imperfect.
Stretch Fabric Over Canvases for Affordable Textile Art
Transform plain canvases into stunning rustic art by stretching vibrant or textured fabric over them. I staple inexpensive cotton, burlap, or canvas remnants from Hobby Lobby right over the wood frame. It’s my favorite budget art hack.
- Embrace Imperfections: Wrinkles and loose threads add rustic character.
- Layer Textures: Combine fabrics for visual depth.
- Play with Color: Use remnants to define your palette.
- Think Big: Cover large canvases for major impact.
Curate a Mini Wall Shelf for Books and Objects
Since I love that rustic-chic look but am mindful of my budget, I curate a mini wall shelf with a mix of thrifted books and small objects from my own collections.
I sand and stain a raw wood shelf myself for character.
I then layer in vintage hardcovers, a small potted succulent, and a framed photo, creating a personalized, collected-over-time vignette without the boutique price tag.
Conclusion
My friends, our walls are the book of our home. With these ideas as our ink, we’ve written a story not of what we spent, but of the moments we gathered and the hands that crafted them. Let your living room sing the rustic, honest song of a life well-lived, pieced together with love, patience, and a little clever thrift. That’s the true focal point money can never buy.