I start with a designer mindset, not a big budget. I’ll anchor my room with one statement art piece, then build a dynamic gallery wall around it, mixing sizes and frame styles confidently. An oversized mirror amplifies light, while wall panels add texture. I unify everything with a consistent color palette and use the rule of thirds for balance. There’s plenty more where these practical, transformative ideas came from.
Adopt a Designer Mindset on a Budget

While you might think a designer’s look costs a fortune, I’ve found that it’s more about a strategic approach than a big budget.
I start by planning my wall like a gallery, mixing sizes and textures. I DIY art from fabric scraps or paint my own geometric canvases.
I hunt thrift stores for vintage frames and repurpose old shelves. Each project builds a layered, personal collection over time.
Using small living room wall decor ideas with big visual impact can transform your space without overwhelming it.
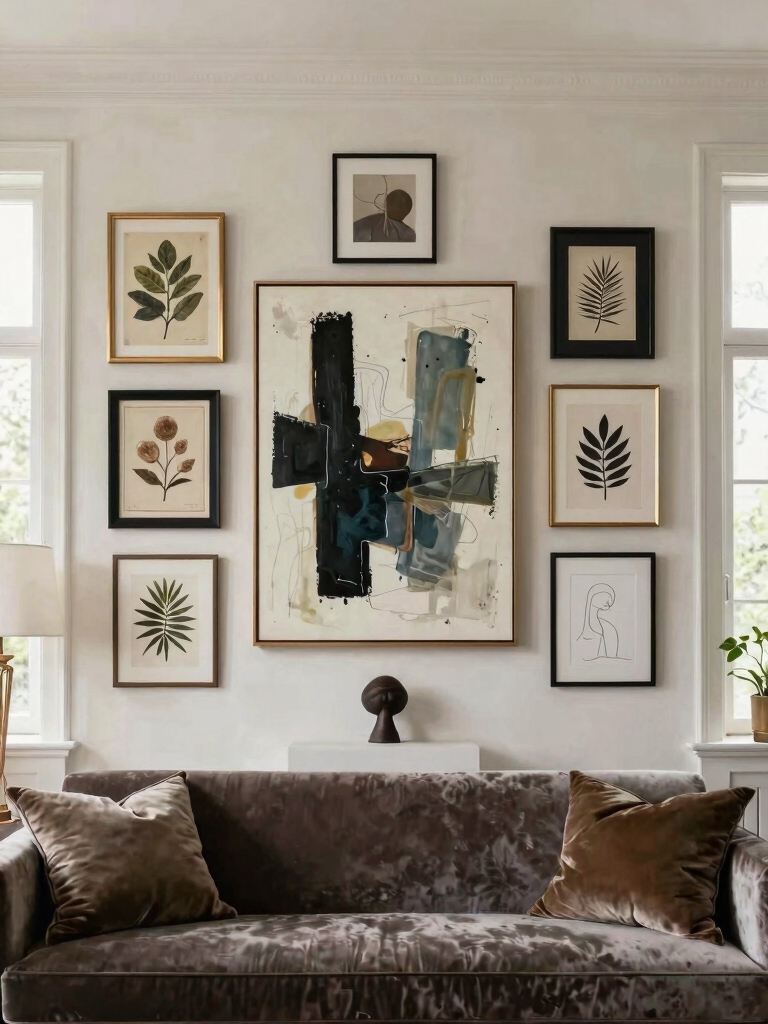
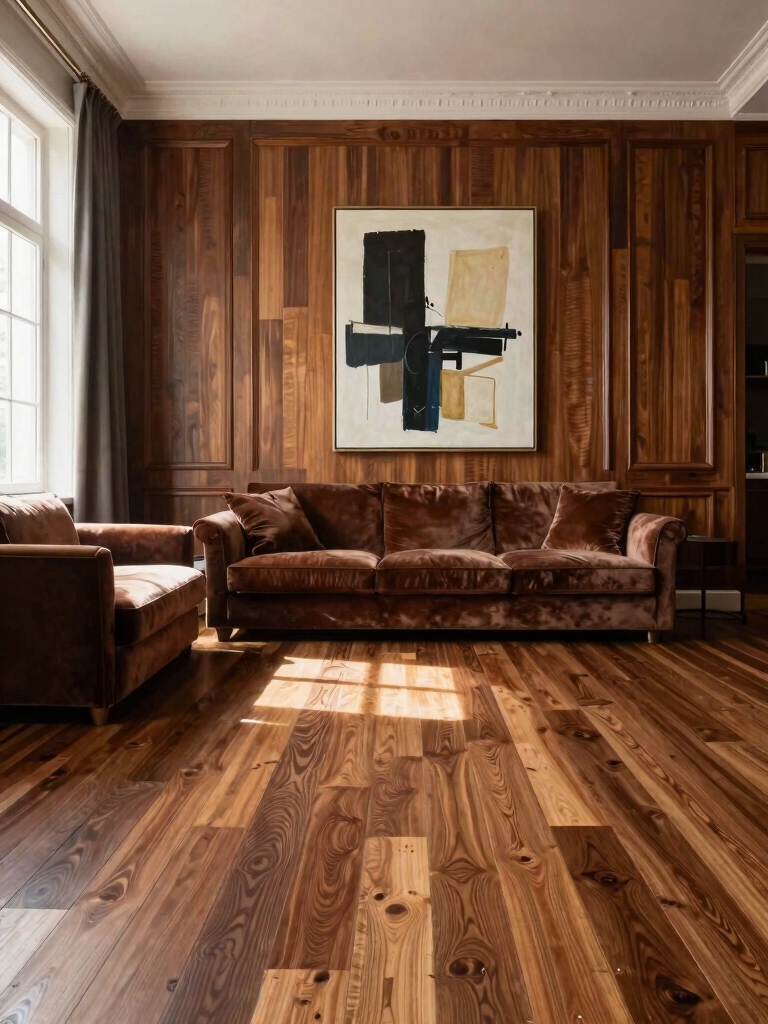
Anchor Your Room With a Single Statement Art Piece
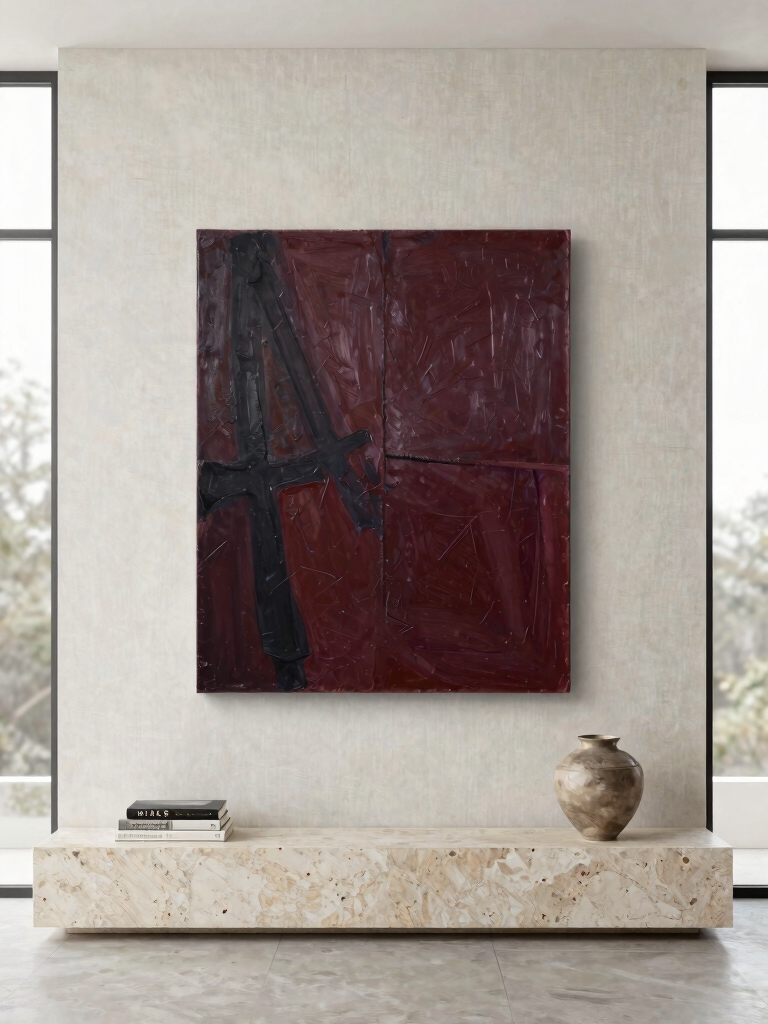
I’m choosing one large piece that fits my wall’s scale, because it stops the room from feeling cluttered.
Once I’ve got that anchor, I’ll build out a gallery wall around it for more personality.
This project’s all about balancing proportion with my own curated collection.
Adding a mix of textures and colors can enhance visual interest and complement the living room couch decor.
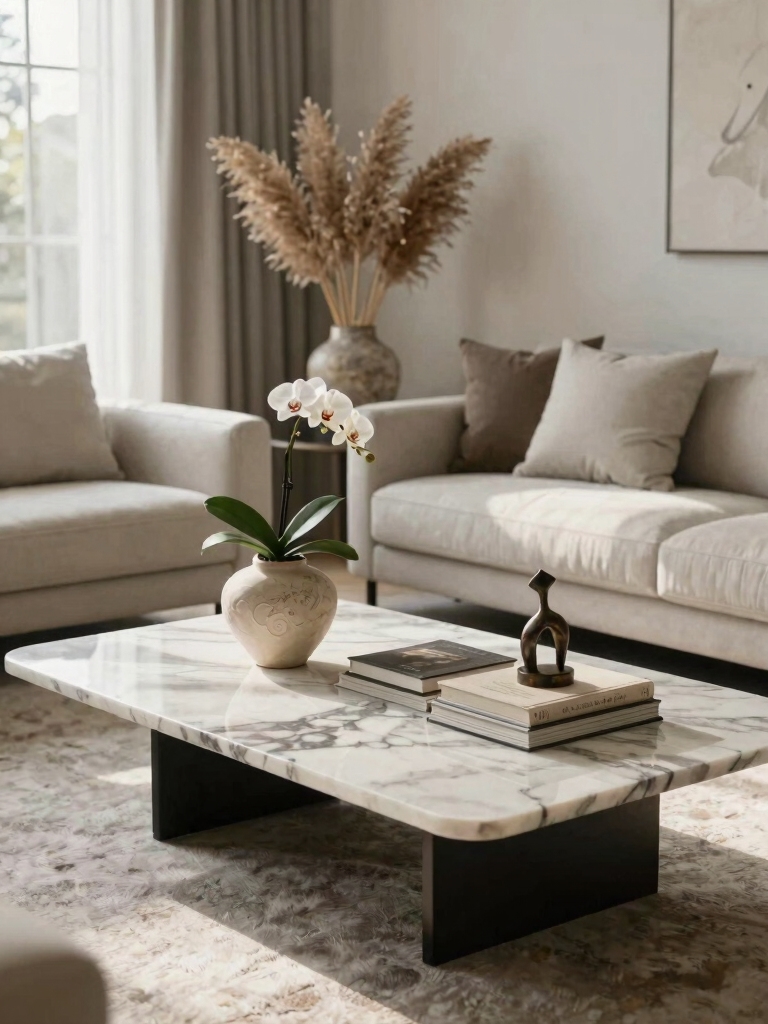
Scale And Proportion
One of the most powerful ways to bring your room together is to start by choosing a single, oversized piece of art.
Think scale—a large piece fills the wall’s visual weight, acting as a focal point. The proportion matters more than matching furniture perfectly.
- Measure your wall first and aim for the art to cover at least half of its width.
- Hang it centered over your largest sofa or console for balance.
- Don’t fear an empty canvas; the negative space around it frames your statement piece perfectly.
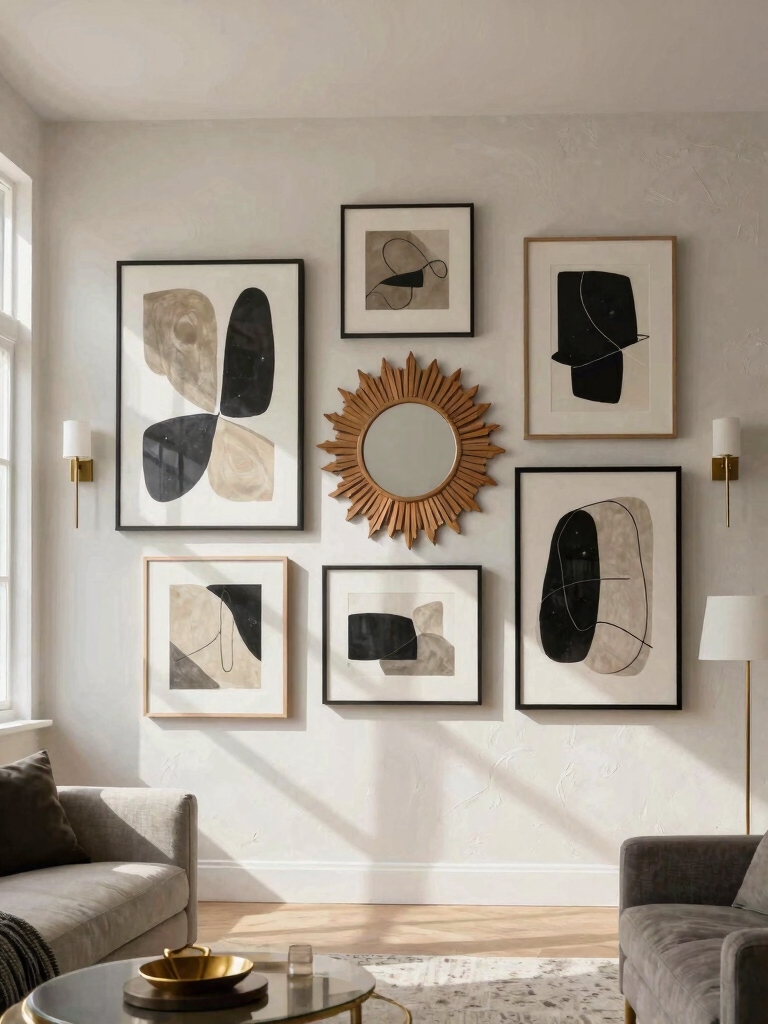
Create A Gallery Wall
Let’s dive right into creating a gallery wall that anchors your room with a single statement piece.
I start with that large, central artwork and hang it first. Then, I arrange smaller pieces around it, treating the statement art as my anchor.
I lay everything out on the floor to test the arrangement before I commit to hammering any nails.
Build a Gallery Wall With Dynamic Layouts
Because a gallery wall is a cornerstone of personal expression, we’re going to build one that feels vibrant, not static.
My DIY-focused method uses a dynamic layout for visual energy. Start by arranging frames on the floor to find your flow before committing to the wall.
- Mix sizes and orientations for rhythm.
- Leave intentional gaps for breathing room.
- Layer objects like shelves for depth.
Incorporating creative elements like textured art or sculptural pieces can further enhance your living room walls.
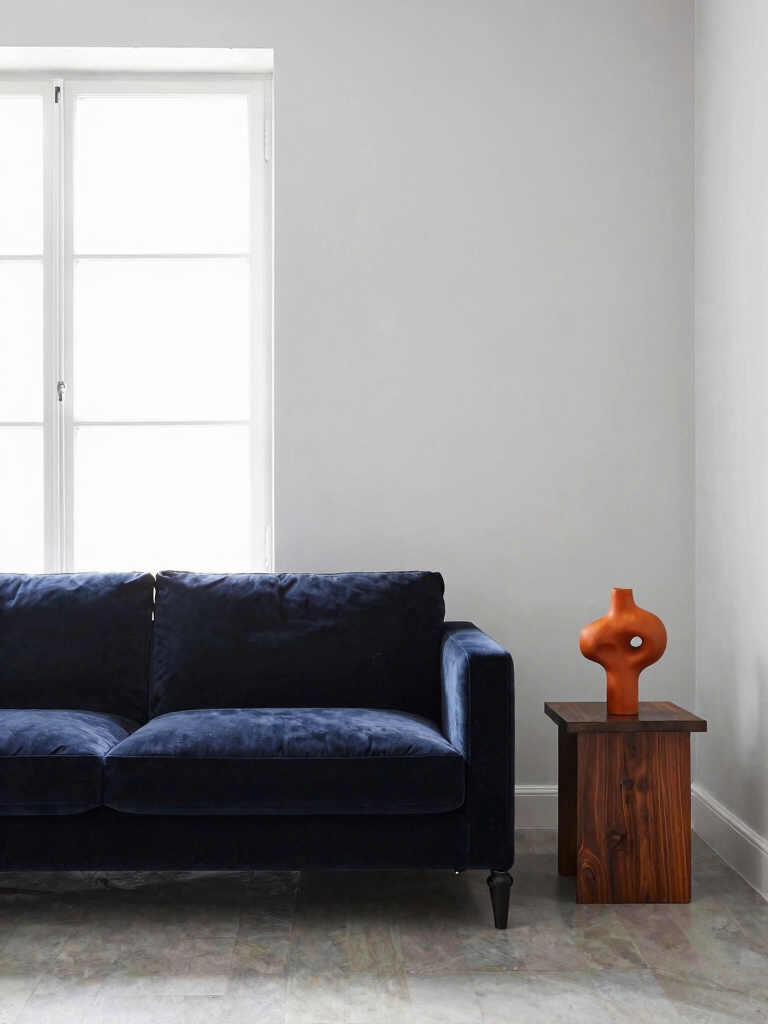
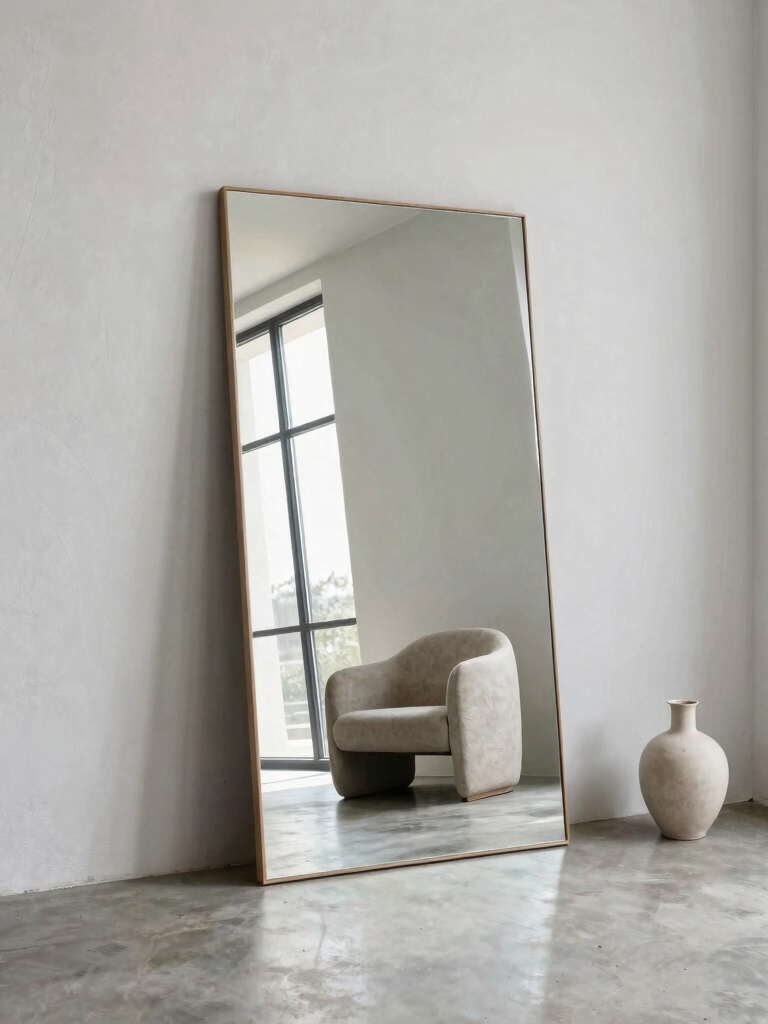
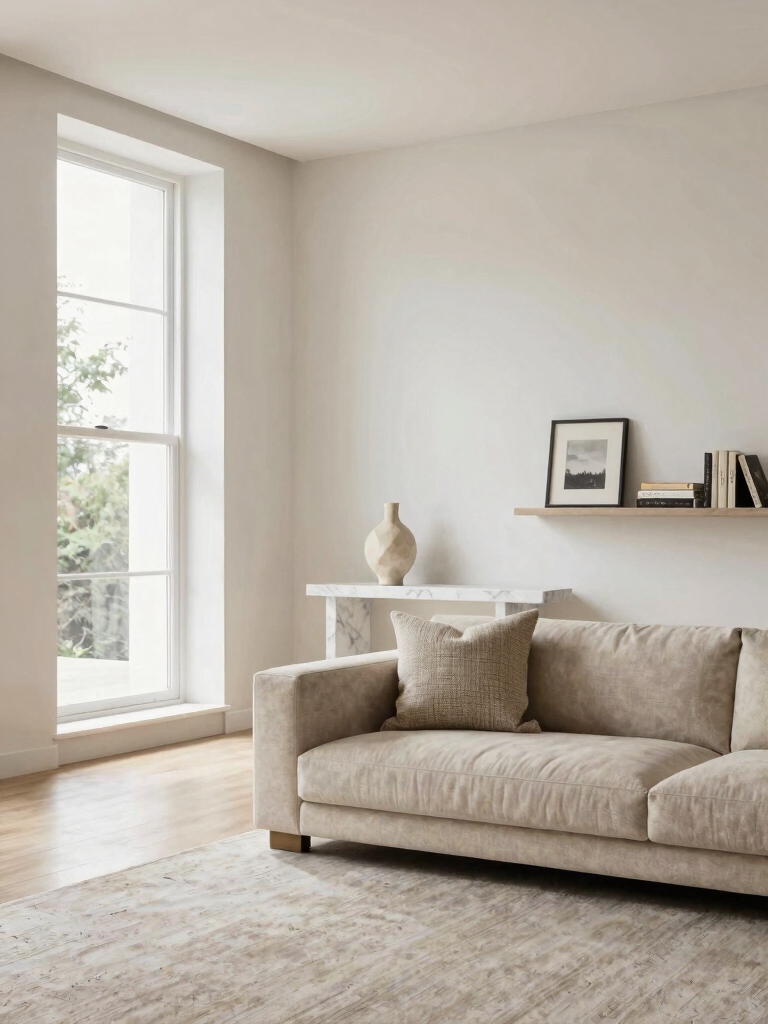
Amplify Light and Space With an Oversized Mirror

I’m tackling my living room’s lack of light by hanging an oversized mirror, and I’ll show you how to pick the perfect style and placement.
We’ll focus on strategic size selection to make the room feel instantly larger.
I’m also positioning mine to reflect natural light best, which brightens the whole space for free.
Incorporating creative wall mirror ideas can further enhance the sense of expanded space and style.
Choose Style And Placement
One fantastic way to maximize your living room’s sense of openness is to place an oversized mirror across from your largest light source, like a window.
- Doubles the Light: This placement bounces natural light deeper into the room, instantly brightening every dark corner.
- Creates an Illusion: It tricks the eye into seeing a continuation of the room, making the space feel much larger.
- Draws the Eye Up: Hanging it vertically emphasizes your ceiling height, adding another layer of spaciousness.
Strategic Size Selection
To really amplify light and space, you’ve got to go big—an oversized mirror needs to truly dominate a significant portion of your wall.
I always measure the wall section first, then aim for a mirror that covers about two-thirds of its width or height.
It’s a bold choice, so I look for a simple frame that won’t fight my other decor.
This single upgrade makes my DIY project instantly transformative.
Reflect Natural Light Best
While you’ve chosen the perfect size, positioning is what truly releases a mirror’s power to brighten a room.
I place mine directly opposite my largest window to bounce maximum daylight inward. This simple project doubles the sunshine, and it’s a DIY game-changer for making a space feel instantly bigger and more vibrant.
It’s all about strategic reflection.
- Opposite a Window: Captures and redistributes light all day.
- Adjacent to a Light Source: Amplifies lamps or sconces in dark corners.
- At a Right Angle: Creates a secondary light path for softer, layered illumination.
Add Texture With Wall Panels or Molding
Transform a flat wall into a dimensional feature by installing panels or molding. I’ll use simple shiplap or beadboard for a quick DIY upgrade.
A chair rail or picture frame molding adds instant classic architecture. You can even create your own grid design with pre-primed MDF strips.
It’s a hands-on project that adds major character without needing art, turning a blank space into a textured focal point. Large living room walls especially benefit from these stunning decor ideas to create a cohesive and inviting atmosphere.
Layer Rugs or Tapestries for Bohemian Warmth
Since my walls still feel a bit bare, I’ll layer a rug or tapestry right onto them for that cozy, bohemian vibe.
I’m not waiting to find the perfect art. I’ll just hang a vintage kilim or a woven wall hanging with a simple curtain rod.
- It adds instant, affordable texture and warmth.
- You can easily swap pieces with the seasons.
- It makes the room feel collected over time, not decorated.
This simple, DIY approach is one of the best ways to elevate your space with stunning decor ideas that look anything but handmade.
Create a Statement-Making Wall of Plants
Looking for a bold, natural focal point, I’m dedicating an entire wall to greenery by creating my own living wall system.
I’ll build a simple grid frame from wood and attach modular felt planters. I’m choosing low-light, trailing plants like pothos and philodendron for easy care.
A small, integrated irrigation system with a timer will handle watering, making this dramatic project surprisingly manageable to maintain.
To enhance the overall vibe, consider incorporating aesthetic room decor ideas to elevate the space and make it Pinterest-feed worthy.
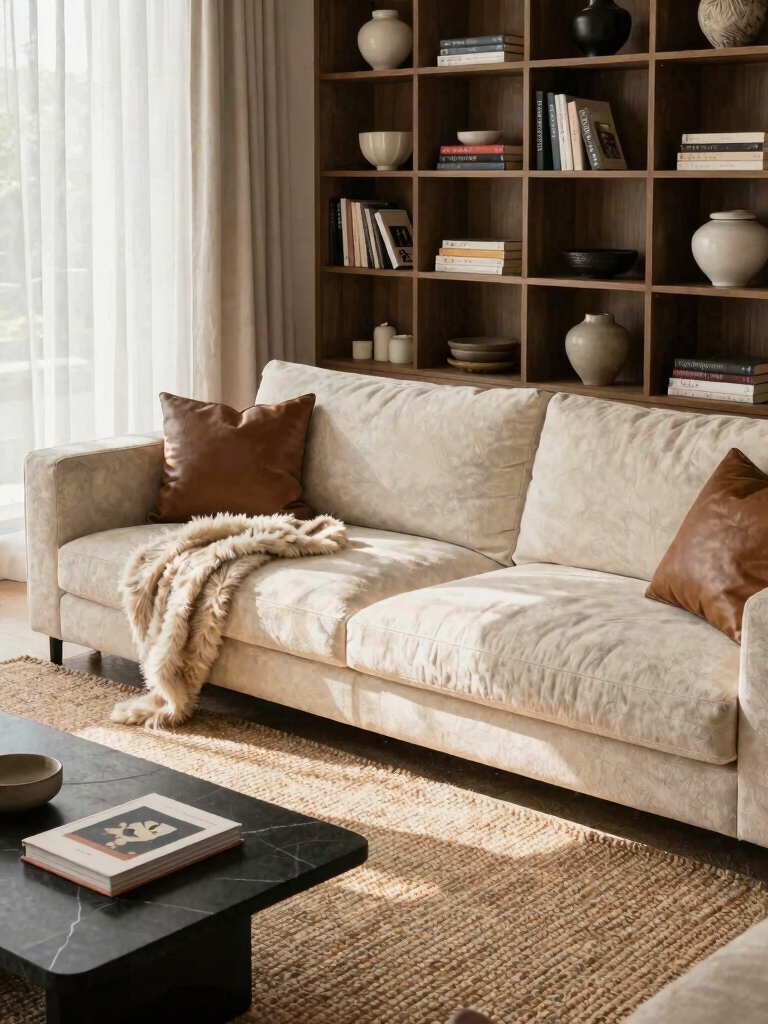
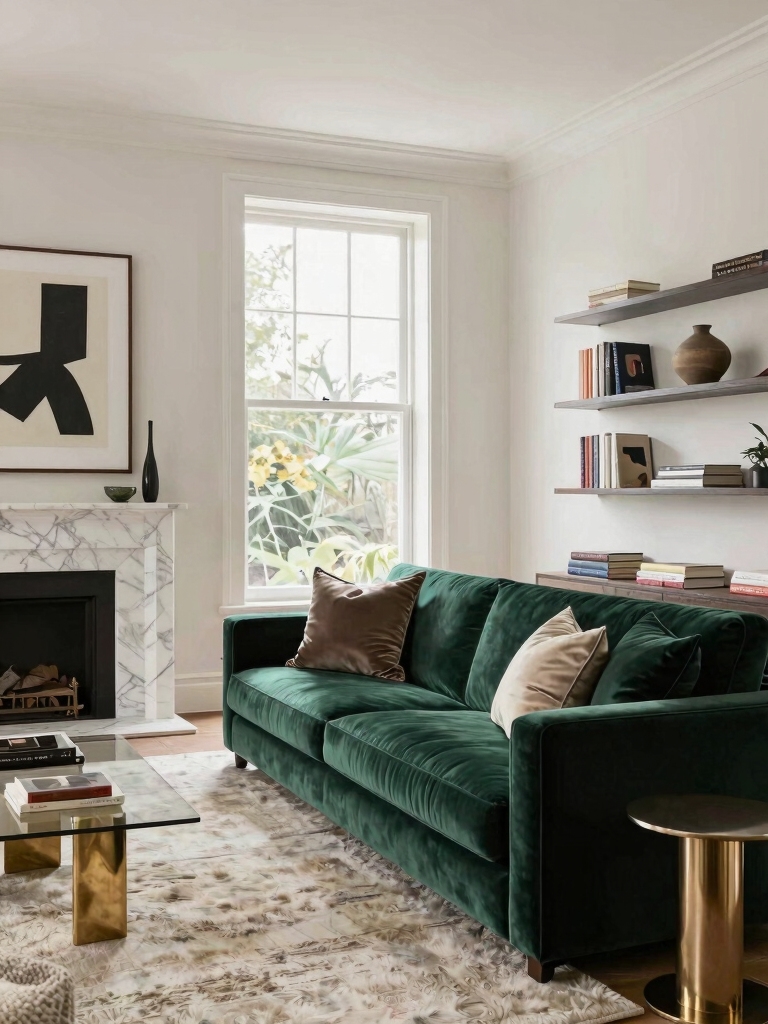
Use Shelving as Curated Display and Storage
I think it’s time to get creative with your shelving project by mixing materials like wood and metal for a unique look.
You’ll love how layering your favorite books, art, and personal treasures gives your walls a curated feel.
This approach even helps you elevate your everyday objects, turning simple things into stylish displays.
Incorporating stylish bookcase ideas can truly elevate your living room decor and make your space stand out.
Mix Materials And Styles
To kick off this project, you can create a truly personal space by mixing materials and styles on your shelves.
I love combining wood, metal, and glass for texture. Don’t match everything—let a modern vase sit next to a vintage book. It’s about balancing your finds.
- Combine different textures to add visual depth.
- Juxtapose eras to tell a unique story.
- Balance the display to avoid visual clutter.
Layering And Personal Curation
Since your shelves are a blank canvas, their power comes from layering objects you love and making every part serve a purpose.
I think of my shelves as curated vignettes, mixing books, plants, and unique finds into meaningful arrangements.
You can even build your own shelving unit for this DIY project.
This method turns a simple wall into a personal gallery where storage meets intentional style.
Elevating Everyday Objects
That curation process doesn’t have to stop with books and plants. I turn my shelves into curated vignettes using everyday objects.
Think vintage camera, a favorite mug, or a collection of sea glass. It’s a practical project that adds storage and personality.
- Purpose: Assign one shelf for a single type of object (e.g., all ceramics).
- Scale: Mix small and large items to create visual interest.
- Edit: Regularly swap pieces to keep the display feeling fresh.
Make a Splash With a Dramatic Accent Wall
While your living room might feel complete, a single dramatic accent wall can instantly elevate the entire space.
I love tackling this project over a weekend. First, I pick the wall behind my sofa for maximum impact.
Then, I choose a bold paint color or a statement wallpaper. It’s a manageable DIY that creates a focal point, and I don’t need to decorate every other wall heavily.
Incorporating bold wall designs adds a touch of drama and transforms your living room into a stylish retreat.
Arrange a Trio of Mirrors for Visual Rhythm
Shake up your decor by arranging a trio of mirrors, which is a project I often choose for its straightforward, high-impact results.
It creates a collected look and is easier to install than you think.
- Mix shapes and sizes to achieve visual rhythm.
- Anchor them with common frames or a unified style for cohesion.
- Experiment with the layout on the floor first to finalize your grouping.
This approach not only enhances your aesthetic but also helps open up space to make your living room feel larger and brighter.
Lean Large-Scale Artwork for Effortless Style
If I’m creating a statement gallery wall, I often lean one large, colorful piece as my anchor.
It’s an easy project that lets me try an expressive color palette without committing to a hammer and nail.
I build the rest of my display around that focal point for a collected look.
Statement Gallery Walls
Because a single, large-scale piece can anchor your room with minimal fuss, I find a statement gallery wall is a perfect DIY project for immediate impact.
Focus on one bold artwork. You’ll create a focal point without the complexity of a multi-piece arrangement. Here’s my process:
- Source a sizable piece you love from a poster, fabric, or a thrifted frame.
- Hang it at eye level for the most natural viewing.
- Let it breathe with ample wall space around it.
Embrace Expressive Color
While a monochrome palette can feel safe, introducing a vibrant, large-scale artwork is my favorite way to commit to color without overwhelming a space.
I hunt for bold prints online or even create my own abstract canvas. It becomes an instant focal point, and you can then pull accent colors from it for pillows or a rug.
One big piece delivers more impact than a dozen small ones.
Install Picture Ledges for Flexible Art Displays
You can easily create a changing gallery on your living room wall by installing picture ledges. I love this DIY project for its flexibility. You just mount the ledge and lean your art. It lets you swap pieces without new holes.
- Rotate artwork seasonally without damaging walls.
- Layer frames and objects for a collected, deep look.
- Display kids’ art temporarily to celebrate their creativity.
Hang a Vintage Plate Collection for Unique Character
Moving beyond flexible ledges, I also enjoy hanging vintage plates to add personality. I hunt flea markets for mismatched patterns and colors I love. The key is using sturdy plate hangers for security.
I lay the arrangement on my floor first, playing with the spacing and grouping. It’s a simple, affordable project that instantly gives a wall curated character and tells a personal story through found objects.
Elevate Wall Decor With a Sculptural Sconce
I’m so excited to get my sconce project started.
Let’s first pick a style that makes a statement, then we’ll tackle a solid installation.
Selecting Your Sconce
How can a sconce be more than just a light source? I think of it as wall jewelry. It should sculpt your space when the bulb’s off. For a DIY project, start by asking what your wall needs.
- Scale: Match its size to your furniture, not just the wall.
- Finish: Let its material contrast or complement your existing palette.
- Form: Choose a shape that adds a new visual layer to the room.
Installing For Impact
Now that you’ve chosen your sculptural sconce, let’s place it to maximize its effect.
I always mark my spot with painter’s tape first. Hang it as a solo statement or pair two flanking a mirror.
If it’s wired, I hire an electrician. For plug-in styles, I neatly route the cord and use a cord cover painted to match my wall.
Let’s get it up!
Build a Cozy Wall of Books
While you mightn’t think of bookshelves as wall decor, building a cozy wall of books combines practical storage with warm, personal style.
I’ll arrange them not just by height, but weave in personal objects like a vase or framed photo. This project becomes a meaningful display of your life.
- Mix objects with books for visual texture.
- Lay some books horizontally to create shelves.
- Use color grouping for a cohesive look.
Incorporate a Statement Clock as Functional Art
If your wall needs a dynamic focal point, you can anchor your living room with a statement clock that serves as functional art.
I often pick a large, sculptural piece. Then, I find it’s a simple weekend project to hang.
You’ll add texture and intrigue while ensuring it’s never just decorative. Making the timepiece the central anchor of your wall arrangement creates instant purpose and style.
Apply the Rule of Thirds for Balanced Art
When you want a piece of art to look balanced instead of just stuck on the wall, I apply the rule of thirds. I mentally divide the wall into a grid of nine equal sections.
Placing the art’s focal point where these lines intersect creates natural harmony. It’s a simple trick that works for single large pieces or grouped smaller ones, giving your gallery wall a professional, intentional feel without overthinking.
- Visualize the grid before hanging anything.
- Align key elements with the intersecting points.
- Use the structure to arrange multiple pieces as one unit.
Mix Artwork Sizes and Frame Styles Confidently
You can also play with different artwork sizes and frame styles.
I love mixing a large statement piece with smaller prints. Don’t match every frame; combine wood, metal, and painted finishes.
I lay everything on the floor first to arrange my gallery wall. This DIY approach adds personal, collected-over-time energy.
Trust your eye—if a composition feels right, it probably is.
Create Height With Vertical Stripes or Patterns
By introducing vertical stripes or a tall pattern, you can visually lift the ceiling in a living room.
I love this trick for low spaces. It’s a fantastic DIY project.
Consider these applications:
- Paint alternating stripes directly on the wall.
- Hang a tall, vertically patterned wallpaper on a single accent wall.
- Lean a large floor mirror with a vertically framed edge against the wall.
Unify Your Look With a Consistent Color Palette
While vertical stripes add height, grounding your space with a consistent color palette brings everything together cohesively.
I choose one anchor color from my largest rug or sofa, then pull two to three tones from it for my wall art, textiles, and accessories.
I find this creates a collected, designer look without fuss, and it simplifies DIY projects like painting frames or stitching pillows since I’m not hunting for random hues.
Conclusion
So, start with that first nail. Your blank wall is just an empty canvas waiting for a story. Each piece you hang, from a single statement mirror to a gathered gallery, becomes a chapter in your home’s tale. Layer them with texture and light until the whole room feels like your favorite, well-read book—a story you built, page by page, with your own hands.