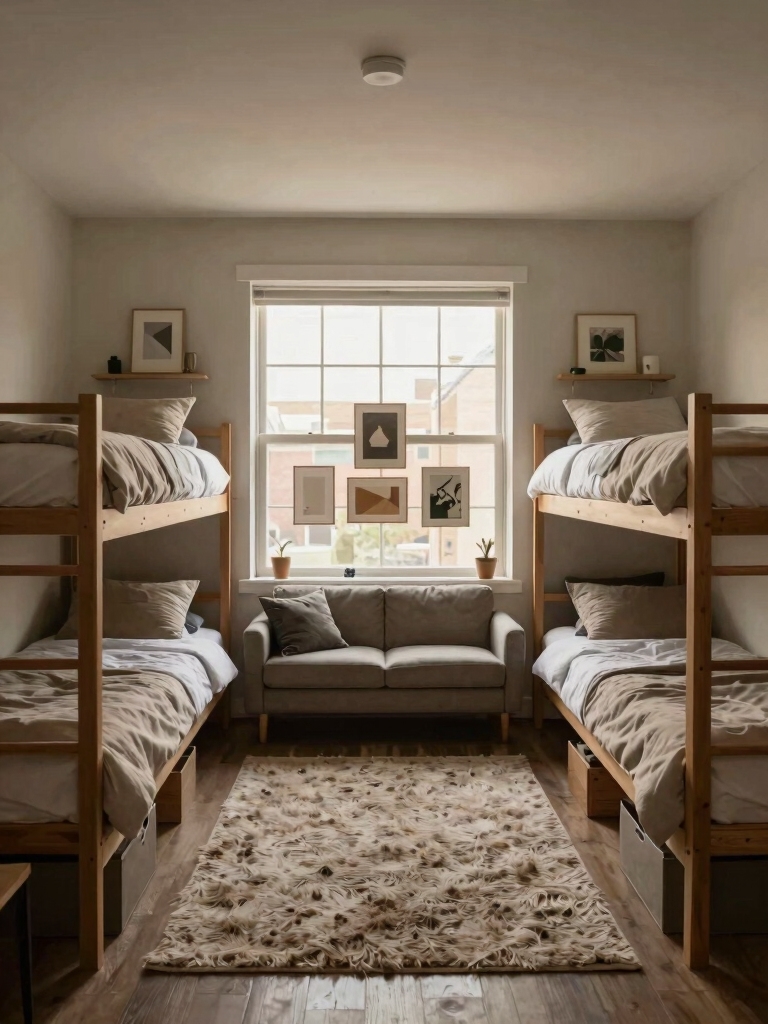
I’ve transformed my tiny dorm by conquering vertical space: I lofted my bed for a desk below and stuffed under-bed bins with vacuum-packed gear. My door holds shoes and toiletries, while a multi-purpose ottoman offers extra seating and storage. I layered fairy lights for coziness, managed cable chaos with binder clips, and picked a cohesive color palette. My final personal touches made it home; there’s plenty more to explore just ahead.
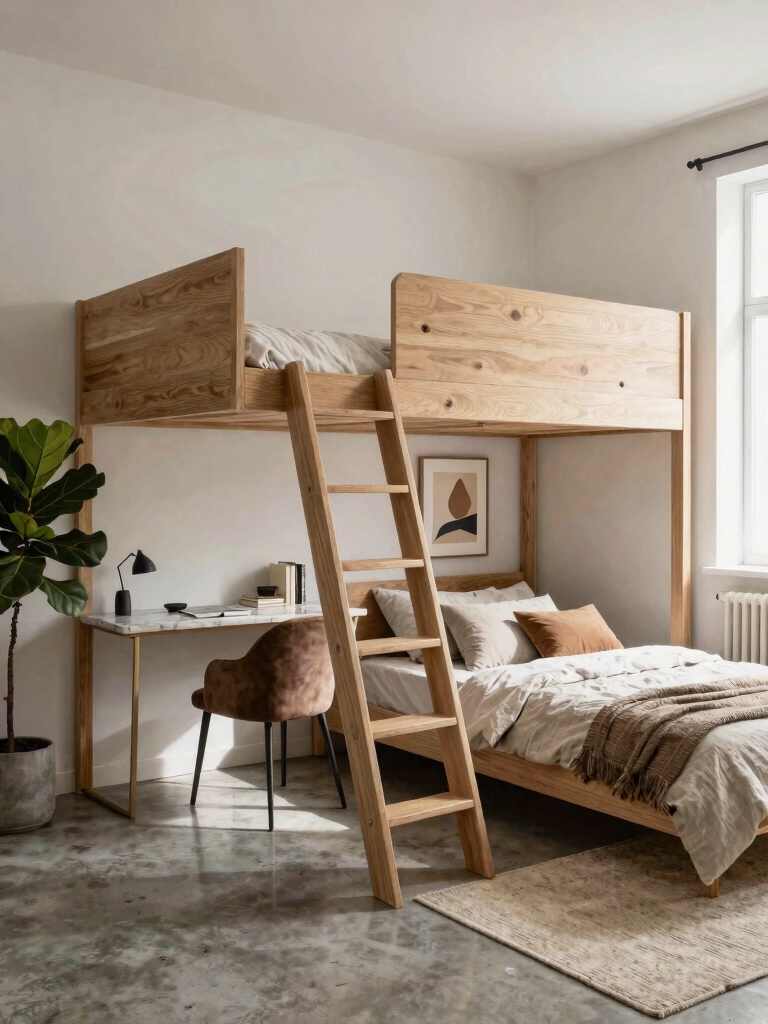
Loft Your Dorm Bed to Unlock Floor Space
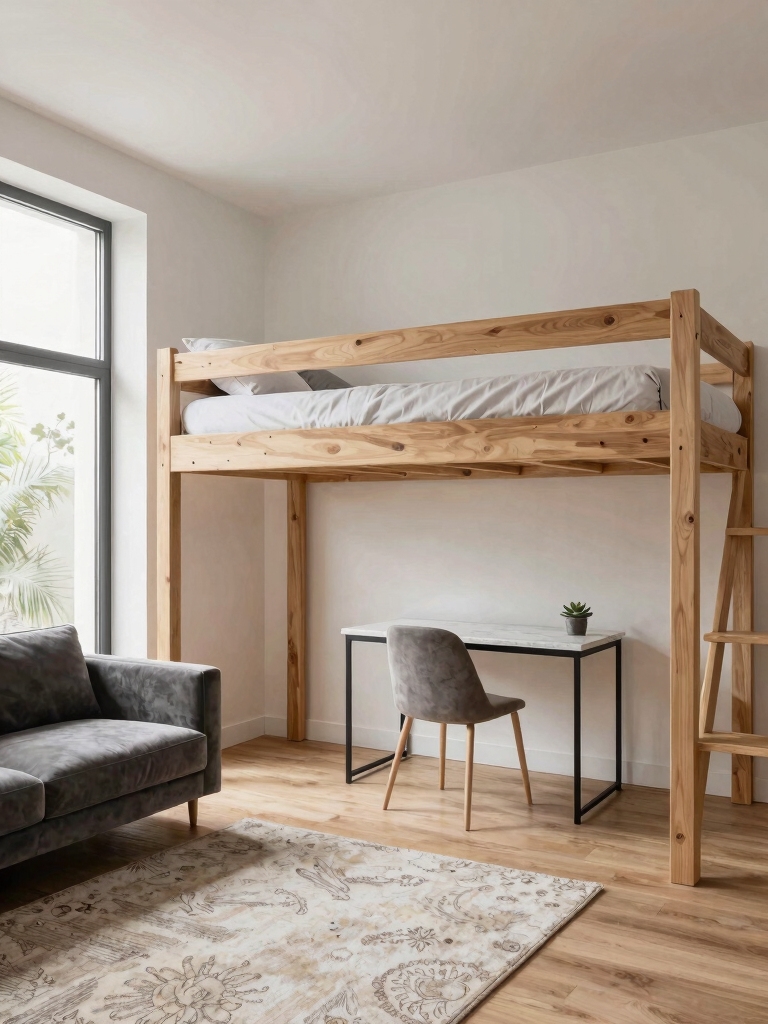
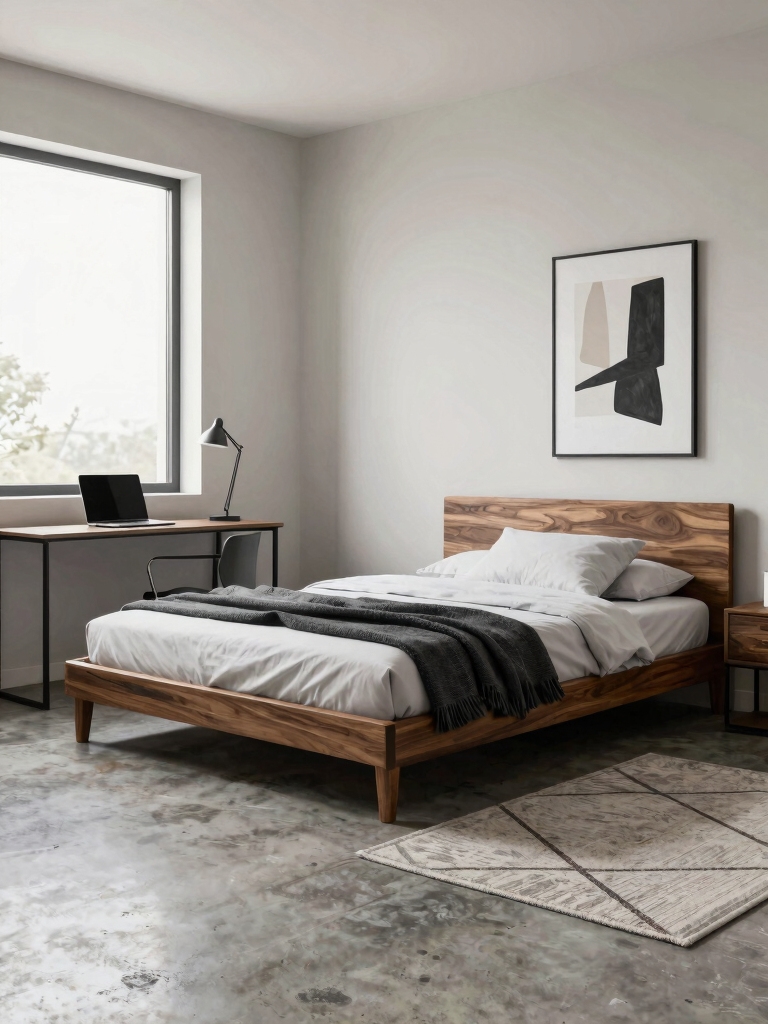
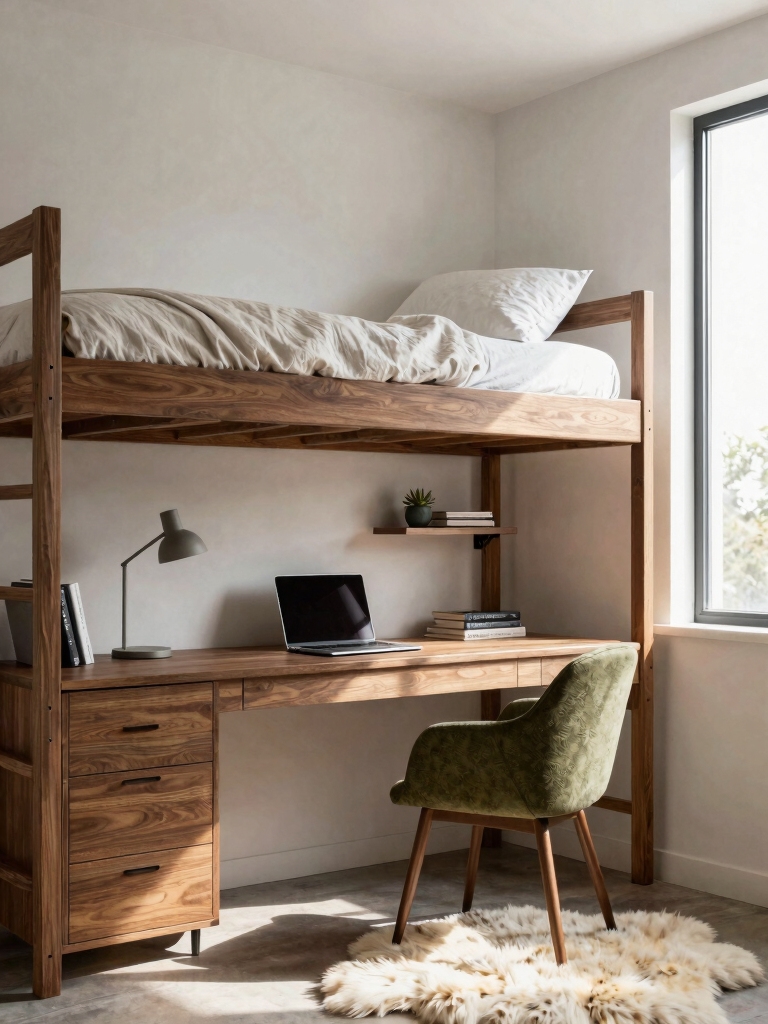
If you want to maximize your floor space, lofting your dorm bed is one of the best DIY transformations I can recommend.
I used a basic, affordable kit to gain several vertical feet. Suddenly, my cramped room felt open. You’ll create room for a desk or seating area underneath. It’s a game-changer.
Just check your university’s rules first, and you’re set for a major, space-unlocking upgrade.
Many students find that creative lofted bed ideas double their living space and enhance comfort.
Transform Your Under-Bed Area Into Storage
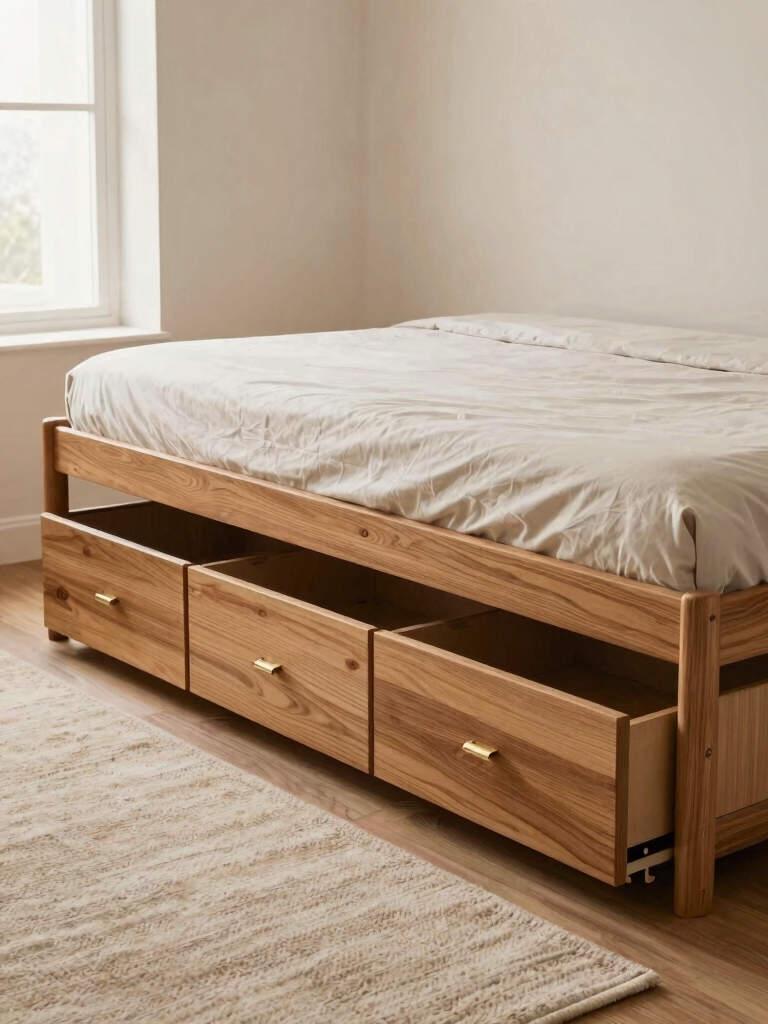
Once you’ve lofted your bed for that open feel, you can turn that empty space below into serious storage.
I’m all about maximizing every inch. Think outside the standard plastic bins. Here’s my budget-friendly, DIY plan:
- Slide in stackable fabric cubes for clothes or books.
- Repurpose old wooden crates as rustic drawers.
- Stash your luggage and off-season gear in vacuum bags.
- Mount casters to a cardboard box for a rolling cart.
Maximize your space with clever dorm room solutions to keep everything organized and accessible.
Opt for Multi-Functional Furniture

Since space is tight, I turn to multi-functional furniture to make every piece earn its keep.
My ottoman lifts open for blanket storage, and I use a sturdy crate topped with a cushion as both seating and a side table.
I love finding these transformation-focused, budget-conscious pieces; they’re creative DIY wins that instantly give my tiny dorm a more spacious, organized feel.
Incorporating chic small space solutions helps maintain a clean, stylish edge while maximizing functionality.
Use Your Door for Extra Storage and Display
Beyond furniture, I also look at my room’s forgotten surfaces for storage. My door’s a goldmine for display and organization without using floor space. I use inexpensive, clever fixes to transform it.
- Hang an over-the-door shoe organizer for toiletries or snacks.
- Stick adhesive hooks for bags, hats, or jewelry.
- Mount a wire grid with clips for photos and notes.
- Attach a hanging file pocket for important papers.
Creative wall decor ideas can instantly refresh your space and make it feel more personalized, even in a dorm room. This approach helps maximize every inch of your room, turning plain walls and doors into functional and attractive storage solutions with creative wall decor.
Organize Your Dorm Closet With Strategic Folding
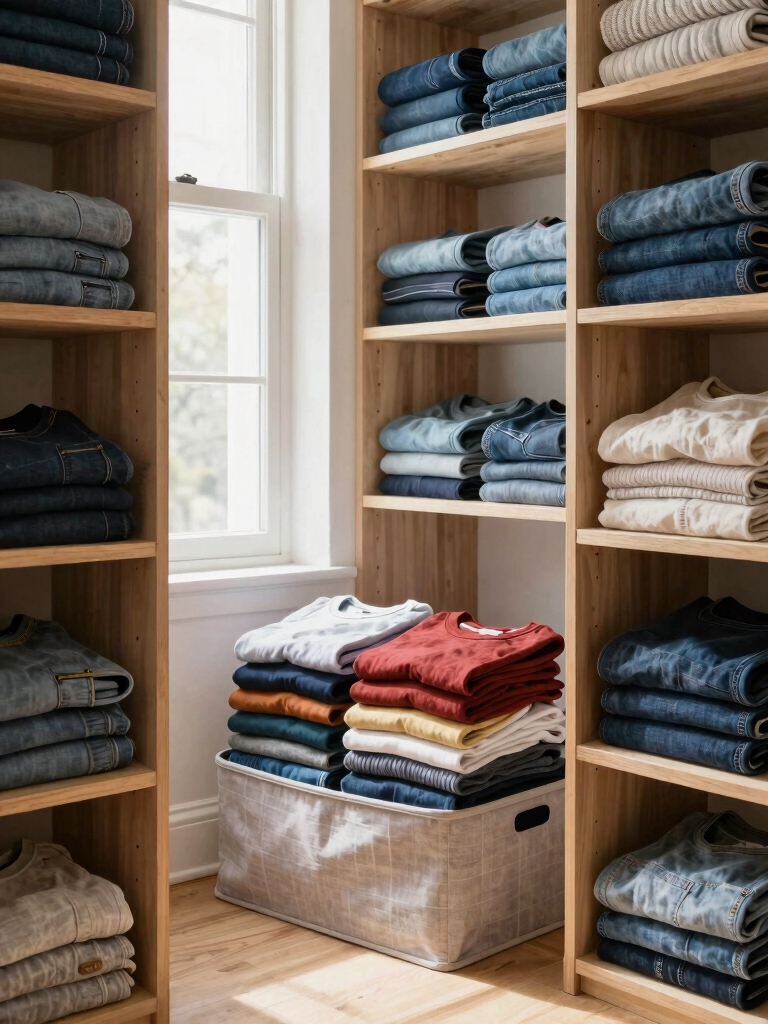
While I’m tackling my closet, I realize strategic folding is my secret weapon for maximizing every inch of space.
I use the KonMari method for my t-shirts and jeans, creating neat, uniform rectangles that stand upright in my drawers. This simple, free technique instantly doubles my capacity.
I can now see every item, which transforms my morning routine and makes my tiny closet feel incredibly spacious.
Incorporating stylish dorm room inspirations specifically for Black women can also help personalize and optimize your small space.
Install a Pegboard for Wall Storage
I’ve found a pegboard transforms a bare wall into my most creative storage spot.
You’ll just need to pick up the right board, grab some basic hanging hardware, and collect an assortment of hooks.
Then, you can customize it to hold anything from my headphones to my art supplies.
This simple addition adds effortless style to your college dorm room without any fuss.
Selecting Your Pegboard
If you’re looking to maximize space without spending a fortune, selecting the right pegboard is your first essential step in creating a customized wall storage system.
I consider these key factors before I buy:
- Material: I choose durable hardboard for most needs or metal for heavier tools.
- Size: I measure my wall to pick a panel that maximizes my usable area.
- Finish: I opt for a primed white board I can paint to match my decor.
- Hole Pattern: I guarantee it’s a standard grid so accessories are easy to find.
Essential Hanging Supplies
Now that I’ve selected my pegboard, gathering the right hanging supplies is crucial for installing it securely so I can transform my empty wall into a dynamic storage hub.
I’ll need wall anchors and screws suitable for my dorm’s drywall, a level, a drill, and a pencil.
Getting this foundation right is a budget-savvy move—it guarantees my entire organizational system hangs perfectly and supports all my gear.
Organizing With Hooks
With the pegboard securely anchored, it’s ready to become my ultimate command center.
I’ll maximize every inch of this wall for under $20. My toolkit transforms from a jumbled mess into an organized display, keeping my tiny room functional and tidy.
- Hang my favorite hat to free up shelf space.
- Suspend a small shelf for daily toiletries.
- Clip up notes and photos for inspiration.
- Store headphones and keys so they’re never lost.
Hang Organizers With Command Strips
I’m saving so much wall space by hanging organizers with Command Strips.
You’ll want to pick the right organizer, then apply those strips properly so everything stays put.
It’s a game-changer for turning a blank wall into a perfectly organized spot.
Using Smart Space Solutions can maximize the functionality of your dorm living room.
Choosing The Right Organizer
Since you’re tight on space, hanging organizers with Command Strips instantly clears your desk and walls of clutter.
I love choosing versatile pieces that transform my walls into storage.
Focus on these features for maximum impact:
- Multi-pocket designs for supplies, snacks, or tech.
- Clear fabric panels to see contents quickly.
- Fold-flat construction for easy summer storage.
- Simple loops or tabs for secure strip hanging.
Applying Strips For Security
Having chosen your ideal wall organizer, now let’s get it mounted securely and neatly.
I always use Command Strips because they’re damage-free and wallet-friendly. First, I press the adhesive firmly against my organizer’s back.
Next, I align it on my wall, hold for thirty seconds, and voila! It’s perfectly fixed.
This simple step transforms my space instantly, adding serious function without a single hole or hassle.
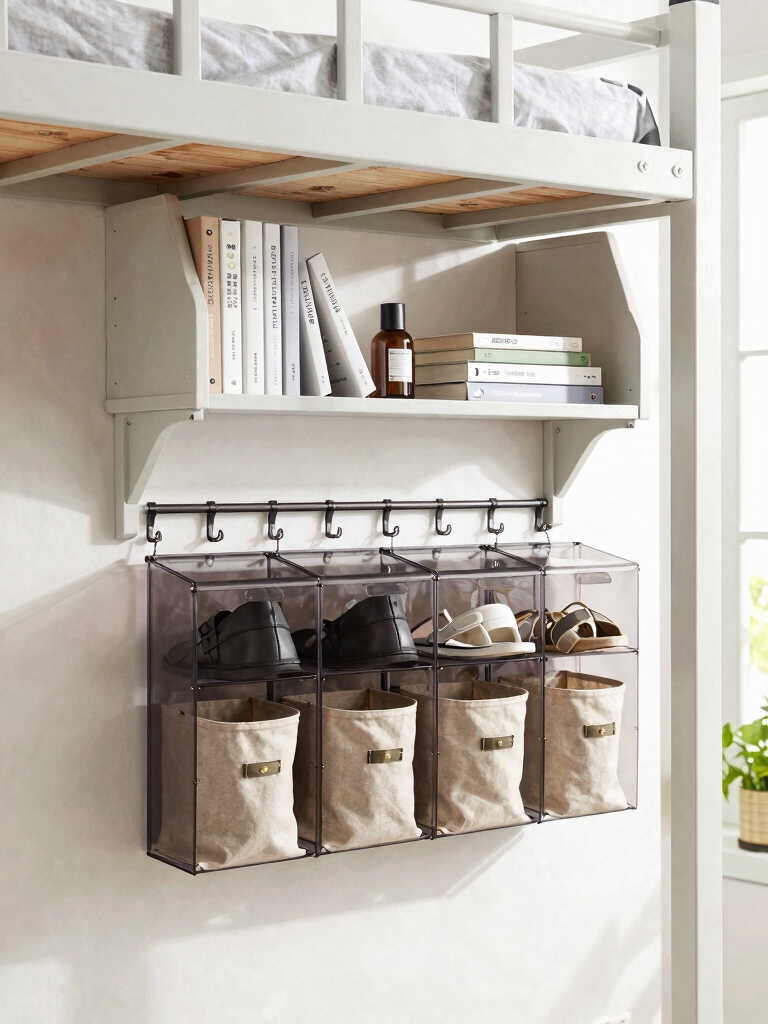
Maximizing Vertical Storage Space
When you’re tight on square footage, look up—your walls are prime real estate for storage.
I hang fabric organizers with Command Strips to stash everything without a single nail. This DIY trick instantly transforms clutter into accessible order.
- A shoe organizer for toiletries and snacks
- A jewelry holder with clear pockets
- A canvas tote for extra school supplies
- A mesh pouch for charging cables
It’s my favorite budget-conscious lift.
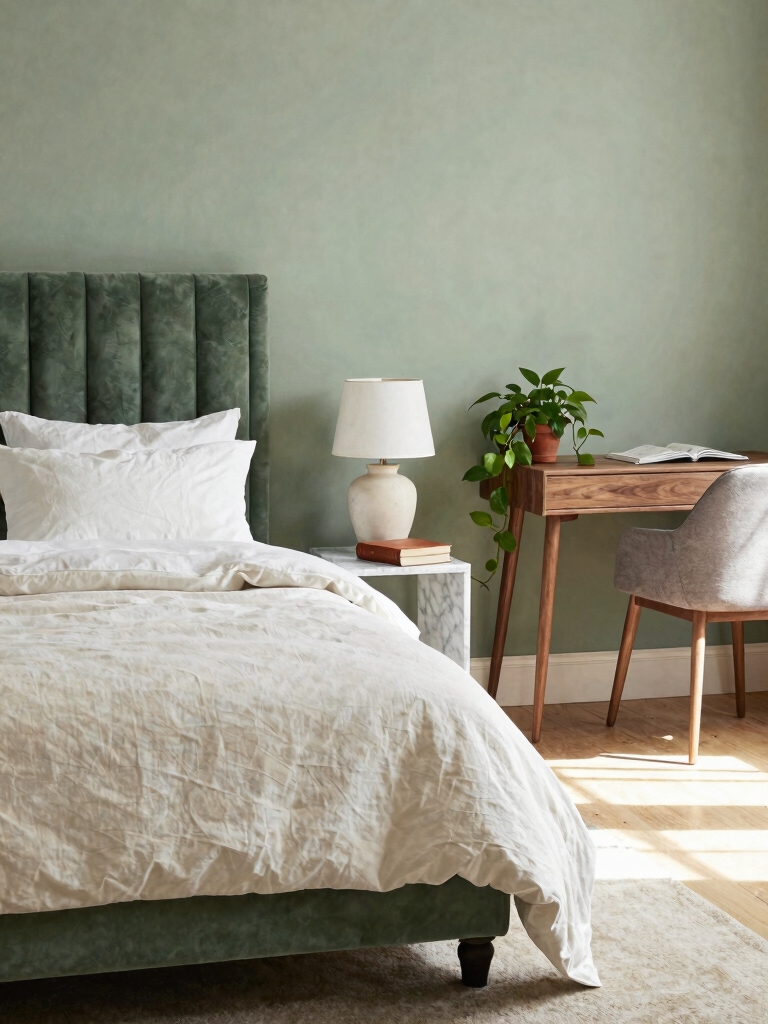
Simplify Your Bedside Table Setup
Your bedside table should be a clutter-free sanctuary for essentials, not a chaotic catchall.
I start by paring down to just a lamp, my current book, and a water glass. A thrifted ceramic mug holds my pens and lip balm.
A small woven basket underneath corrals my chargers for a tidier look. This simple, intentional setup makes my morning and night routines so much calmer.
Creating a harmonious space like this can also improve communication and respect between roommates, fostering a more peaceful shared environment through creative organization tips.
Corral Your Tech and Cables
I can’t stand the tangled mess of cords behind my desk, so I’m tackling it with some clever cable management.
I’m mounting my power strip to the side of my desk for easy access and zero outlet hunting. A few binder clips and some zip ties will transform that chaos into a tidy, functional setup for under five bucks.
Inspired by smart storage solutions, I’m also incorporating shelf ideas to keep my tech organized and off the desk surface.
Cable Management Solutions
Because a tangle of cables can quickly undermine even the cleanest setup, let’s tackle some simple, budget-friendly ways to corral your tech.
- Grab binder clips and clamp those stray cords to your desk edge.
- Thread multiple cables through a cut paper towel tube for a quick sleeve.
- Use colorful washi tape to label each charger at its plug.
- Repurpose a cereal box as a discreet charging station.
Power Strip Placement
Tackling power strip placement heads-on transforms a tangled hazard into a clean, efficient hub for all your devices.
I start by mounting mine under the desk with adhesive clips or strong velcro—it’s cheap and keeps cords off the floor. This centralizes every charger and cable, creating one accessible power station.
I’ve reclaimed so much space and sanity from that chaotic web of wires.
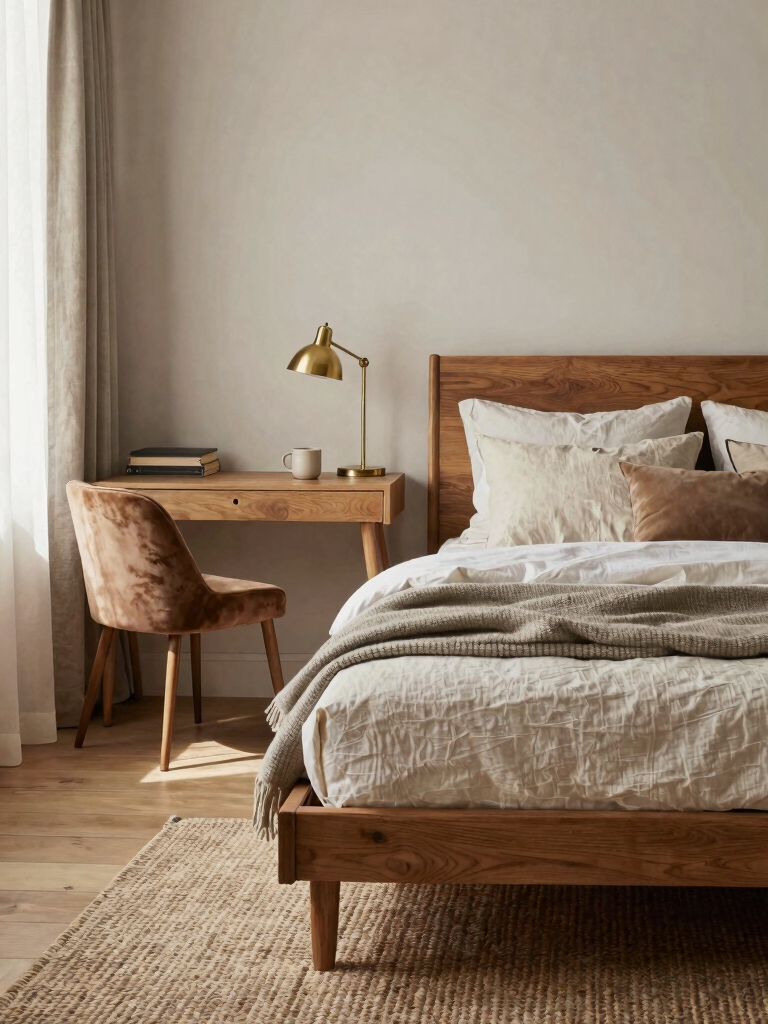
Layer Your Lighting for Ambiance and Function
While your dorm room likely has a standard overhead light, you can transform the space and make it truly yours by thinking in layers.
I layer in softer, more targeted light sources that create a cozy atmosphere and serve specific functions.
- Clip a small desk lamp onto a shelf for focused studying.
- Drape fairy lights around your bedframe for a magical glow.
- Add an LED floor lamp in a corner for adjustable ambient light.
- Place a plug-in pendant light over your desk for a stylish, statement task light.
Incorporating these lighting ideas helps you nail the perfect mix of cute and functional in your dorm room.
Maintain a Cohesive Color Palette
Choosing three to four main colors for your dorm decor is a budget-friendly trick I use to make everything look intentionally put together.
I pull those hues from one key item, like my favorite throw pillow or blanket. Then, I simply hunt for bedding, storage bins, and desk accessories within that palette.
This DIY focus instantly transforms a chaotic mix into a cohesive, stylish sanctuary without spending a fortune.
Add Personality With Removable Wall Art
Since you’ve established your color scheme, let’s tackle those bare walls, because nothing personalizes your space faster than removable wall art.
It’s a temporary, budget-friendly miracle for rented walls. I love creating my own gallery with these ideas:
- Mix-and-match themed sticker sets for a focal wall.
- Frame printable art with washi tape for a custom border.
- Hang a large, scenic peel-and-stick mural.
- Arrange inspirational quote decals above your desk.
Create a Private Nook With a Curtain
If you’re craving a little sanctuary within your shared room, I’ve found a curtain is the perfect tool to carve out a private nook.
I used a simple tension rod and a patterned bedsheet from home for an instant, budget-friendly transformation. It creates my own reading or video-call corner, making the tiny space feel bigger and beautifully divided.
You can change the fabric whenever you want a new vibe.
Conclusion
I remember cramming for finals under that shared, harsh overhead light—it felt like living in a filing cabinet! That’s when I realized these small shifts in my space were massive shifts in my mindset. Transforming my dorm wasn’t about spending a fortune. It was about building a home, one clever, budget-friendly hack at a time, right where I was.