I turn thrift-store finds into a cohesive, stylish room by planning around a tight color story, texture layering, and personal touches. Start with 2–3 core shades, test swatches, and mix in bold accents. Refresh glassware into chic vases, update vintage frames, and give furniture a fresh coat of paint with new hardware. Add subtle metallics and practical upcycling for small spaces, then finish with a gallery wall and monogram signage. If you keep going, you’ll uncover more actionable ideas.
Turn Your Space With Thrift-Store Finds: a Smart Makeover Plan
Turning your space around with thrift-store finds is easier than you might think, and it starts with a clear plan.
I start by listing must-haves, setting a budget, and prioritizing a single room first. I measure, compare, and test textures, lighting, and layout.
Then I pivot, discard what doesn’t fit, and refine until the space feels intentional and inviting. Simple, practical, achievable.
Incorporating creative room ideas can help you transform any space on a budget while adding personality and charm.
Choose a Cohesive Color Story for Your Thrift Makeover
I’ll show you how a cohesive color story ties your thrift finds together, so everything reads as one room.
Start with a thrifted palette you love and pick 2–3 core shades to repeat in small accents, so textures and patterns don’t clash.
I’ll keep it practical: test swatches, balance bolds with neutrals, and let one unifying color anchor the whole makeover.
Incorporating budget-friendly DIY techniques can elevate your thrift store finds without overspending.
Cohesive Color Story
Choosing a cohesive color story for your thrift makeover comes down to picking a few shades that feel like they belong together and then sticking to them across the room.
I suggest selecting a dominant base, a secondary accent, and a small pop of contrast.
Keep fabrics, furniture, and accessories aligned to that trio for a calm, intentional, polished look.
Thrifted Palette Harmony
A cohesive thrift makeover starts with a clear palette you can live with, so pick three to four shades that feel like they belong together and reuse them across fabrics, furniture, and decor.
I suggest a dominant neutral, an accent color, and one or two supporting hues.
Balance warmth and coolness, test swatches, and let textures gently echo your chosen scheme for lasting harmony.
Transform Glassware Into Chic Vases in Minutes
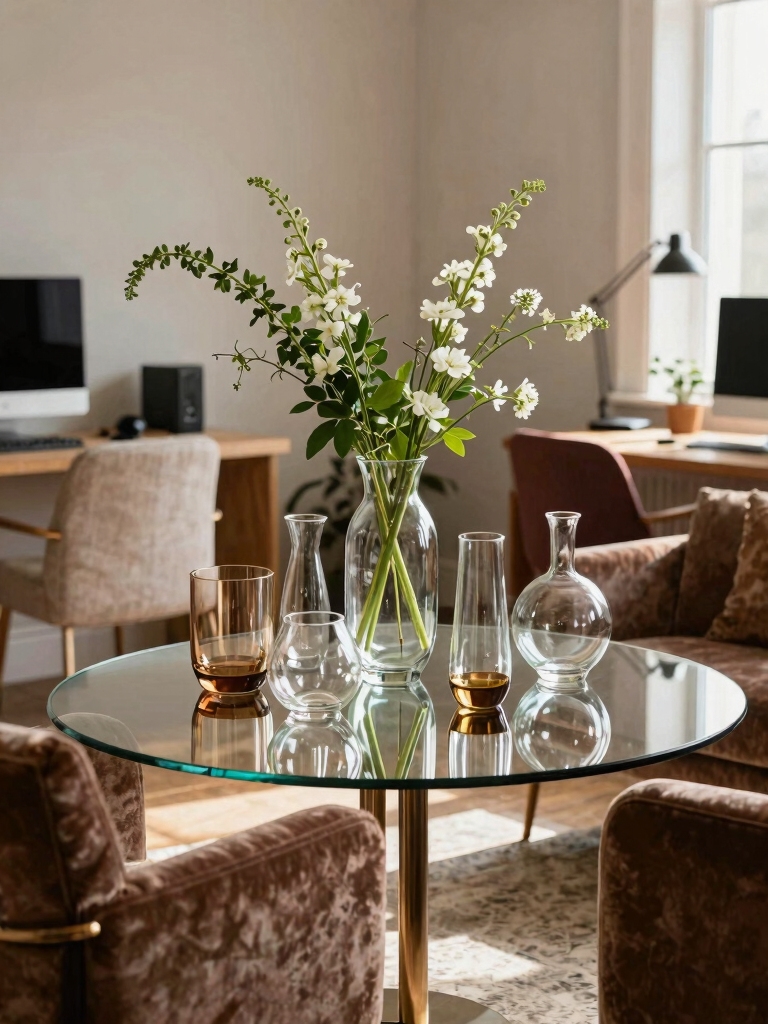
I grab a thrifted jar, add a few stems, and tuck in water. No fuss, just balance and color.
Here’s how it looks in practice:
- Clear bottle, single greenery stem
- Tiny vase, pastel buds
- Mason jar, sprigs of eucalyptus
- Wine glass, airy blooms
- Recycled jug, vibrant family flower
Refreshing your space with new decor ideas can instantly uplift your home’s atmosphere and mood, making it feel welcoming and vibrant through simple weekend projects.
Modernize Vintage Frames for a Fresh Gallery Wall
I’m sharing simple ways to refresh vintage frames and tune them into a cohesive gallery wall.
We’ll talk about flow, pairing frames, and how to mix sizes for balance without feeling chaotic.
I’ll show quick tweaks to keep your display polished and personal.
Incorporating elements that create timeless vintage vibes can add character and depth to your space.
Refresh Vintage Frames
Revitalizing vintage frames is my favorite quick upgrade for a gallery wall. I swap glass, paint edges, and switch mats for a brighter, cohesive look.
Clean lines win, but texture stays. You’ll see personality without clutter.
- sanded edges with a soft, modern pop
- fresh white or soft pastel paint
- new mats in bold contrast
- glossy seal for longevity
- varied sizes arranged thoughtfully
Gallery Wall Flow
With vintage frames refreshed, the next step is shaping a gallery wall that feels deliberate rather than cluttered.
I start by grouping pieces on the floor, then map a clean layout on the wall. Keep spacing even, mix frame sizes, and use a neutral backdrop.
This flow makes every piece feel intentional, not random. Your wall, instantly cohesive.
Frame Pairing Tips
Mix vintage frames with modern touches by prioritizing cohesion over exact sameness.
I pair frames with intent, balancing scale, color, and matting to avoid clutter. You’ll create a polished, cohesive wall that feels intentional, not matchy.
- Mix bold with subtle hues for contrast
- Vary frame depths for dimensionality
- Use uniform mats to unify diverse looks
- Group odd numbers for rhythm
- Anchor with a focal frame, then radiate outward
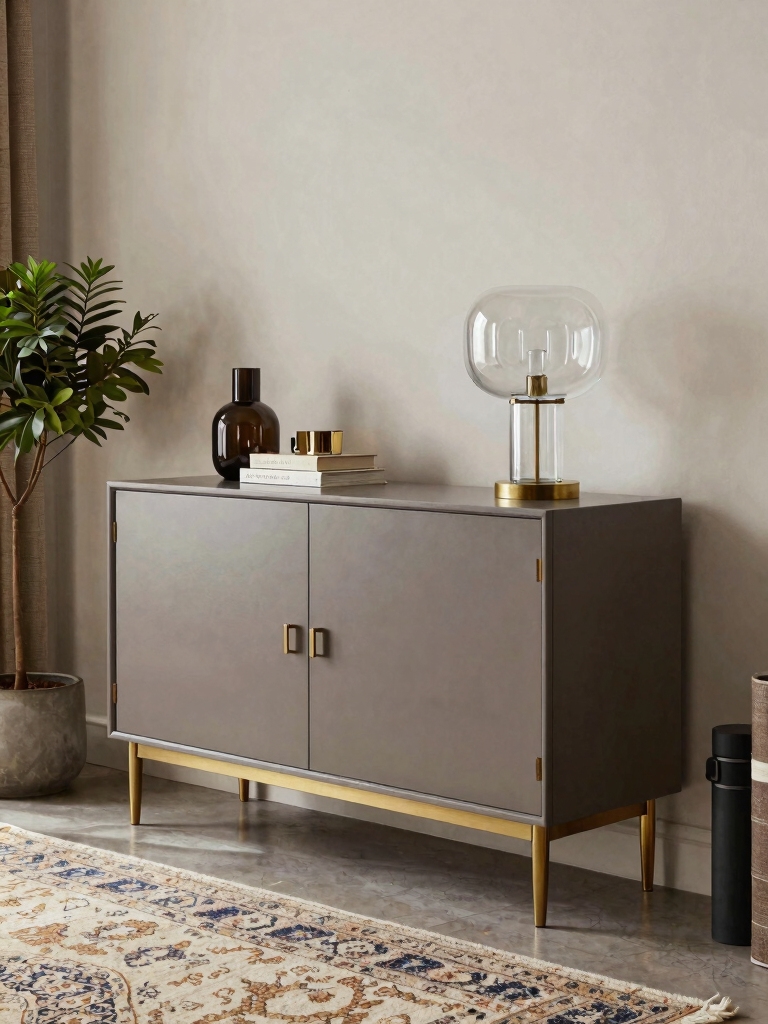
Give Old Furniture a Second Life With Paint and Hardware
When you’re revamping old furniture, a fresh coat of paint and new hardware can transform a tired piece into something usable and stylish again.
I start with a light sanding, choose a durable paint, and apply thin, even coats.
Swap hardware for period-appropriate pulls, and seal with wax or polyurethane.
Simple tweaks, big impact, less waste, more satisfaction.
Incorporating creative DIY ideas can make your room decor uniquely stylish and personalized with creative DIY ideas.
Budget Upholstery Edits: Quick Fabric Upgrades You Can Do
If you’re aiming for a quick, affordable refresh, start with simple upholstery edits that don’t require a pro. I swap covers, tighten springs, and patch tears with iron-on fabric.
Quick wins:
- slipcovers that fit like a glove
- double-stick velcro for cushions
- fabric glue to seal seams
- staple gun edge refinements
- removable piping for contrast
Results feel polished, low effort, and totally doable. Incorporating thrift store finds is a great way to achieve stylish living room decor on a budget without sacrificing quality.
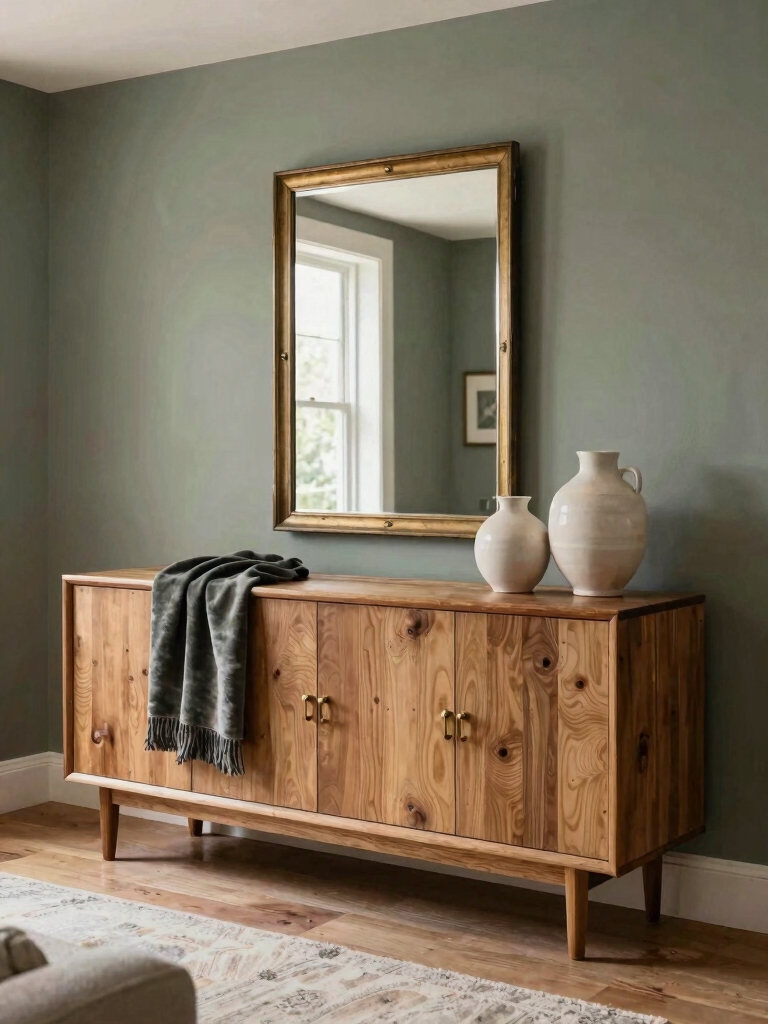
Thrifted Lighting With Big Impact: Swap, Swap Again
Thrifted lighting can transform a room without costing a fortune, and swapping pieces a few times often yields the biggest impact.
I love hunting for statement lamps, switches, and shades that reflect my vibe, then mixing textures and heights.
Swap, swap again until it feels balanced—consider scale, bulb warmth, and shadows.
Practical upgrades beat pricey replacements every time, hands-on and satisfying.
Adding a wall mirror can amplify the effect by visually expanding the space and reflecting light for a brighter room, making it a perfect complement to thrifted lighting swaps with creative wall mirror ideas.
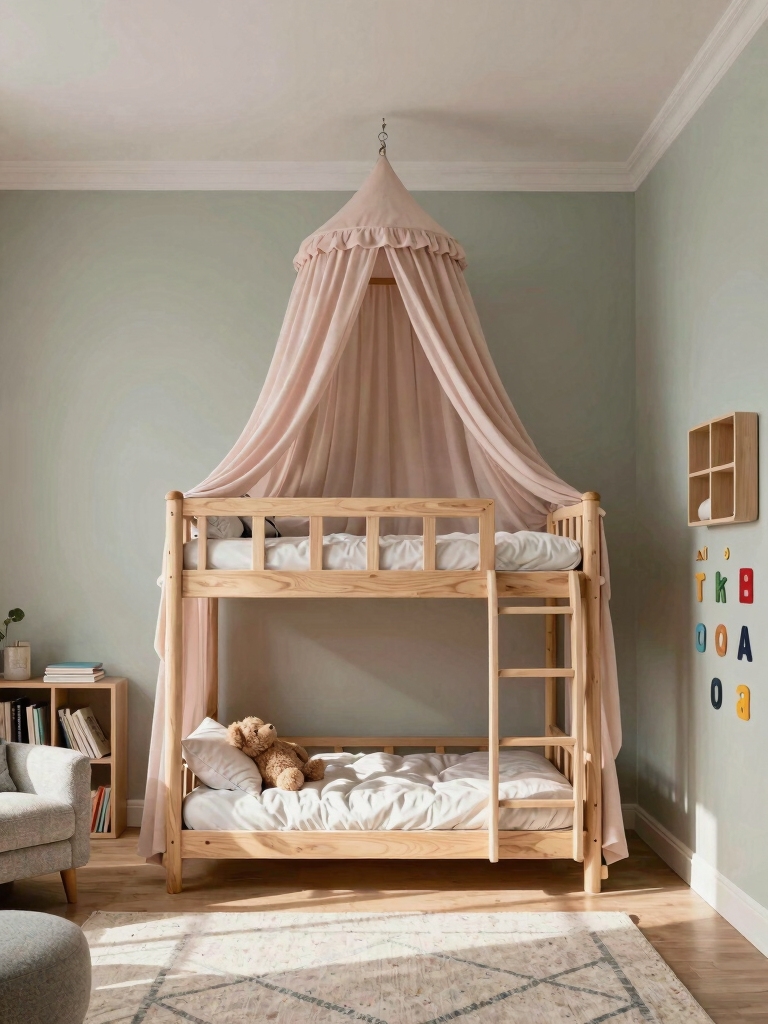
Create a Green Corner: Repurposed Planters and Shelving
I’ll turn a small corner into a lush green nook by repurposing planters and shelving.
You’ll see thrifted containers become plant homes, stacked shelves supporting climbers, and a touch of color pairing with neutrals.
I’ll mix textures, reuse jars, and group plants by light needs.
- small thrifted dish as a tray
- painted tin cans for cups
- reclaimed wood shelves
- glass jars as air-prunes
- rope-hung macramé hangers
Maximizing vertical space is key to transforming small rooms into airy retreats, making even the tiniest corners feel open and refreshing.
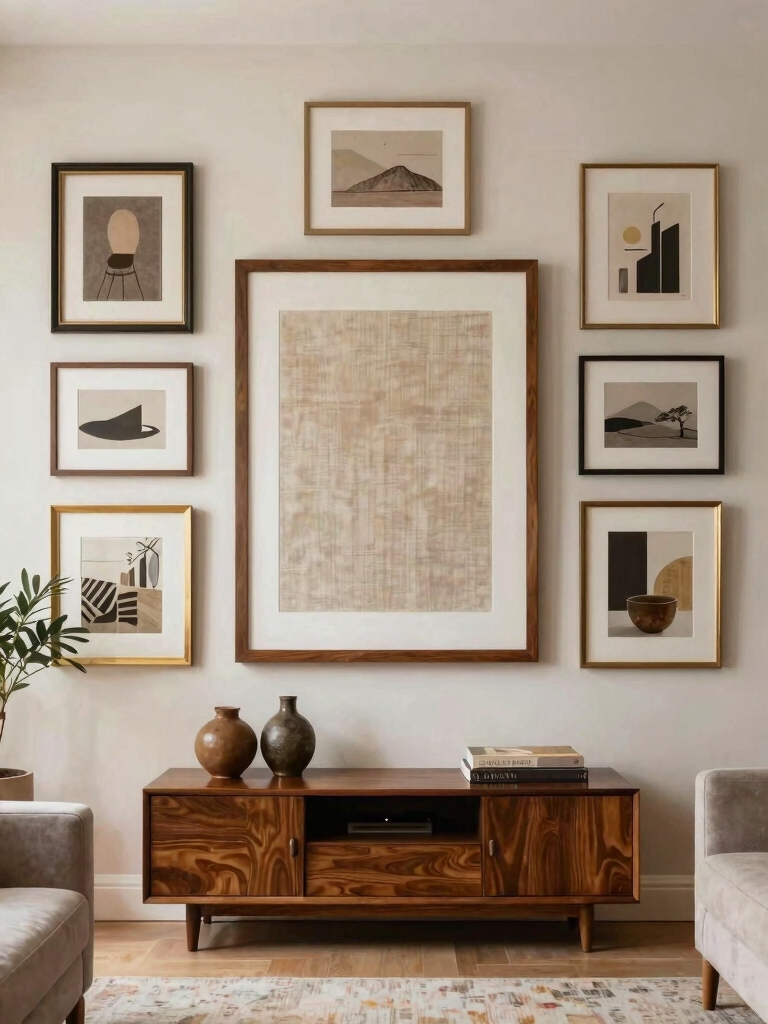
Build a Gallery Wall From Recycled Pieces
We’ll pull a gallery wall together entirely from recycled pieces, so you can mix stories as well as frames.
Start with a focal piece, then add smaller memories you’ve rescued. Plain, mismatched frames shine when you group them by color or height.
Measure spacing, hang at eye level, and lean a few pieces for balance. Keep nails minimal; celebrate character.
Incorporating creative wall decor can transform your living room and add personality to blank spaces.
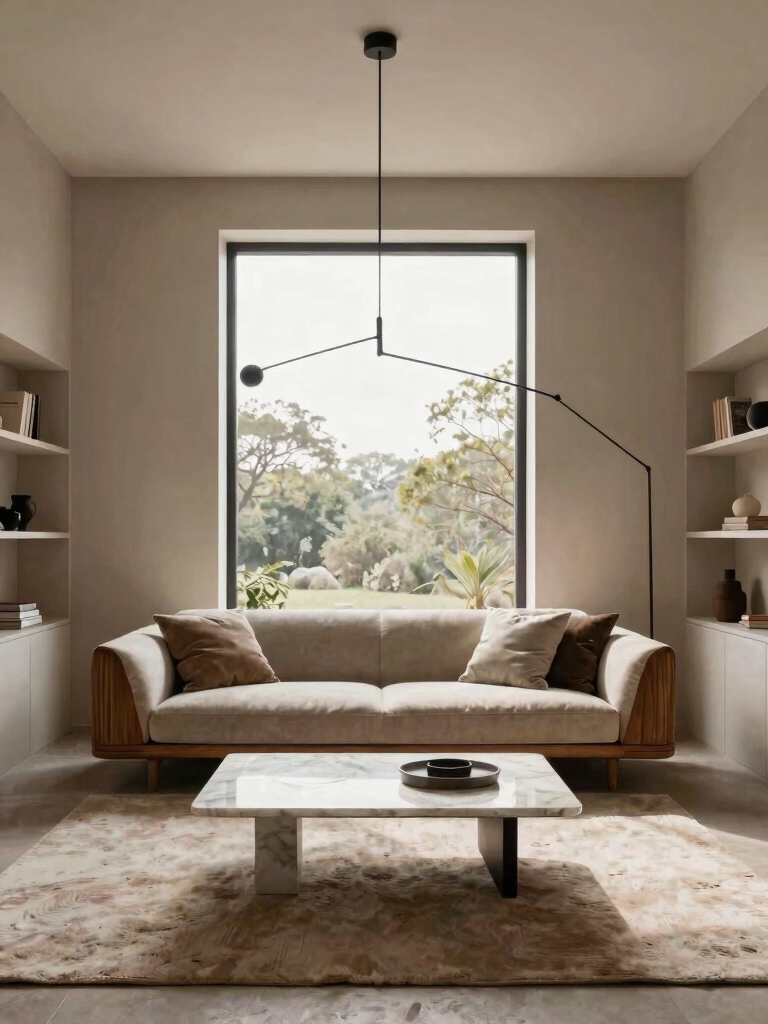
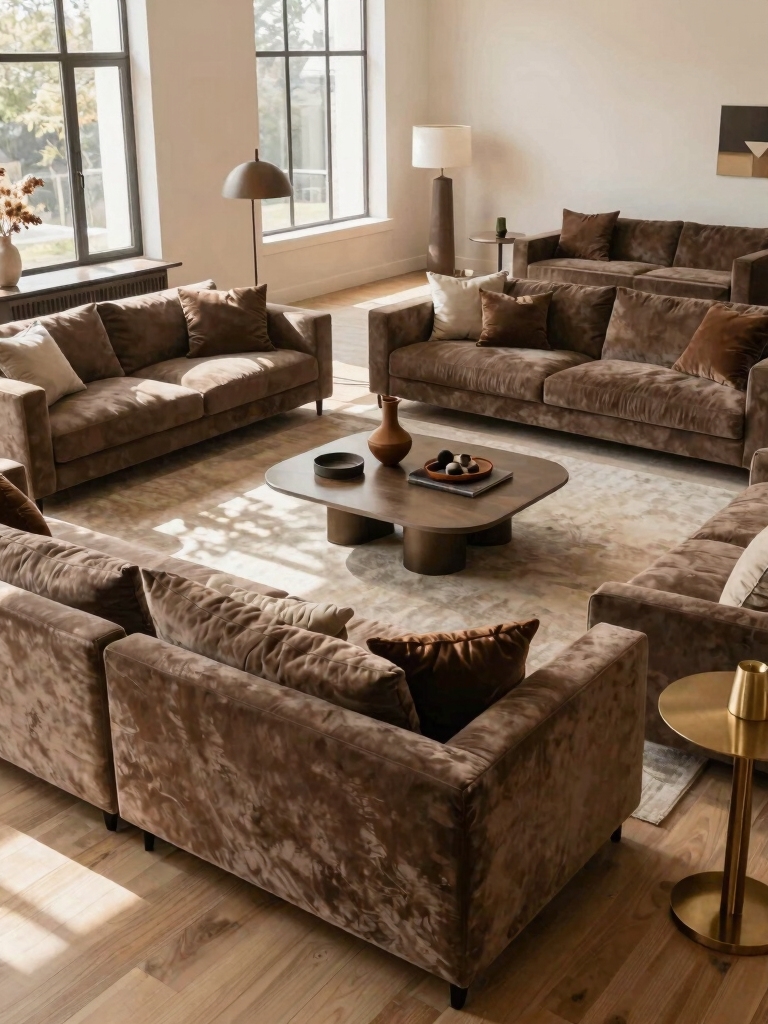
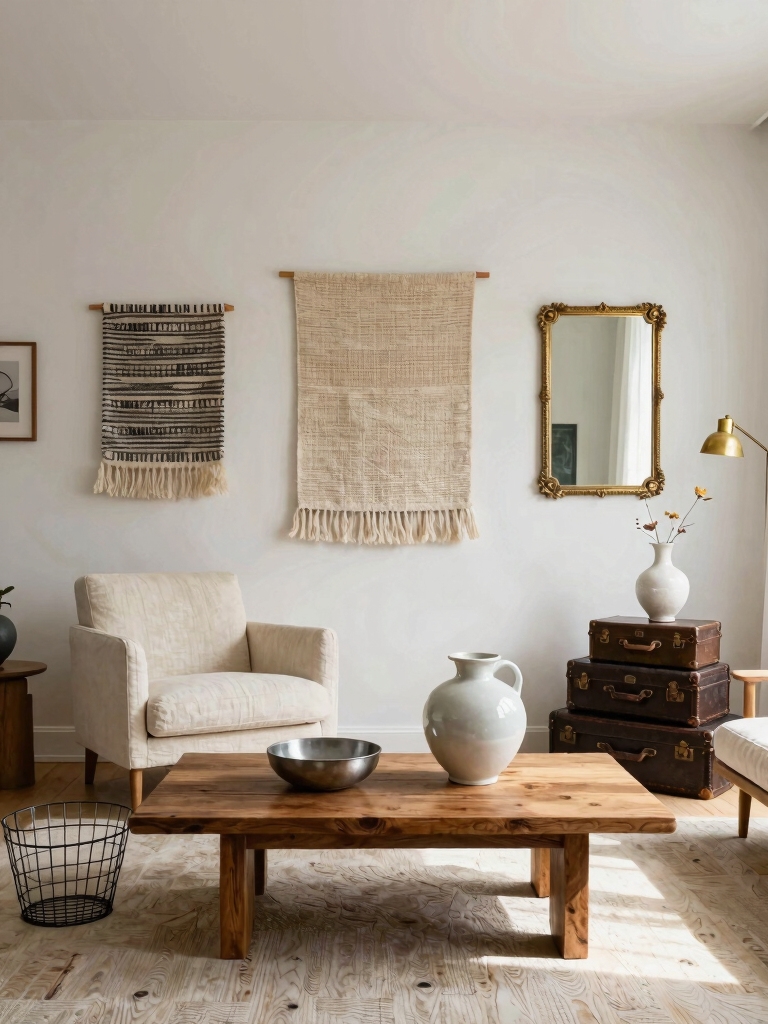
Texture Layering: Rugs, Baskets, and Textiles for Depth
Texture stacking is all about balancing rugs, baskets, and textiles to add real depth.
I’ll show you how layering a cozy rug with complementary baskets and soft textiles creates a grounded, multi-dimensional feel.
Let’s keep the mix practical—think size, texture, and color harmony to avoid clutter while still adding warmth.
Incorporating these elements thoughtfully helps you maximize space, making even the smallest rooms feel inviting and functional through creative cozy design.
Texture Stacking Essentials
Layering textures is my go-to trick for instant depth in any room, so I start with a few core pieces—like a soft rug, a woven basket, and a textile throw—and build around them.
- soft rug with fringe
- lattice basket beside a chair
- chunky knit throw folded neatly
- suede cushion for contrast
- jacquard curtain to frame light
Layered Textile Accents
Texture layering isn’t just about piling on pieces; it’s about how rugs, baskets, and textiles work together to add depth and warmth.
I mix patterns and textures deliberately, choosing a neutral base and a bold accent.
I’m practical: measure clearance, consider pile height, and let thrifted finds breathe.
The result feels cozy, curated, and affordable without clutter.
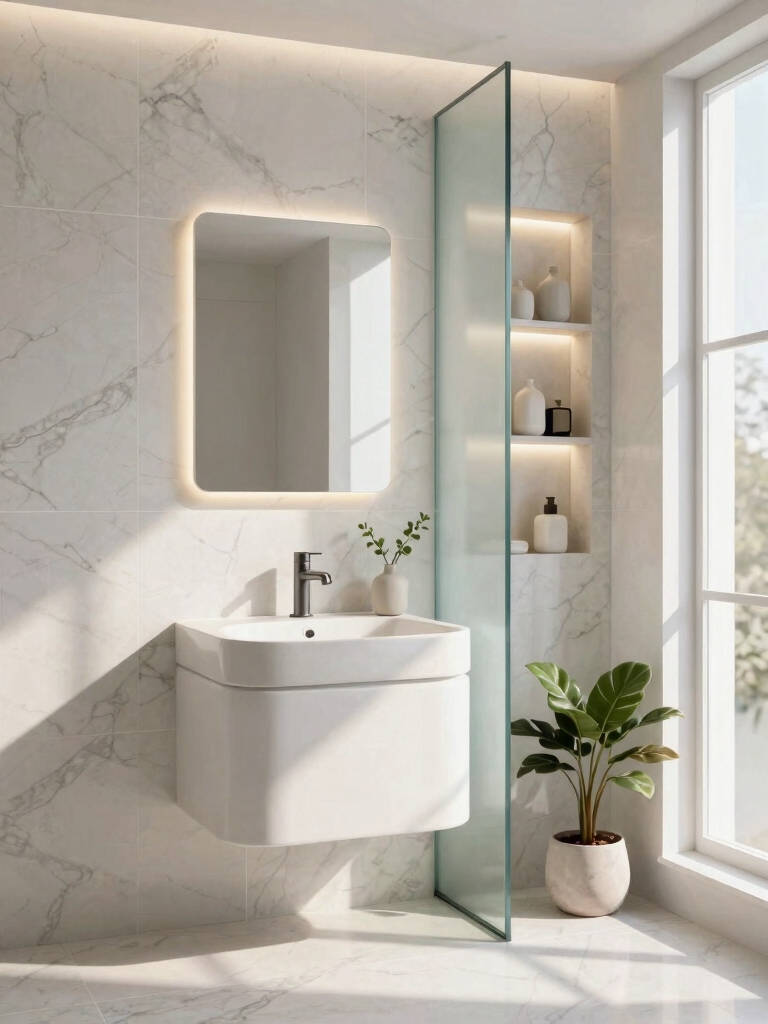
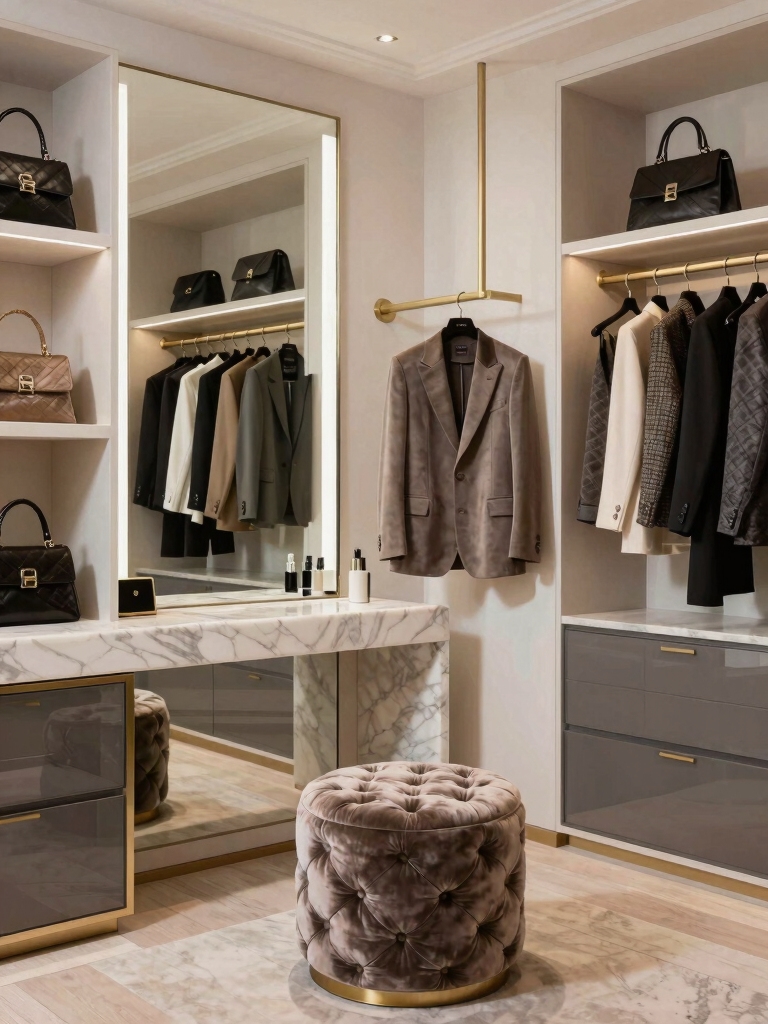
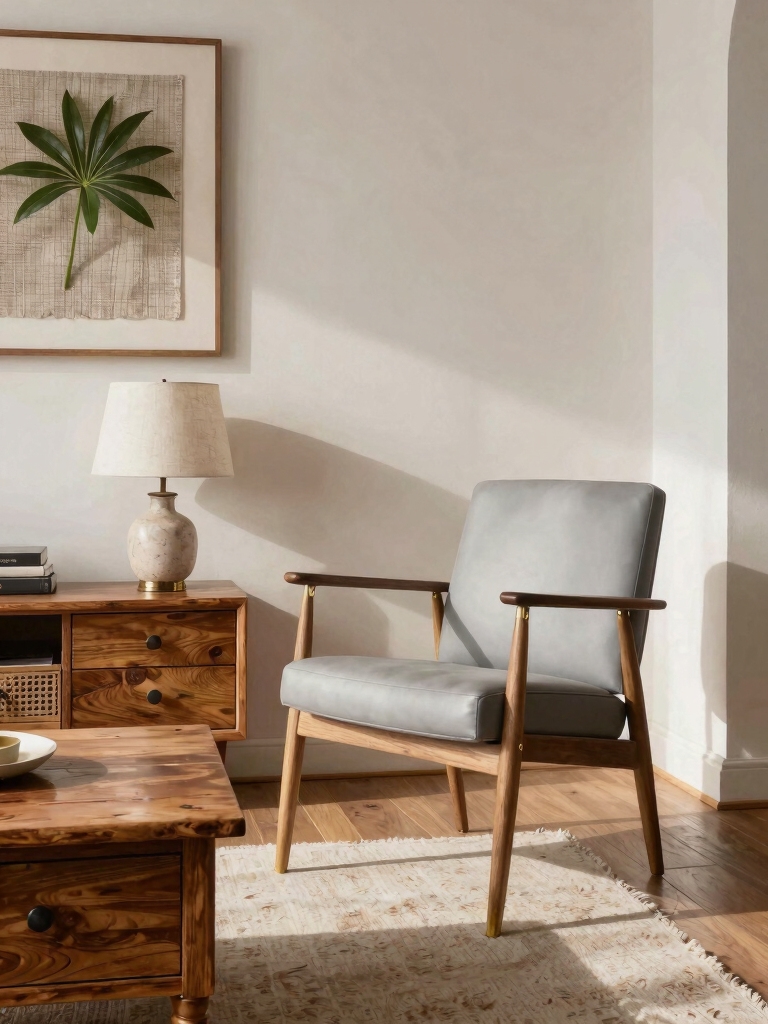
Small Shine, Big Impact: Subtle Metallic Accents
Small touches of metal can transform a room without overpowering it. I keep accents minimal, letting shine come from thrifted finds and careful placement.
A few hints make a big impression without clutter.
- brushed brass drawer pulls on a thrifted dresser
- a metallic-trimmed mirror to bounce light
- copper vase with a single stem
- silver-framed print for contrast
- soft-gold lampshade glow across surfaces
Personalize With Monograms and Signage on Thrift Finds
I love turning thrift finds into unique keepsakes with simple monograms and easy signage.
I’ll show you practical tweaks—like choosing fonts, sizing, and placement—that make a big impact without clutter.
Let’s talk about how these small touches can personalize any piece and spark great decorating ideas.
Monogram Magic On Finds
Monogram magic is my favorite way to turn thrift finds into personalized, styled pieces. I keep letters bold, initials aligned, and spacing deliberate to avoid fussy clutter.
Small changes count, like a vinyl decal or stitched patch, instantly elevating plain wood.
Try these ideas:
- Leather patch with initials
- Painted rubber stamp letter
- Monogrammed linen napkin corners
- Metal stencil silhouette
- Framed signatureplate for shelves
Signage Styling Tips
Signage can be the spine of a room, guiding the eye and tying thrifted finds into one cohesive story.
I keep signs simple: bold monos, clear fonts, and a touch of monogramry where it feels natural.
I swap out messages seasonally, add a subtle frame, and insist on legibility.
Practical, inexpensive updates beat clutter, making spaces feel intentional and warm.
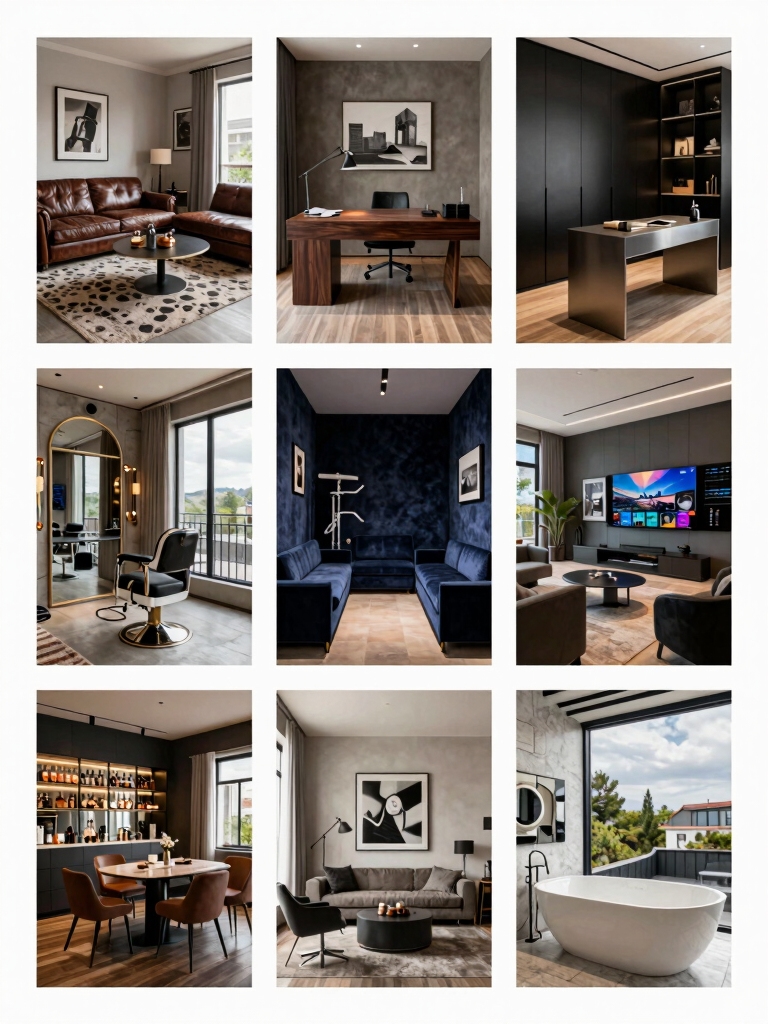
Upcycling for Small Spaces: Space-Saving Hacks That Work
If you’re making the most of a small space, upcycling is your best friend: it turns what you already have into functional, stylish pieces without adding bulk or clutter.
I’ll show simple hacks you can try today:
- repurpose a tray into a wall shelf
- stack crates for compact storage
- hang textiles as curtains or room dividers
- use magnets on metal surfaces
- convert jars into a countertop organizer
Care and Maintenance: Keeping Your Thrift Décor Fresh
Keeping thrift décor looking fresh is all about simple, regular care.
I share practical tips I’ve relied on: dust weekly, wipe surfaces with a mild solution, and spot-clean stains promptly.
Rotate fragile pieces to prevent wear, seal wood when needed, and store textiles clean and dry.
A quick check-in monthly keeps colors vibrant and avoids surprise damage.
You’ve got this.
Conclusion
If you’re riffing on thrift finds, you’ve got all you need to make a room feel like you. Start small, test a cohesive color story, and let one or two reimagined pieces anchor the space. It’s a practical, affordable path that honors creativity. Think of your room as a garden: with patience, a little repurposing, and steady care, you’ll watch casual finds blossom into a home you’re proud of. Your space, your story.