I’ve mapped out 14 practical, salon-worthy decor ideas you can implement at home, from defining your nail room vibe and budget to smart lighting, durable flooring, and budget-friendly upgrades. Start with a clear vibe, a two-tone color plan, and bright, accurate lighting. Create smart storage for tools and polishes, a cozy, spa-like setup, and quiet, sound-absorbing zones. Choose easy-clean flooring and quick DIY upgrades. Stick with a maintenance routine, and you’ll keep it head-turning—you’ll pick up more tips as you go.
Define Your Nail Room Vibe and Budget
Figuring out your nail room vibe and budget starts with a clear vision and a practical plan.
I’ll guide you to define a style you love and a realistic spend. Pin down must-haves, note deal-breakers, and room dimensions.
Create a mood board, set a ceiling, then allocate funds by priority. Stay flexible, revisit weekly, and keep momentum with small, purposeful purchases.
Incorporating creative room ideas can help you transform your space on a budget while maximizing style and function.
Pick a Nail-Flatting Color Palette
Choosing a nail-flatting color palette is about pairing mood with practicality.
I’ll keep it simple: pick two base shades—one neutral, one feature—then add an accent.
I favor warm neutrals with a bold pop for quick, salon-worthy upgrades.
Test swatches on a nail wheel, compare under your lighting, and confirm that the hues pair with your decor already in place.
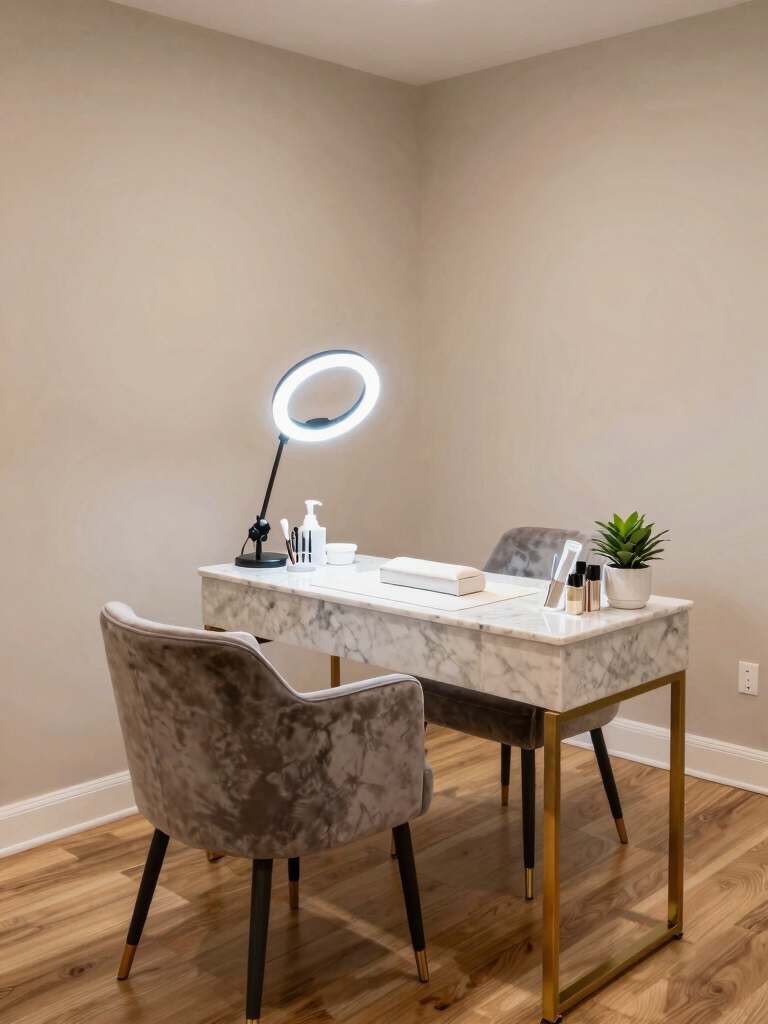
Plan Lighting for Flawless Manicures
When planning lighting for flawless manicures, start by prioritizing brightness and color accuracy over ambiance alone.
I test natural daylight vs. LED setups, then position task lights to minimize shadows on nails.
Choose a neutral white temperature around 4000K, with CRI 90+.
I dim for polish-curing moments, but maintain precise color perception for flawless results every time.
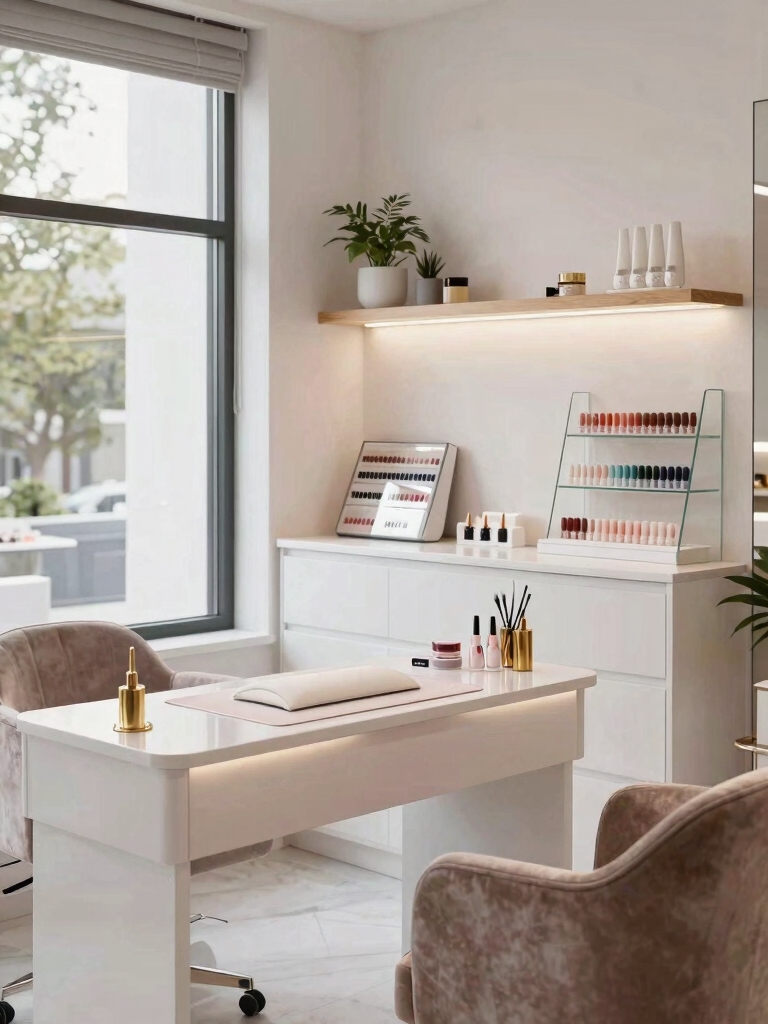
Create Smart Storage for Tools and Polishes
Smart storage for tools and polishes keeps your nail room efficient and inspiring.
I organize by category—scissors, files, brushes, polishes—so everything lands in a labeled bin or drawer.
I use small upright organizers for bottles, a magnetic strip for implements, and clear acrylic trays for quick visibility.
You’ll save steps, reduce clutter, and speed up flawless manicures daily.
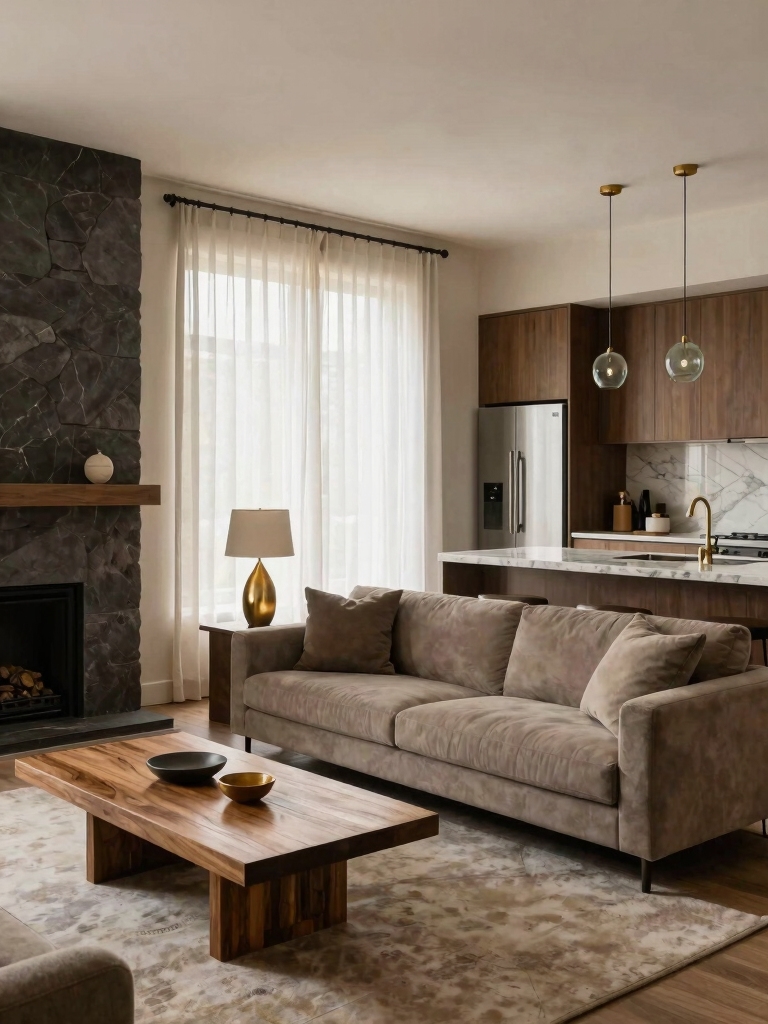
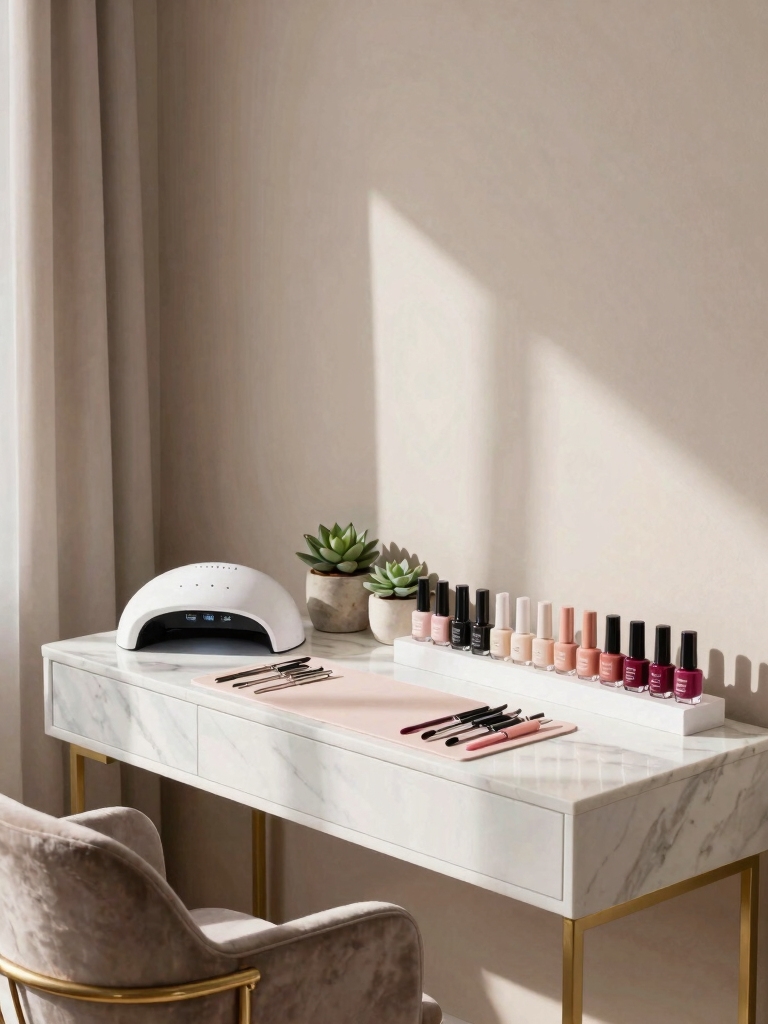
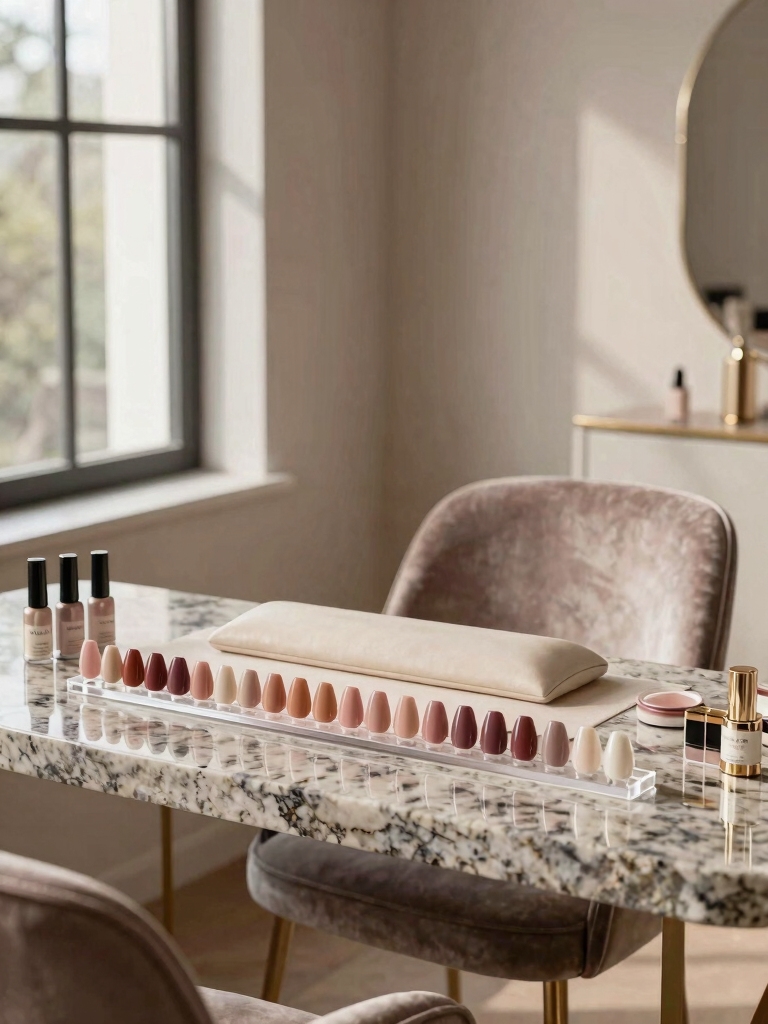
Install a Spa-Like Console or Desk Setup
A spa-like console or desk setup instantly elevates your nail room into a calmer, more focused workspace.
I’ll show you how to tailor this for efficiency and mood, without clutter.
- Choose a sleek, water-resistant surface near natural light
- Add a small, locked drawer for polish bits
- Install soft, ambient lighting above the desk
- Keep a minimal tray for tools and wipes
Refreshing your home this weekend can be as simple as adding new decor elements to revitalize your space with fresh room decor ideas.
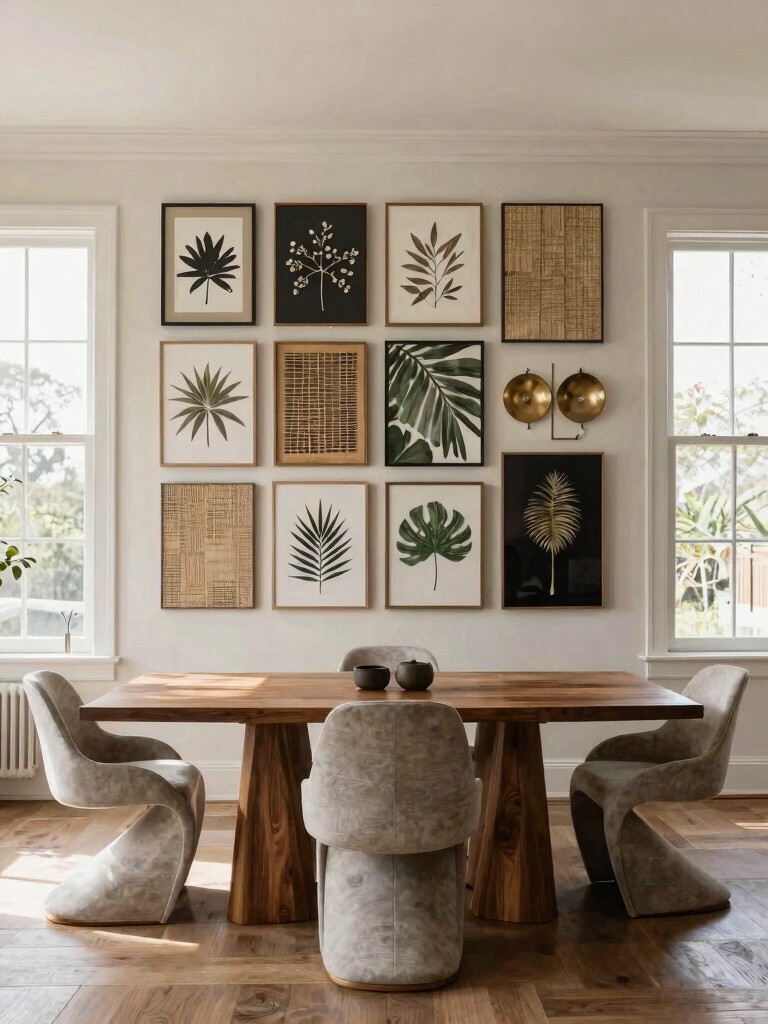
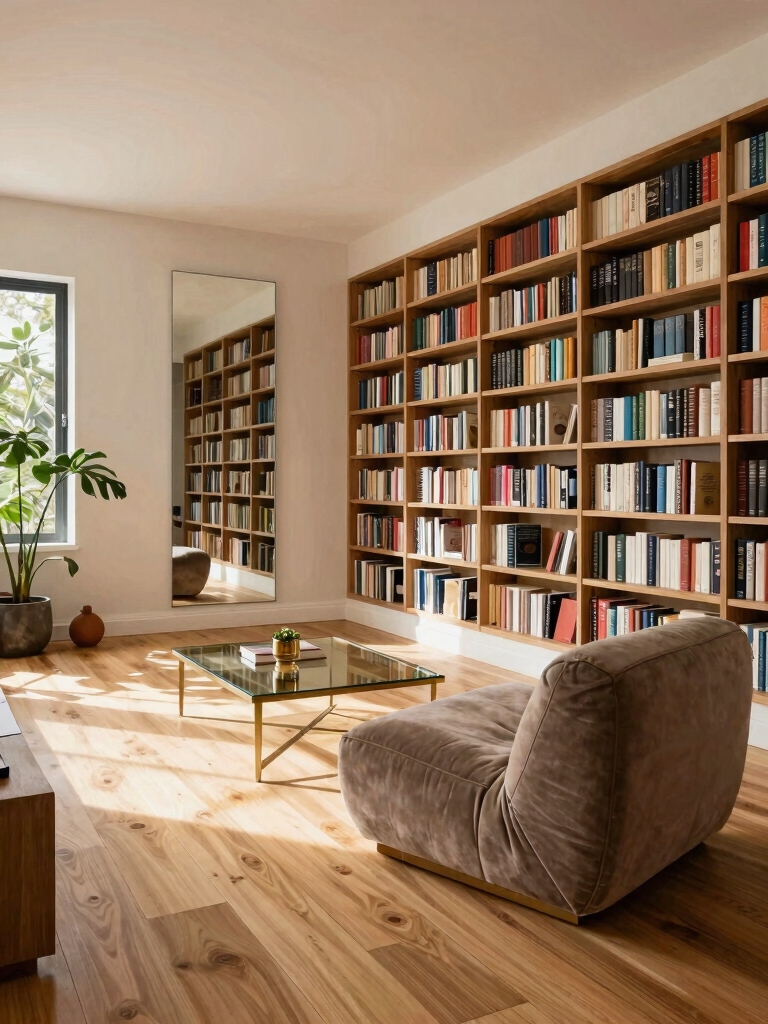
Build a DIY Accent Wall and Nail-Salon Gallery
I’m excited to map out your Accent Wall Blueprint and how to spotlight a Nail-Salon Gallery Cues display for real impact.
I’ll share quick, actionable steps to anchor color, texture, and art so the wall becomes a polished focal point.
Let’s review what to choose and how to arrange pieces to boost vibe and flow.
Accent Wall Blueprint
If you’re aiming to elevate a nail salon with personality, start by building a DIY accent wall that doubles as a gallery—combining texture, color, and curated nail-art pieces into one cohesive backdrop.
I’ll guide you through a tight blueprint, easy steps, and quick fixes that elevate space and mood.
- Choose a bold base hue
- Mix textures strategically
- Hang nail-art thoughtfully
- Seal for longevity
Nail-Salon Gallery Cues
Let’s turn that bold accent wall into a polished nail-salon gallery by pairing curated nail-art pieces with a cohesive display plan.
I’m guiding you to categorize art by color, texture, and theme, then rotate pieces quarterly to keep energy fresh.
Use matching frames, consistent spacing, and wall shelves for tools. This creates a professional, inviting vibe you can replicate.
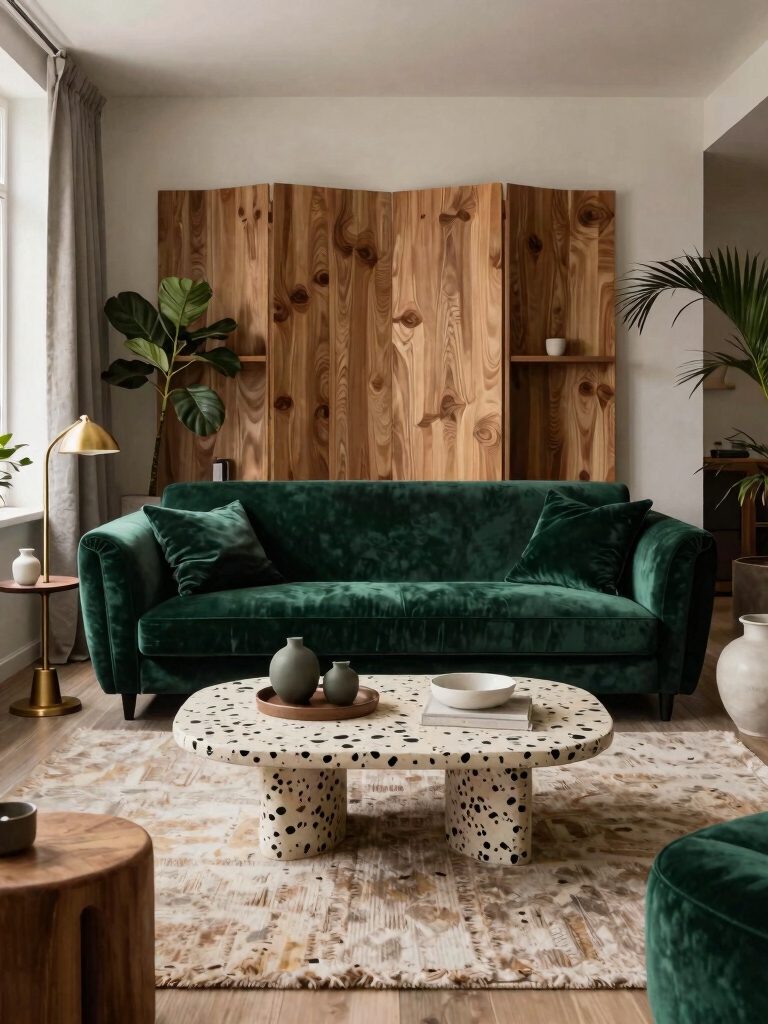
Choose a Comfortable Seating Nook
Imagine a cozy corner that invites clients to linger between appointments. I’ll share ideas for a Cozy Corner Layout, Plush Seating Picks, and Quiet Lighting Moods that feel welcoming yet practical. Let’s tailor a seating nook that boosts comfort, focus, and a calm salon vibe. Creating a space with cozy elegance can transform your room into a stylish and inviting retreat.
Cozy Corner Layout
A cozy corner in your nail room starts with a truly inviting seating nook that you’ll actually want to use.
I’ll guide you to design a compact, comfy space that stays practical and stylish.
- Pick a compact chair with supportive back and washable cover
- Add a small ottoman for feet and extra storage
- Choose warm lighting for a relaxing vibe
- Include a slim side table for essentials
Plush Seating Picks
If you want a truly cozy nail room, start with plush seating that invites clients to linger and unwind.
I recommend a compact sectional or a luxury lounge chair pair that fits your space and flows with color. Choose easy-clean upholstery, deep cushions, and supportive backs.
Add ottomans for flexibility, and arrange seating to encourage conversation and comfort during services.
Quiet Lighting Moods
Quiet, warm lighting sets the tone for a relaxing nail room, and the right seating nook makes it feel inviting from the moment you step in.
I’ll guide you toward a calm, functional setup that supports focus and comfort.
- Choose soft, dimmable LEDs
- Add warm white bulbs for skin tones
- Mount adjustable task lighting
- Use a cozy, supportive chair with lumbar support
Optimize Work Surfaces With Under-Desk Rails
Under-desk rails transform cluttered surfaces into streamlined work zones, letting you slide tools, rolls of tape, and brushes out of sight yet within reach.
I share a simple setup: mount rails at proper height, use labeled bins, and keep frequently used items within thumb’s reach.
Regularly audit contents, purge unused supplies, and maintain a tidy, efficient workflow every session.
Incorporating clever storage solutions like under-desk rails is one of the best smart organization tips to maximize your craft room’s functionality.
Add Calm, Motivating Decor Details
Small touches can transform the nail room into a calm, motivating workspace—so I’m sharing simple decor tweaks you can implement today.
1) Pick a soft color palette and carry it across walls, towels, and organizers.
2) Use a single inspirational quote framed at eye level.
3) Add a quiet-music setup with a timer to pace sessions.
4) Integrate tactile textures like velvet cushions for comfort.
5) Incorporate elements from popular aesthetic room inspirations to create your dream space.
Bring in Greenery for Freshness
Fresh greenery instantly freshens the nail room and keeps energy high between clients.
I’ll pick compact, low-maintenance plants that thrive indoors and fit your decor.
Place a vase on the reception desk, hang near mirrors, and a small pothos on a shelf.
Regular light, a quick wipe-down, and occasional pruning keep leaves lush and your space inviting.
Try it today.
Incorporating aesthetic decor ideas can truly transform your space into one you never want to leave.
Introduce Quiet: Sound-Absorbing Elements
If you want a calmer vibe for your nail room, start with sound-absorbing elements that really work.
I guide you to choose practical upgrades that keep conversations private and noise under control.
- Acoustic panels in key wall zones
- Thick curtains or quilted drapes
- Soft area rug with dense fibers
- Weatherstripping on doors to seal gaps
Pick Clean-Wipable Flooring
When you pick flooring, you want a durable, easy-clean surface that holds up to nail dust and spills.
I’m leaning toward options that stay smooth and wipe down fast, so maintenance stays simple for busy days.
Let’s zero in on durable surfaces and easy-clean choices that keep the room looking fresh with minimal effort.
Durable Surface Choices
Choosing a clean, wipeable floor is a smart move for any nail room, so I’m sticking with durable, low-maintenance options that hold up to spills, prep dust, and frequent cleaning.
1) Epoxy-coated concrete
2) Vinyl planks with wear layer
3) Porcelain tile in large formats
4) CoreX/rigid core luxury vinyl
These choices keep traffic steady and surfaces spotless, fast.
Easy-Clean Flooring Options
We’ve covered durable, wipeable bases, so now I’m focusing on easy-clean flooring you can actually maintain day to day.
Think vinyl plank, sealed concrete, or ceramic tile—each resists nail dust and spills without harsh scrubbing.
I’ll pick colors that hide scuffs, and offer simple mop routines.
Quick, practical tips to keep your salon-like space pristine, effortlessly.
You’re ready, we’ll start today.
DIY Upgrades to Save Money (Easy Projects)
If you’re aiming to upgrade your nail room on a budget, start simple with easy, actionable projects that yield big impact.
I’ll show quick wins that save money and feel luxe.
- Repaint walls in a fresh, neutral tone for an instant high-end vibe.
- Swap out hardware on carts and drawers for budget-friendly brushed finishes.
- Add DIY acrylic or contact paper backsplashes for chic texture.
- Use removable wall decals to showcase branding without commitment.
Consider incorporating chic paint colors to transform your living room vibe and extend that stylish atmosphere into your nail room.
Maintenance Checklist to Keep It Salon-Worthy
I’m sharing a quick, practical maintenance plan you can start today: a daily cleaning routine, strict tool sanitation protocols, and regular product inventory checks to stay ahead of misuse and shortages.
I’ll walk you through simple steps to keep surfaces pristine, tools safe, and supplies stocked so your space feels salon-level every day.
Let’s tackle these points together and set a cadence that’s easy to maintain and hard to beat.
Incorporating design strategies that transform small spaces into airy retreats can also enhance the overall salon experience at home.
Daily Cleaning Routine
Kicking off my daily routine, I start with a quick 10-minute wipe-down of every workstation, then sanitize tools and surfaces to salon-grade cleanliness.
I stay consistent to protect clients and vibes.
- Wipe, sanitize, and air-dry high-contact zones
- Empty trash and replace liners
- Sweep and mop floors
- Check supplies and restock promptly
Tool Sanitation Protocols
To keep the salon vibe pristine from front to back, I tighten up tool sanitation right after my daily clean. I wipe handles, sterilize implements, and cap containers promptly.
I label, date, and store tools in separate, closed drawers. I maintain a simple routine: rinse, sanitize, air-dry, and log any reprocess steps.
Consistency keeps clients confident and space sparkling.
Product Inventory Checks
I guide you to stay proactive, not reactive, so supplies never stall your vibe. Check expiry dates, rotate stock, label clearly, and record usage. Ensuring consistency saves time and boosts client trust.
- Verify quantities and reorder thresholds
- Patch expired items
- Update stock log
- Schedule weekly audits
Conclusion
I learned the hard way that a great nail room isn’t luck—it’s layout, lighting, and a little sparkle. When I finally nailed the setup, my polish kit felt like a boutique, not a hobby. Here’s the takeaway: define your vibe and budget, install smart storage, and keep it clean. My tiny desk? It became a spa-like hub with quiet corners and easy wipes. Treat your space like a client—consistent, polished, and ready for flawless manicures every day.