When you’re merging a mudroom and laundry, I start by defining separate zones with visual markers to keep tasks organized. I install stacked appliances to save floor space and add a DIY folding countertop over them. A dedicated sorting station with labeled bins streamlines chores, while a slim rolling cart offers flexible storage. My focus is on practical, affordable solutions that make every inch work harder—stick with me to reveal even more clever ideas.
Define Separate Zones for Laundry and Entryway Tasks

When you’re combining a mudroom and laundry room, I’d start by clearly defining separate zones for each function, because this prevents clutter and makes both spaces more efficient.
I assign one wall for laundry storage and sorting, and the opposite area for coats, shoes, and bags. A simple painted line on the floor or a different rug can visually mark the boundary without a major renovation. Maximizing your small laundry room with smart design tips can help fit more into less space, making the combined area even more functional.
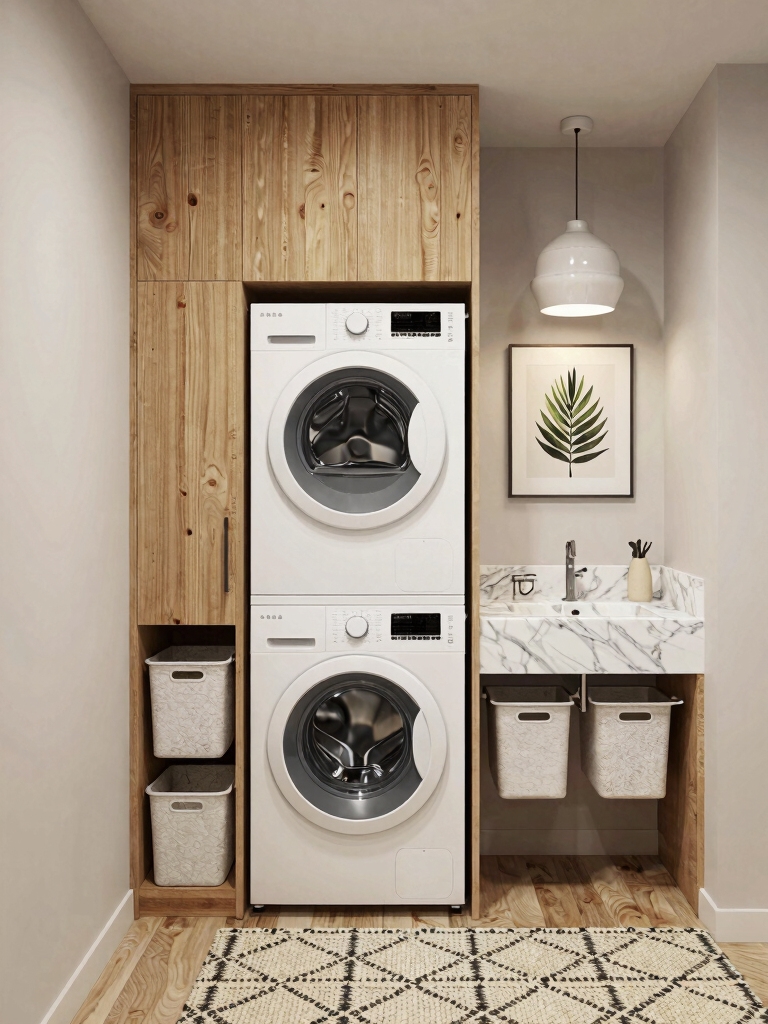
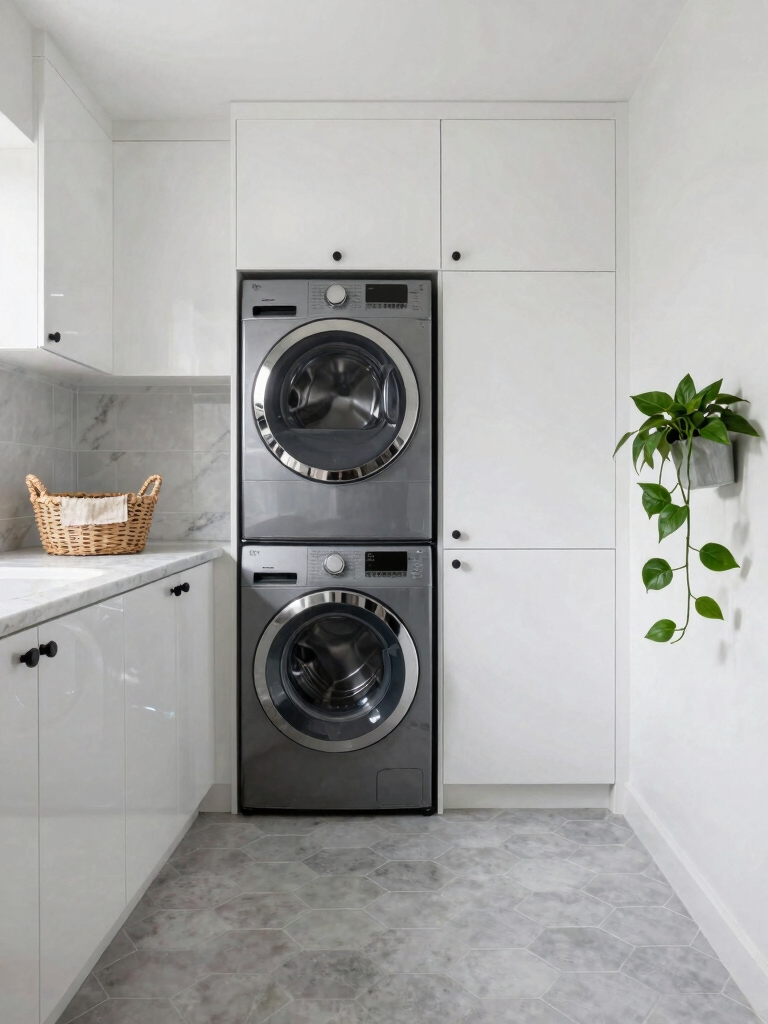
Install a Space-Saving Stacked Washer and Dryer
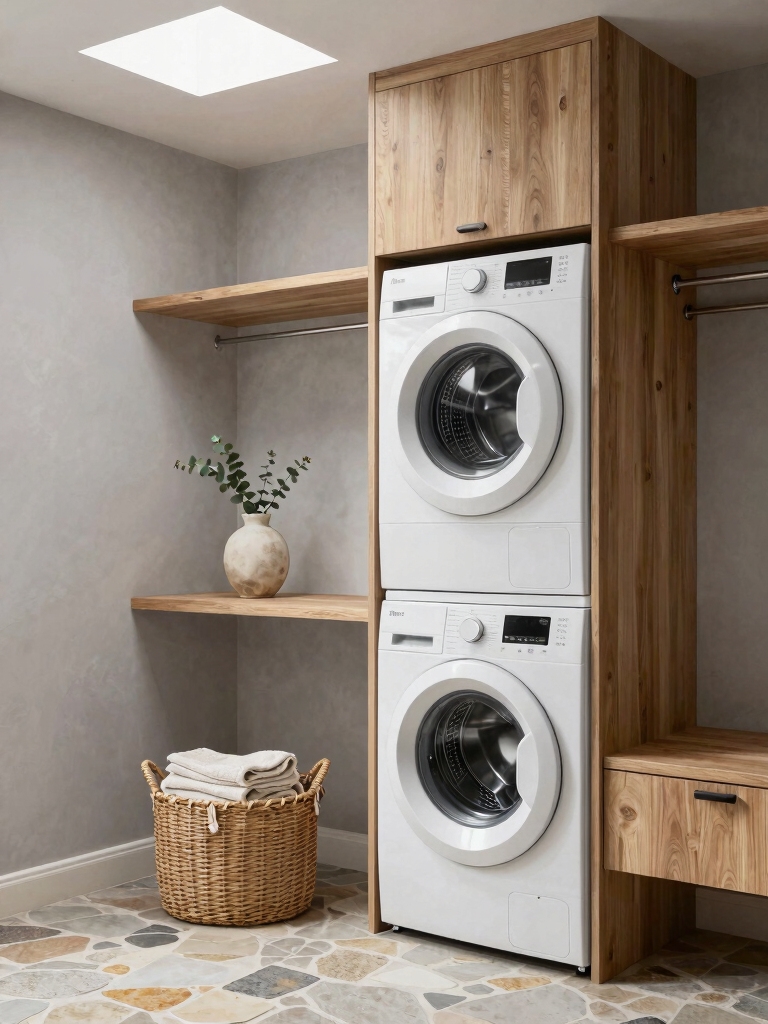
After defining my separate zones, I choose to install a stacked washer and dryer in the laundry area to save floor space.
I pick a compact model that fits my layout and budget. I secure a stacking kit for safety and connect the units myself.
This vertical setup frees up precious square footage for other mudroom essentials, making my small combined room far more functional. Incorporating stylish storage solutions helps maximize both storage and style in the space.
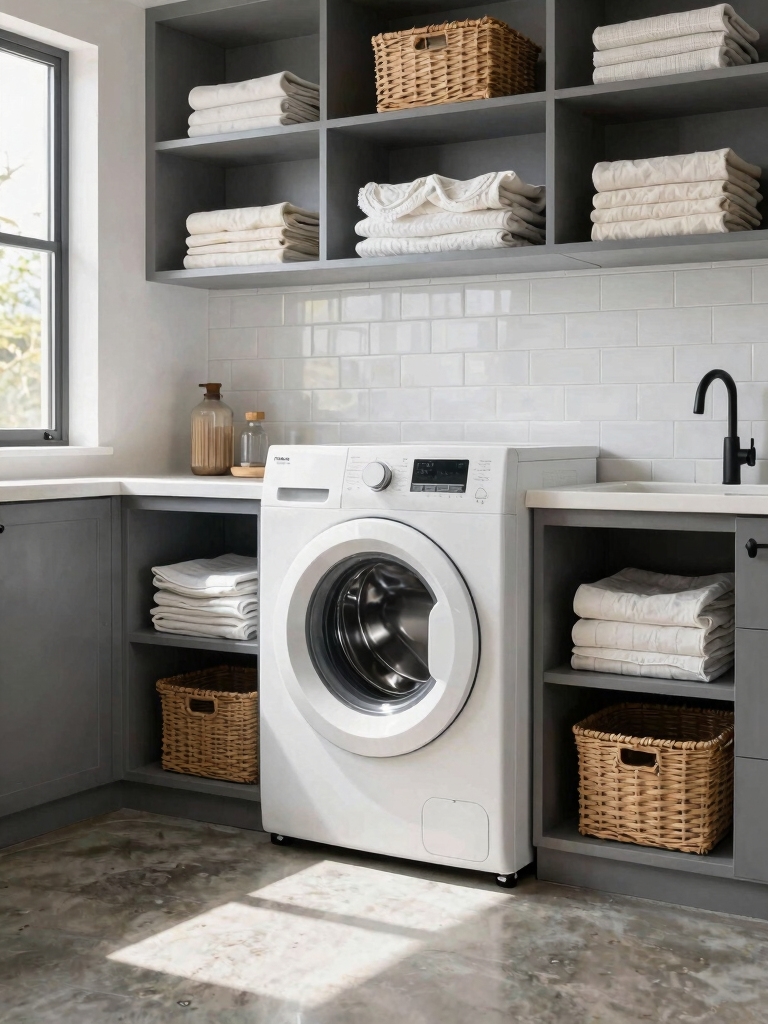
Use a Folding Countertop Over Front-Load Machines
I always want as much counter space as possible for sorting and folding laundry.
A simple DIY folding countertop that hinges over my front-load machines solves this and keeps my washer and dryer out of sight.
It’s an affordable project that maximizes my utility and hides those unsightly appliances when I’m not using them.
Incorporating smart organization tips can further enhance the functionality and aesthetics of your laundry space.
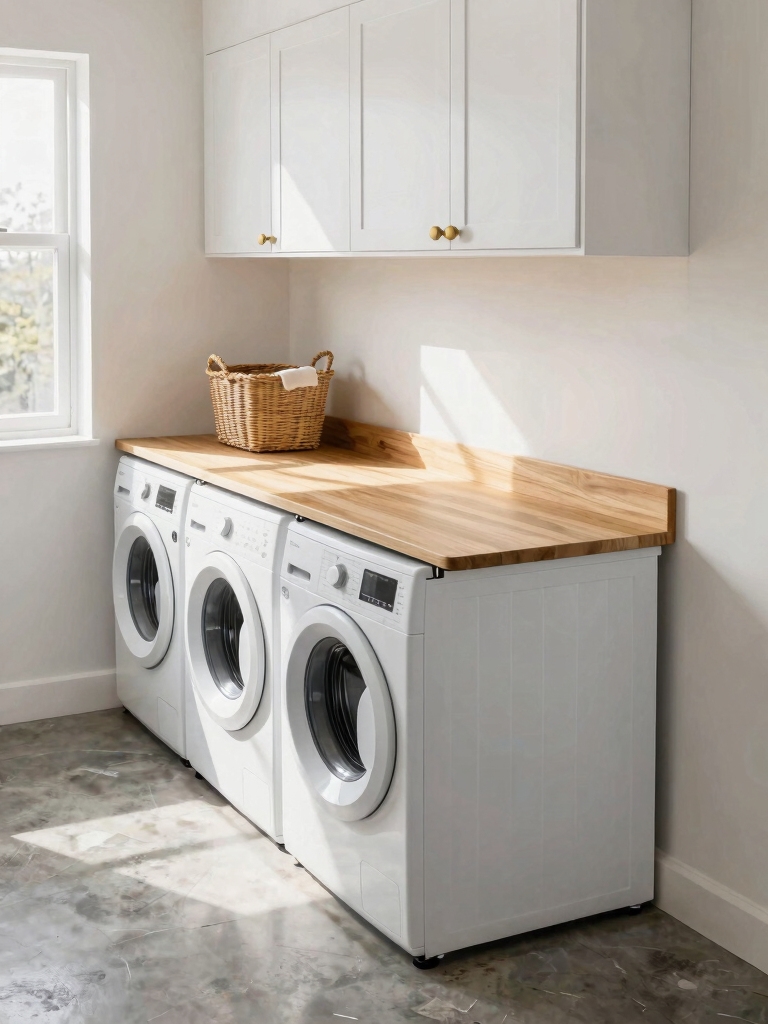
Maximize Surface Utility
While considering space-saving solutions, you can maximize surface utility by installing a folding countertop over your front-load washers and dryers.
I use mine for sorting and folding laundry, then simply lift it against the wall when I need machine access.
It’s a simple DIY project with affordable materials like a pre-cut laminate board and sturdy hinges, instantly creating a workspace that disappears.
Hide Unsightly Appliances
Since I’d rather not look at my washer and dryer all day, I built a folding countertop to hide them.
I used a simple plywood panel hinged to my wall. It folds down to provide a great laundry folding surface, then lifts back up to conceal my front-load machines.
This is a cheap DIY project that keeps my small space looking neat and maximizes its utility.
Integrate a Pull-Down Drying Rack Above the Washer
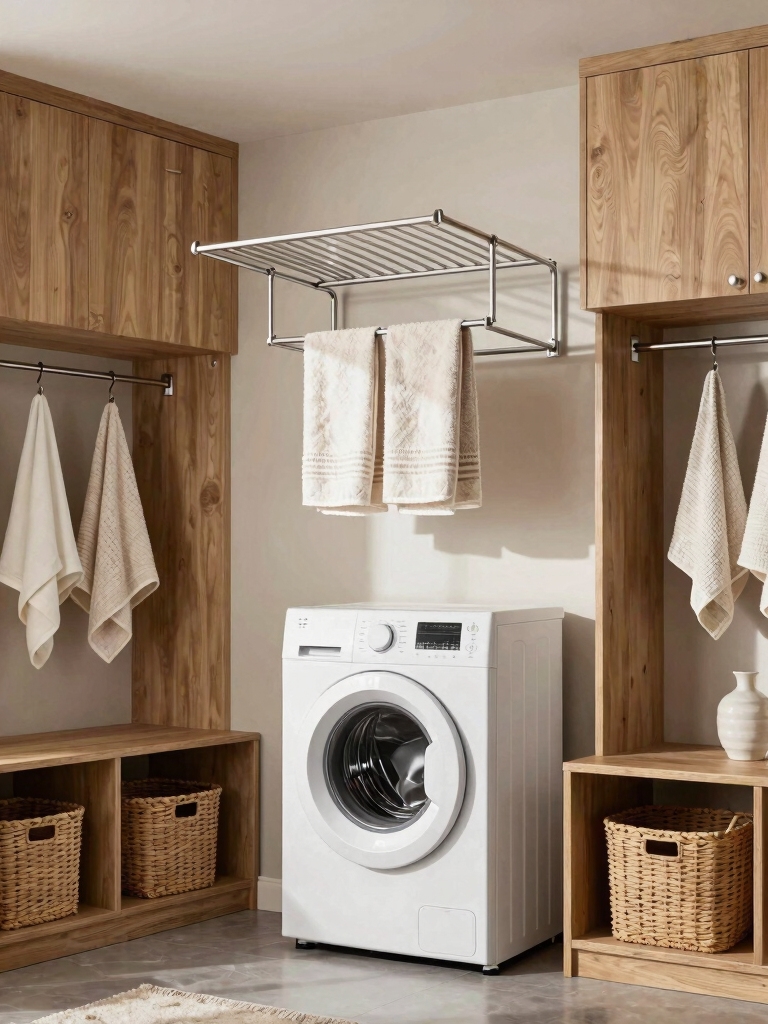
One fantastic way to maximize your space is to install a pull-down drying rack directly over your washing machine.
I love that it’s out of sight when not in use. You can easily buy a ready-made rack or build a simple one from wood.
It’s perfect for air-drying delicates or lightly worn clothes, and it uses that often-wasted vertical space so efficiently for an affordable, practical upgrade.
For even more space-saving, consider a stackable washer dryer to free up floor area in your small laundry room.
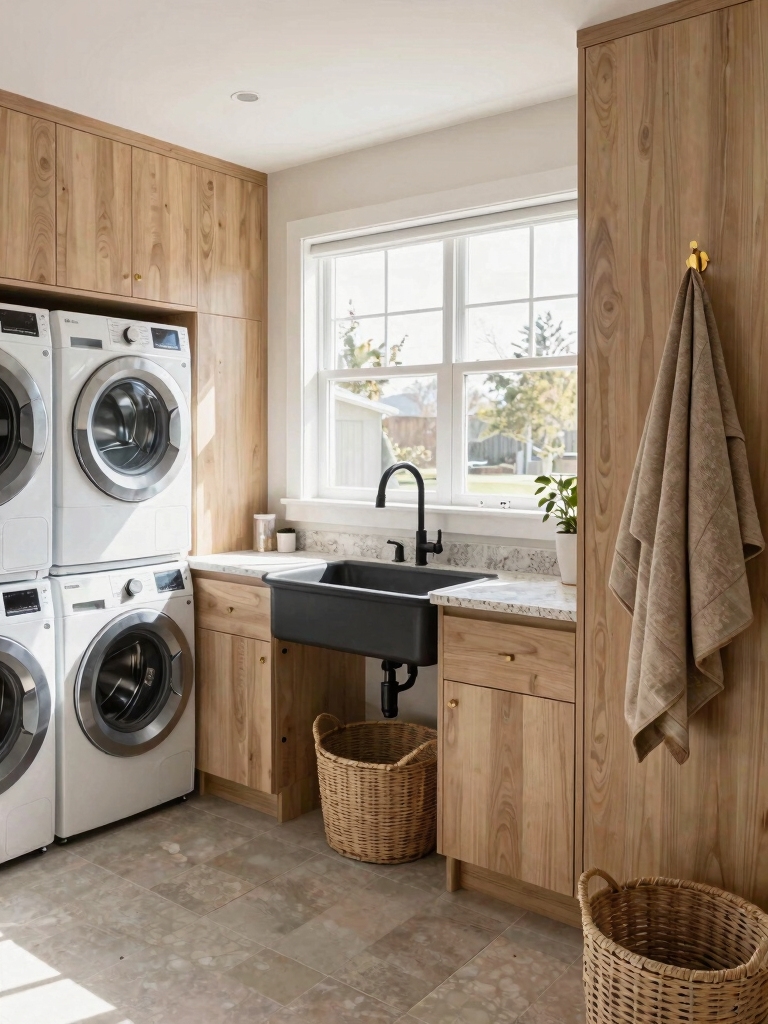
Choose a Deep Utility Sink for Hand-Washing
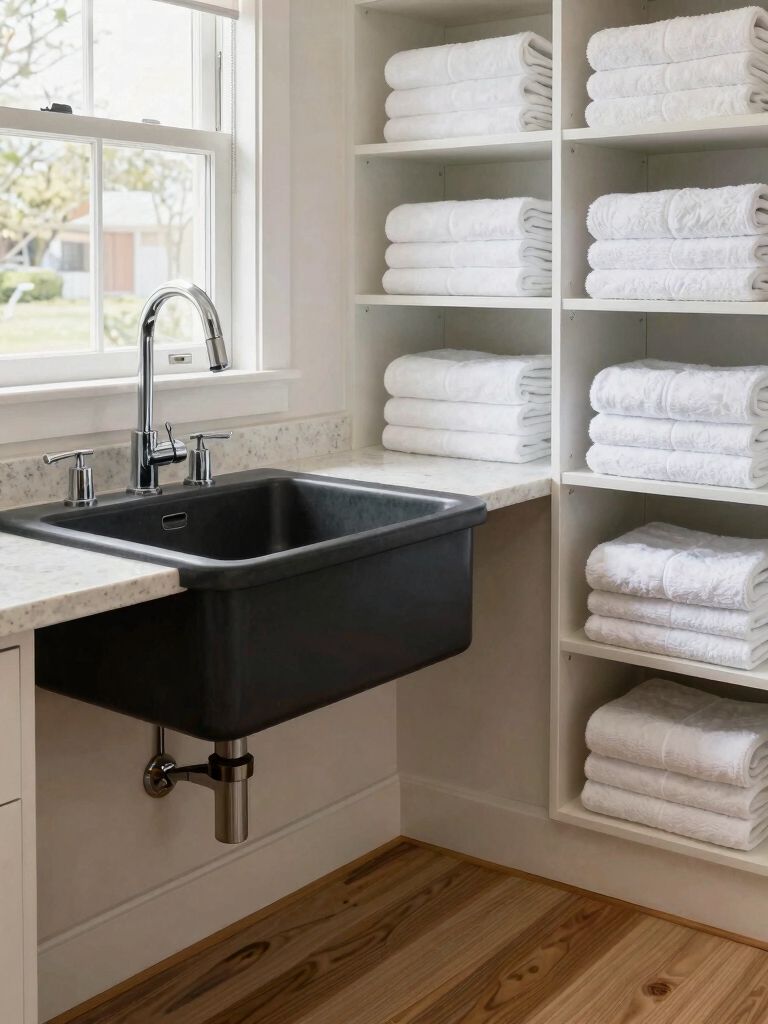
I can’t overstate the utility sink‘s benefits for my laundry routine.
Its deep basin handles messy hand-washing jobs I’d never use my kitchen sink for.
I find it’s essential for soaking stained items or cleaning up muddy gear.
Maximizing every inch with clever storage around the sink can significantly improve workflow and space efficiency, as seen in many tiny laundry room ideas.
Utility Sink Benefits
A deep utility sink instantly upgrades your laundry room’s functionality, especially when you need to hand-wash delicate items or tackle messy cleaning projects.
I can’t overstate its value for soaking stained clothes or rinsing muddy boots. Opting for a basic, deep-bowl model keeps it an affordable DIY upgrade that saves your kitchen and bathroom sinks from dirt and grime, making every messy chore much simpler to handle.
Deep Basin Functions
Opt for a deep utility sink if hand-washing is a regular chore in your household.
I find a deep basin’s the key for soaking bulky items and preventing splashes. You’ll handle mop buckets and messy garden cleanups without a fuss.
I often install a simple, affordable stainless steel model. Its high backsplash and deep well make every scrub-down easier, truly maximizing a small space’s function.
Essential Laundry Tasks
Beyond soaking large items, hand-washing itself benefits from a deep utility sink‘s high backsplash and basin.
I keep splashes contained while scrubbing delicate fabrics or muddy boots. Its deep basin lets me fully submerge items, making the process more efficient.
This affordable upgrade is a DIY-friendly task that supports essential laundry chores, moving them from a cramped bathroom to my dedicated, hardworking mudroom laundry space.
Opt for Durable, Easy-to-Clean Floors and Walls
Since mudrooms and laundry rooms get messy, I choose materials that can handle spills and dirt without a fuss.
For my floor, I install affordable vinyl plank or ceramic tile. Their sealed surfaces wipe clean instantly.
On the walls, I use semi-gloss paint. It’s tougher than flat paint and resists scuffs.
I might even add a budget-friendly tile backsplash or durable paneling behind my sink for extra protection.
Creating a space that does double the work ensures both functionality and style in a small mudroom laundry room.
Layer Your Lighting for Chores and Atmosphere
I always make sure my mudroom laundry has strong task lighting over the sorting area and machines. I also add an affordable, softer source like a plug-in wall sconce for overall ambiance. This layered approach helps me see my chores clearly while keeping the space from feeling too harsh. Incorporating clever storage solutions can further maximize the functionality of this compact space.
Task Lighting Essentials
While you fold laundry or spot-treat stains, you need bright, direct light over your work surfaces, so let’s start with task lighting as your first functional layer.
I install puck lights under my upper cabinets. A simple LED strip inside an open shelf also works perfectly.
For my folding counter, a plug-in swing-arm lamp is my affordable, go-to solution. This focused light makes every detail visible.
Ambient Light Options
After you’ve handled the practical task lighting, you can soften and balance the space with ambient light.
I install a simple flush-mount ceiling fixture with a dimmable bulb for overall glow.
On a budget, I’ll just swap in a warmer-toned bulb in an existing fixture.
For a bit of character, a plug-in wall sconce or a single, slim LED strip under a shelf adds a welcoming layer without complicated wiring.
Convert Under-Stair Space Into a Laundry Nook
Because you’re likely tight on space, consider transforming that awkward under-stair closet into a compact laundry nook.
I measure my available height first to find a stacked or compact washer-dryer unit that fits. Adding a simple countertop on top creates a folding surface.
You’d be surprised how functional this spot becomes with a little paint, a hanging rod, and a waterproof floor mat for practicality.
Incorporating creative laundry room solutions can maximize efficiency and storage, making even the smallest area highly usable.
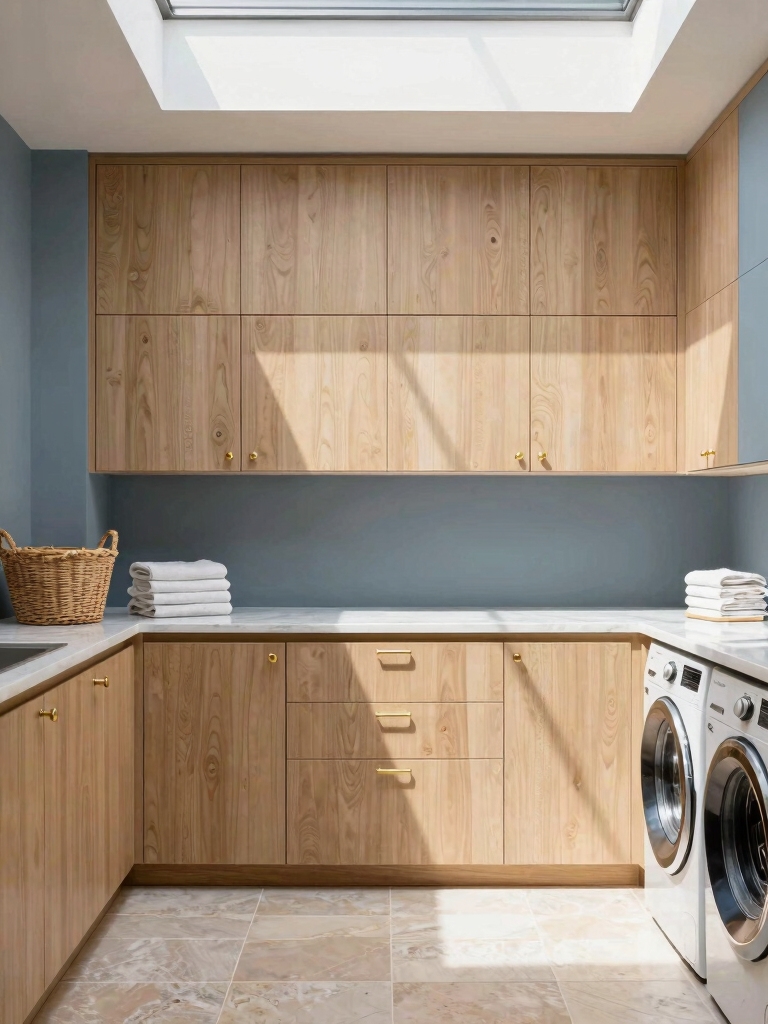
Build Closed Cabinets for Detergents and Supplies
Once the washer and dryer are set, I focus on containing all the detergents and supplies in a custom-built closed cabinet.
I buy a basic, unfinished cabinet from a home improvement store and mount it to the studs for stability. I then stain or paint it to match my room.
This simple, affordable DIY project keeps chemicals safe, reduces visual clutter, and makes every supply easy to find.
To maximize space efficiency, I incorporate clever storage solutions that utilize every inch of the mini laundry room.
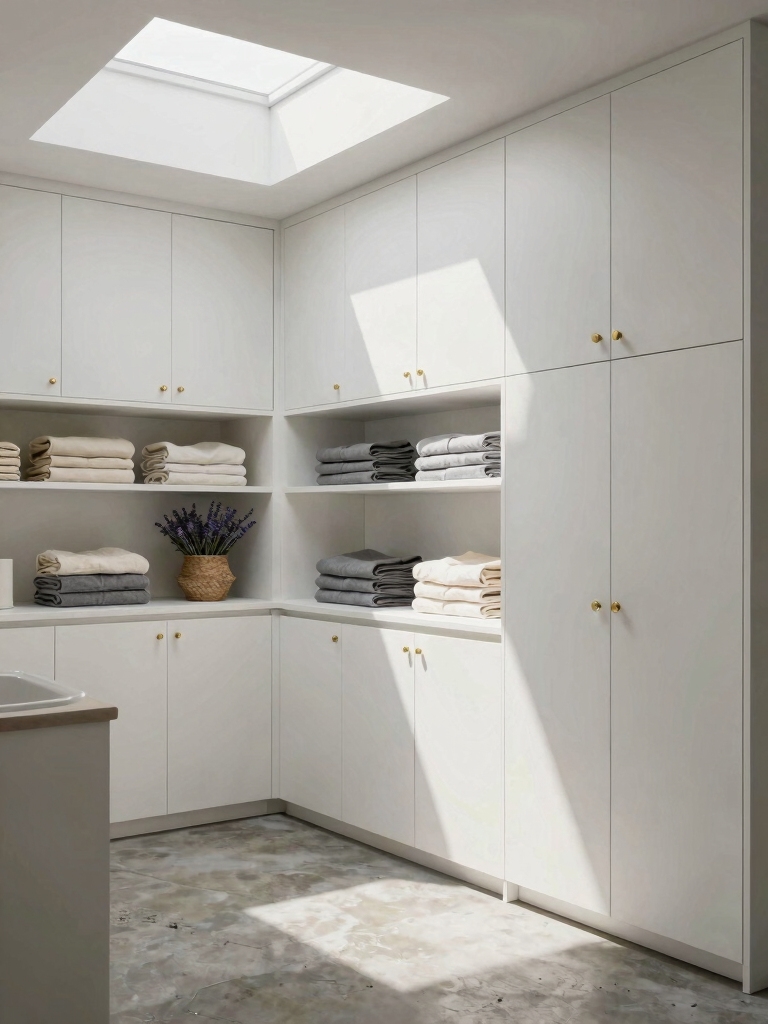
Maximize Vertical Space With Shelves to the Ceiling
I like to use the vertical space with simple built-in shelves that go all the way to the ceiling.
You can add suspended baskets or hooks to the bottom of the shelves for extra items.
It’s a super affordable way to get a ton of extra storage in my small laundry area.
Incorporating clever space-saving solutions like these can instantly free up valuable room in your small mudroom laundry space.
Built-In Storage Solutions
To make the most of your mudroom laundry area, I’ll focus on building storage that reaches up to the ceiling.
I build simple, floor-to-ceiling wooden shelves beside my washer. It’s a straightforward DIY project. You can adjust the shelf heights for detergent, baskets, or lesser-used items.
It utilizes every inch and costs very little. This keeps your essentials organized and your floor clear.
Suspended Baskets Or Hooks
Moving upward from built-in shelves, suspended baskets or hooks also claim unused air.
I hang a simple wire basket for stray socks or use a sturdy hook for a tote bag holding cleaning supplies. You can install these yourself with basic hardware.
They’re an affordable way to keep clutter off the floor and make every inch of your vertical space work harder for your daily routine.
Use Baskets and Bins to Corral Small Items
Keeping a mudroom-laundry room tidy hinges on corralling small, loose items. I use affordable baskets and bins for this.
I dedicate a bin for each family member’s stray mittens or hats. A small basket catches loose change from pockets before laundry.
I even label them for quick sorting. It’s a simple, DIY-friendly system that keeps clutter contained and makes finding what I need effortless.
Install a Pegboard Wall for Customizable Storage
I love using a pegboard because I can design a completely flexible layout for my space.
I keep my cleaning tools and supplies right where I need them using hooks and shelves.
Adding small baskets to the board gives me even more spots to corral smaller items.
Design A Flexible Layout
Because you want a space that adapts to your changing needs, consider installing a pegboard wall.
I mount mine right over my washer for quick access. Its genius is in its flexibility; you can rearrange hooks and shelves anytime.
As my laundry routine evolves, I simply move a basket hook or add a small shelf for detergent. It’s a custom solution that grows with you.
Store Tools And Supplies
Imagine turning an ordinary wall into a custom command center for your laundry essentials.
I install a pegboard, which offers endlessly adaptable storage. I use hooks and shelves to hang my iron, store detergent bottles, and organize cleaning tools.
This DIY project is affordable and incredibly practical. I can rearrange my supplies as my needs change, keeping everything visible and within easy reach while I work.
Add Baskets And Hooks
Pegboard walls transform clutter into a custom storage system by pairing versatile hooks with woven baskets.
I mount one panel for an affordable, modular hub. Hooks handle dog leashes and keys, while designated baskets collect everyone’s mittens or loose socks.
I easily rearrange the pegs as my family’s needs change, keeping our daily mess completely contained.
This simple DIY project maximizes every inch without a costly renovation.
Create Open Cubbies for Bags and Backpacks
Since our mudroom can become a catch-all, I often find that dedicated open cubbies are a simple, affordable way to manage daily bags and backpacks.
You can easily install a ready-made unit or build your own from basic pine boards. Label each space to keep things organized.
- A row of three deep, square cubbies mounted directly to the wall.
- A canvas tote and a school backpack tucked neatly inside.
- Simple adhesive name labels on the front edge of each shelf.
Mount Wall Hooks for Coats, Hats, and Leashes
While the cubbies handle bags, I use sturdy wall hooks to keep coats, hats, and leashes accessible and off the floor.
I install them myself with a level and drill, placing them at different heights for kids and adults.
You’ll find simple, affordable sets at any hardware store.
This quick project instantly clears floor clutter, making the most of your vertical wall space every single day.
Design a Boot Tray Station to Catch Mud and Water
To keep the mess from ruining my floors, I designed a dedicated boot tray station right by the entrance.
It’s just a large, heavy-duty plastic tray with a raised edge. I placed a textured mat inside for extra traction.
- A deep plastic tray that holds several pairs of muddy boots.
- A grippy outdoor rug mat cut to fit snugly inside.
- A small stool tucked beside it for easy sitting while changing.
Tuck a Hidden Hamper Into a Bench or Cabinet
My next project tackles laundry clutter by hiding a hamper in a multi-purpose bench.
I’ll build a simple bench with a hinged top and an open shelf below. A standard fabric hamper sits inside, completely out of view. It keeps everything contained and accessible.
You can also repurpose an old cabinet or a large storage ottoman for this. The goal is to contain the mess affordably.
Designate a Dedicated Station for Sorting Laundry
Since we’ve tackled hiding the laundry, let’s make sorting it easier. I designate a station right where clothes land.
You can build a simple, affordable sorter from stacked crates or install wall-mounted bags. The key is having distinct spots for lights, darks, and delicates before wash day.
- Three labeled bins tucked under a counter.
- Color-coded fabric bags hanging from hooks.
- A repurposed wooden bookcase with divided cubbies.
Add a Slim Rolling Cart for Flexible Mudroom Storage
With our sorting system in place, a slim rolling cart introduces adaptable storage that’s ready for any task.
I roll it between the washer and cabinets to hold supplies, then clear it for folding. You can find affordable metal or wooden carts easily.
I love that it’s a mobile surface I can customize with baskets for detergents or a bin for cleaning rags, maximizing every inch.
Include a Folding or Wall-Mounted Ironing Board
While a rolling cart handles supplies, a folding or wall-mounted ironing board tackles creases without taking up floor space.
I always install mine inside a cabinet door or on a blank wall near the washer. It’s a simple weekend DIY project that saves you from dragging a full-size board out.
- Mounting it behind a cabinet door for a hidden, instant setup.
- Securing a fold-down model onto an empty wall section.
- Using a basic bracket system for an affordable, store-bought version.
Conclusion
I hope these ideas prove that even a small space can work harder. Did you know nearly 60% of laundry rooms also serve as mudrooms? Making those zones work together is key. My approach is always about practical, DIY-friendly solutions you can afford, so start with just one or two of these tricks to transform your own dual-purpose room.