I coordinate with my roommate early to split costs and plan our color scheme. I’ll loft my bed for floor space and invest in multi-functional furniture like a storage ottoman. I use vertical storage with hanging shelves and maximize my closet with slim hangers. Creating a defined study zone with good lighting keeps me focused, while string lights and a DIY rug add cozy vibes. My personal decor makes it home—stick with me to reveal all my space-saving secrets.
Coordinate With Your Roommate Before Move-In Day
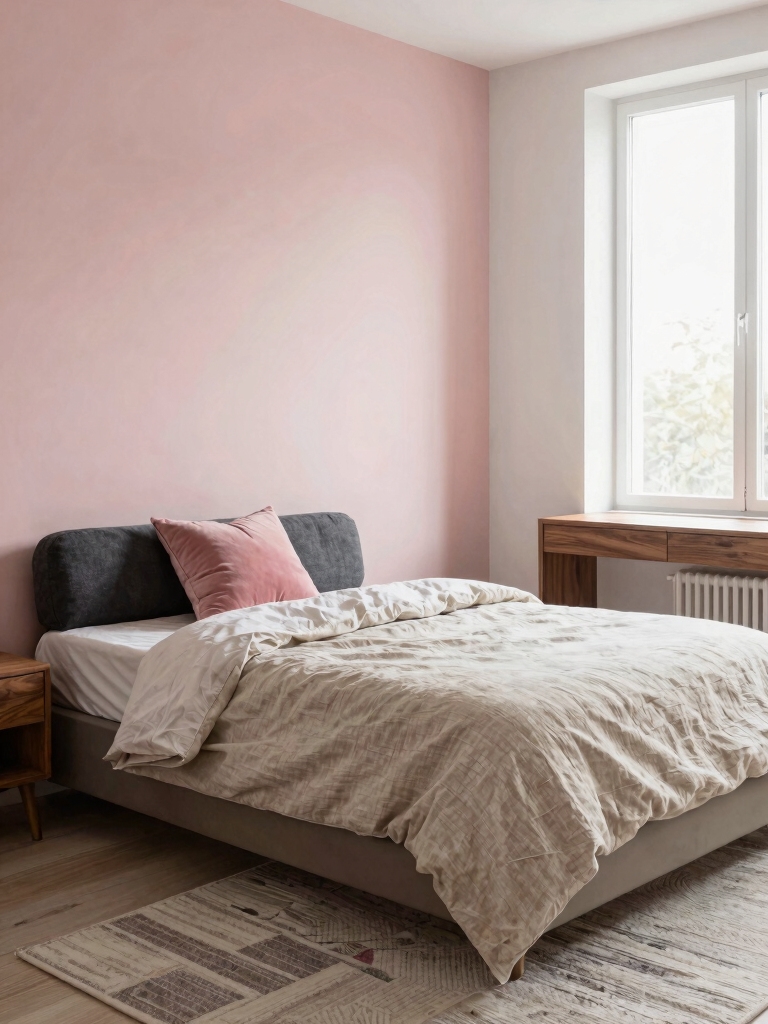
Since you might be imagining your perfect dorm setup, I’d suggest reaching out to your roommate now—it’s the smartest first move you can make to save money and avoid duplicates.
Chat about who’s bringing the mini-fridge, rug, or floor lamp. You can even plan a cohesive color scheme together for a vibrant look.
Splitting costs on essentials means more budget for cool DIY projects and personal decor later.
Creating a cozy dorm room atmosphere with shared essentials and coordinated decor can significantly enhance your comfortable college life experience.
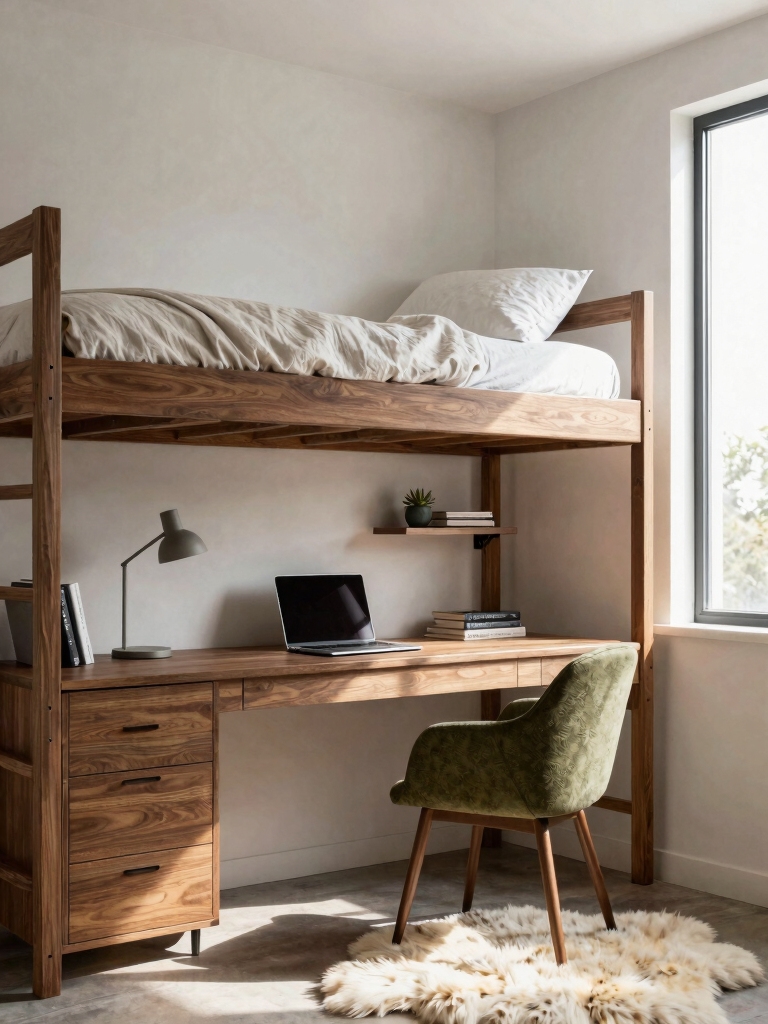
Loft Your Bed for Maximum Floor Space
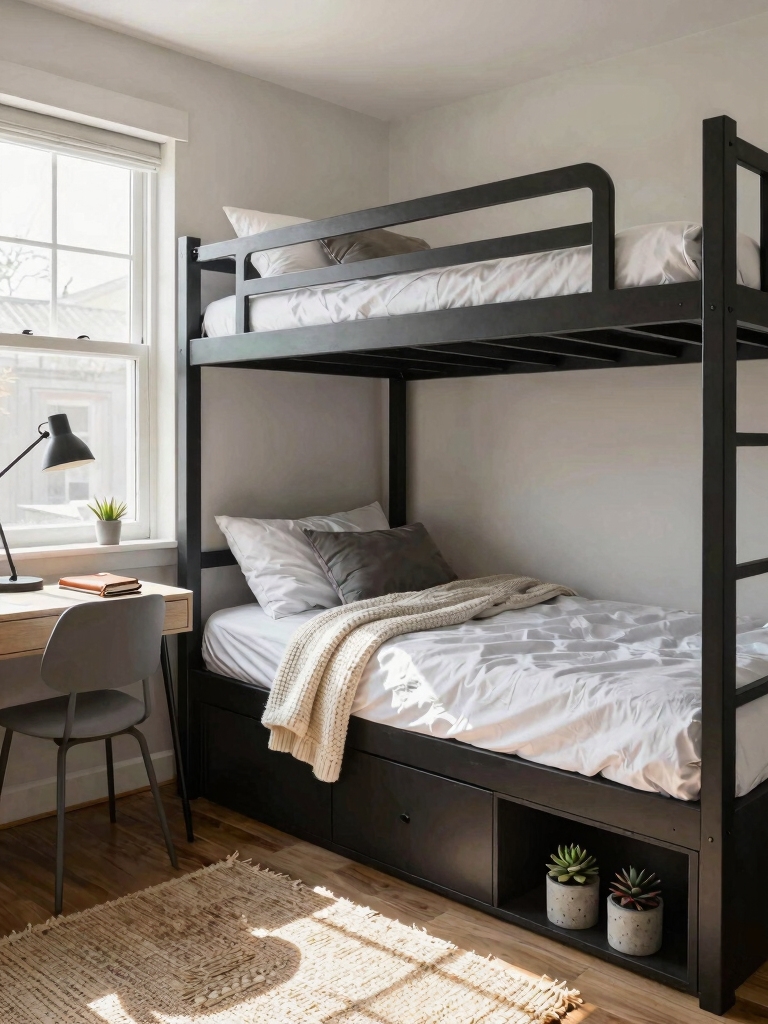
I think lofting your bed is the single best trick for opening up your small room.
Let’s first check if your dorm bed frame can handle it, then explore the awesome space you’ll gain underneath.
I’ll show you a few easy DIY methods that don’t cost much to get you that lofted look.
Lofted beds are a popular solution in dorm rooms because they effectively double your living space, giving you more room for studying, storage, or relaxing.
Weigh Your Bed’s Suitability
One of your best moves for creating space is to loft your bed, instantly freeing up your entire floor plan for a study nook, cozy seating, or extra storage.
Before you buy lofting gear, I always check my dorm’s rules—some beds are built-in.
I also consider my ceiling height; you don’t want to scrape your head!
Measuring first saves money and hassle.
Benefits Of Lofting
Lofting your bed isn’t just about creating a cool look; it opens up your room’s entire floor plan.
Suddenly, I’ve got space for a comfy rug, a mini-fridge, and a study nook I’d otherwise sacrifice. It’s a total game-changer for small dorms.
I love how it feels like my own elevated retreat, and best of all, it’s a super savvy, DIY-friendly way to maximize every precious square inch.
Selecting A Lofting Method
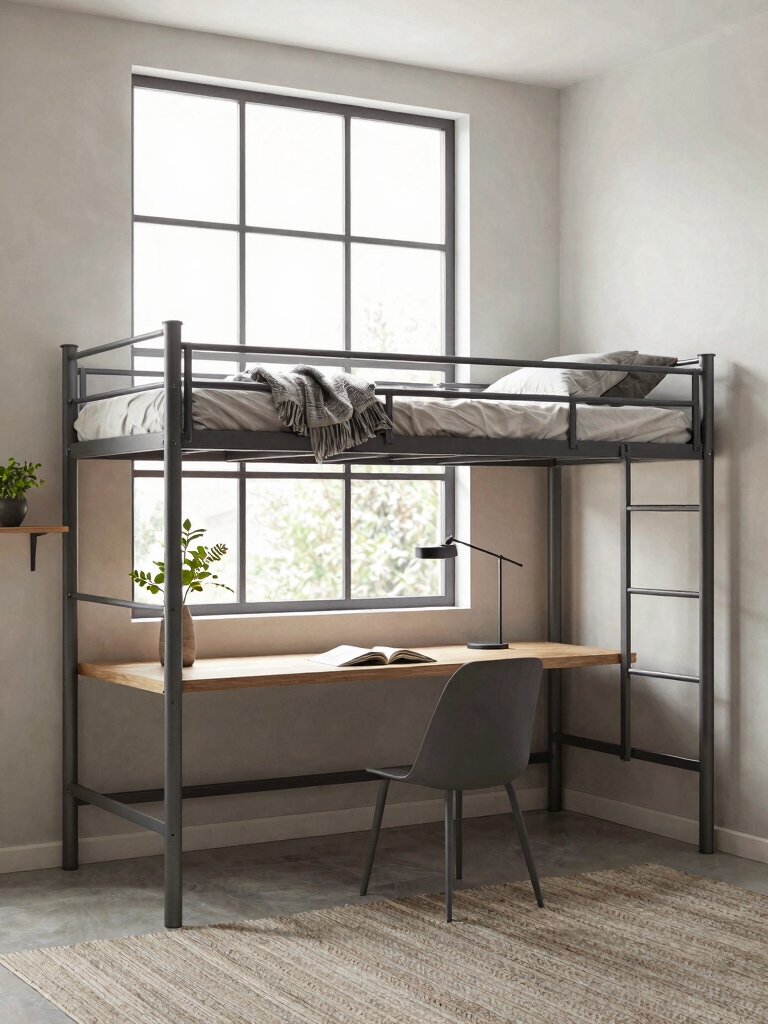
Because you’re ready to reclaim that floor space, choosing how to loft your bed is the next essential step.
I always explore my options. Your university might provide sturdy, adjustable lofting kits—check first!
For a custom DIY vibe, I’ve built my own with cinder blocks and wood from a hardware store. Just make sure everything’s secure.
That new space underneath becomes your desk nook or cozy lounge area.
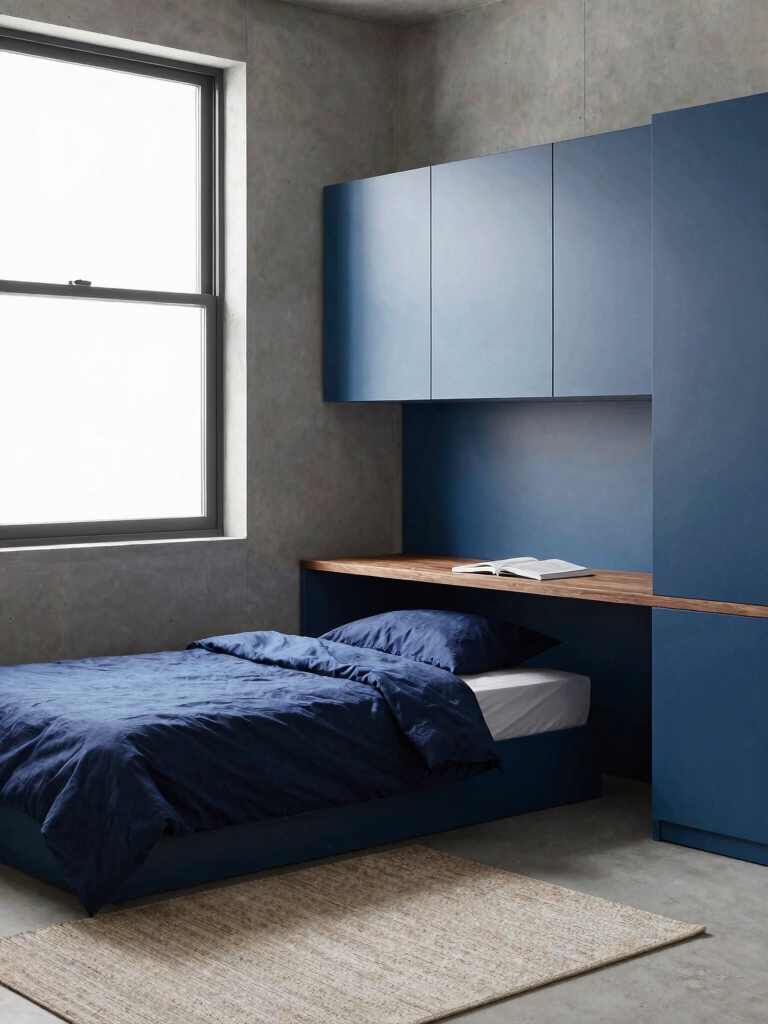
Invest in Essential Multi-Functional Furniture
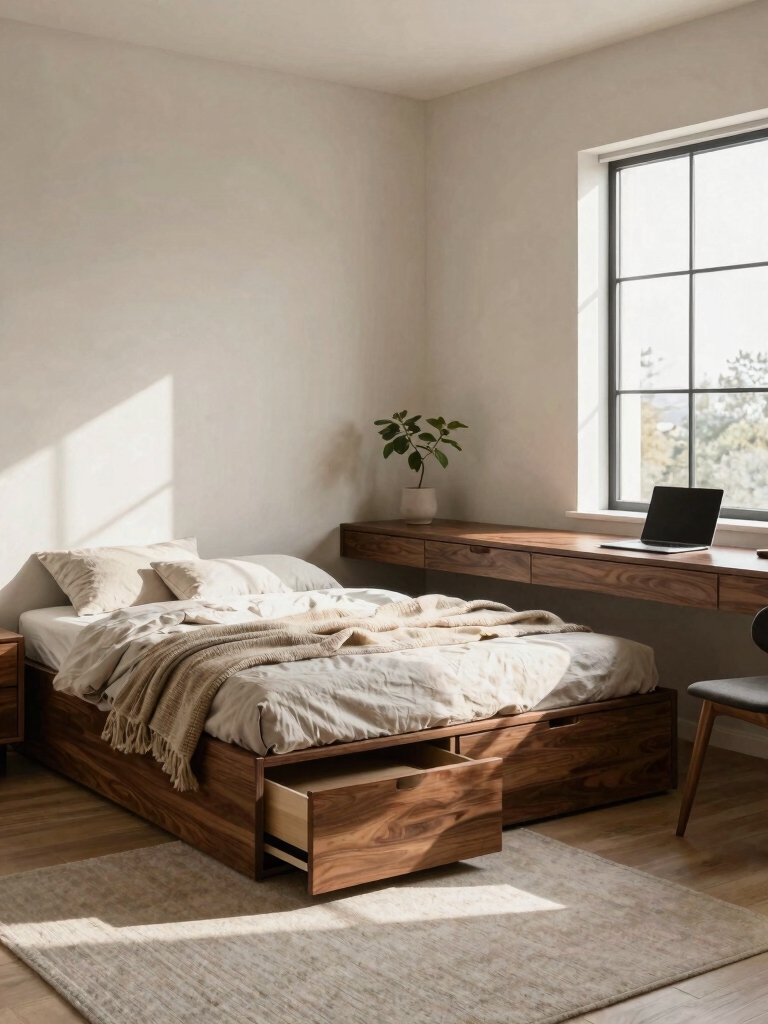
While space is precious in a shared dorm, you can maximize every inch by choosing furniture that serves multiple purposes.
I adore a storage ottoman you can sit on, or a bed with deep drawers underneath.
Grab a foldable desk that becomes a dining table, or use stackable crates as both a nightstand and bookshelf.
These savvy picks save money and floor space, letting your personal style shine through.
Incorporating creative tips for a harmonious shared dorm experience can make living together more enjoyable and stress-free.
Use Vertical Space for Clever Dorm Room Storage
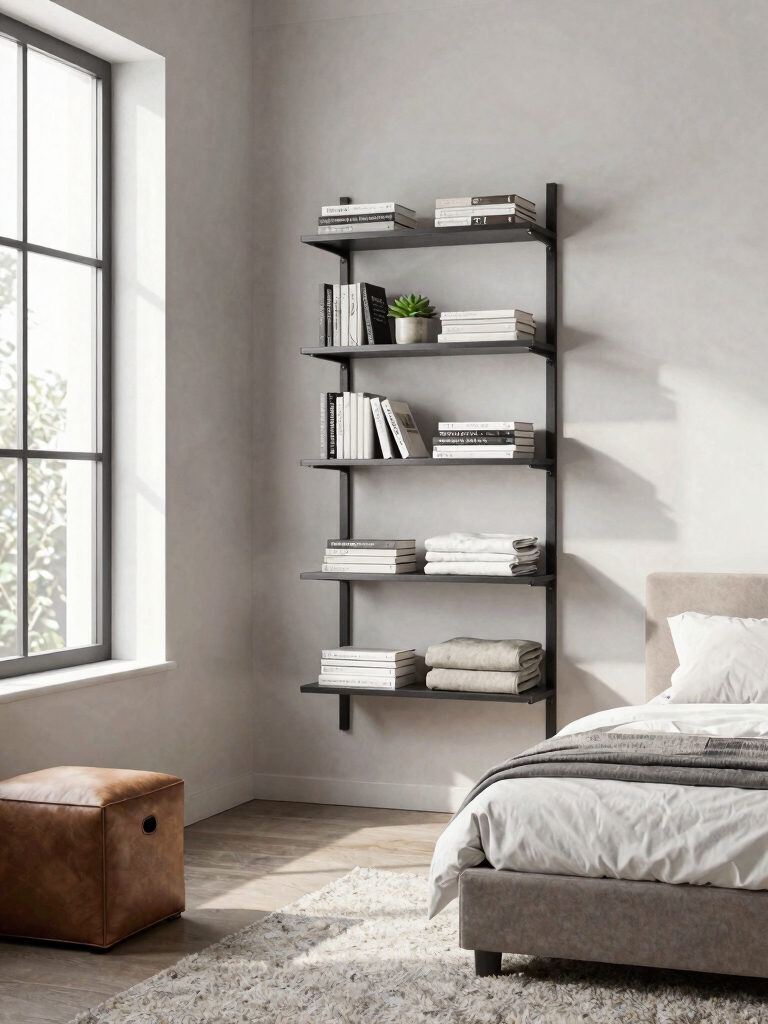
To make your dorm feel bigger and smarter, start looking up. I install hanging shelves and command hook grids for lightweight supplies.
I mount a pegboard on an empty wall to organize my tools and headphones. I even use over-the-door hooks for bags and towels.
I repurpose a simple wooden ladder as a stylish blanket rack. Every vertical inch becomes vibrant, budget-friendly storage.
Incorporating modern minimalism in your dorm not only maximizes space but also creates a stylish, clutter-free environment.
Organize Your Tiny Closet System
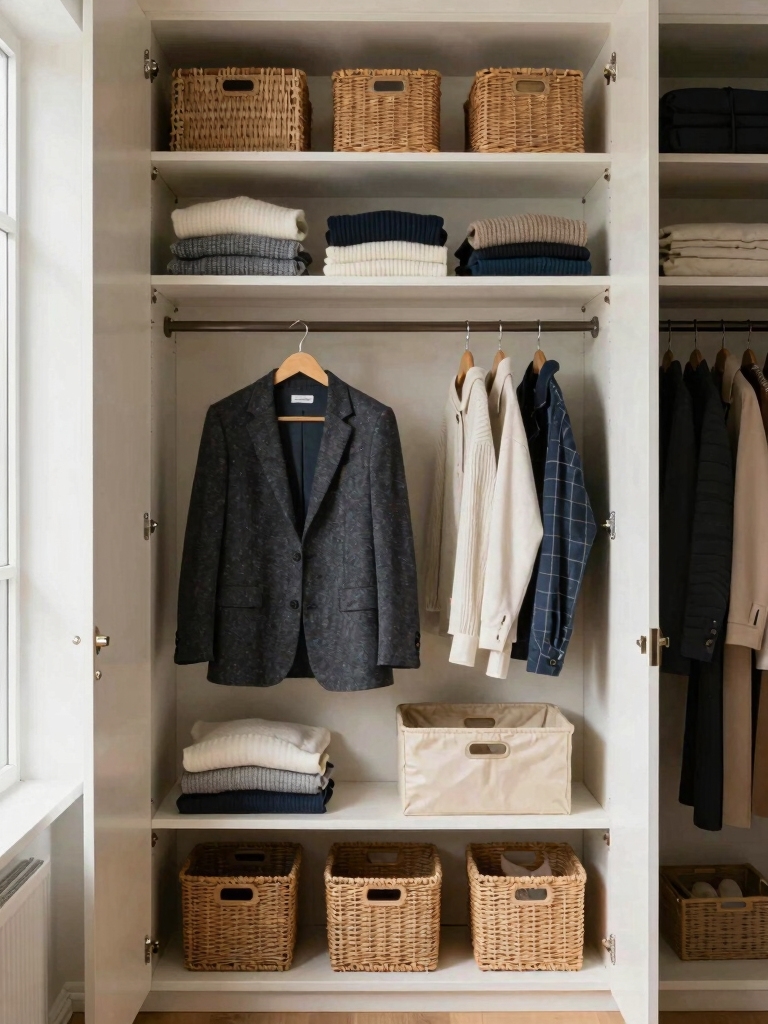
First, I maximize every inch by stacking bins and using the back of the closet door.
Next, I swap out bulky hangers for slim velvet ones to save space and keep clothes from slipping.
Finally, I add extra storage with a hanging organizer I made from an old shoe rack for all my accessories.
Using smart design tips can help you fit more into less space efficiently.
Maximize Every Inch
Since your closet is probably cramped, you’ll want to get creative with its layout right away.
I install a second hanging rod for my shorter items, instantly doubling my vertical space.
Stacking fabric cubes on the floor holds sweaters, while an over-the-door organizer with clear pockets keeps accessories visible and untangled.
A tension rod mounted inside the door frame is perfect for scarves and belts.
Choose The Right Hangers
A smart hanger upgrade is the absolute secret to organizing your tiny closet system.
I ditch bulky wooden ones and grab slim, non-slip velvet hangers; they’re chic and save tons of space.
For scarves or belts, I’ll often clip them onto a single hanger with binder clips—a quick DIY trick.
This simple switch makes everything hang neatly and instantly doubles my usable closet real estate.
Add Extra Storage Solutions
Even though your closet is small, you can dramatically increase its capacity by looking up. I get creative with these easy, affordable DIY tricks.
- Install a hanging rod above your existing one for extra shelving.
- Use stackable bins on the top shelf for seasonal items.
- Hang a multi-pocket organizer on the door for shoes or accessories.
Hide Clutter With Stylish Decorative Baskets and Bins
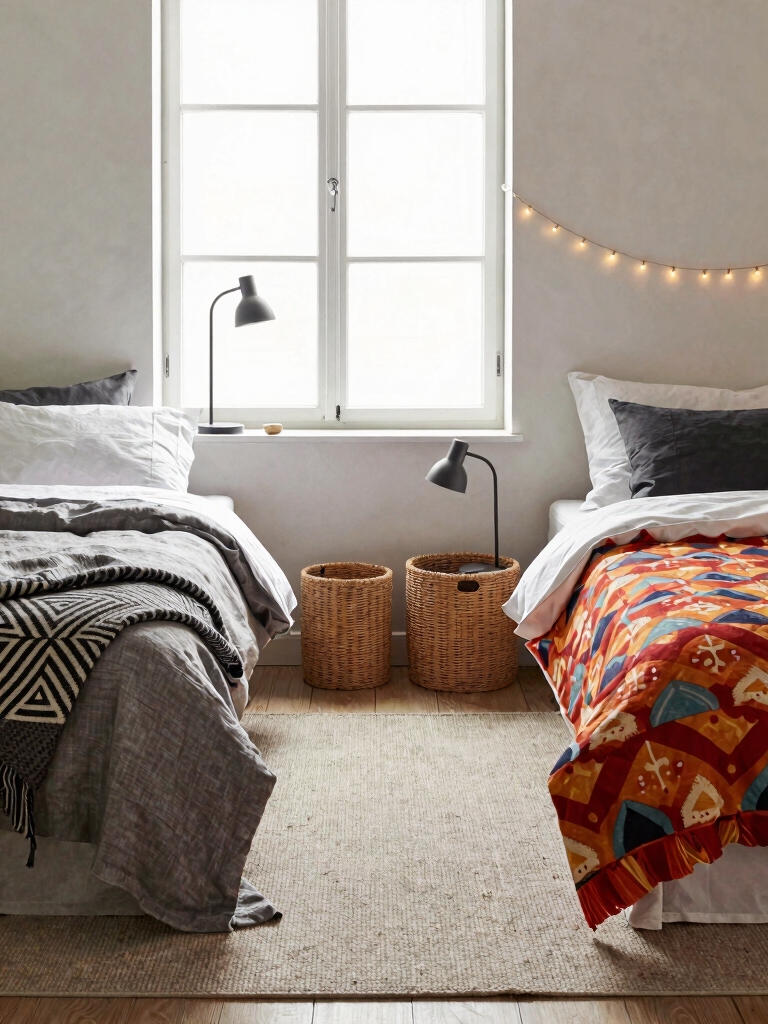
Freshmen, you can easily tame that first-semester chaos with some cleverly chosen baskets and bins.
I hunt for affordable, textured ones at thrift stores or discount retailers. A woven basket instantly corrals my extra blankets, while patterned fabric bins on my shelf hide all my snacks and supplies.
It’s my favorite DIY trick—they add a vibrant aesthetic while making my small space feel instantly organized and intentional. Incorporating these storage solutions is a great way to transform your dorm room into a cozy home retreat.
Map Your Layout for Flow and Function
I always start by sketching my room’s footprint on graph paper to plan my furniture placement.
I then apply the triangle method, arranging my bed, desk, and storage in a loop for easy movement.
This simple DIY map creates a functional flow without costing a thing.
Lofted beds are a great way to maximize space and add a stylish lofted bed that also enhances room functionality.
Plan Your Room’s Footprint
Start with a blank blueprint, right on your dorm floor, using tape to map out your room’s actual footprint. I trace my bed, desk, and dresser positions before a single box is unpacked. This DIY hack guarantees everything fits and flows.
- Define Zones: Tape separate areas for sleep, study, and socializing.
- Check Clearance: Map walking paths so doors and drawers open freely.
- Visualize Vertical Space: Remember, walls are prime real estate for shelves and decor.
Apply The Triangle Method
Once you’ve got your floorplan taped out, it’s time to bring it to life with the triangle method, a designer trick that maps your three most-used spots—bed, desk, and door—into a tight, functional loop.
I arrange these points so I can flow between them easily, minimizing wasted steps. This smart spatial hack creates a vibrant, efficient base I can then decorate with all my DIY flair.
Build a Mini-Kitchen for Snacks and Coffee
Since making your own snacks and coffee saves money and avoids crowded dining halls, let’s turn a corner of your room into a functional mini-kitchen. I find a vibrant, DIY setup is totally achievable.
- Station the Staples: Claim a small cart or desktop area for your electric kettle and single-serve coffee maker.
- Organize Affordably: Use thrifted mugs and a dollar-store basket for teas, instant noodles, and snacks.
- Add Your Vibe: Stick up some peel-and-stick wallpaper as a cheerful backsplash.
To maximize space and style, consider incorporating stylish dorm room hacks that every guy should try to enhance functionality and aesthetics.
Manage Cords and Tech for a Tidy Space
While I love the convenience of all my gadgets, the tangled mess of cords can quickly sabotage your dorm’s tidy vibe.
My trick is using colorful binder clips to group cables neatly behind my desk. I also grab cheap cable sleeves or even braid them with festive ribbon for a cute, DIY look.
A simple power strip mounted with velcro keeps everything accessible but hidden.
Incorporating clever storage solutions can maximize your limited space and keep your cords organized efficiently.
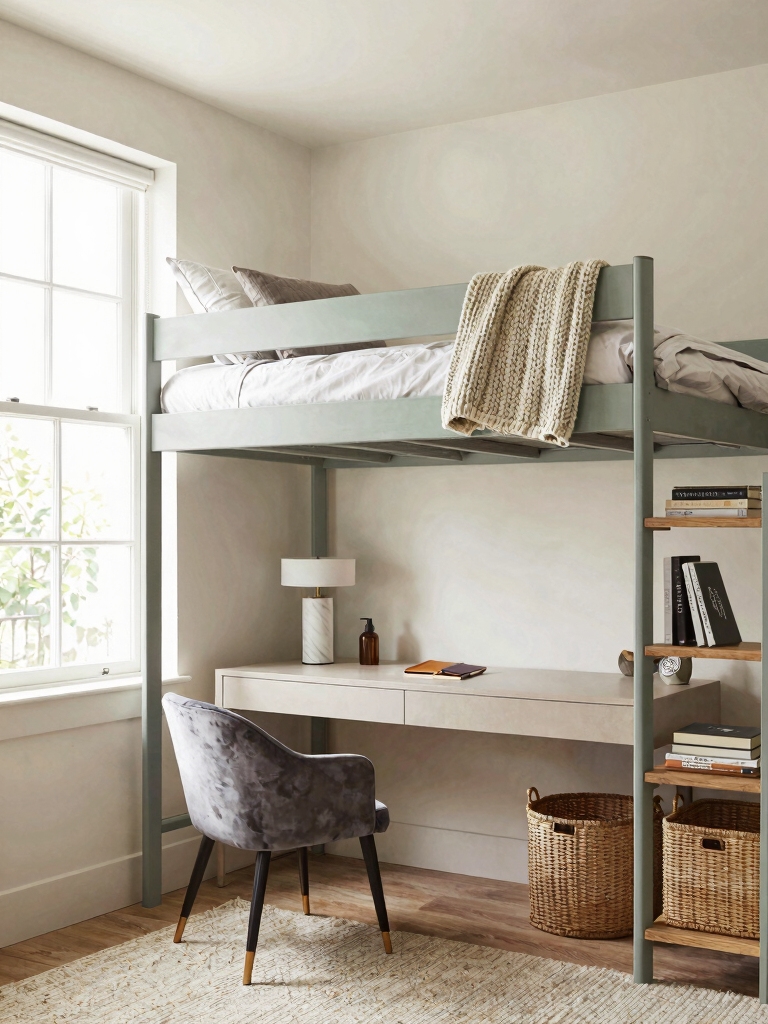
Create a Study Zone That Helps You Focus
Because your bed shouldn’t pull double-duty as your desk, I turned a simple corner of my room into a focused study zone without breaking the bank.
I defined the space with a patterned tapestry as a backdrop and used a clip lamp for bright, direct light.
Here’s my budget-friendly, DIY-inspired blueprint:
- Ambient Backdrop: A thrifted tapestry sets a vibrant, intentional mood.
- Task Lighting: A sturdy clip lamp banishes eye strain.
- Surface Sanctity: I keep my desk strictly for supplies and work, not snacks or scrolling.
Adding personal touches and creative organization can truly transform your college dorm into a motivating environment.
Add Comfort With Rugs and Dorm Room Curtains
A study zone sharpens your mind, but soft touches like rugs and curtains make your whole room feel like home.
I hunt for vibrant, machine-washable rugs at discount stores to warm up cold floors.
For curtains, I grab cheap tension rods and bold fabric remnants to DIY panels that add color and privacy.
These cozy layers instantly soften the space and let my personality shine through on a tiny budget.
Set the Mood With Smart Lighting
Now that your floors and windows are cozy, let’s brighten up the space with some layered light.
I’m obsessed with using budget-friendly bulbs and DIY projects to create different vibes for studying or relaxing.
- String Fairy Lights: Drape them over your bedframe for instant magic.
- Clip-On Desk Lamp: Get one with a warm, dimmable bulb.
- DIY Salt Lamp: Make one with a jar, salt, and an LED tea light.
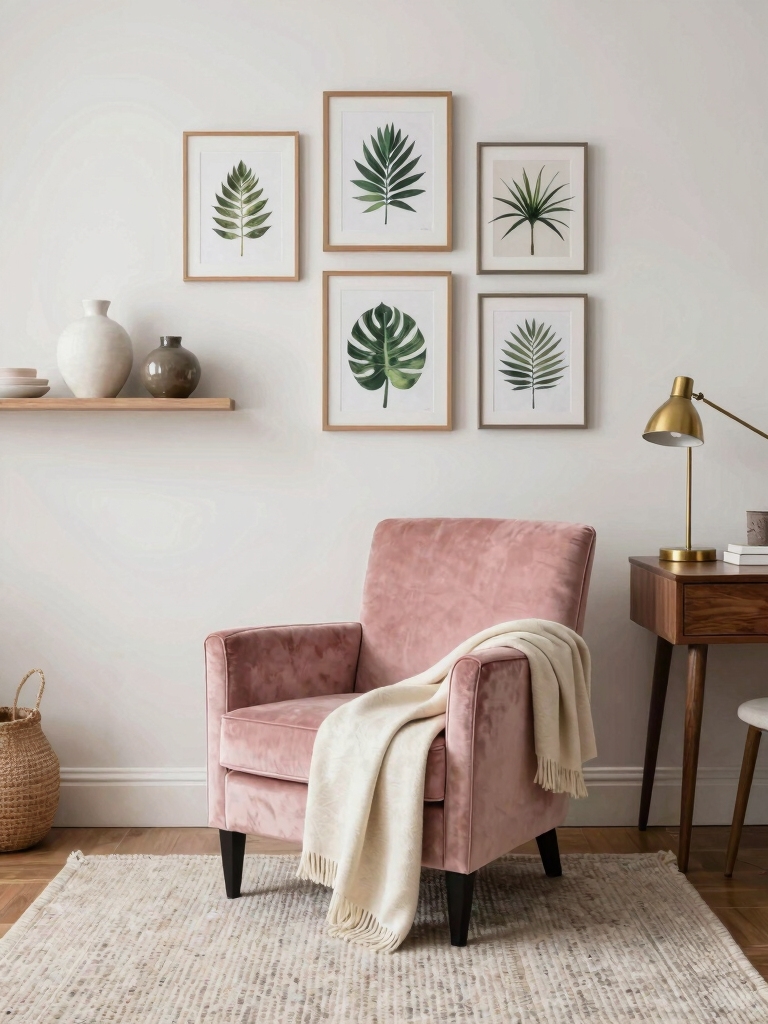
Personalize Your Space With Photos and Wall Art
Your walls are a blank canvas ready to tell your story, so let’s fill them with personality without emptying your wallet.
I grab washi tape for a photo gallery wall—no nails needed! I print favorite pics cheaply and frame postcards.
I make my own art with fabric scraps or paint samples. It’s all about layering memories and color for a vibrant, uniquely me space.
Conclusion
So plunge in and get creative! With these tips, your tiny dorm will blossom into your perfect launchpad. Remember, transforming that blank canvas into a cozy, functional haven doesn’t need to break the bank. A little DIY spirit is the secret sauce. Now, go make that shoebox your sanctuary—you’ve totally got this.