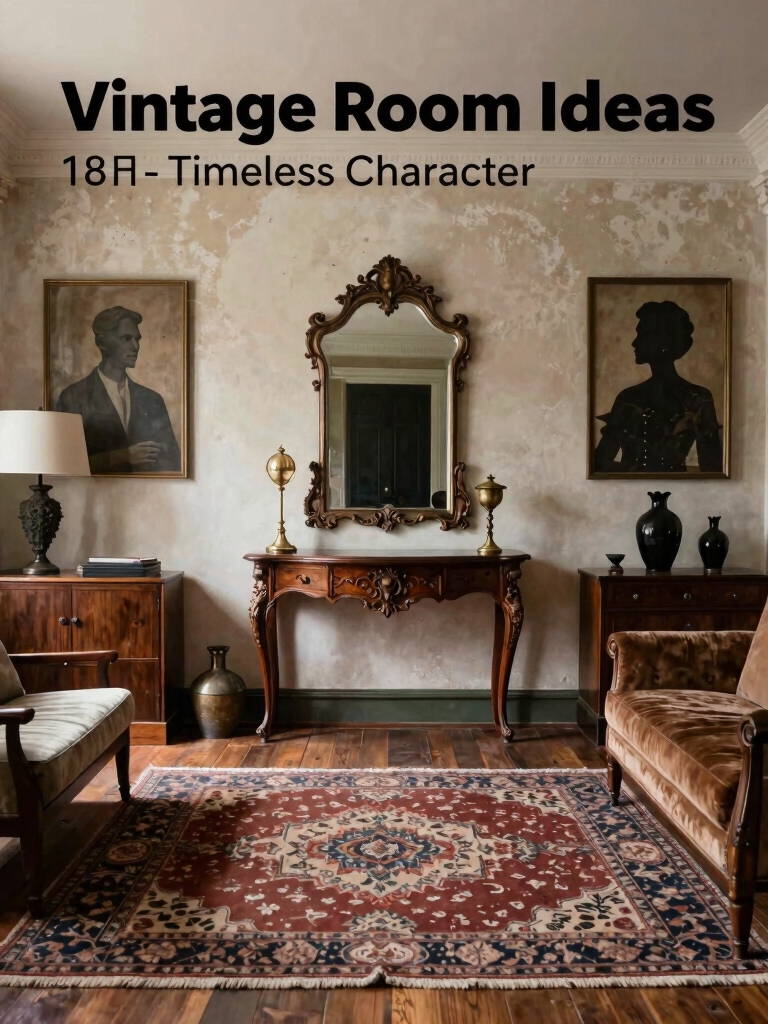
I’ll share practical, stylish room divider ideas that define zones, tame sound, and keep open floors bright and connected. Start with light, permeable dividers to preserve flow, then add sliding or pocket doors for privacy on demand. Freestanding screens double as art or storage, while shelving borders create practical boundaries. For calmer spaces, try acoustic-friendly panels or green walls. Budget wisely with three main factors—materials, size, installation—and choose DIY or pro help as needed. Want more tips? I’ve got plenty.
Why Room Dividers Matter in Open-Plan Homes
Open-plan layouts feel airy and connected, but without divisions, rooms can blur into one another.
I get that open spaces look spacious, yet they can lack focus and privacy.
Room dividers create visual cues, define zones, and reduce noise.
They offer flexibility—changing layouts, guiding traffic, and adding texture—without sacrificing the open, cooperative vibe we love.
Plus, incorporating creative room ideas can transform your space on a budget while enhancing functionality.
How to Choose the Right Divider for Your Space
I start by checking your space: size, flow, and how you actually use each area, so we pick a divider that fits.
Then I look for a material and style that echo your rooms—glass for openness, wood for warmth, or fabric for softness—so it feels like a natural fit.
Finally, I match the divider to your goals, whether you want more privacy, sound control, or a subtle cue to redefine zones.
In small living rooms, using smart design tips can maximize the impact of your divider and enhance the overall space with major impact.
Space Assessment Strategy
To pick the right divider for your space, start with a practical space assessment: measure the room, note traffic flow, and identify how you’ll actually use the area.
I look for natural focal points, consider ceiling height, and map zones (work, dining, lounging). This helps me match proportion, scale, and function, ensuring the divider supports—not obstructs—everyday life.
Material And Style Fit
When choosing a divider, start by matching material and style to how you actually live in the space.
I look at daily routines, light, and traffic flow, then pick textures that endure. If you cook nearby, choose wipeable surfaces; for quiet zones, soft fabrics.
The goal: harmony, easy maintenance, and a feel that reinforces how you use the room.
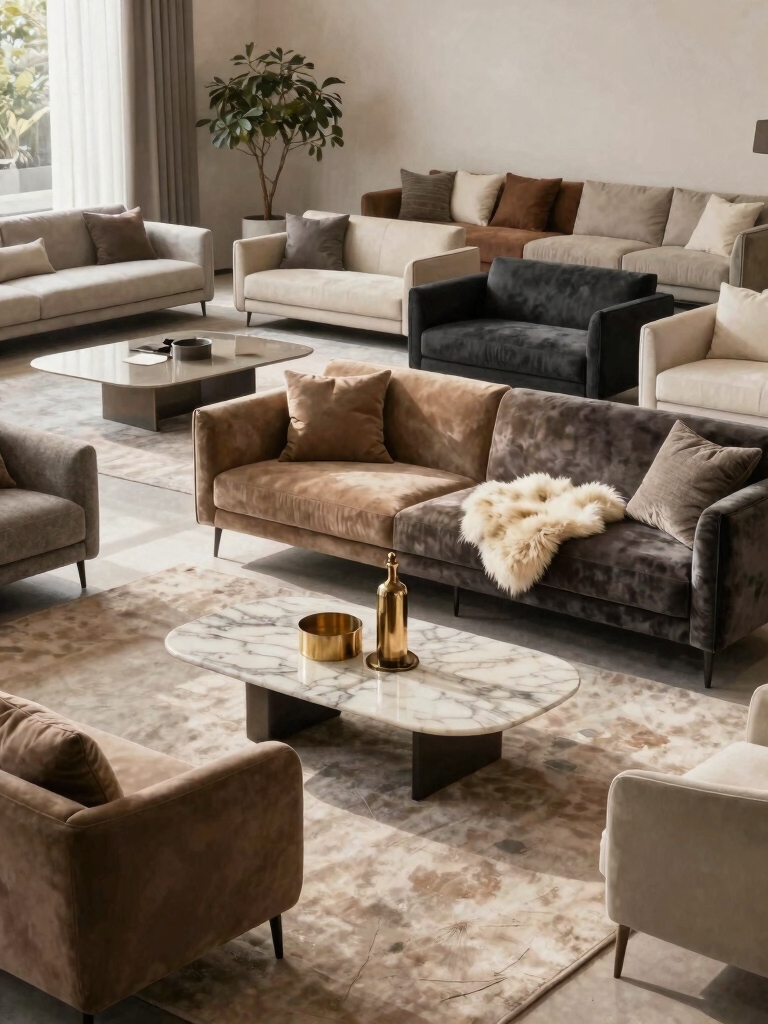
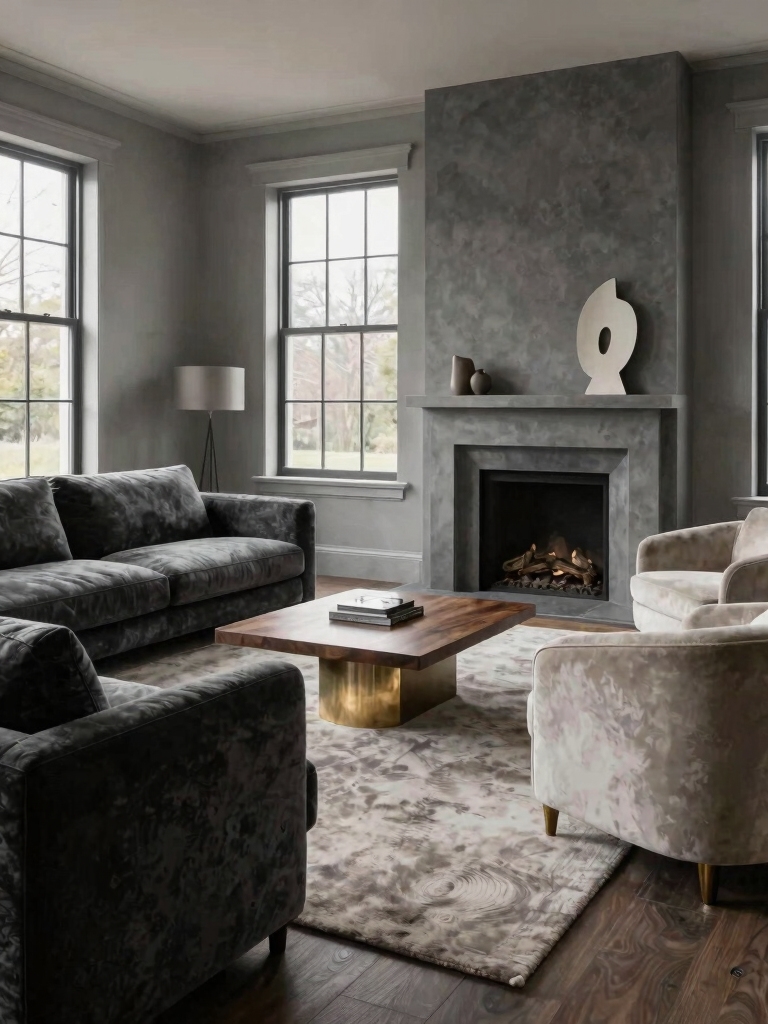
Light, Permeable Dividers That Keep the Flow
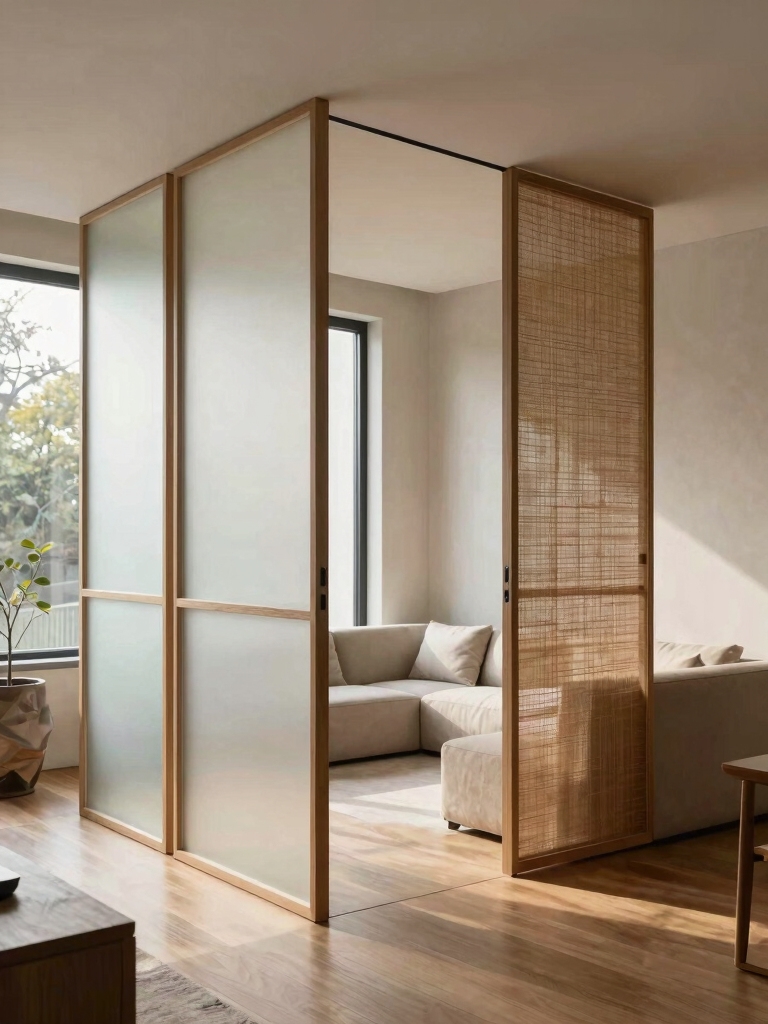
Light, permeable dividers are a practical way to separate spaces without zapping the flow.
I favor materials like frosted acrylic, woven screens, or low shelving that define zones without boxing them in.
Use color, texture, and scale to balance openness with function, not clutter.
I’ll guide you to choose options that softly delineate, invite conversation, and preserve sightlines.
Incorporating creative ideas for cozy rooms can maximize your space while maintaining an inviting atmosphere.
Sliding and Pocket Doors for Privacy on Demand
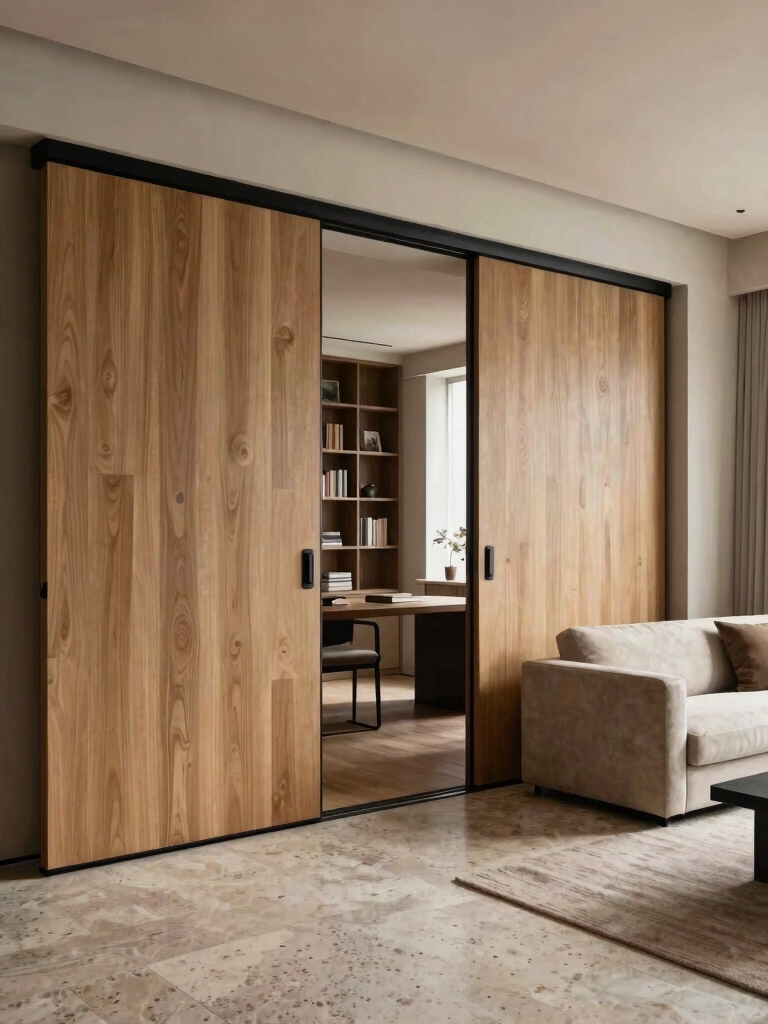
Sliding and pocket doors give you privacy on demand without permanently carving up an open floor plan.
I like them because they’re simple to use, cost-effective, and space-efficient. When you need seclusion, slide or pocket them closed; when you don’t, they disappear.
Choose smooth hardware, a quiet track, and a finish that matches your décor for cohesive, functional flow.
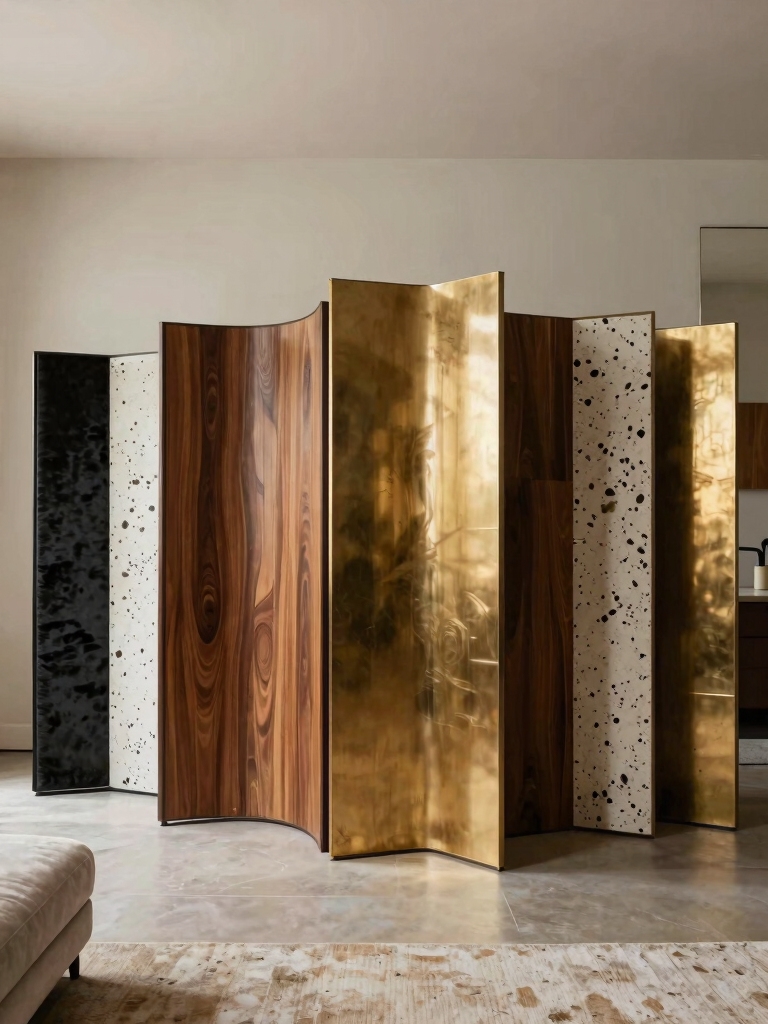
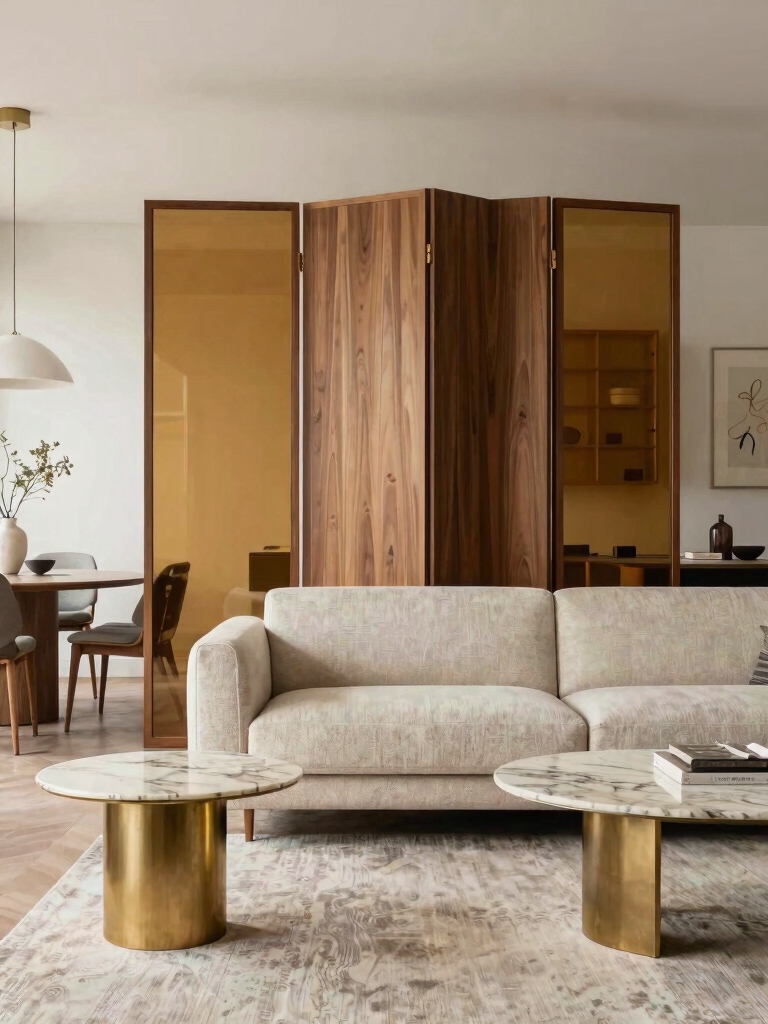
Freestanding Screens That Double as Art and Storage
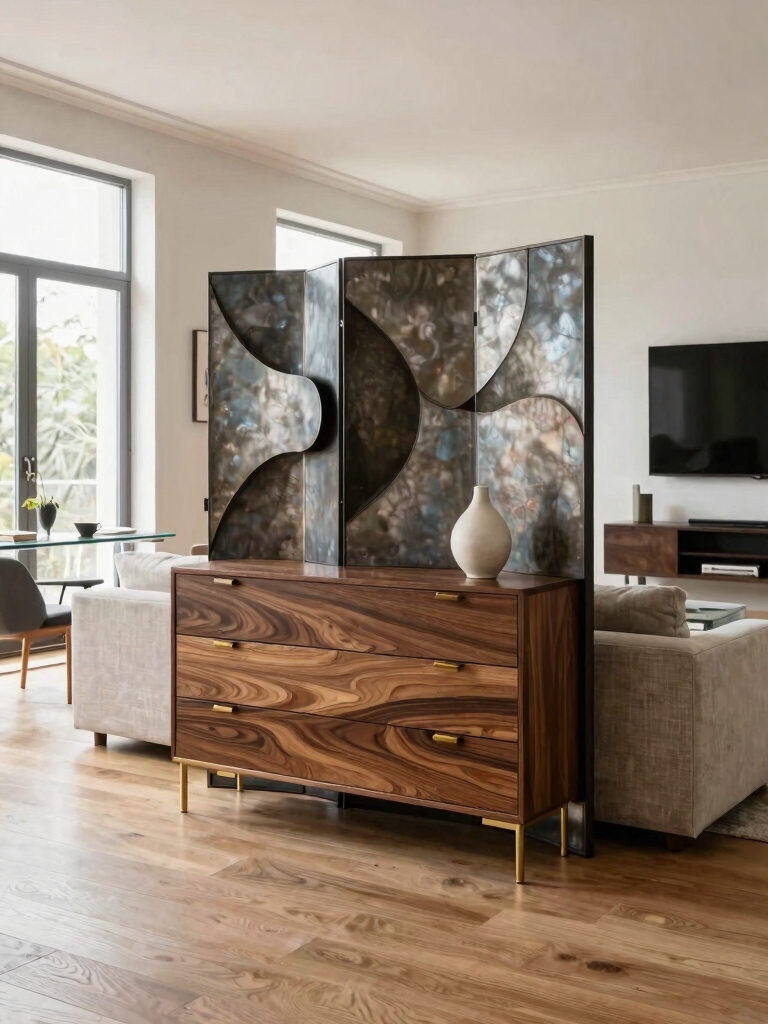
Freestanding screens can do double duty as art and storage, making them a clever centerpiece for open layouts.
I love choosing sculptural panels that also hold essentials—baskets, hooks, or slim shelves—to keep clutter off display. You can swap patterns with seasons, boosting vibe without permanent commitment.
Place them where traffic flows, and watch space feel organized, intentional, and inviting. Incorporating creative wall decor ideas can further enhance the visual appeal and functionality of your living room walls.
Shelving and Bookcases as Practical Room Boundaries
Shelving and bookcases make practical room boundaries that don’t shut a space off. I use them to define zones while keeping sightlines open and light flowing.
Tall cases create vertical separation; low bookcases keep conversation areas accessible.
Mix closed storage with open shelves for texture, color, and function. I suggest varying heights and adding decorative elements for personality.
In small rooms, these dividers help transform the area into an airy retreat by maximizing openness and flow.
Green Walls for Soft, Living Zoning
Green walls bring a soft, living boundary to open floor plans without blocking light or sightlines.
I talk about easy plant choices, placement, and lightweight support ideas that don’t overwhelm decor.
You can mix textures, keep maintenance simple, and use greens to guide flow between zones.
I’ll share practical tips, realistic timelines, and budget-friendly options you can try now.
Using vibrant colors alongside green walls can transform your space and enhance the overall atmosphere with room color ideas that change everything.
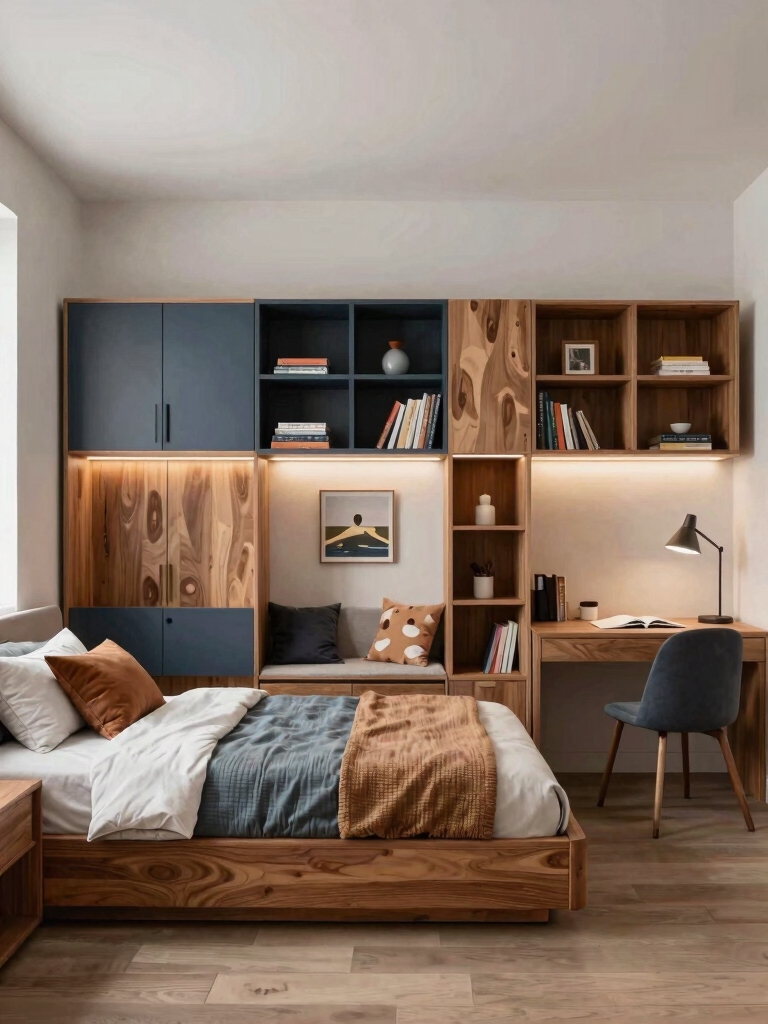
Built-In Furniture That Zones and Hides Storage
I love how built-in furniture can both zone spaces and hide clutter, so your open floor plan feels defined without hard borders.
I’ll show you simple setups that use shelves, nooks, and benches to carve the room while keeping storage out of sight.
Let’s explore practical ideas that balance function with a clean, cohesive look.
Incorporating clever utility room solutions can help maintain a tidy space while enhancing the overall design.
Built-In Storage Zoning
I design with purpose, using built-ins to carve zones, hide essentials, and keep surfaces tidy.
Here’s how it works:
- Align shelves with traffic flow to guide movement.
- Choose shallow cabinets to conceal daily items.
- Integrate seating and storage for dual function.
Hidden Storage Solutions
Hidden storage can be my secret weapon when I’m designing open floors.
I blend built-ins that zone living areas with hidden cubbies and pull-outs, so clutter stays out of sight.
I choose modular shelves and concealed cabinets that adapt to daily needs, turning every surface into usable storage.
You’ll gain calm spaces, practical access, and smarter flow without bulk.
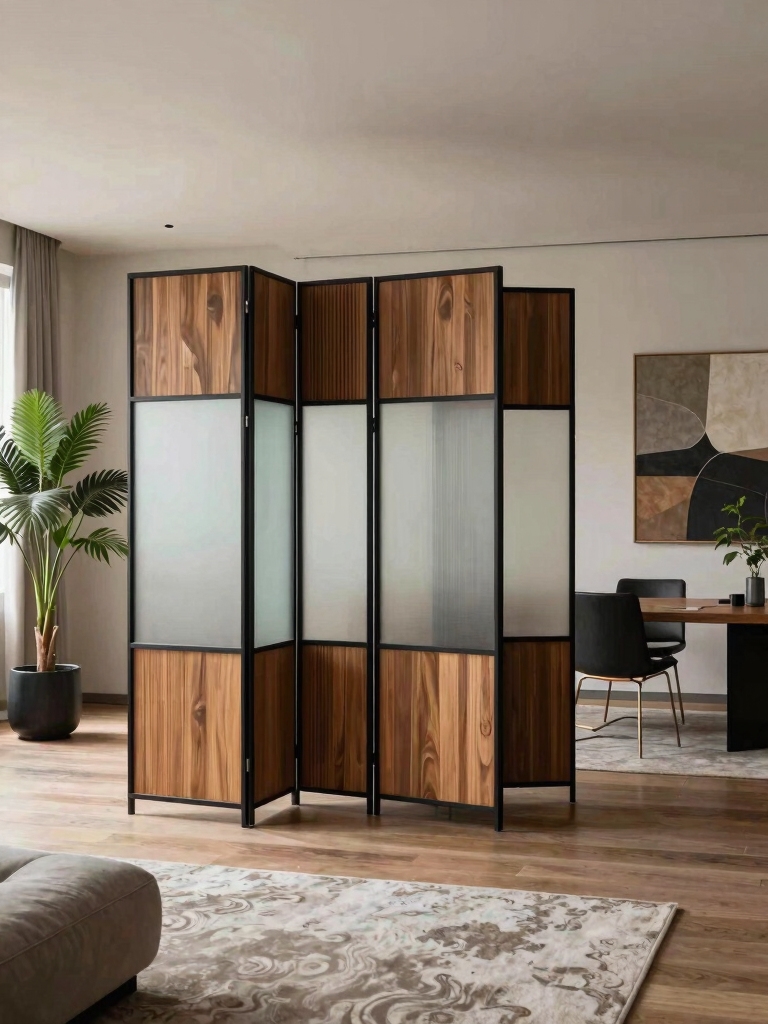
Glass and Acrylic Dividers for Transparent Privacy
Glass and acrylic dividers offer a practical way to carve out spaces without sacrificing light or openness.
I’ll share how they work with visibility, ease, and style.
- Choose clear panels for a seamless look
- Use frosted or tempered options for soft privacy
- Add hardware that’s simple, sleek, and secure
They’re affordable, durable, and adaptable to many layouts.
Soft Textiles That Subtly Partition Spaces
Soft textiles are my go-to when I want to zone an open floor plan without closing it off. I love using curtains, room dividers, or fabric screens to create intimate nooks while preserving flow.
Choose breathable materials and lighter colors to keep light bouncing. Layer textures for depth, and hang at varying heights to hint at separate zones without shouting. Incorporating creative DIY ideas can add a personal touch and enhance the overall style of your room with stylish room decor.
Multi-Functional Islands Define Dining and Work Zones
I love how a well-planned island can define both dining and work zones without clutter.
I’ll show you practical layouts that let meals flow into productivity, so you can switch from cooking to focused tasks in seconds.
Let’s explore how to balance counter space, seating, and storage to keep the space cohesive and efficient.
Incorporating smart seating arrangements can help you maximize your small dining room and comfortably entertain more guests.
Multi-Functional Island Roles
A kitchen island can do more than just hold appliances; it can define both dining and work zones in one active, connected space.
I use it to balance meals and tasks, switching textures and heights for clarity.
- Separate zones with daylight-friendly surfaces
- Add power outlets for quick tasks
- Choose seating that invites conversation and focus
Seamless Dining and Work Zones
From a multifunctional island stance, I’ve learned that the same surface can host meals and work without us feeling pulled in two directions.
I design zones with a clear edge: a dining side for crew meals, a work side for laptops, notes, and charging stations.
Keep flow open, items nearby, and surfaces uncluttered to sustain seamless, distraction-free collaboration.
Acoustic-Friendly Dividers for Calmer Rooms
If you want quieter zones in an open floor plan, consider acoustic-friendly dividers that absorb sound rather than bounce it around.
1) Choose textile panels or wool rugs that dampen echoes.
2) Opt for perforated wood screens to break sound without closing the space.
3) Add green walls or moss panels to soften acoustics and visuals.
Incorporating these elements can help you transform your lounge room into a relaxation haven by creating a calmer atmosphere.
Lighting Cues to Signal Different Zones
Lighting cues are a simple, powerful way to define zones without walls.
I choose warm, dimmed lighting for intimate seating, brighter task lighting for work areas, and soft ambient glow for relaxing corners.
You’ll notice color temperature and contrast guide flow, not walls.
I keep switches accessible, layers adjustable, and avoid glare, so spaces feel connected yet distinct.
Budgeting Open-Plan Dividers: Cost Expectations
I’ll walk you through budget realities for open-plan dividers, from what you can expect to spend on different materials to how those costs can vary.
We’ll map out typical price ranges, look at how material choices affect the bottom line, and chat about realistic installation timelines.
Budget Range Estimates
Budgeting open-plan dividers comes down to three main factors: materials, size, and installation.
I’ll walk you through practical ranges you can expect, so you’re not guessing.
- Under $2000
- $2000–$6000
- $6000–$15000
These figures cover common options like panels, screens, and simple modular setups.
I’ll tailor choices to your space, budget, and goals, keeping practicality front and center.
Material Cost Variations
Material costs vary a lot, and the biggest shifts come from the choice of material itself, not just the size or design.
I’ve seen cheap laminates save money upfront, but glass or solid wood often pays off in durability and feel.
Fabric panels cut costs, while metal frames add resilience.
Plan for upfront price bands and long-term value.
Installation Timeframes
Planning the install timeline for open‑plan dividers can save you headaches later, because the pace of work matters as much as the price.
I’ve found three key timeframes to budget for:
- Demolition and prep: a day or two, depending on walls.
- Assembly and installation: 2–5 days, size dependent.
- Finishing touches: 1–2 days for trim and testing.
DIY Versus Professional Installation: When to Hire Help
When you’re weighing DIY vs. hiring a pro for a room divider, the decision comes down to cost, time, and what you’re willing to tackle.
I weigh fragility, tools, and code concerns. If you’re comfortable with measurements and basic carpentry, DIY saves money.
If you’re unsure about electrical or structural impacts, hire a pro to avoid costly mistakes.
Conclusion
Imagine stepping into a home where walls breathe with you, not at you. Your space unfolds like a well-choreographed poem: light dances through a slatted divider, a sliding door whispers shut, a freestanding screen doubles as art—and each zone feels both separate and harmonious. You’ve tuned the flow, saved a budget, and kept the heartbeat of the open plan. Endings and beginnings, beautifully divided, await your next creative twist. Welcome home to rooms that feel purposefully yours.