I transform dull walls into vibrant spaces with practical, painterly steps you can trust. Start by prepping thoroughly—clean, patch, sand, and prime for crisp edges and lasting color. Build a cohesive palette, test under morning, noon, and evening light, and use small panels to preview. Decide on bold walls or subtle focal points, then layer textures and soft tonality to add depth. Finish with smart accents and durable finishes; soon you’ll see how easy a refreshed, welcoming room can be. If you keep exploring, you’ll learn more.
Prep Before You Paint: What You Should Know
Prep before you paint sets the stage for a flawless finish.
I’ll walk you through quick prep steps that save time and headache: clean walls, repair dents, and sand rough spots.
Mask floors and trim, remove outlet covers, and dust thoroughly.
Tape edges, prime if needed, and plan your project timeline.
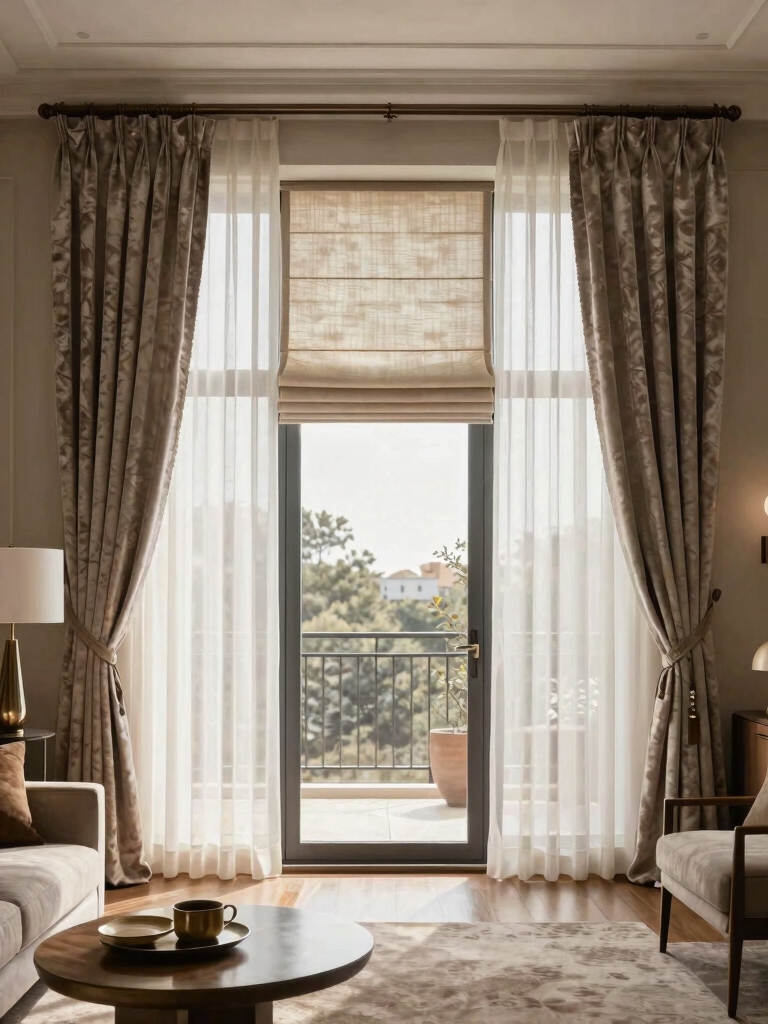
Consider incorporating chic paint colors to instantly elevate your living room’s ambiance.
Ready? Let’s tackle preparation with purpose and confidence.
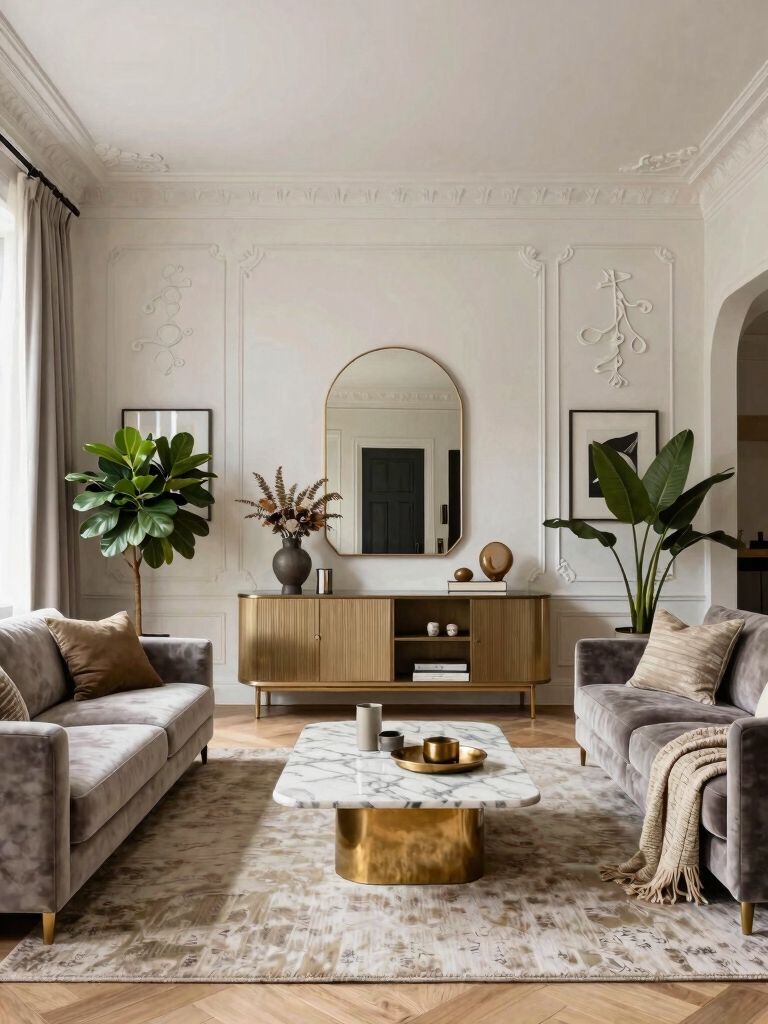
Build a Cohesive Color Strategy for Your Space
A cohesive color strategy starts with a clear vision: pick a unifying mood and map how each room will support it.
I choose a base palette, then align furniture, textiles, and art to it, so shifts feel effortless.
I test light, texture, and scale, keeping accessibility in mind.
You’ll gain confidence, direction, and a calmer, more connected home.
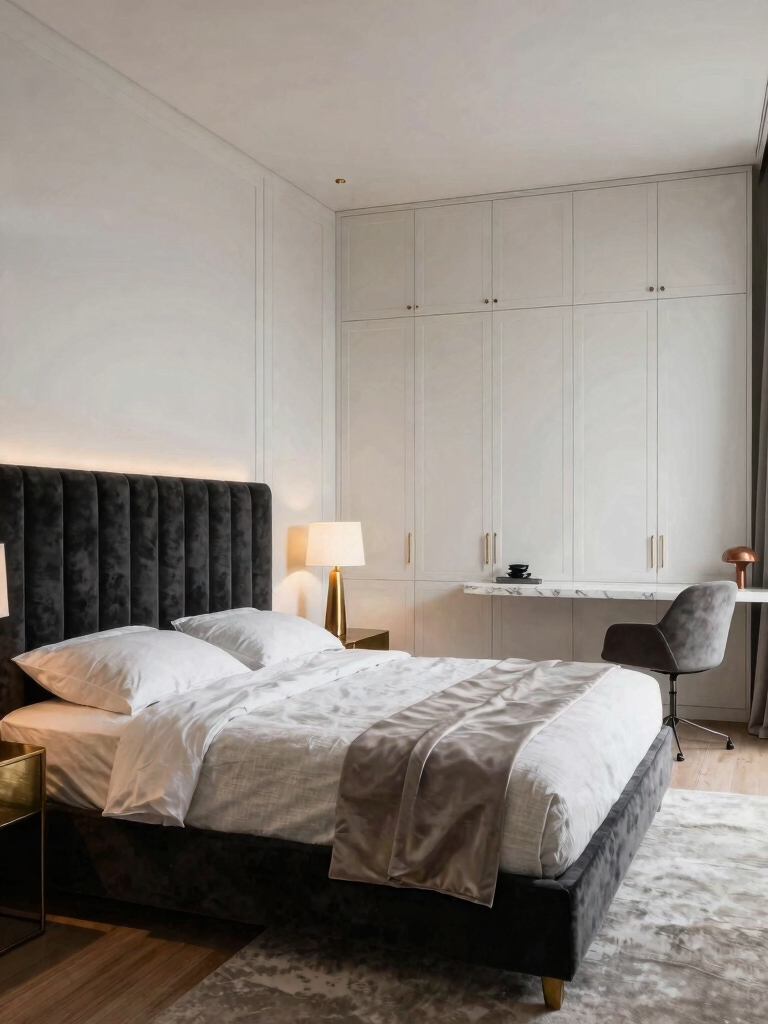
Incorporating colorful mood inspirations can dramatically enhance the atmosphere and personality of your bedroom.
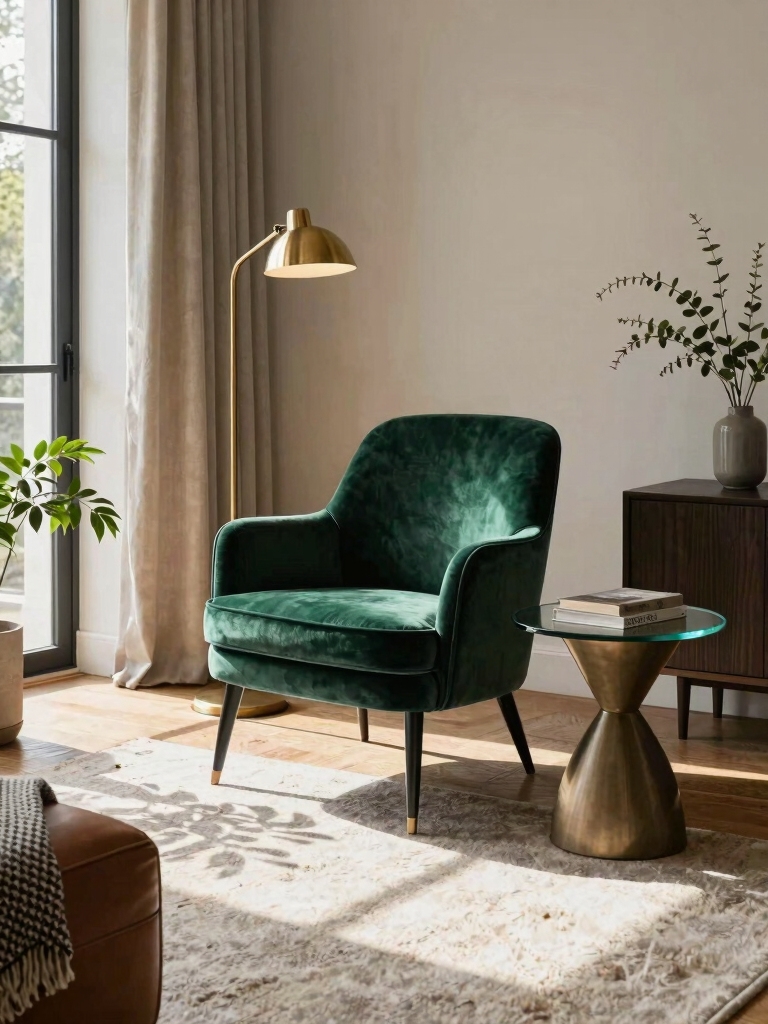
Decide Your Accent Approach: Bold Wall or Subtle Focal
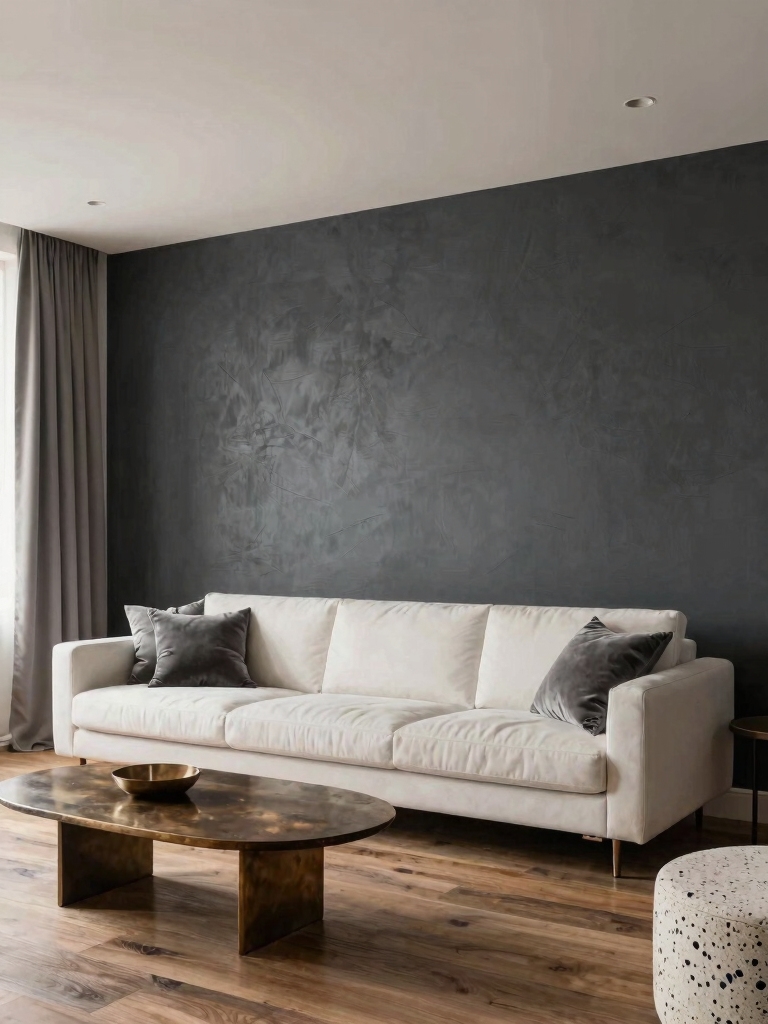
Opt for a bold wall if you crave immediate impact and a room that feels energized, or choose a subtle focal to guide the eye without overpowering the space.
I weigh balance, light, and function, then tailor the accent to daily life. Bold walls spark conversation; subtle focal points calm and unify.
Your choice anchors color with purpose, not trend.
Transforming your room with bold wall designs can create drama and elevate the living space instantly.
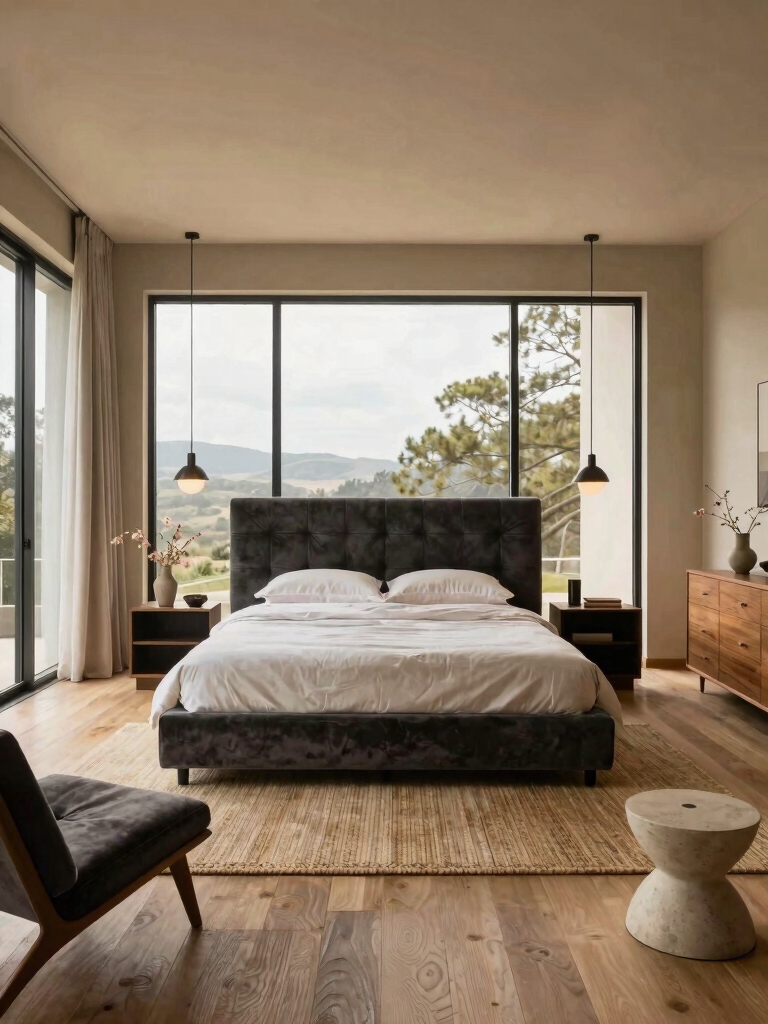
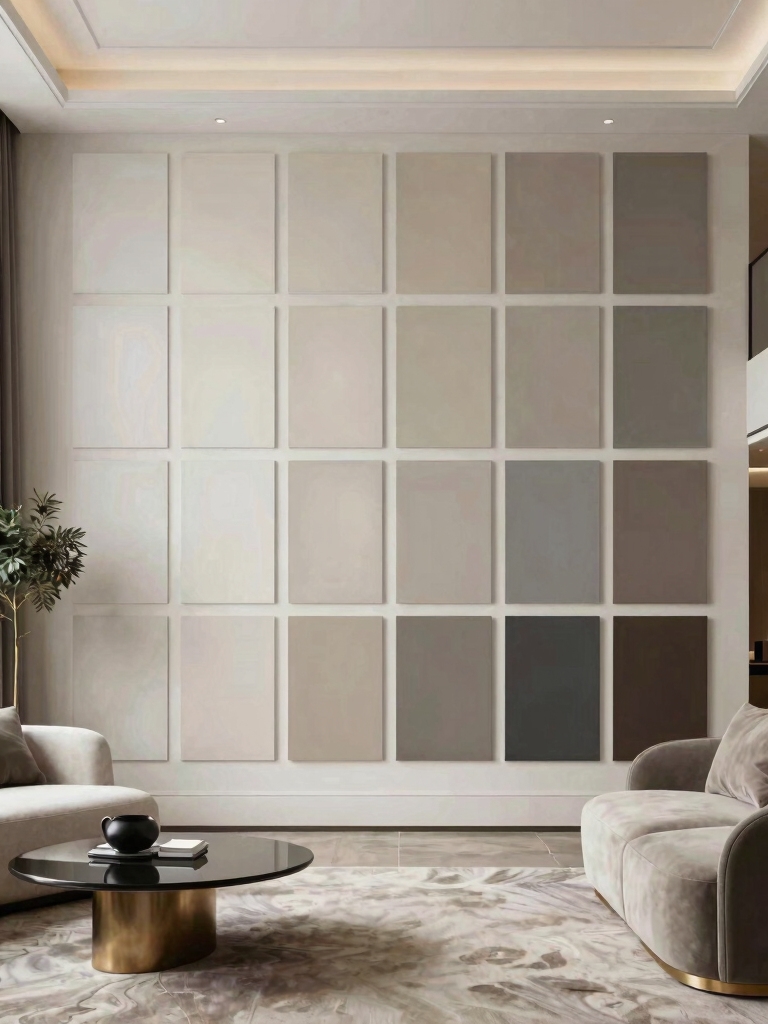
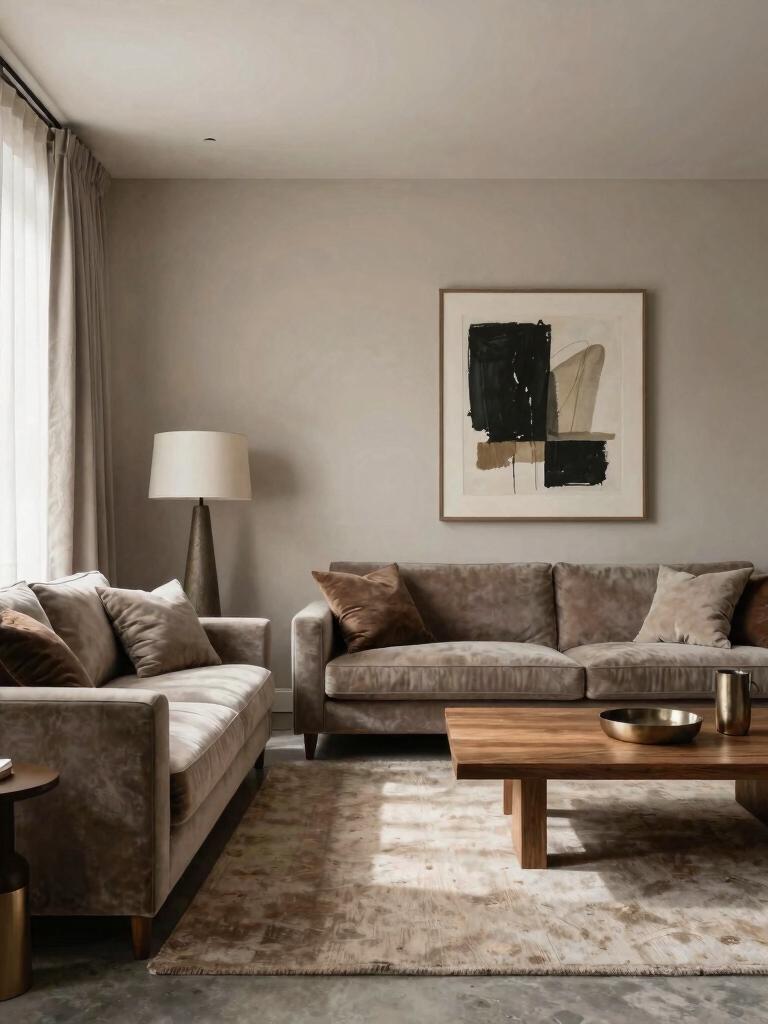
Soften Rooms With Tonal, Monochrome Palettes
I love using subtle tonal harmony to create calm, cohesive spaces, where a single color family flows softly across walls, furnishings, and textiles.
By layering slight variations in shade and adding gentle textures, we build depth that feels intimate yet uncluttered.
Let’s explore how monochrome texture depth can transform a room into a serene, tactile retreat.
Choosing timeless room colors ensures your space remains stylish and refreshing for years to come.
Subtle Tonal Harmony
I’ll guide you to layer light, medium, and dark shades for depth without clutter. Use clean contrasts between values, not colors, and keep furniture silhouettes simple.
Prefer soft sheens and steady rhythms to create calm, cohesive spaces you’ll actually enjoy living in.
Monochrome Texture Depth
Moving from subtle tonal harmony, I lean into texture to soften rooms with a tonal, monochrome palette.
I mix matte walls with satin accents, layering subtle depth via plaster, linen, and woven textures. You’ll notice coziness grow as light plays differently.
Keep contrast gentle, scale details thoughtfully, and let cohesive hues guide furniture choices for a calm, inviting space.
Create Depth With Subtle Color Transitions and Gradients
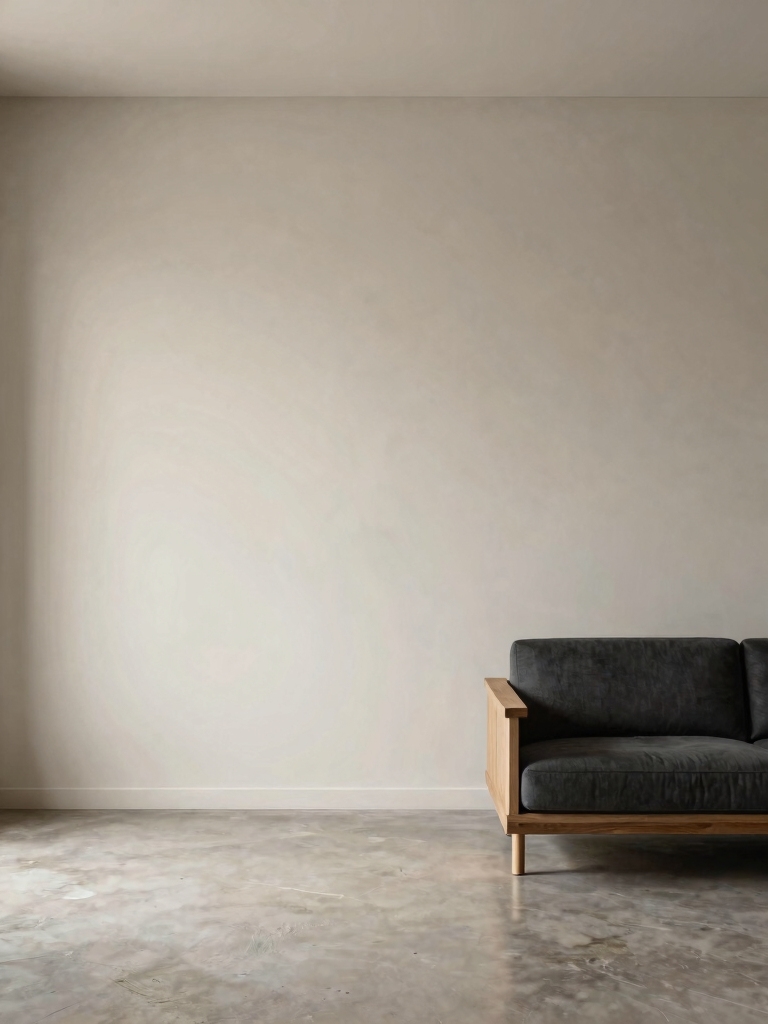
When you blend gentle color shifts across a wall, depth emerges naturally, drawing the eye and inviting exploration.
I guide you to choose soft changes, test tones, and a subtle gradient that speaks softly without shouting.
- Start with a calm base
- Layer lighter-to-darker edges
- Use warm undertones for coziness
- Maintain clean edges and steady pace
Transform your space with vibrant room color ideas that complement subtle gradients for a truly dynamic effect.
Add Visual Interest With Stripes and Geometrics
Stripes and geometric shapes instantly inject energy into a room, and you can tailor the look from bold to understated with simple steps.
I pick a dominant hue, then add crisp lines or bold blocks for contrast. Keep proportions balanced, test scales on swatches, and use painter’s tape for clean edges.
Finish with a coordinating accent wall to unify the vibe. Using stylish wallpaper ideas for living room accent walls can further enhance the visual interest and complement painted designs.
Embrace Texture: Faux Finishes, Murals, and Wall Treatments
Texture is your secret weapon for character, from faux finishes that mirror nature to murals and wall treatments that tell your story.
I’ll show you practical techniques, smart placement, and simple steps to add depth without overwhelming a space.
Let’s explore ideas that elevate walls with texture, color, and a touch of artistry.
Faux Finish Techniques
You’ll find that faux finishes bring real personality to any room, letting textures and moods unfold with simple yet striking techniques.
I share practical steps that respect your space, budget, and patience, guiding you toward tasteful depth rather than gimmicks.
1) Layer color subtly for warmth
2) Use glazing for depth and aging
3) Combine sponging with ragging for texture
4) Seal with a matte topcoat to reduce shine
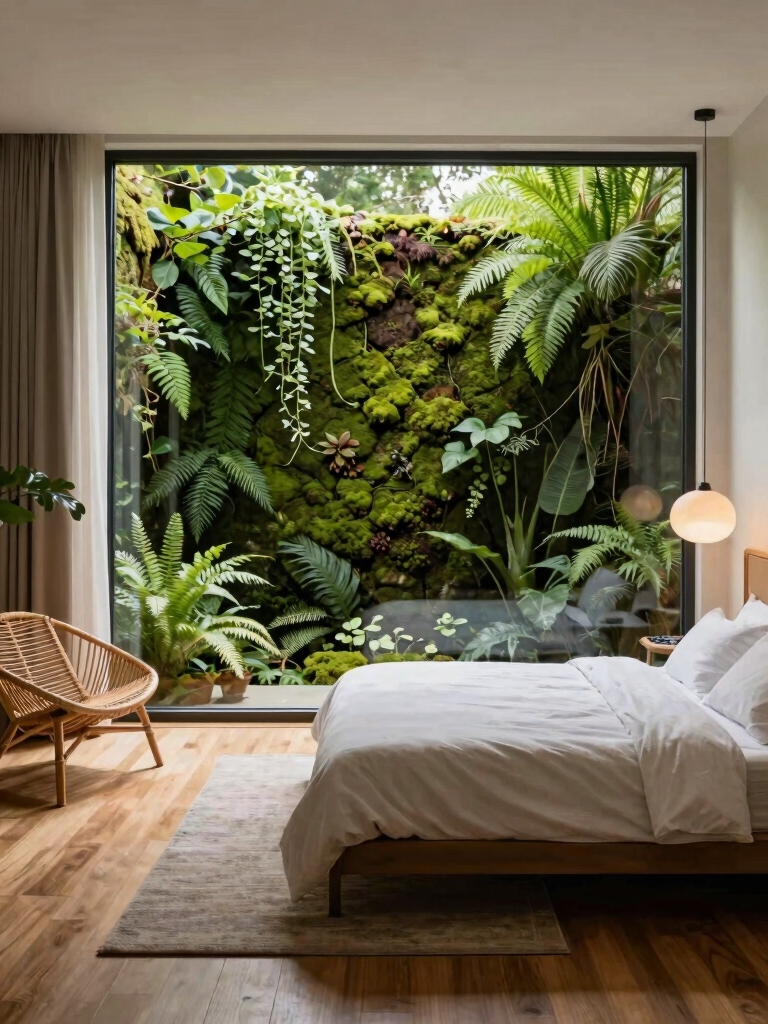
Murals And Wall Art
I’m sharing practical ideas you can start tonight: scale a mural to echo your favorite view, create a feature wall with large-scale botanical prints, or mix art with textured panels for depth.
I’ll guide you to choose colors, placement, and budget-friendly DIY options that feel effortless.
Texture Enhancement Ideas
When a room feels flat, I reach for texture first. I guide you through tactile impact—faux finishes, murals, and wall treatments—that add depth without overwhelming.
Each idea sparks character and warmth, while staying practical and affordable.
- Try a subtle Venetian plaster for glow
- Create a muted mural as a statement
- Use texture-friendly wallpaper with lift
- Apply raised stenciling for dimension
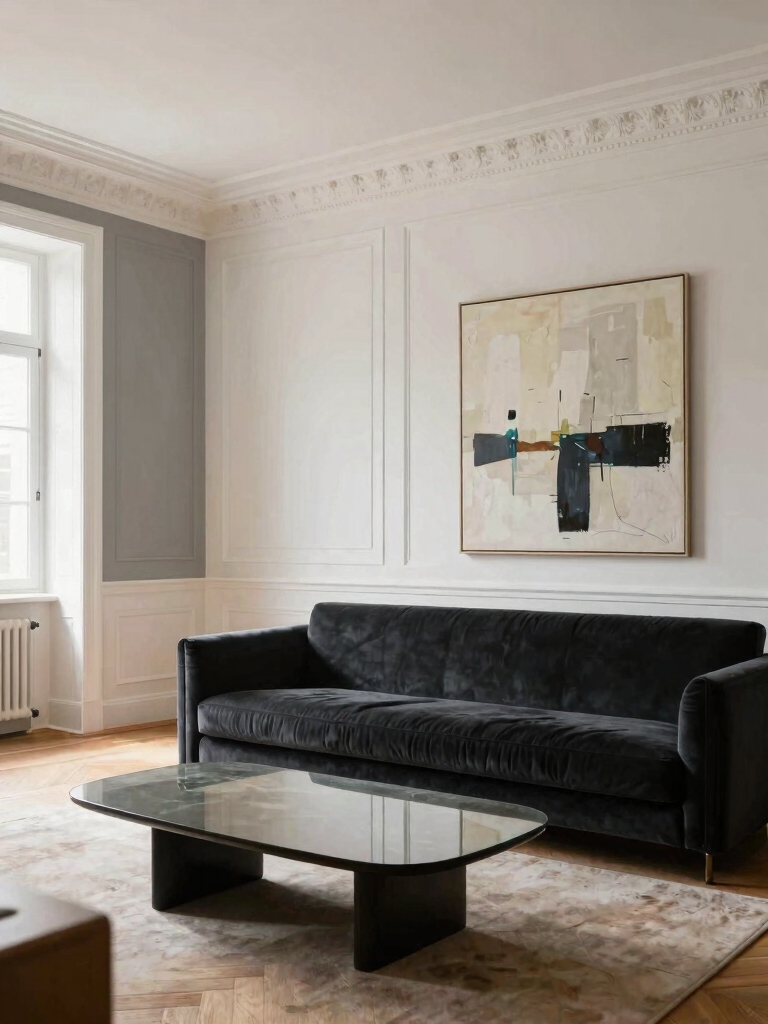
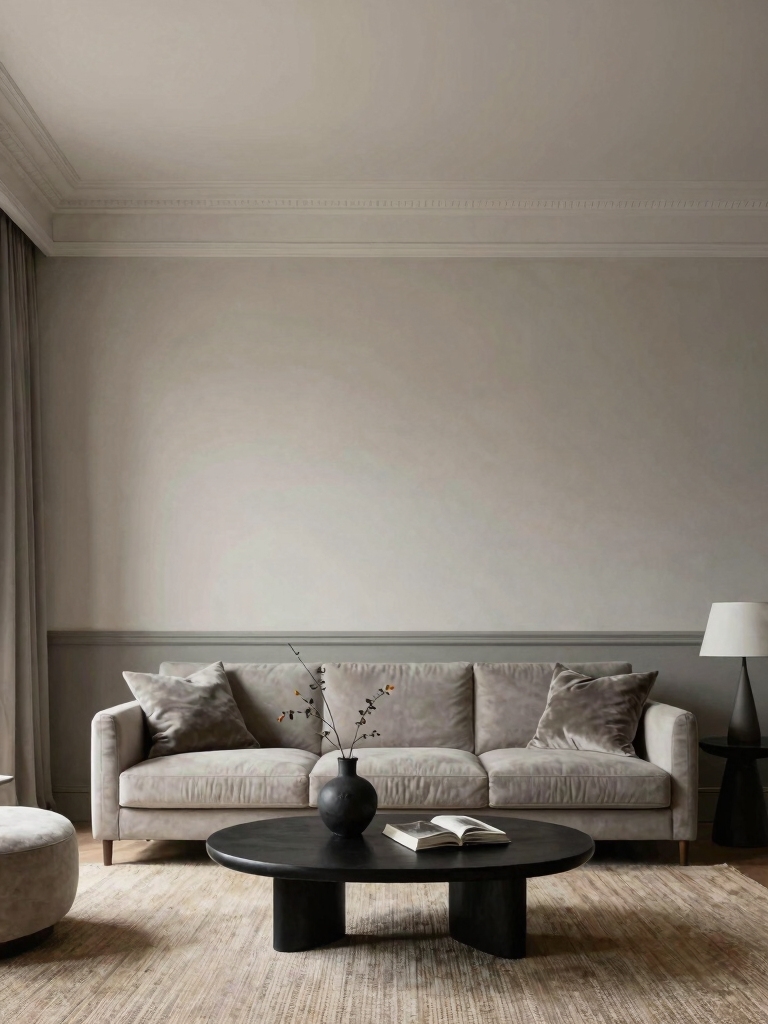
Layer Color With Architectural Details: Trim, Molding, Ceilings
Layering color with architectural details like trim, molding, and ceilings elevates a space from flat to purposeful, and it starts with choosing a base that feels cohesive with your room’s vibe.
I pair bold accents with clean profiles, then test swatches under different lighting.
Subtle contrast on trim adds depth, while ceiling color can visually redefine height and intimacy.
Incorporating creative wall decor ideas can also help fill blank space and enhance the overall design of your living room walls with unique visual interest.
Color by Room Function and Mood: Quick Guidelines
Color sets the tone for each room, and choosing it with function in mind makes everything feel intentional.
I’ll share quick, practical guidelines to match mood with use.
- Living spaces: warm neutrals plus accent pops for conversation.
- Home office: calm blues or greens to boost focus and balance.
- Kitchen: bright, energizing hues for appetite and activity.
- Bath: serene, light tones for clarity and relaxation.
For apartment dwellers, incorporating charming small living room ideas can enhance the impact of your color choices and maximize your space.
DIY Techniques That Save Time and Money (Tools, Taping, Edges)
Tools, tape, and clean edges aren’t just add-ons—they’re the backbone of a faster, cleaner paint job.
I’ll show you practical tricks I trust: sharp brushes, quality rollers, and a steady grip. Tape primes edges, cuts touch-ups, and saves time.
Prep matters—dust, patch, prime. Use a tray liner, extendable pole, and work in steady passes for smooth, professional results.
You’ve got this.
Adding creative DIY techniques can elevate your space with minimal effort and cost, making your project both fun and rewarding. Creative DIY Ideas
Lighting’s Role in Revealing Color: How to Test in Your Space
Ever wonder how your lighting actually colors your paint choice? I test color by watching it live, not in a showroom glow. Here’s how I approach it:
- Compare natural, warm, and cool light on swatches
- Observe at different times of day
- Recheck on walls with furniture nearby
- Note mood shifts and room balance
Results guide confident decisions, not guesses.
Test Areas That Matter: Sampling, Under Different Lights
Start with one smart sampling plan: pick high-traffic, visible spots and a couple of small walls as test panels so you see true color in real life.
Then compare under morning, noon, and evening light, noting how it shifts.
I guide you to keep notes, tape swatches, and trust your eyes—clarity beats theory, and consistent tests save repaint regrets.
For a complete transformation, consider incorporating stylish living room decor elements that complement your chosen paint colors.
Finishing Touches: Doors, Trim, and Refreshing Surfaces
Choosing the right door color, neat trim finishing, and simple surface refreshes can transform a space without a full redo.
I’ll share practical tips you can apply today to coordinate doors and trim with your wall color, plus quick ideas to revive surfaces.
Let’s start with clear choices and doable steps that lift the room with calm, confident results.
Door Color Choices
Door color is a small detail with a big impact, and choosing the right shade can tie your whole home together.
I’ll guide you simply, without fluff, toward purposeful choices that feel true to you.
- Classic black or navy adds drama and sophistication.
- Soft whites create seamless shifts and light.
- Warm earthy tones invite coziness and grounding.
- Bold hues spark personality and memorable entrances.
Trim Finishing Techniques
I show you how careful caulking, clean gaps, and crisp paint edges elevate doors and trim without fuss.
I focus on practical steps, steady prep, and durable finishes, so your spaces feel polished yet livable.
You’ll gain confidence in choosing contrasts, avoiding glare, and maintaining surfaces, year after year.
Surface Refresh Ideas
SurfaceRefresh ideas invite you to carry the same careful, durable mindset from trim finishing into every surface you touch.
I share practical, uplifting tweaks you can apply now, with confidence, using simple steps and smart choices.
- Refresh doors with a fresh coat and new hardware for a focal moment.
- Sand lightly, seal gaps, and choose durable finishes.
- Tackle walls in stages to avoid overwhelm.
- Test samples, then commit to a cohesive palette.
Maintenance and Refresh Ideas to Extend Your Look
Want your room to look fresh longer? I share simple maintenance and refresh ideas that extend your look.
Clean walls regularly, touch up chips, and rotate art to reinvent focal points without repainting.
Schedule seasonal cleanups, seal high-traffic areas, and choose fabrics that resist wear.
I’ll keep guidance practical, affordable, and actionable so your space stays inviting and cohesive.
Conclusion
I hope you feel inspired to start painting your space today. I’ve learned that a thoughtful prep, a clear color plan, and a few tested patches go further than you’d expect. Stay practical, yet curious—trust the samples, observe under different lights, and let your rooms breathe with subtle shifts. If you ever doubt, remember: Rome wasn’t painted in a day, but it stood strong from the first stroke. You’ve got this—your walls, your story, your fresh start.