I’d start by tucking my washer and dryer into a closet for a clean look. Stacking them vertically in a niche saves precious floor space, while a cleverly built cabinet can hide any unsightly pipes. I’d add a fold-down table for sorting and use focused lighting to brighten the area. A mobile caddy keeps supplies handy, and light paint visually expands everything. These smart tricks can completely transform that awkward basement corner for you.
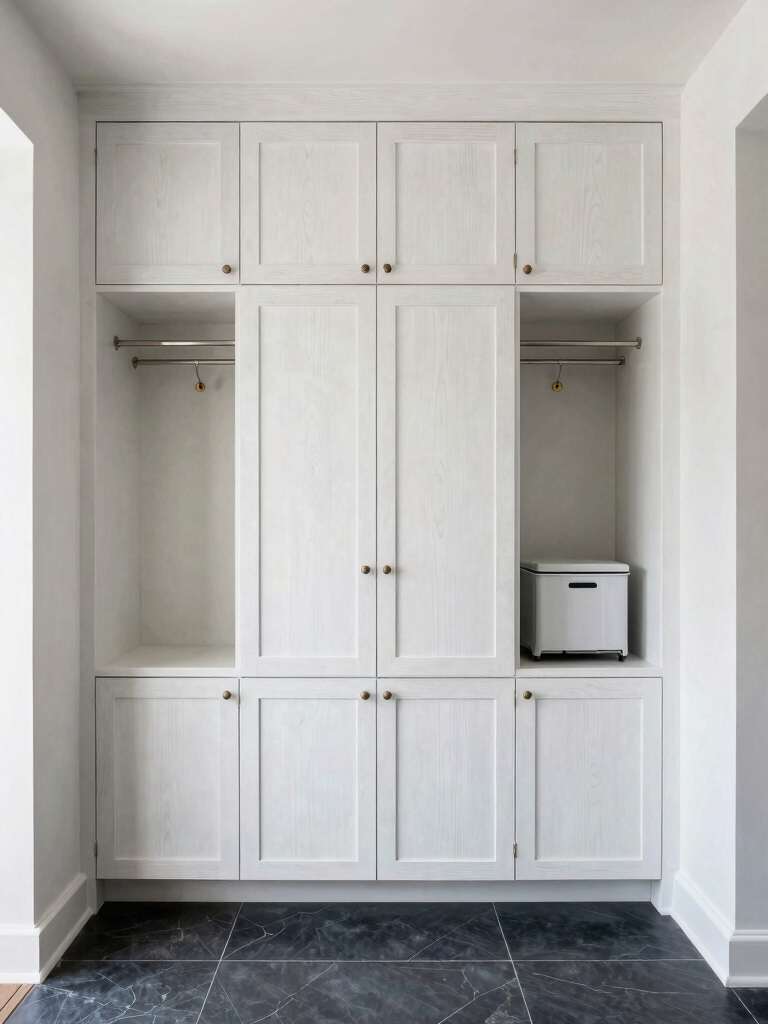
Tuck Your Washer and Dryer Into a Closet
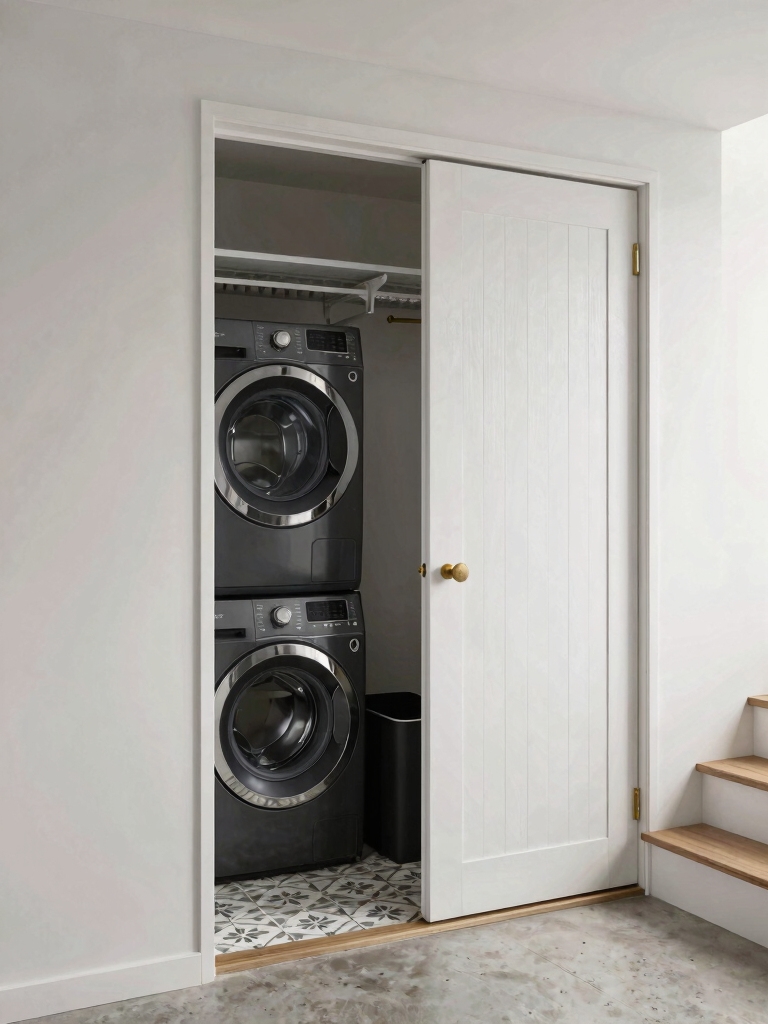
When you’re tight on space or just want to streamline the look of your basement, tucking your washer and dryer into a closet is a game-changer.
I maximize every inch by building shallow shelves on the door for supplies. A bifold or sliding door saves floor space.
I guarantee there’s proper ventilation and easy access to hookups. It’s a clever way to hide the mess and create a cleaner, more organized utility area.
Incorporating smart design tips can help you fit more into less and make the most of your small laundry room.
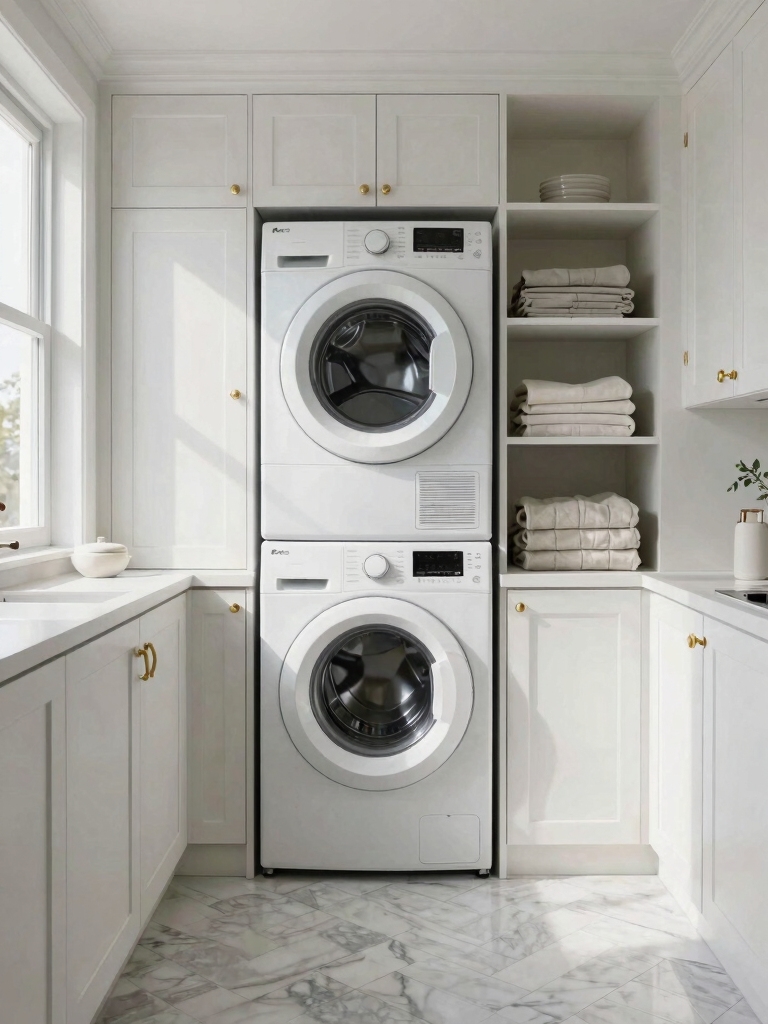
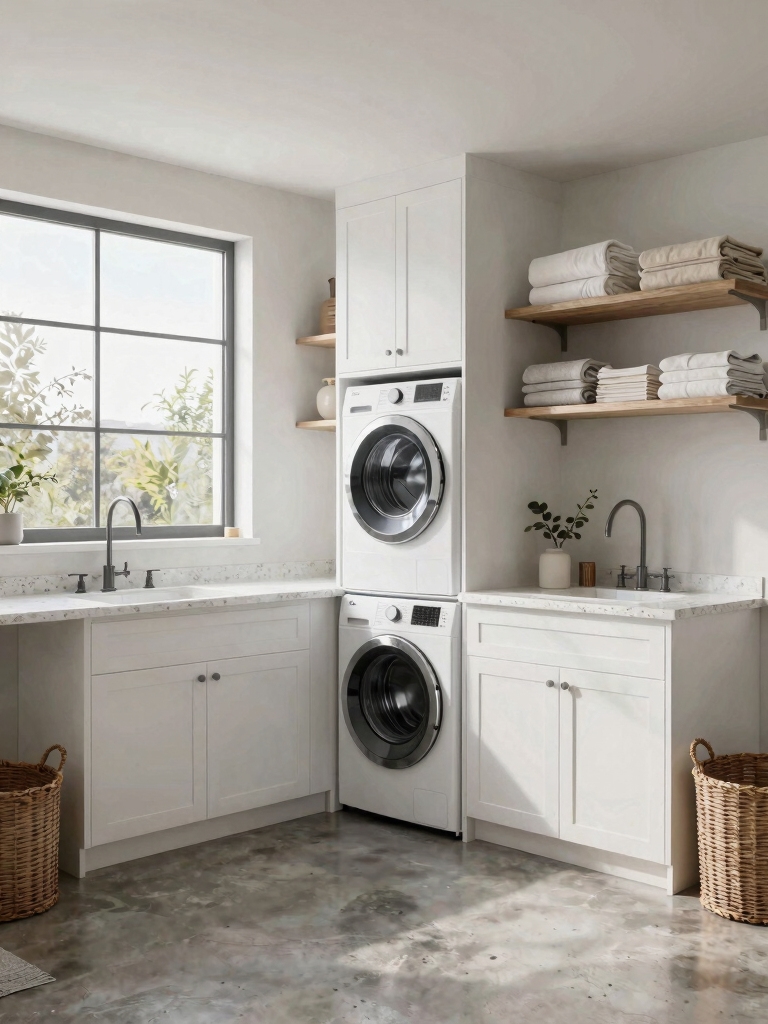
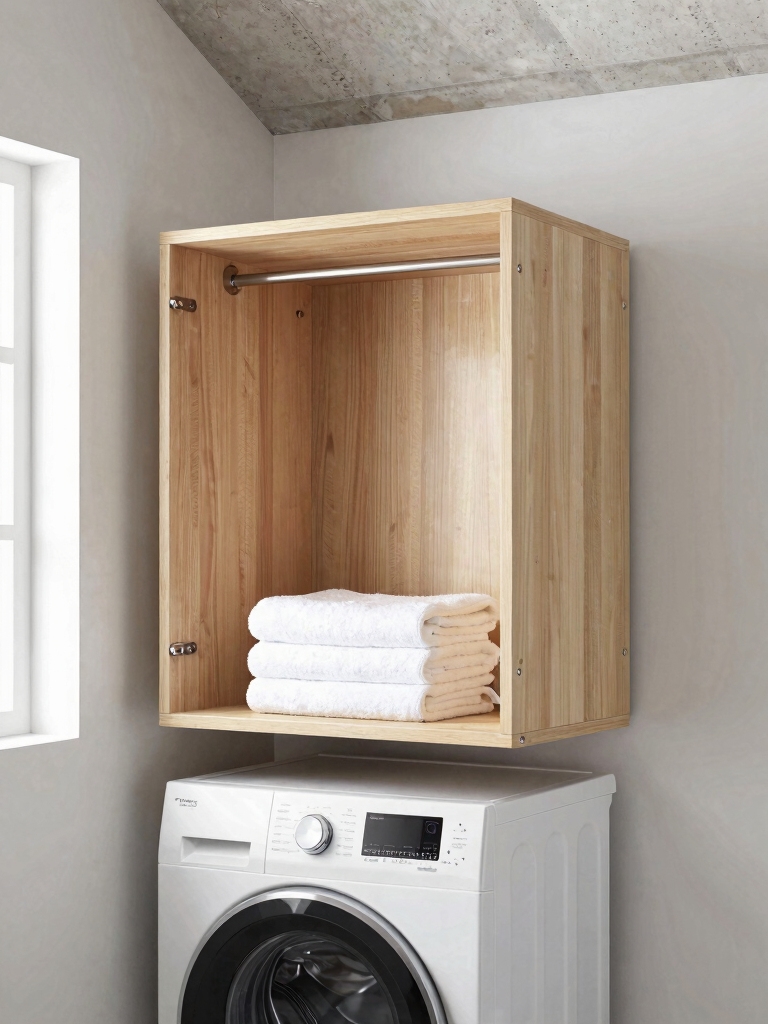
Stack Your Units in a Narrow Basement Niche

If your basement has a tight, unused alcove, I’d stack the washer and dryer vertically to instantly free up floor space. This capitalizes on overlooked height, creating room for other essentials.
Confirm your appliances are stackable or use a secure stacking kit for safety. Consider these key points:
- Place the washer on the bottom for stability.
- Install a wall-mounted drying rack overhead.
- Use a pull-out shelf between units for sorting.
- Add vertical shelving on an adjacent wall.
- Run a retractable clothesline across the niche for extra drying.
Stackable solutions are a proven way to maximize your laundry room and improve functionality in compact spaces.
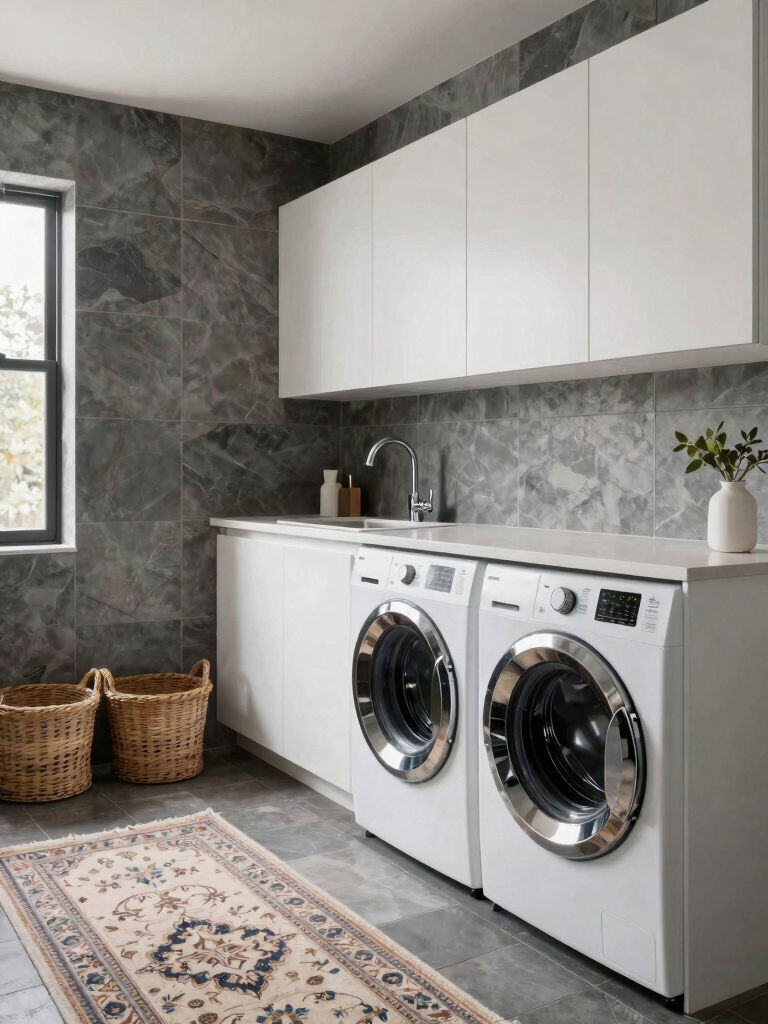
Carve Out a Laundry Nook in an Unused Corner
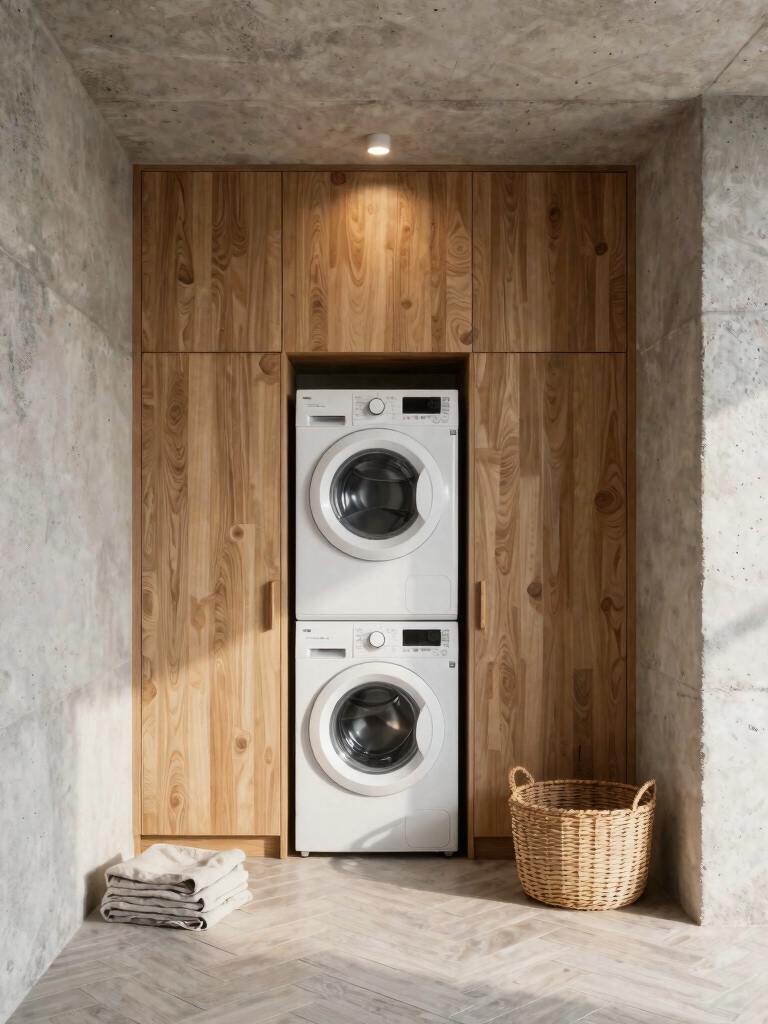
Even an awkward, forgotten corner can become a perfectly practical laundry nook.
I measure that tight spot to see if my washer and dryer can fit side-by-side or stacked. I often add a single, deep shelf above for supplies, using brackets I install myself.
A waterproof, utility mat protects the floor.
It’s about reclaiming that dead space creatively, turning a mere corner into a dedicated, functional zone.
Maximizing storage with smart design tips can make even the smallest laundry space highly efficient.
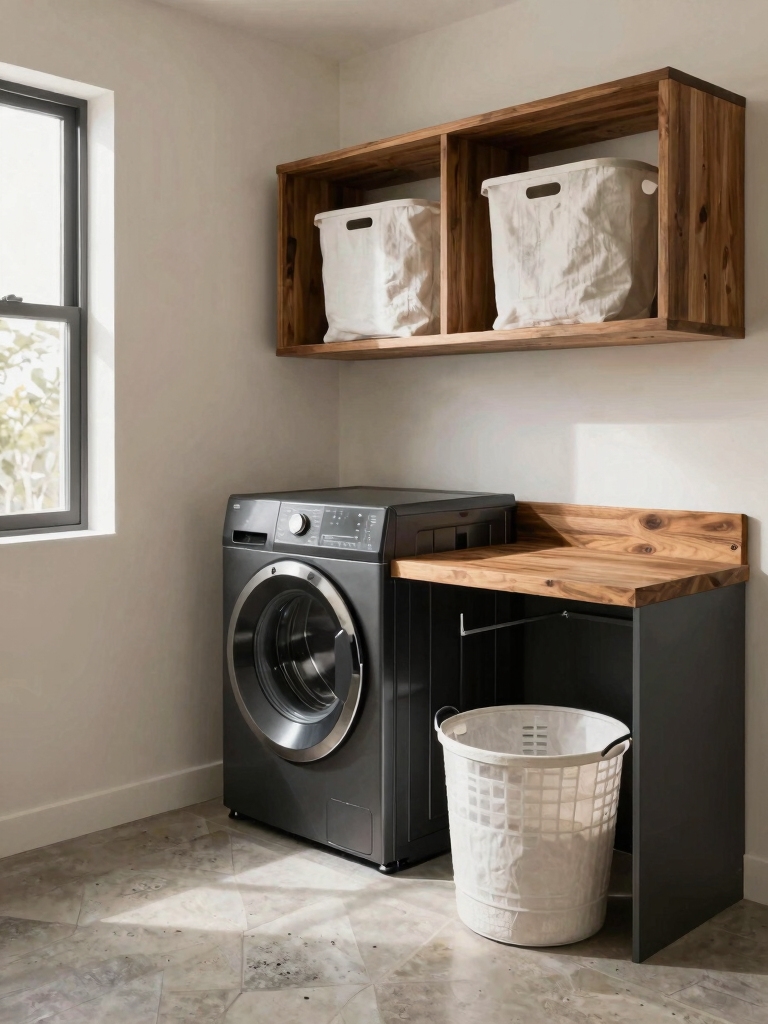
Build a Wall-Mounted Laundry Folding Station
Claiming wall space is my secret for a laundry room that works harder, and building a fold-down table is my favorite trick.
I mount a sturdy board with simple hinges and a chain for support. It’s a dedicated surface that disappears when I don’t need it, freeing up every precious inch for moving around.
- Use a salvaged door or shelving board.
- Install with heavy-duty hinges.
- Add a chain or cable for support.
- Stain or paint to match your decor.
- Store laundry supplies on wall shelves above.
Maximizing vertical space with clever storage solutions can transform even the smallest laundry areas into highly functional rooms.
Create Counter Space With a Removable Top
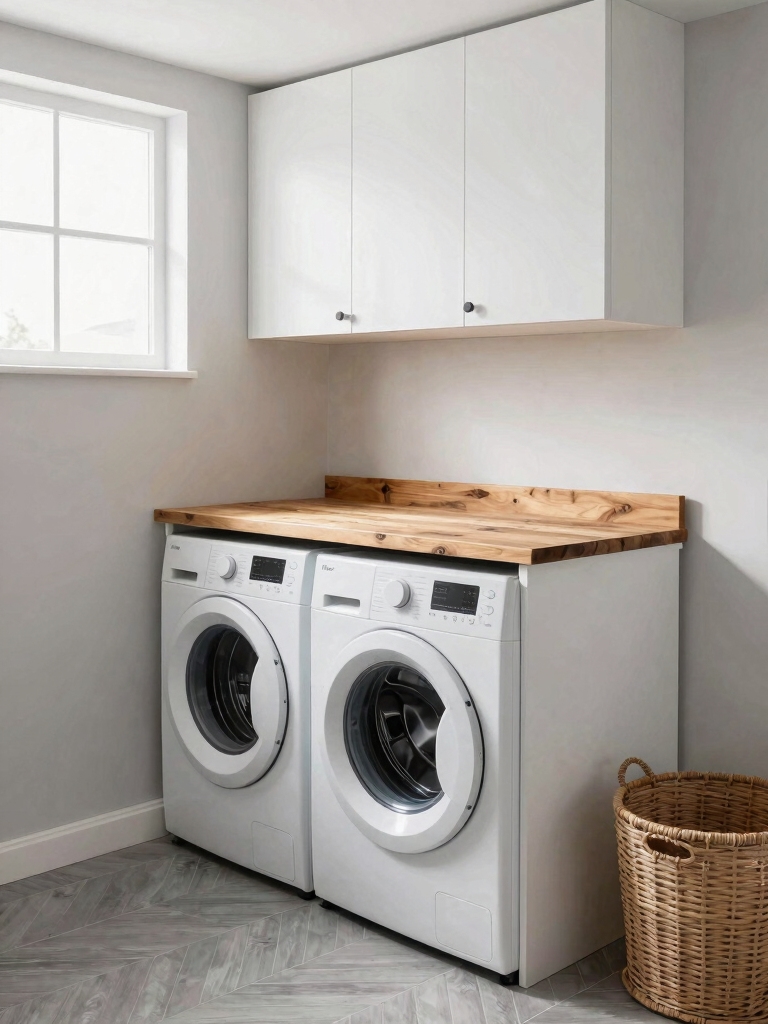
I often need to clear off a whole counter just to access my utility panels, which is a real hassle.
So I’m building a counter with a removable top that easily lifts away to expose those access points.
For even more flexibility, I’m adding a fold-down surface at the end for extra folding space when I need it.
Using stackable washer dryer units can also help maximize the available space in a small basement laundry room.
Cover Utility Access Points
Because you need to reach your water shutoff valve or electrical panel but don’t want to sacrifice precious folding space, consider building a countertop with a removable section.
- Mount cabinet boxes on either side, leaving the access panel clear.
- Create a lightweight plywood top cut into three pieces.
- Secure the two end pieces permanently.
- Leave the center section loose, simply resting on supports.
- Lift it off whenever you need immediate utility access.
Employ Fold-Down Surfaces
Fold-down surfaces offer a brilliant trick for carving out extra counter space in a cramped laundry zone.
I install a simple hinge and a sturdy support bracket on my wall. A smooth board becomes my folding table, then folds flat when I need floor space.
I can even add a small lip to keep items from sliding. It’s the perfect, disappearing prep station for sorting or treating stains.
Install a Sliding Shelf Over Your Washer
Maximize the vertical space above your washer by installing a sliding shelf that glides out to give you easy access to laundry essentials.
I find it’s the perfect trick for keeping supplies handy but out of the way.
- Mount it directly to wall studs
- Use it for detergents and stain sticks
- Corral fabric softener sheets in a bin
- Store your measuring cups and gloves
- Keep a small iron or spray bottle within reach
This simple design is ideal for small spaces, helping you make the most of every inch in your laundry area.
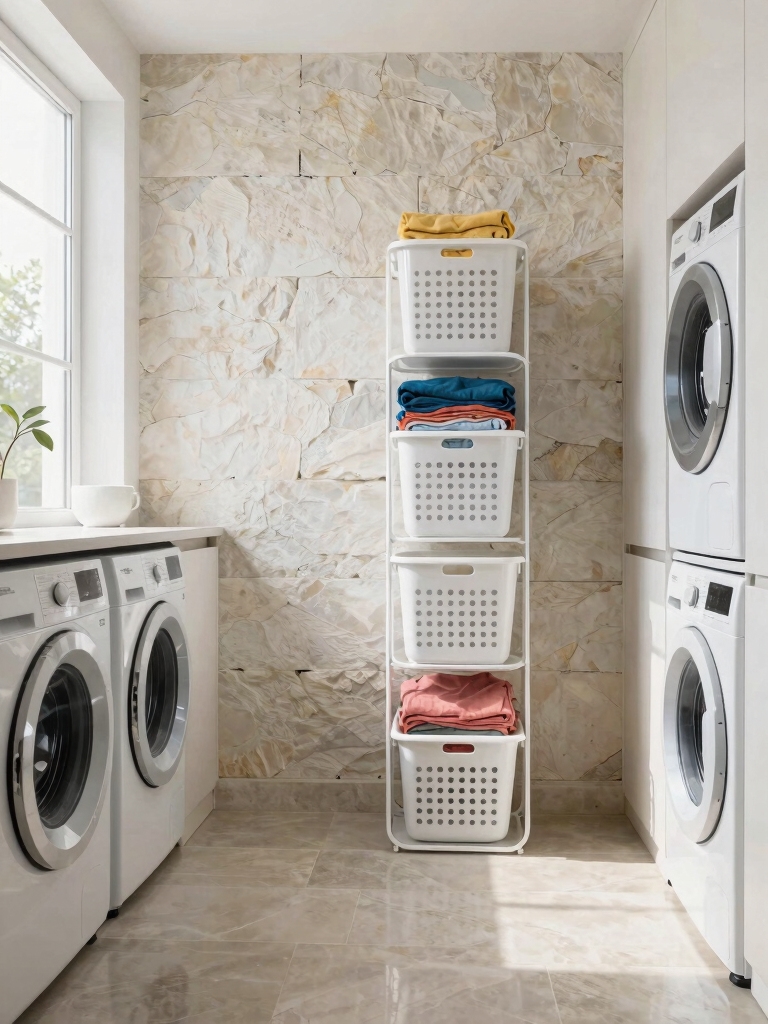
Use a Slim Rolling Cart for Extra Storage
If you’re tight on space in your laundry area, a slim rolling cart can squeeze into the narrowest gaps, turning dead zones into functional storage.
I tuck mine beside the dryer. Its two shelves corral everything from stain sticks to dryer balls, while its wheels let me roll it out for easy access.
It’s my favorite way to reclaim that forgotten sliver of floor.
For an even smarter setup, pairing the slim cart with stylish laundry room solutions can maximize both efficiency and aesthetics in your basement laundry space.
Mount a Pegboard for Supplies and Tools
A pegboard offers one of my favorite, flexible solutions for wall-mounted storage. I mount mine right over the machines, turning dead wall space into an instant command center.
Its genius lies in the customizable hooks and bins—I rearrange my tools in seconds to fit new supplies.
- Iron and spray bottle
- Scissors and lint rollers
- Assorted stain sticks
- Small tool kit
- Keep frequently used items visible and within arm’s reach.
Integrating smart storage solutions can further enhance organization and efficiency in your laundry room.
Hang Drying Racks From the Ceiling or Walls
I often maximize my basement’s vertical space with ceiling-mounted drying racks that pull down for easy access.
For a simpler solution, I attach wall-mounted racks between studs, keeping floor space completely clear.
Both methods turn unused air into a practical drying zone for bulky items.
These clever storage solutions not only free up valuable floor space but also create an organized environment that enhances laundry room efficiency with smart storage.
Ceiling-Mounted Rack Installation
Mounting a drying rack to your ceiling or walls is a fantastic trick for freeing up precious floor space in your basement laundry.
I’ve found installing a ceiling-mounted system really transforms that dead air overhead. You’ll want to make certain it’s secure and functional.
- Anchor directly into joists for safety.
- Use a pulley system for easy lowering and raising.
- Opt for fold-up designs to stow away.
- Choose rust-resistant finishes for humidity.
- Position it directly over floor drains for drip management.
Wall-Mounted Space Savers
While the previous section covered ceiling-mounted options, let’s get into the equally clever world of wall-mounted space savers.
I love a hinged rack that folds flat when I’m not using it. A simple rod installed between studs works wonders for hanging shirts, while wall-mounted hanger bars are a total game-changer.
You’ll instantly reclaim precious floor space and get everything up off those precious, limited surfaces.
Hide Unsightly Pipes With a Clever Cabinet
Since exposed pipes can make even the most organized laundry room feel messy, I’d hide them with a custom-built or repurposed cabinet that fits the space perfectly.
You gain hidden storage while taming the clutter.
- Repurpose an old kitchen cabinet for instant character.
- Build a simple pine box with hinged access panels.
- Add open shelving on top for detergent and supplies.
- Use a tall, narrow armoire for a furniture feel.
- Paint it a bright, clean color to visually recede.
Maximizing every inch of your small laundry space is key, so consider clever storage solutions that utilize dead space effectively.
Brighten up With Focused Task Lighting
Let me share my favorite trick for a dim laundry room: I install flexible track lighting overhead to flood my folding station with light.
Then, I mount LEDs under the cabinets to clearly see into every washer drum.
Finally, a subtle strip along the baseboard creates a warm ambiance that makes the space feel less like a dungeon.
Overhead Track Lighting Benefits
To really make your laundry tasks easier, I’d recommend considering overhead track lighting for its focused illumination.
I love its versatility; you can position each head to eliminate shadows over your machines, sink, and folding area. It’s a resourceful way to use that ceiling dead space.
- Targets dark nooks perfectly
- Highlights sorting and stain treatment
- Adjusts as your layout changes
- Frees up valuable counter and wall space
- Creates a brighter, more functional zone
Under-Cabinet Fixture Installation
While you can tackle overhead lighting for general brightness, installing fixtures under your cabinets focuses light right where you need it most.
I find adhesive puck lights ideal; they’re affordable and you just stick them under a shelf.
Or, I’ll mount a simple hardwired fixture—it’s a more permanent solution.
Either way, my countertop for sorting or folding becomes brilliantly illuminated.
LED Strip Ambiance Creation
Focused light below cabinets works wonders, but I’ve found LED strips can transform the whole mood and function of the space.
I use them to add a soft, ambient glow that makes the room feel less like a dungeon.
- Run a strip along the top of base cabinets for uplighting.
- Highlight a shelf for displaying decor.
- Add a color-changing strip inside a glass-front cabinet.
- Place one under a folding table.
- Use a motion-sensor model for the entry.
Roll Out a Mobile Laundry Caddy
A mobile laundry caddy simplifies sorting, transporting, and storing supplies with one flexible, rolling unit.
I use mine as a portable hamper for darks and lights, then wheel it straight to the machines. Its shelves corral my detergent, stain sticks, and dryer balls perfectly.
When I’m done, I just tuck it into a forgotten corner. It’s a brilliant hack that conquers clutter without demanding permanent floor space.
Use Paint and Tile to Visually Expand the Space
Light colors and reflective surfaces trick the eye into seeing more square footage, so I painted my concrete walls a soft, bright white.
White subway tile behind my machines adds a clean, reflective backdrop.
My visual-expansion tricks include:
- Painting the ceiling a glossy white
- Using large-format, light-colored floor tile
- Choosing glossy, light-painted cabinetry
- Installing a mirrored backsplash fragment
- Adding under-cabinet LED lighting to eliminate shadows
Conclusion
So I’ve shown you how I transformed my own dead space into a clever laundry room. Remember, necessity is the mother of invention. With a little paint, some smart storage, and these practical tips, you can turn that awkward basement corner into your most resourceful spot yet. It’s amazing what a folding station, good light, and a mobile caddy can do for your laundry day spirit