I can turn my cramped laundry nook into a bright, organized space for almost nothing. I’ll use leftover paint to cheer up dark walls and repurpose old shelves for free storage. Empty jars become handy containers, and a hanging shoe organizer tames my ironing supplies. With some scrap wood and a little creativity, I’ve created a functional, personalized area that makes chores feel lighter. There are so many clever ways to make every inch work beautifully.
Brighten Walls With Leftover Paint
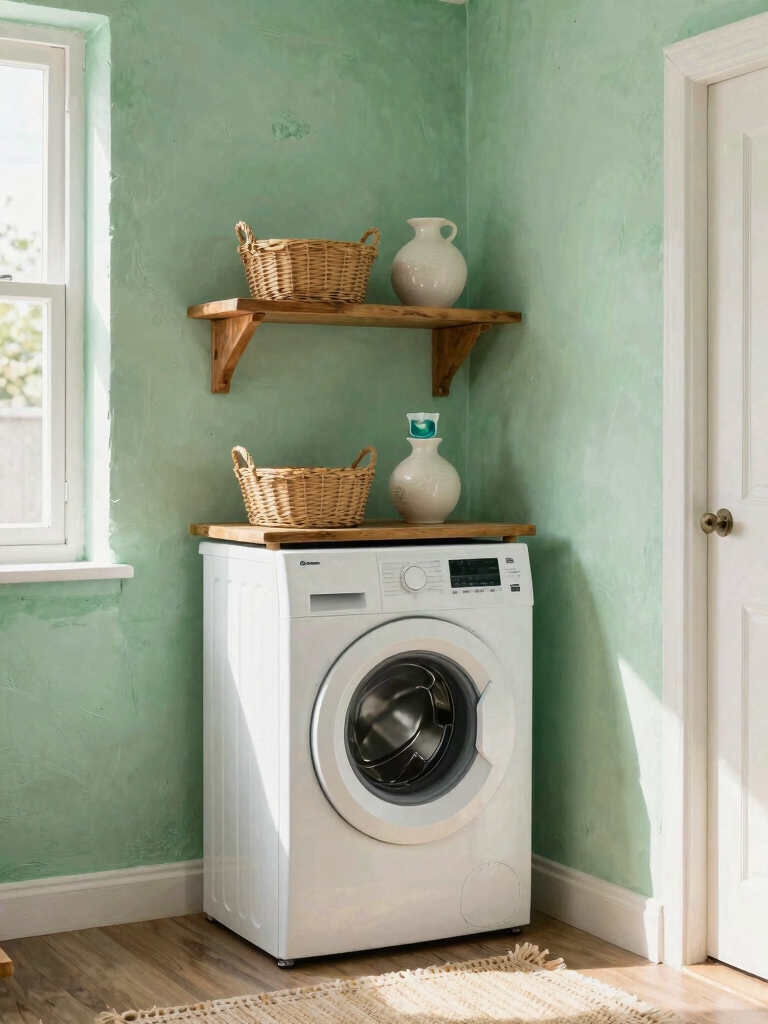
If you have leftover paint from other projects, grab it.
I recently used a half-gallon of sunny yellow from my kitchen to brighten my dark laundry nook. The transformation was instant!
You don’t need much to cover a small space. Just roll it on yourself for a custom, cheerful backdrop that costs nothing.
It makes the whole chore area feel lighter and way more inviting.
Using smart design tips can help you maximize your small laundry room’s functionality and style with minimal effort, making the most of every inch with efficient layout ideas.
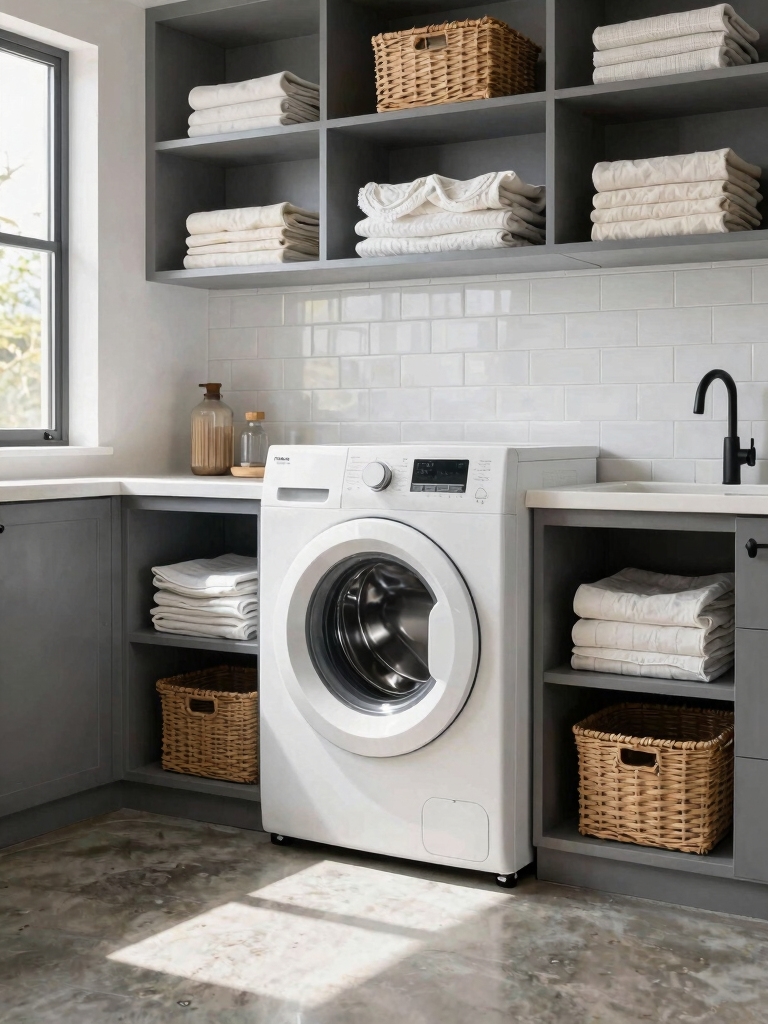
Maximize Vertical Space With Repurposed Shelves
I’ve found my best shelves are old ones I repurposed for free.
I’ll walk you through how I hang them securely in a laundry room.
Transforming vertical space with these really ups your storage game.
Using stylish storage solutions can enhance both function and aesthetics in your laundry area.
Finding Old Shelves
Start by scouring garage sales and secondhand stores for forgotten shelves. I look for solid, ugly pieces with good bones—their potential is everything. A little paint and clever placement transforms cast-offs into custom storage.
- See the structure, not the stain.
- Embrace mismatched sets for character.
- Prioritize sturdy brackets over perfect finishes.
- Measure your wall space before you hunt.
- Imagine them holding baskets, not books.
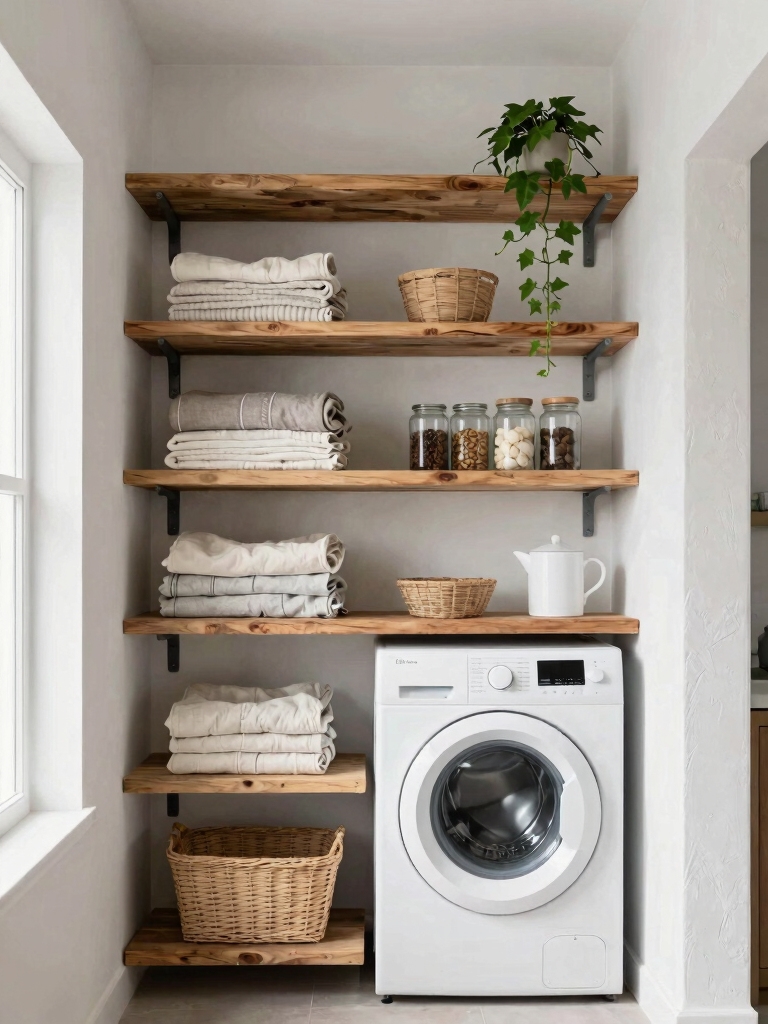
Installation Guidelines
Now that you’ve found your perfect, sturdy shelves, let’s turn that blank wall into a storage powerhouse.
I grab my level and mark my studs—that’s non-negotiable for safety and support. Securing the brackets first keeps everything straight.
Then, I just set the shelves on top and screw them down. Honestly, seeing them loaded with supplies is the best part of this instant transformation.
Install a Free Floating Shelf From Scrap Wood
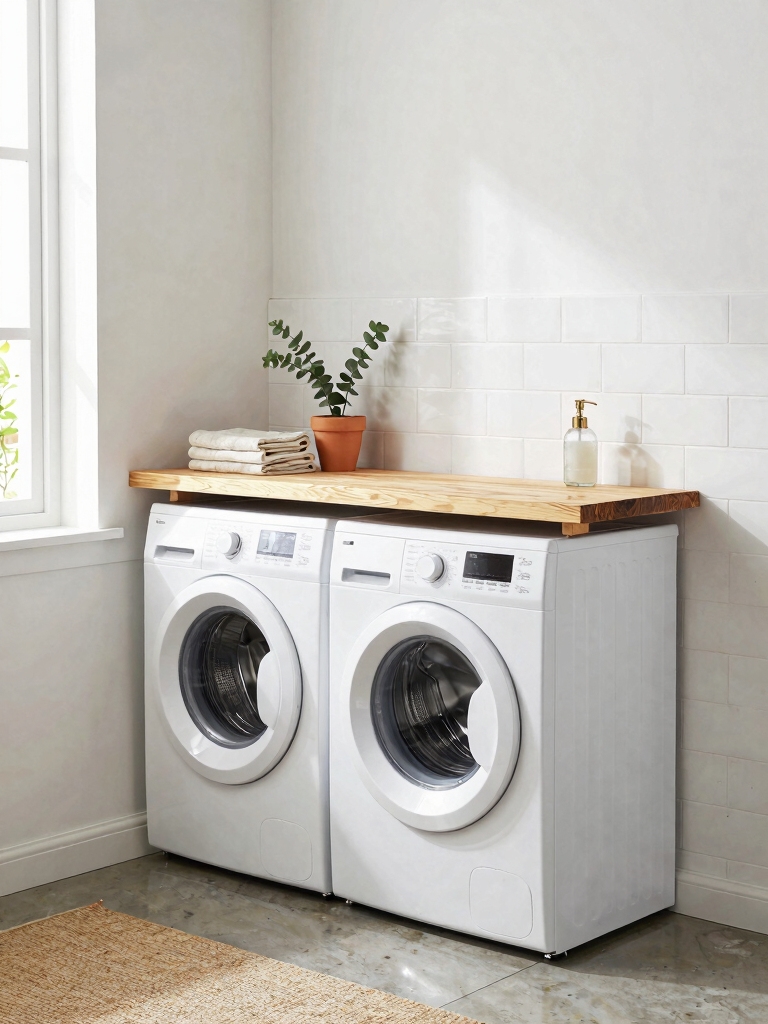
I’ll show you how I transformed leftover wood into a practical floating shelf.
First, we’ll find the right scrap pieces and prep them for mounting.
Then, I’ll walk you through the simple installation that adds storage without costing a dime.
This smart addition not only maximizes space but also demonstrates one of the best laundry room shelf ideas for smarter organization.
Find And Prep Materials
To kick things off, I’ll gather scrap wood from my garage, looking for a sturdy, flat piece about 32 inches long. My prep work transforms this forgotten board into a sleek shelf. Here’s my process:
- Embrace imperfections like old paint or knots for character.
- Give it a thorough sanding until the surface feels perfectly smooth.
- Wipe away all the dust with a damp cloth for a clean start.
- Choose a finish—left natural, stained, or painted to match your room.
- Let the finish dry completely; patience here prevents mistakes later.
Install The Shelf
Mount the bracket on the wall first, using a stud finder to locate a solid anchor point. Secure it with long screws.
Then, I slide the prepped wooden shelf over the bracket’s arms. A couple of screws from underneath lock it in place.
That’s it! I’ve instantly gained storage without spending a dime.
This simple scrap wood shelf transforms a blank wall into a spot for detergent and supplies.
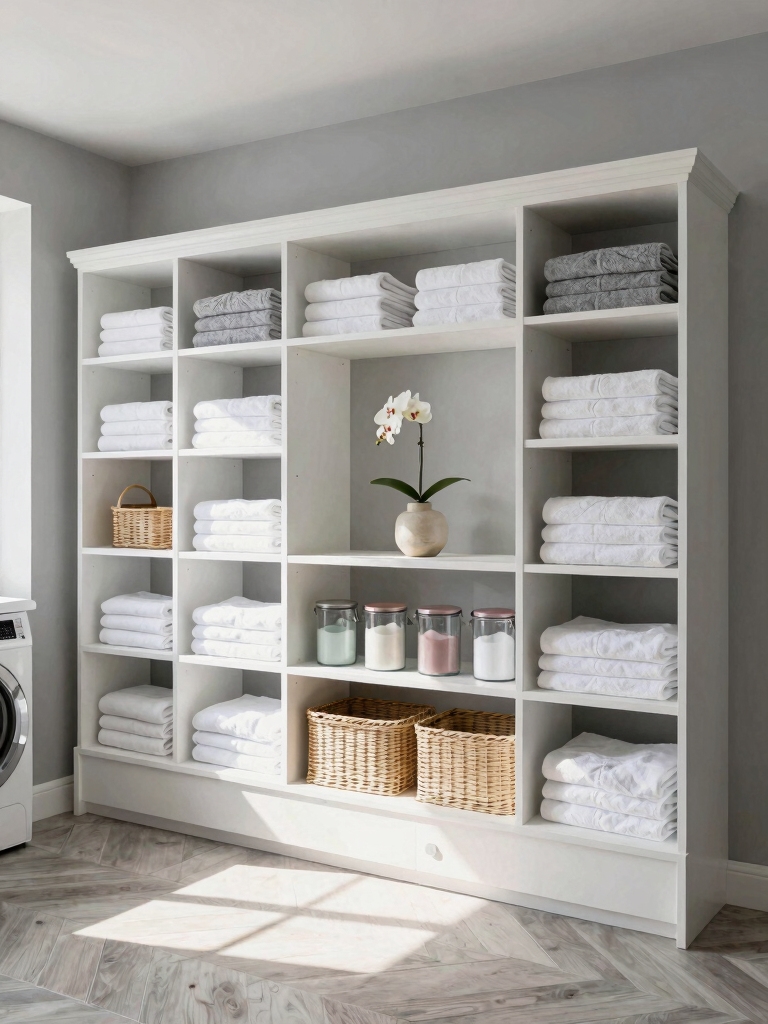
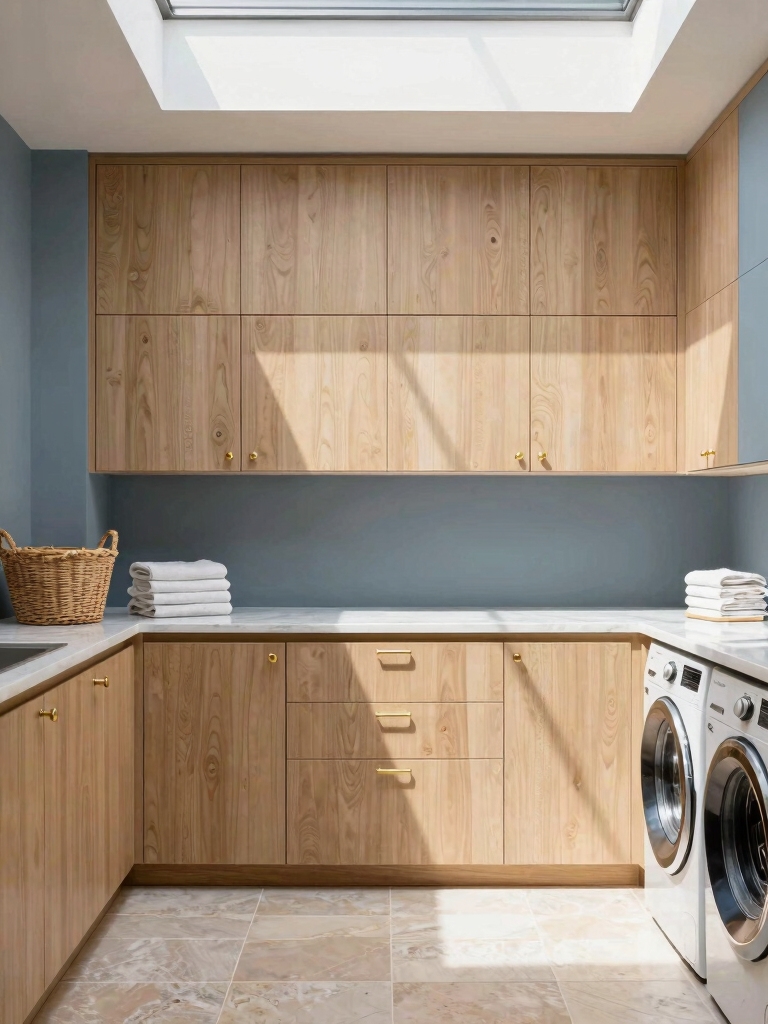
Repurpose a Bookshelf As a Laundry Station
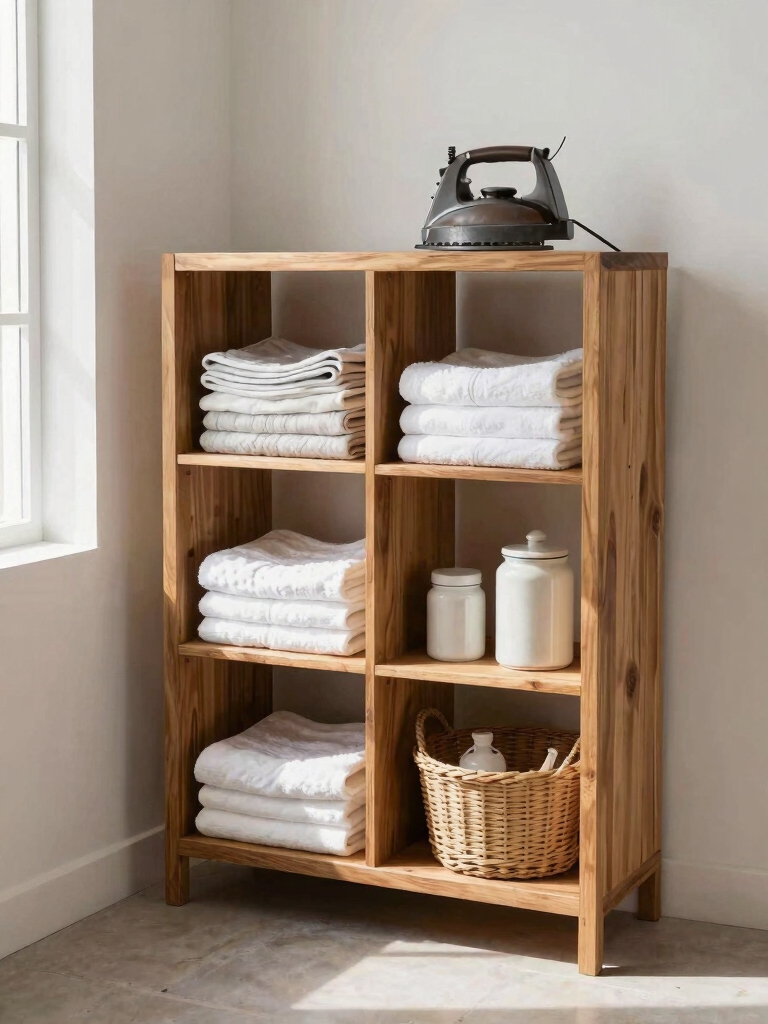
Transform an old bookshelf into a functional laundry station by clearing its shelves and giving it a fresh coat of paint. I love this project because it’s a total transformation that costs next to nothing. You’re not just storing things; you’re creating a dedicated, efficient hub.
- It celebrates giving forgotten furniture a brilliant second act.
- It proves a major upgrade needs zero custom cabinetry.
- It lets you perfectly tailor shelf heights for baskets and supplies.
- It instantly adds vertical storage where you need it most.
- Its open design keeps everything visible and within easy reach.
Adding vertical storage solutions like this bookshelf is especially helpful in tight spaces, maximizing every inch of your laundry area. This approach is a key idea in creative laundry room solutions.
Organize Supplies in DIY Repurposed Containers
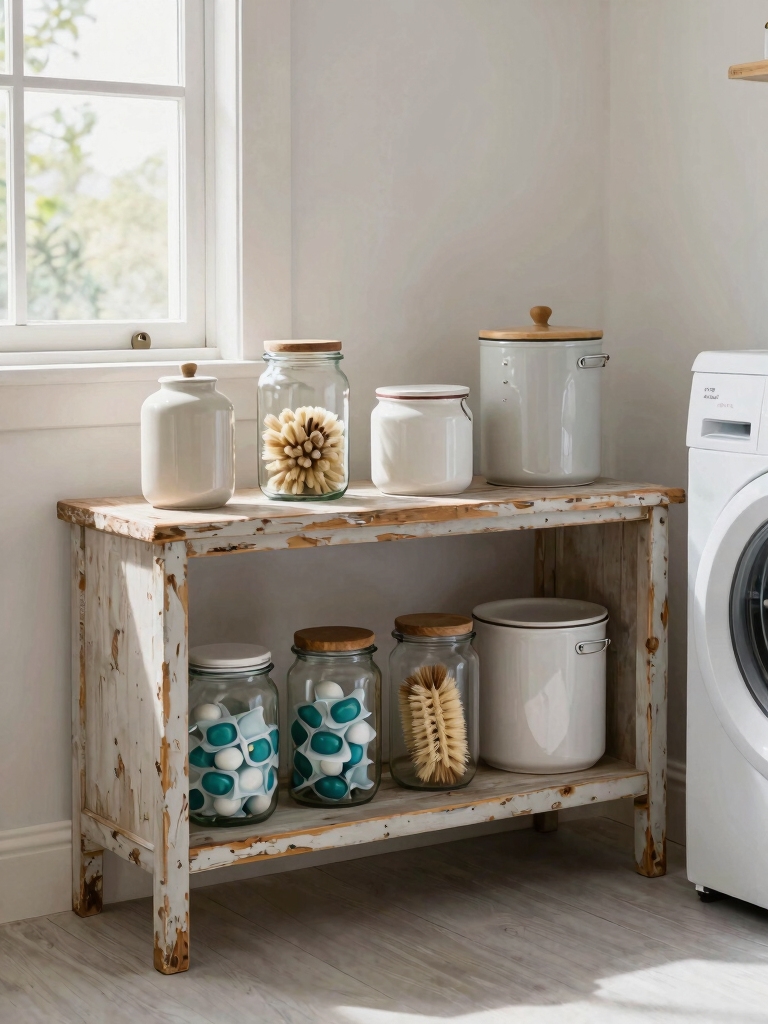
Six beautifully repurposed jars are sitting on my laundry room shelf, each holding a specific supply like detergent pods or stain sticks.
I’ve transformed empty pickle and salsa jars with a quick wash and my trusty label maker. This simple, nearly free project finally tamed my clutter.
Now everything’s visible and within reach, turning a chaotic corner into a streamlined, personalized command center that makes laundry day a little smoother.
Incorporating smart storage solutions can further enhance your laundry room’s efficiency and style.
Store Detergent in Upcycled Glass Jars
I love transforming my laundry supplies with clean used jars I’ve saved.
I’ll simply design and print my own labels for a cohesive look.
This easy upgrade makes my detergent feel like a featured part of the room’s decor.
Using vertical shelving or wall-mounted racks can further maximize space in small laundry rooms, making organization even easier with clever storage solutions.
Choose Clean Used Jars
Give your laundry room a charming, organized look by storing powdered detergent in upcycled glass jars. I skip buying new containers and hunt for character-filled glass from my own recycling.
- Scout your pantry for empty jam, pickle, or sauce jars.
- Prioritize jars with sturdy, wide mouths for easy scooping.
- Remove all labels and adhesive residue completely.
- Wash jars and lids thoroughly in hot, soapy water.
- Let them dry completely before filling to prevent clumping.
Simple Printable Jar Labels
Now that you’ve got your clean jars ready, let’s make them look as good as they function.
I design simple labels on my computer using free templates. I print them on regular paper and use a glue stick to attach them.
A bit of clear tape over the front protects them from spills. This tiny touch transforms my practical jars into a stylish, cohesive set.
Declutter With a DIY Pegboard Tool Wall
While pegboards might seem purely industrial, you can transform yours into a custom tool wall that declutters your laundry space without breaking the bank. I grabbed a basic panel and got creative. This simple project turned my chaos into a functional, visible system.
My process reveals the key to a lasting transformation:
- Mounting it directly over the washer maximizes dead space.
- Painting the board makes it a personal design feature.
- Using assorted hooks corrals everything from brushes to scissors.
- Grouping similar items creates intuitive, efficient zones.
- Seeing all my supplies finally stops me from buying duplicates.
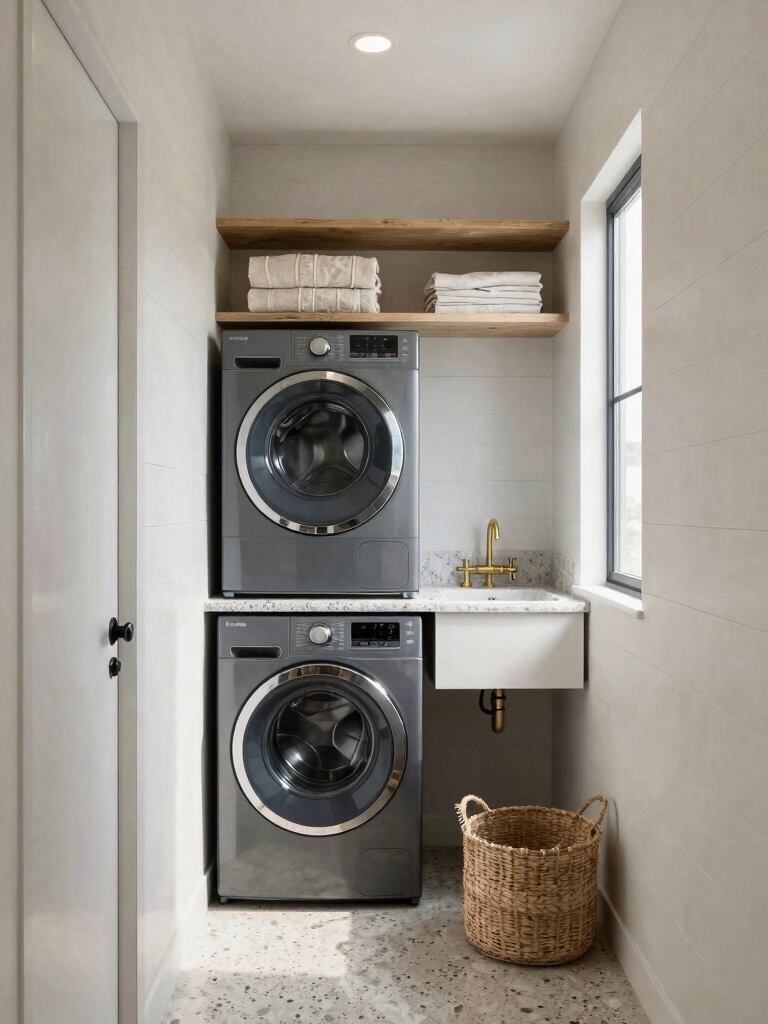
For even more space efficiency, consider integrating stackable machines to further optimize your small laundry room layout.
Label Everything With Homemade Chalkboard Tags
Just as my pegboard put my tools in plain sight, I’ve found a simple way to make sure every jar and bin in my laundry room stays clearly identified.
I paint the lids with leftover chalkboard paint, let them dry, and use chalk to label contents like ‘stain sticks’ or ‘wool balls.’
It’s a nearly free trick that instantly organizes my supplies and transforms the space.
Incorporating clever storage solutions maximizes the limited space and keeps everything within easy reach.
Craft a Sorting Station From Cardboard Boxes
I’m starting by gathering some sturdy boxes and a few other basic supplies.
I’ll then quickly assemble a simple structure that fits my space perfectly.
Finally, I’ll label each compartment to transform this free cardboard into a custom sorting station.
To maximize efficiency in tight areas, consider incorporating laundry room ideas for small spaces that optimize every inch of your setup.
Gather Basic Supplies
My first step in organizing any laundry room is rounding up a few essentials, and your most important supply might already be at home: sturdy cardboard boxes. This free foundation instantly creates order.
For a deeper transformation, I gather:
- Box cutter for clean cuts
- Ruler or tape measure
- Marker for planning
- Packaging or duct tape for strength
- Old magazine pages or wrapping paper for flair
Now we’re ready to build.
Assemble And Label
Transform that pile of blank cardboard into a custom laundry-sorting powerhouse by strategically assembling boxes to fit your space and needs.
I’ll tape mine into a simple three-bin tower. Then, I grab a marker and clearly label each section—like “Lights,” “Darks,” and “Delicates.”
This simple act transforms random containers into a dedicated system, making sorting automatic and saving me precious floor space in my tiny room.
Corral Lost Socks With a Handmade Mesh Hamper
Dreading the notorious sock monster? I permanently evicted mine by building a mesh hamper.
- Transform an old fruit crate or cardboard box into a catch-all station.
- Reuse leftover mesh or netting from produce bags for breathable sides.
- Secure the fabric with a staple gun for a five-minute assembly.
- Label it clearly to direct every lonely sock.
- Celebrate the simple win of a clutter-free, sorted laundry zone.
Maximize your small space by incorporating smart laundry room solutions that keep everything organized and efficient.
Create a Folding Station From an Old Door
I’m turning an old door into my new favorite folding station.
First, I’ll find and prep the door before securely attaching it to the wall.
Then, I’m installing some simple, practical shelves above it for all my laundry supplies.
Find And Prep Door
Your first step for this project is to track down a solid old door, which will become the entire surface of your folding station. I found mine for free, and prepping it reveals its potential.
My process focuses on transformation:
- Hunt at architectural salvage yards or online marketplaces.
- Verify the core structure is sound and flat.
- Remove all old hardware like hinges.
- Give the surface a thorough sanding.
- Clean off every bit of dust for a perfect finish.
Attach To Wall
For step two, you’ll secure the door directly to the wall—it’s the fastest way to create a wide, sturdy folding surface.
I use heavy-duty L-brackets, screwing them into the wall studs first for rock-solid support.
Then, I attach the brackets to my sanded door.
That’s it! In minutes, my blank wall transforms into a perfect, zero-dollar folding table ready for piles of laundry.
Install Practical Shelves
Now I’m adding shelves below my new folding surface for crucial supplies. I’m cutting leftover door pieces into simple brackets. They’re perfect for holding everything I need right where I fold. This small project transforms useless scraps into essential storage.
- It recycles materials destined for the dump.
- It keeps supplies organized and within arm’s reach.
- It adds custom storage for almost zero cost.
- It builds function directly into the upcycled piece.
- It completes the transformation from trash to treasure.
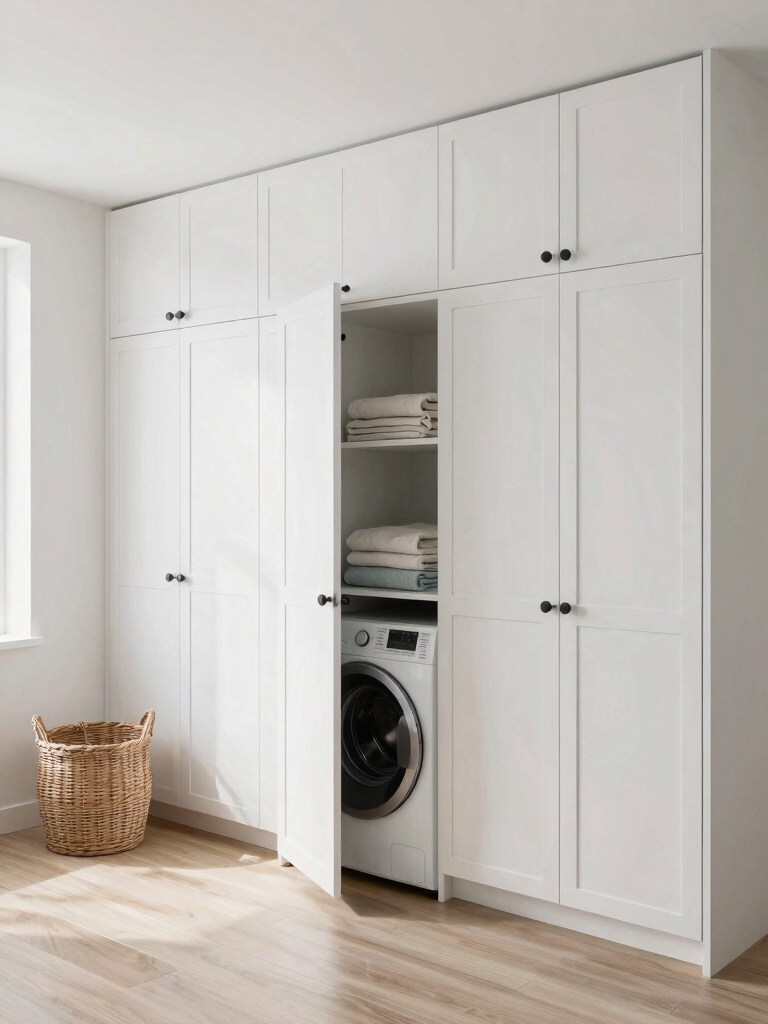
Hide Clutter With a No-Sew Curtain Door
Even if your laundry room feels chaotic, I’ve found a clever way to hide the clutter without sewing: a curtain door.
I simply hung a tension rod across an open shelf or cabinet and draped a pretty fabric panel over it.
It instantly conceals my supplies, and I can easily swap the fabric for a new look.
This quick trick transforms the space for pennies.
Build a Simple Drying Rack From a Wooden Frame
My own collapsible wooden drying rack took just an afternoon to build using leftover lumber and simple tools. It transforms a blank wall into a functional, space-saving station for air-drying delicates.
I love how this simple project maximizes my small room.
- Saves floor space by using vertical real estate.
- Prevents dryer shrinkage for your favorite clothes.
- Costs nearly nothing with scrap wood.
- Customize the size to fit your exact wall.
- Folds flat against the wall when not needed.
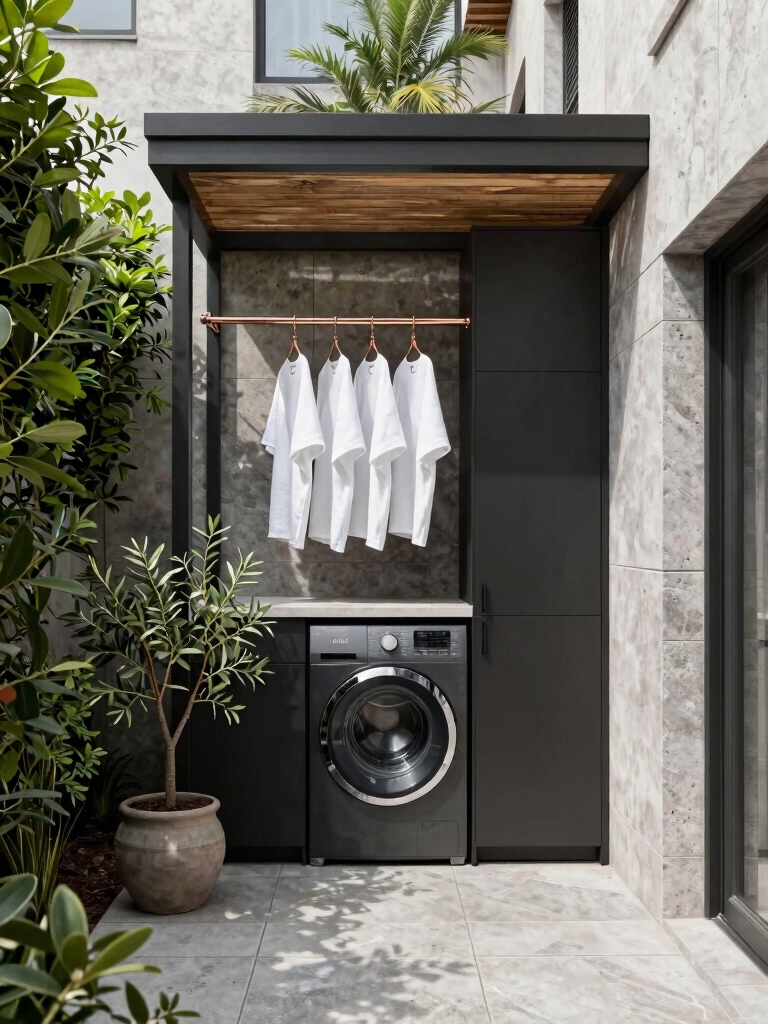
Hang a Drying Bar From an Unused Curtain Rod
While a wooden frame is perfect for bulky items, a spare curtain rod can create a dedicated bar for hanging delicate garments straight from the wash.
I install mine between two walls above the washer, using the existing hardware. It transforms a forgotten corner into a useful air-drying station.
This simple swap costs nothing and saves my favorite shirts from the dryer’s harsh heat.
Add a Sleeve Hanger With a Repainted Coat Rack
If you’ve got a spare wooden coat rack gathering dust, consider repurposing it as a specialized sleeve hanger.
I sanded mine, gave it a fresh coat of paint, and mounted it on my laundry room wall.
Now it’s my dedicated spot for drying delicate sweaters and blouses to prevent shoulder bumps.
- Reveals a free, high-functioning tool.
- Transforms clutter into clever storage.
- Solves a specific drying dilemma beautifully.
- Customizes with any color you love.
- Celebrates the power of a simple upcycle.
Make an Ironing Board Caddy From a Shoe Organizer
A hanging shoe organizer can solve another ironing frustration: where to store your spray starch, pressing cloth, and other essentials.
I hang mine right over the board’s narrow end. Now my supplies aren’t cluttering a shelf or getting lost. Every pocket holds a different item.
This instant, upcycled caddy keeps my workflow smooth. It’s a brilliant repurpose that costs nothing if you’ve got an old organizer.
Fashion a Hamper Lid From an Old Picture Frame
Next up, I turned a thrift-store picture frame into a stylish lid for my plain laundry hamper. I removed the glass, then hinged it directly to the basket’s rim with twine.
It’s now a beautiful cover that hides my clutter without costing a cent!
- See a frame, think beyond art.
- Hinges can be improvised.
- Function follows form.
- Details elevate the mundane.
- Thrift finds hold hidden utility.
Tame Messy Iron and Appliance Cords
Just as the picture frame gave my hamper a polished look, I tackled another unsightly laundry room issue: cords from my iron and appliances snaking across the counter.
I found an old binder clip and a spare command hook. I clipped the cords together, looped the bundle, and hung it on the hook behind my machine.
This simple, free trick instantly cleared my workspace and felt like a major upgrade.
Add Final Decor With Free Art or Plants
Once the clutter was cleared and the organization was in place, I realized my laundry space needed a touch of personality that didn’t cost a cent.
I framed old fabric swatches and propagated a pothos in a washed jar. This final layer transformed the room completely.
- Propagate a plant from a friend’s clipping.
- Frame a child’s drawing or colorful recipe card.
- Display a found object like a smooth stone.
- Hang a vintage handkerchief as a mini tapestry.
- Arrange detergent bottles in a visually pleasing way.
Conclusion
So, my biggest transformation was repurposing my dad’s old bookshelf. It became my entire laundry station—holding detergent, baskets, even folding clothes on top. It proves you don’t need a fancy built-in; you just need to look at what you already have with fresh eyes. That’s the real magic of DIY: transforming the ordinary into something perfectly yours, for almost nothing.