I’ll help you transform your cramped laundry room in just one weekend. Start by decluttering completely so you can assess your real space. I’d add stackable units and a DIY folding counter to save space, then maximize walls with shelves. A fresh coat of light paint and better lighting make a huge difference. Adding smart storage like a hanging rod or rolling cart keeps things organized. Stick with me to uncover all my clever, budget-friendly tricks.
Declutter and Assess Your Existing Laundry Room Space
Start by removing everything from your laundry room so you can see exactly what you’re working with.
I haul out all the detergent bottles, stray socks, and that mystery basket.
Now, I assess the empty space—the floor, walls, and existing shelves.
This reveals my real starting point. It’s free and completely transformative.
I can already picture a cleaner, more functional layout before I spend a single dollar.
Incorporating smart design tips can help you maximize your small laundry room space efficiently.
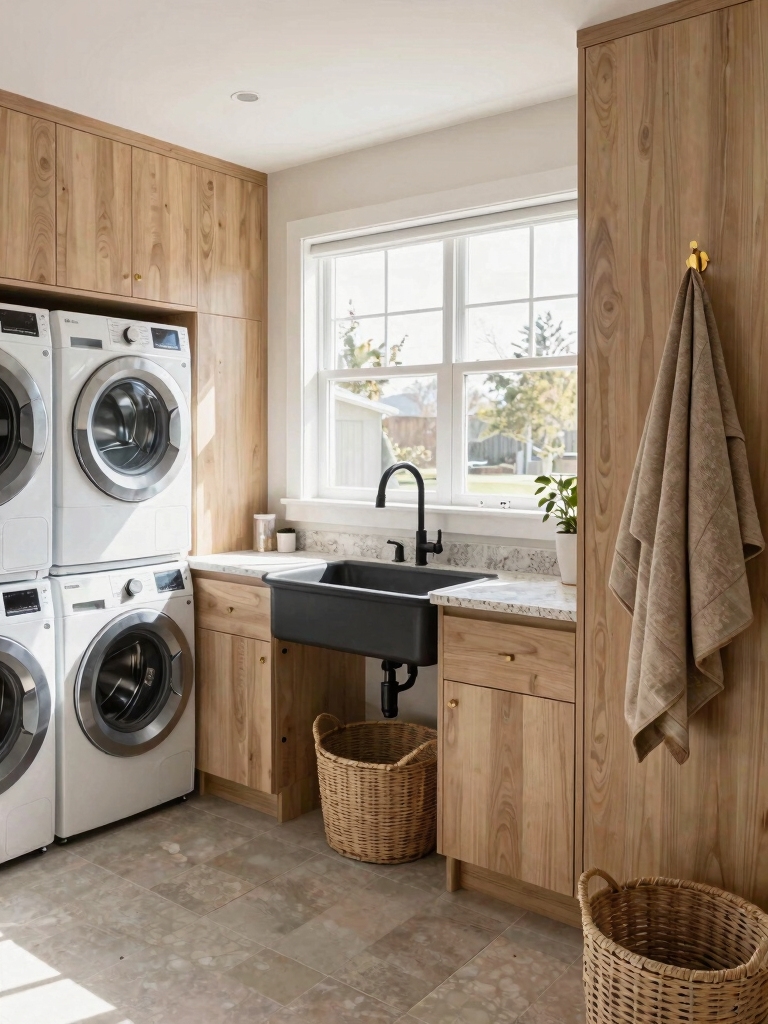
Swap to Space-Saving Stackable or Compact Units
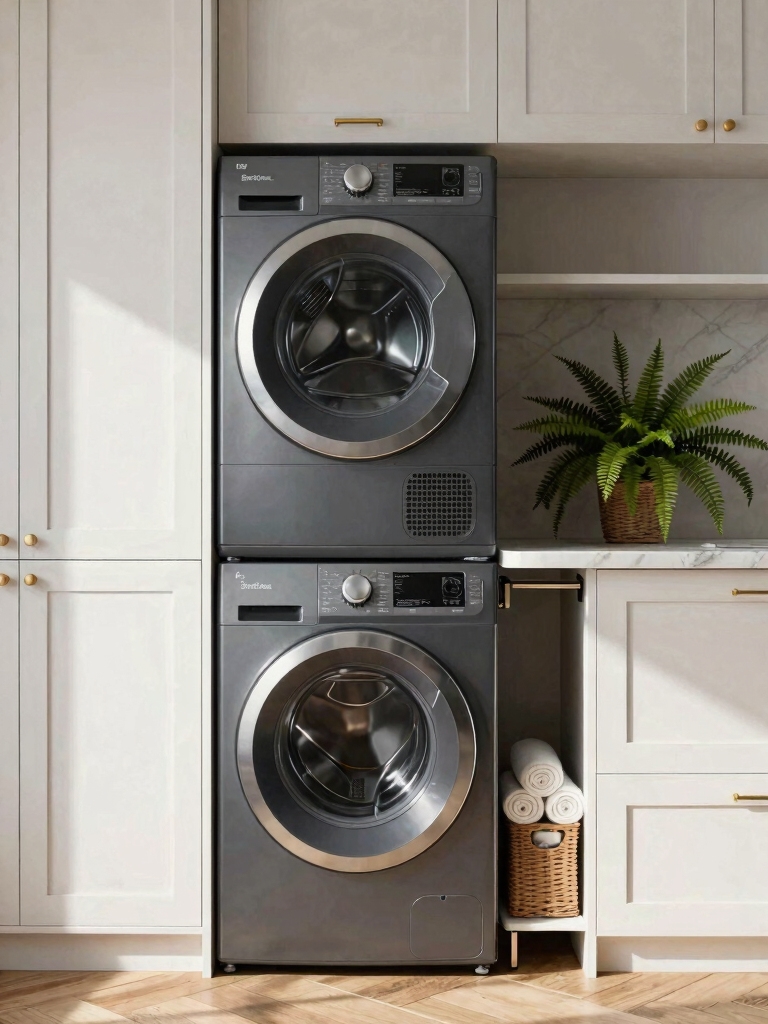
If your machines aren’t already stacked, I’ll explore making the switch to a space-saving stackable set or a compact all-in-one unit.
This single swap can transform your room, instantly freeing up valuable square footage.
I always look for refurbished or gently used models to stay budget-friendly.
It’s a major upgrade you can often manage yourself, creating a whole new zone for storage or folding.
Maximize your laundry room with stackable solutions to optimize every inch of your small space.
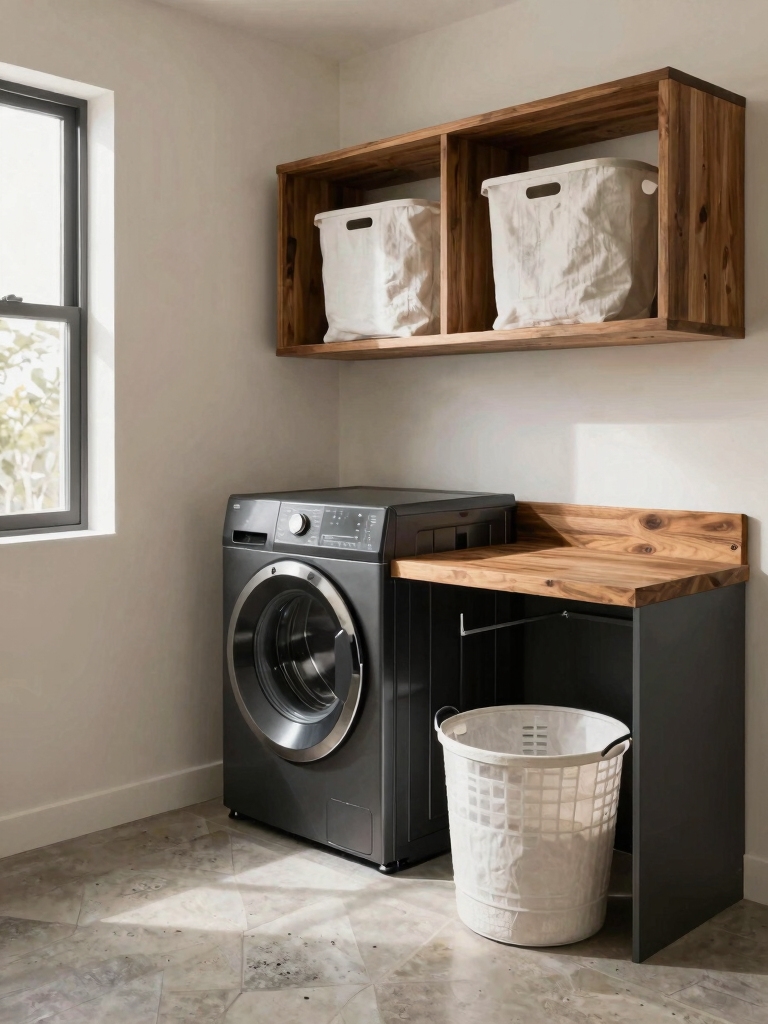
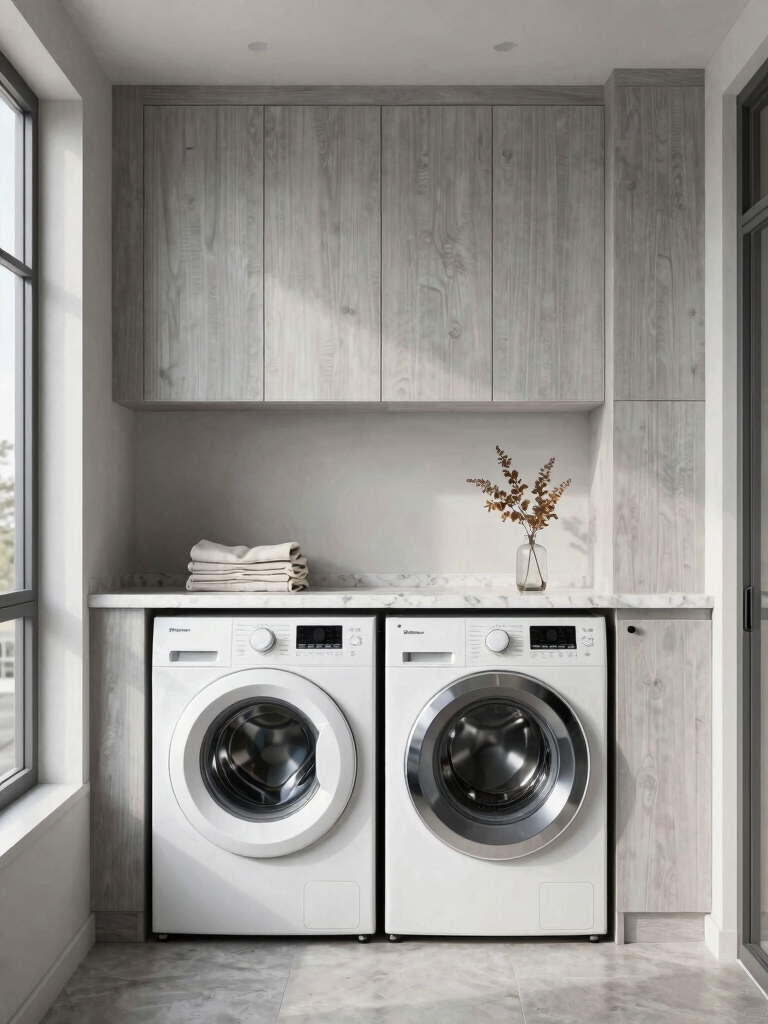
Build a Folding Counter Over Your Washer and Dryer
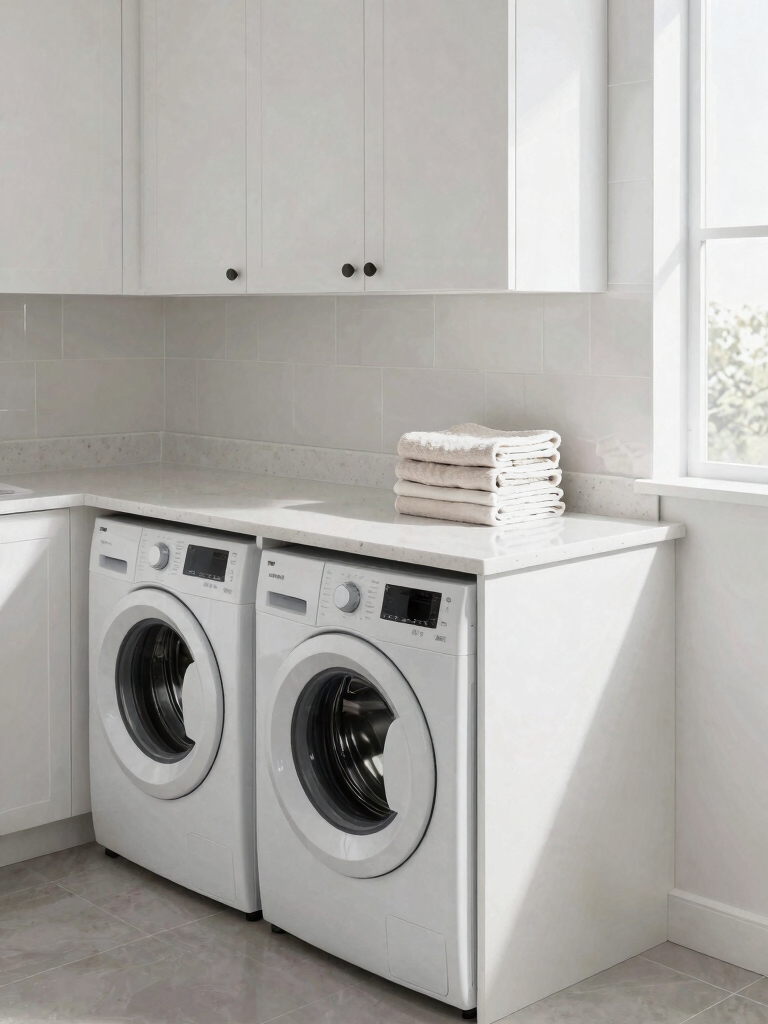
Since stacking your machines opens up valuable vertical space, I’ll now tackle building a simple folding counter right above them.
I used affordable plywood and basic brackets. Just measure your units, cut the board to fit snugly against the wall, and secure it with heavy-duty brackets.
You’ll instantly gain a perfect, dedicated spot for folding, transforming that empty air into hardworking surface area.
Adding clever cabinet solutions can help keep your laundry room tidy by hiding everything out of sight, making the most of your new folding counter space with clever cabinet solutions.
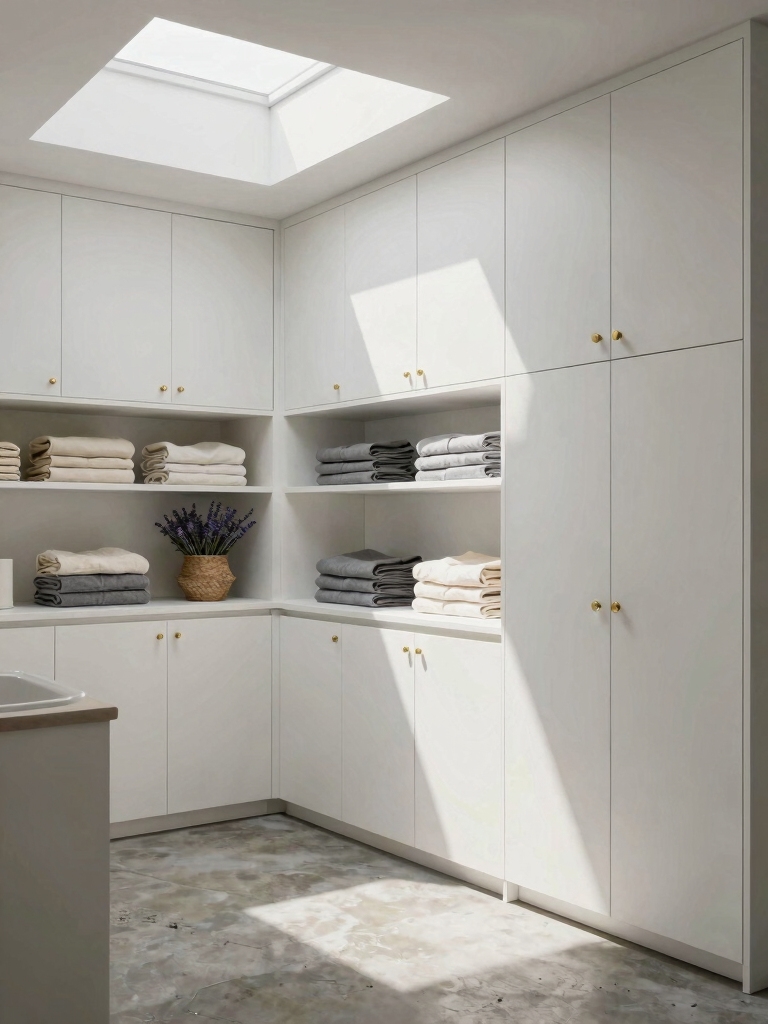
Maximize Vertical Space With Wall-Mounted Shelving
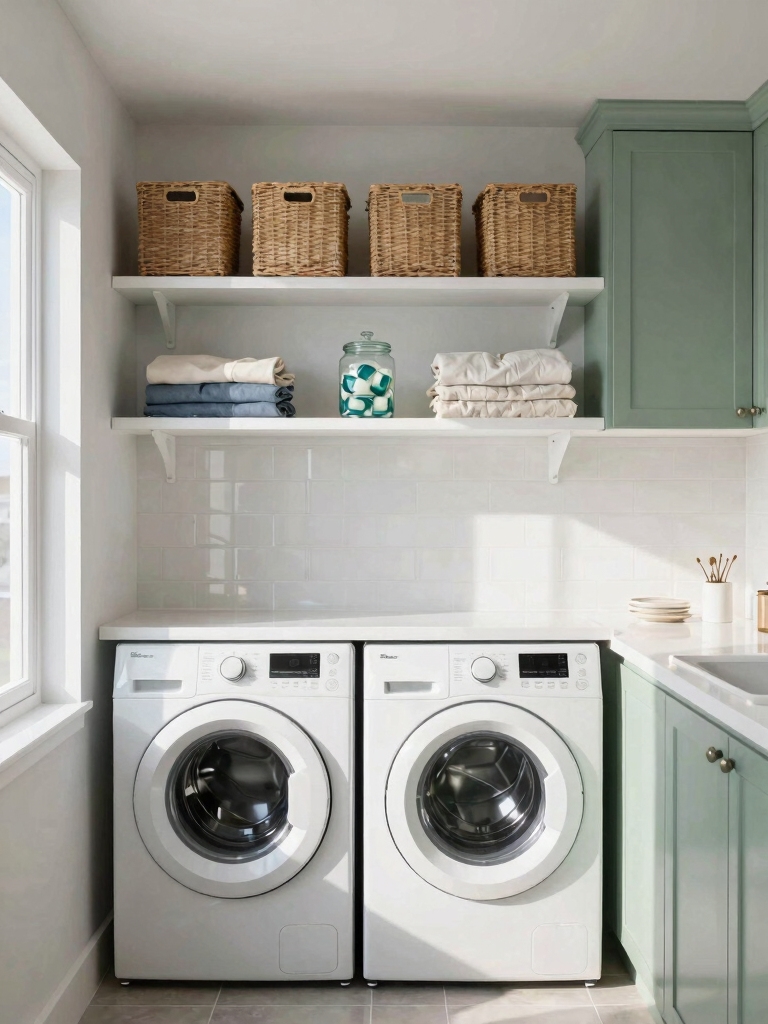
I’m taking my laundry room storage way up by installing wall-mounted shelves.
Let’s first assess our wall space and choose sturdy brackets that fit the budget.
I’ll then walk you through simple installation and styling to completely transform the wall.
Using clever storage solutions can help maximize every inch of space in a small laundry room.
Assess Your Wall Space
First, let’s look up and see what wall space you’ve got. I’m checking for empty spots above my washer or a blank wall next to the dryer.
I’ll measure these areas—height and width—to know my limits. This quick assessment is key; it shows me exactly where I can add shelves for storage without a major renovation.
It’s a simple, cost-free step that’ll totally change my room’s function.
Selecting Sturdy Brackets
To free up precious floor space and get my detergents up off the machine, I’m picking wall-mount brackets that can truly handle the load.
I hunt for affordable, heavy-duty hardware because I’m stacking full bottles. My checklist is simple:
- Solid steel or wrought iron construction.
- A stated weight capacity exceeding my planned shelf load.
- A design that matches my shelf’s thickness.
- A finish that resists moisture and rust.
Installation And Styling Tips
Since installing these shelves transforms my laundry room from cramped to organized, I’ll share how to mount them securely and style them smartly.
First, use a stud finder and level for perfect placement.
For style, I use matching baskets to hide clutter and keep essentials visible. Adding a small plant makes the space feel fresh.
It’s a budget-friendly project with a huge impact.
Create a Custom Hanging Rod for Air-Drying Clothes
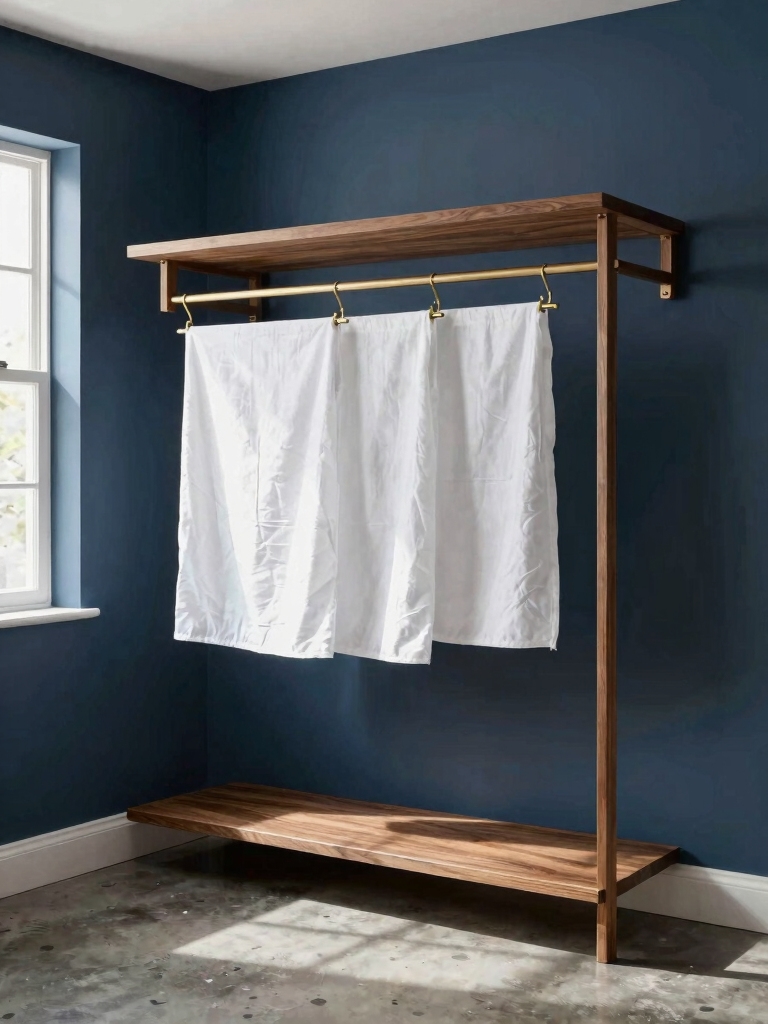
My next favorite budget-friendly upgrade is adding a custom hanging rod for air-drying clothes.
It’s transformative for small spaces. I use a simple wooden dowel cut to size.
- I measure between two walls or shelves.
- I cut a dowel to that exact length.
- I rest it on sturdy brackets or hooks I already own.
- I instantly gain a dedicated drying space for delicates.
This clever solution is one of the many smart storage ideas that maximize functionality in compact laundry rooms.
Organize Supplies on an Over-the-Door Organizer or Pegboard
Another simple way I maximize storage is by organizing supplies on an over-the-door organizer or a pegboard.
I hang detergents, stain sticks, and dryer sheets in clear pockets or on labeled hooks. This DIY approach clears my countertops instantly and costs very little.
Seeing every item in its spot is transformative—it makes my small laundry room feel orderly and efficient every single day.
Using smart organization tips like these can truly transform your laundry room and make the most of limited space.
Contain Laundry Baskets in a Built-In or DIY Nook
I often use a simple built-in cabinet to keep my laundry baskets out of the way.
If I’m on a tight budget, I’ll build a basic DIY nook from reclaimed wood to corral them neatly.
Either approach creates a transformative, space-saving spot that frees up my floor for other tasks.
Incorporating smart storage solutions can further enhance the organization and efficiency of your laundry room.
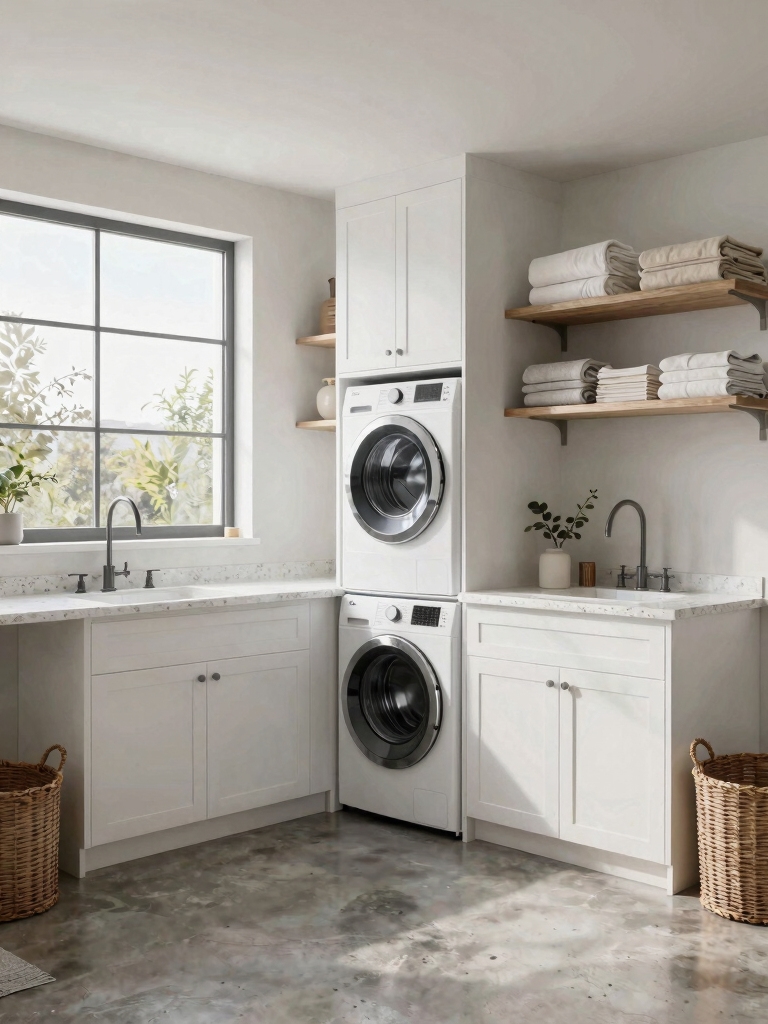
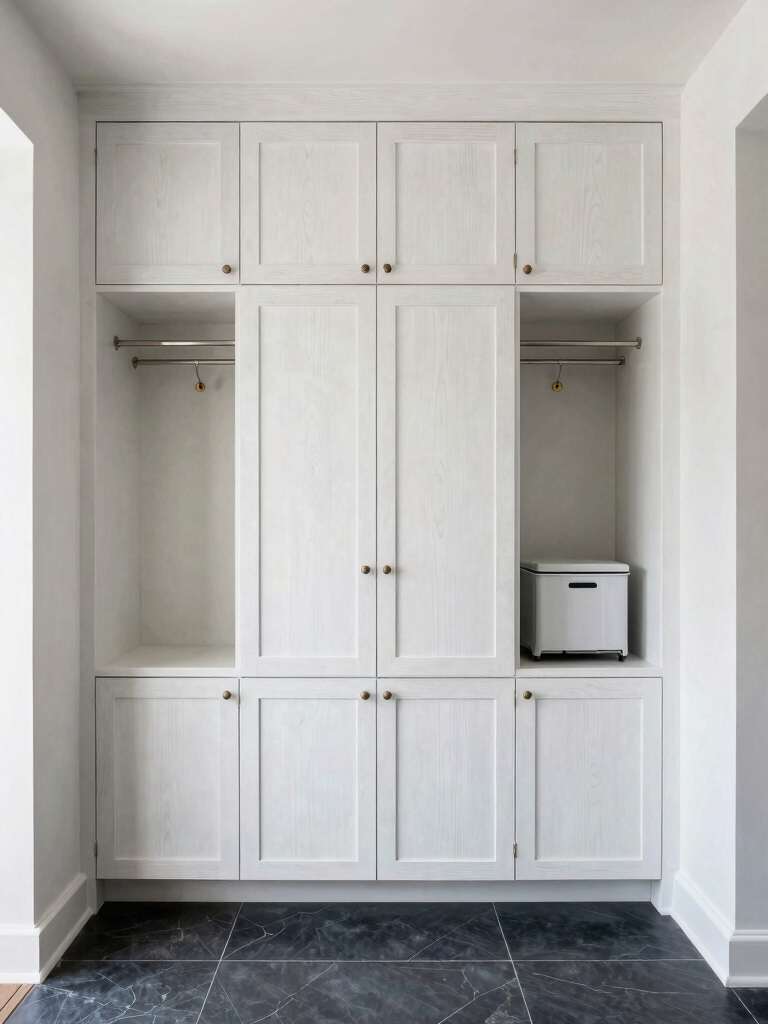
Built-In Cabinet Solutions
One fantastic way to hide your sorting baskets is to build them right into your laundry room cabinetry. I’ve created this using budget-friendly base cabinets.
Here’s my simple process:
- Mount standard base cabinets along one wall.
- Leave an open section between them for baskets.
- Install a countertop over everything for folding.
- Add a tension rod above to hang delicate items.
It instantly organizes the space.
DIY Laundry Basket Nook
Beyond built-in cabinetry, containing laundry baskets in a dedicated nook creates fantastic hidden storage.
I find using simple wood studs or an old shelving unit as a frame works perfectly. Slide those fabric bins right in!
It instantly corrals the clutter and gives your room a custom, finished look. You’ll gain a ton of space without spending much, transforming a messy corner into a functional asset.
Space-Saving Vertical Storage
Since your laundry baskets often need to be easily accessible but can dominate the floor, containing them in a dedicated vertical nook saves valuable space.
I simply built a custom compartment next to my washer. It creates a neat, transformative system.
- Measure your tallest basket and available wall space.
- Build a simple three-sided frame from plywood.
- Secure it firmly to the wall.
- Slide your baskets into their new organized home.
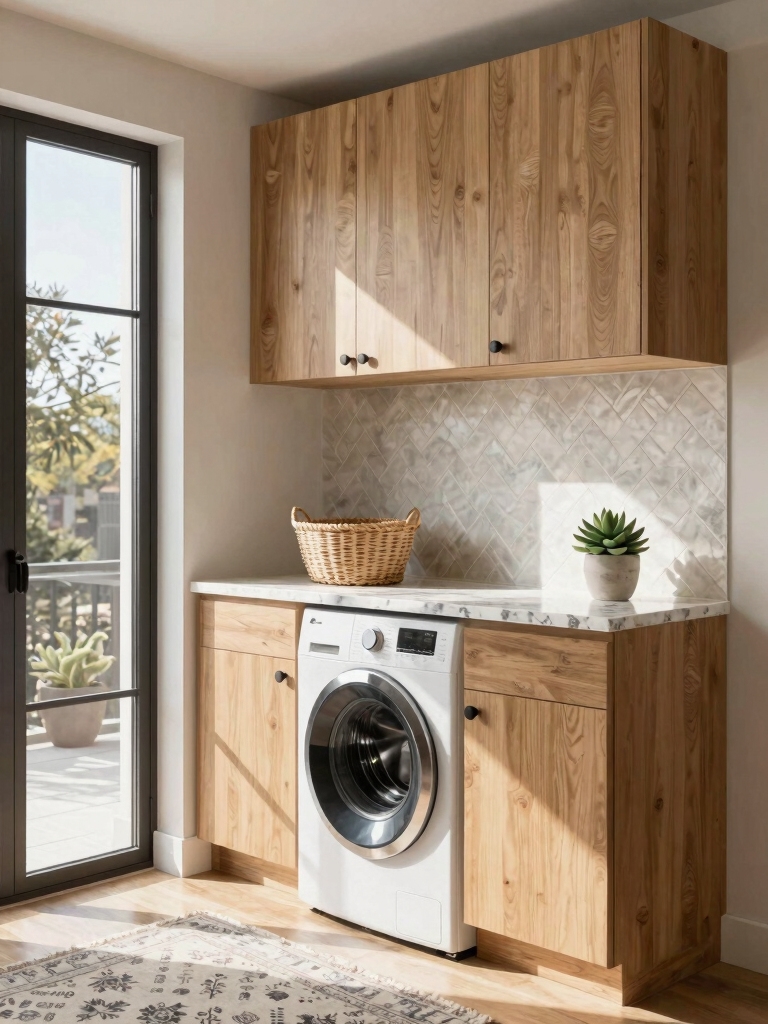
Stash Supplies in a Slim Rolling Cart for Tight Spaces
To maximize every inch of your laundry space, I recommend stashing your supplies in a slim rolling cart.
I’ve found affordable options online or repurposed old furniture. This DIY-friendly solution transforms a cluttered corner.
I wheel it between washer and dryer, keeping detergent, stain removers, and brushes instantly accessible.
It’s a budget-conscious, movable cabinet that frees up your countertop and makes your tight space feel organized.
For even more efficiency, consider incorporating creative laundry room solutions designed specifically for tight spaces.
Tidy Messy Cords and Hoses With a DIY Utility Box
Another common eyesore in my laundry room was the tangle of power cords and the dryer vent hose.
I built a simple wooden utility box to corral everything. This transformative, budget-friendly project instantly cleaned up the space.
- I cut scrap plywood into five pieces.
- I assembled a tall, open-front box with my nail gun.
- I painted it to match my cabinetry.
- I tucked all the cords and the hose neatly inside.
Maximizing vertical space with clever storage solutions helped keep the area organized and clutter-free.
Label All Bins and Jars for Instant Organization
My fourth step in the laundry room overhaul tackles loose items with simple labels.
I grab a marker and leftover sticker paper to label every bin for socks, towels, and cleaning supplies.
It’s a nearly free trick that instantly transforms jarred detergents and stray items into a clear system.
Everyone can find what they need, and putting things back becomes effortless.
Incorporating smart and stylish storage solutions can further enhance the functionality and appearance of your laundry space.
Brighten Your Laundry Room With a Fresh Coat of Paint
I’m always amazed how a fresh coat of paint can completely transform my laundry room on a tight budget.
Let’s start by choosing the perfect color palette to brighten the space.
Then I’ll walk you through the proper preparation and painting techniques for a professional finish.
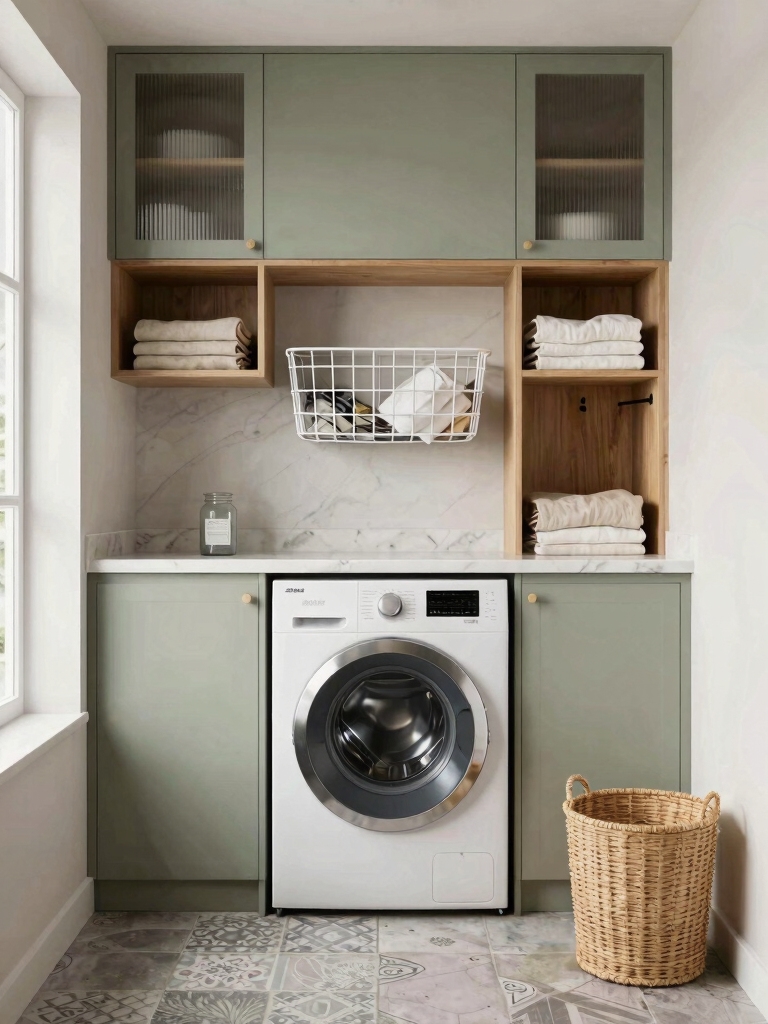
Choosing The Perfect Color Palette
How can you instantly lift your laundry room’s mood? I choose a fresh color palette for a transformative, budget-friendly refresh. I consider the room’s light and my desired vibe.
- Crisp White: Expands space and feels clean.
- Sky Blue: Evokes calm and freshness.
- Sunny Yellow: Injects cheerful energy.
- Sage Green: Brings a serene, natural touch.
A simple paint choice makes this chore-centric room a place I actually enjoy.
Proper Preparation and Painting Techniques
Having selected your ideal color, you’re ready to turn that vision into reality.
I always start by cleaning walls, filling holes, and taping edges for a pro look. Use a quality primer, especially if covering dark paint.
My budget-friendly tip is a mini-roller for smooth walls and an angled brush for trim.
Apply two thin coats, letting each dry completely for a perfectly transformative finish that brightens the whole space.
Upgrade Your Laundry Room Lighting for Better Function
Since you probably spend a lot of time sorting and folding there, good lighting transforms your laundry room from a dim chore zone into a bright, functional space you might even enjoy.
I focus on these DIY upgrades:
- Swap a single bulb for a multi-bulb fixture.
- Install under-shelf LED strips for task lighting.
- Add a plug-in pendant light over the sink.
- Paint the ceiling a bright white to reflect light.
Add a Bold Backsplash With Peel-And-Stick Tiles
While you’ve brightened up the lighting, you can make a bigger visual impact with a bold peel-and-stick tile backsplash.
I love that it’s an affordable, renter-friendly project. Just measure, cut, and stick!
A vibrant pattern or color instantly transforms the wall behind your machines, creating a focal point that makes the whole room feel deliberate and designed, all in just an afternoon.
Personalize Your Space With Decorative yet Practical Touches
Even a bold backsplash needs finishing touches that suit your lifestyle.
I personalize my space with decorative, practical items that don’t break the bank.
- A thrifted frame holds my drying rack.
- Woven baskets on a shelf corral supplies.
- A cute jar keeps loose change from pockets.
- A small, vibrant rug adds comfort underfoot.
These tiny transformations make laundry day feel less like a chore.
Conclusion
I promise these weekend ideas can transform your laundry crypt into a bright, organized hub. Pick a few, roll up your sleeves, and watch the magic happen. It’s incredible what a little DIY grit and a modest budget can achieve. Now go make that space work for you—you’ve got this!