I start by measuring my nook for SEKTION cabinets to define my storage foundation. I then maximize every inch with a wall-mounted pegboard for tools and an over-the-door SKÅDIS panel for supplies. A fold-down shelf creates my folding station, while a pull-out bin inside a lower cabinet hides my hamper. I finish with a RÅSKOG cart and a stylish ENHET series for a complete, modular system. I’ve got nine smart hacks to show you next.
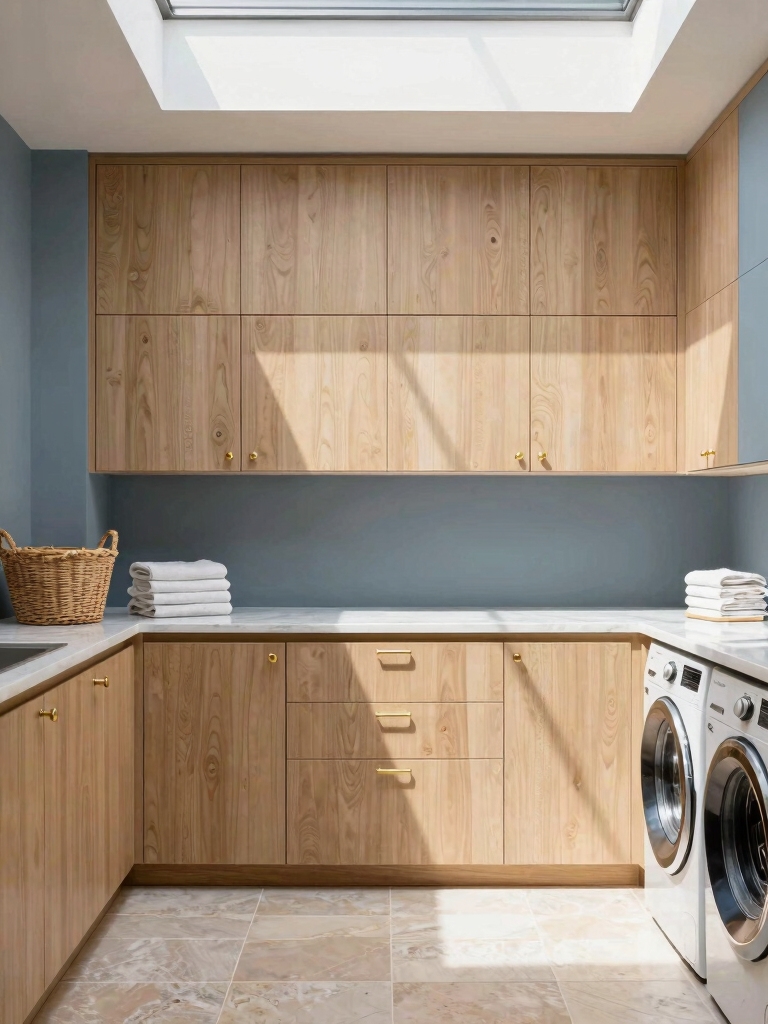
Begin With Foundational IKEA Cabinet Storage
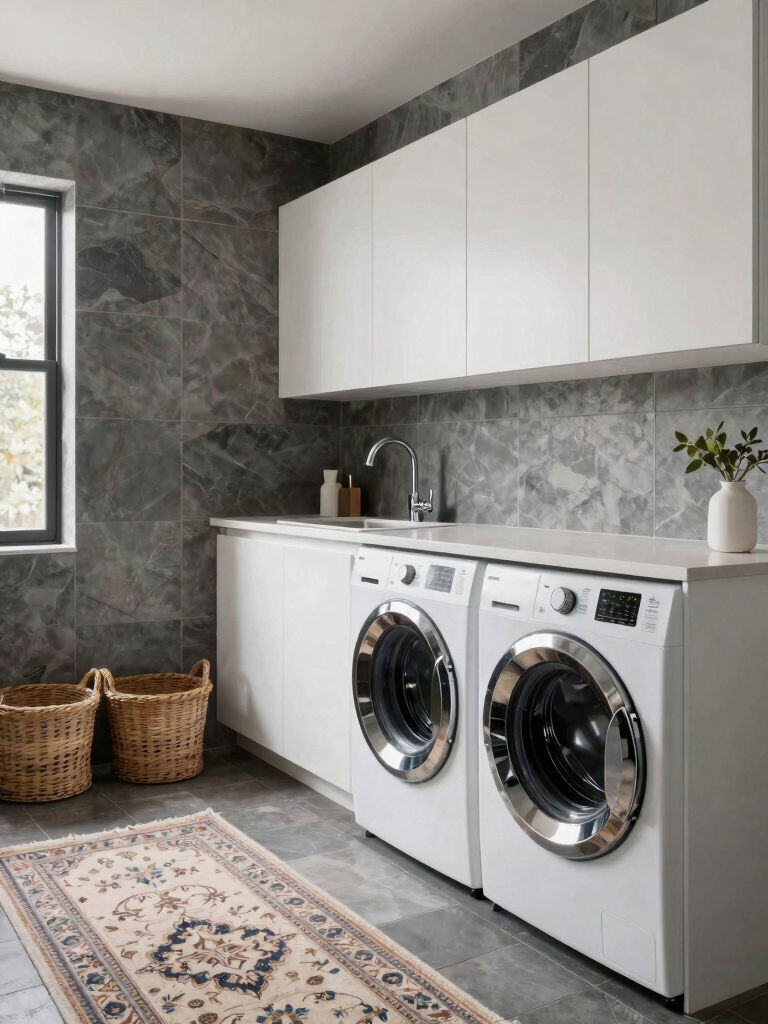
Before you even choose a washer, I start by planning the cabinet framework because it defines the entire layout.
I measure the nook precisely and sketch it out. Using IKEA’s SEKTION system, I build a base that fits my appliances and leaves room for a countertop. It’s my anchor.
I secure it to the wall, ensuring every shelf and drawer has a designated purpose for supplies or linens. Incorporating smart solutions helps maximize functionality in even the smallest laundry rooms.
Add Over-the-Door Storage With IKEA Organizers
After framing out my base cabinets, I look up and see wasted space on the laundry room door.
I instantly think of IKEA’s SKÅDIS system. Its perforated boards mount directly over the door with simple brackets, avoiding permanent holes.
I’ll hang small containers for clothespins, stain sticks, and sewing kits. This vertical grab-and-go spot clears my counter and uses every inch.
Maximizing vertical space like this is key to fit more into less in very small laundry rooms.
Maximize Vertical Space With a PEGBOARD Wall System
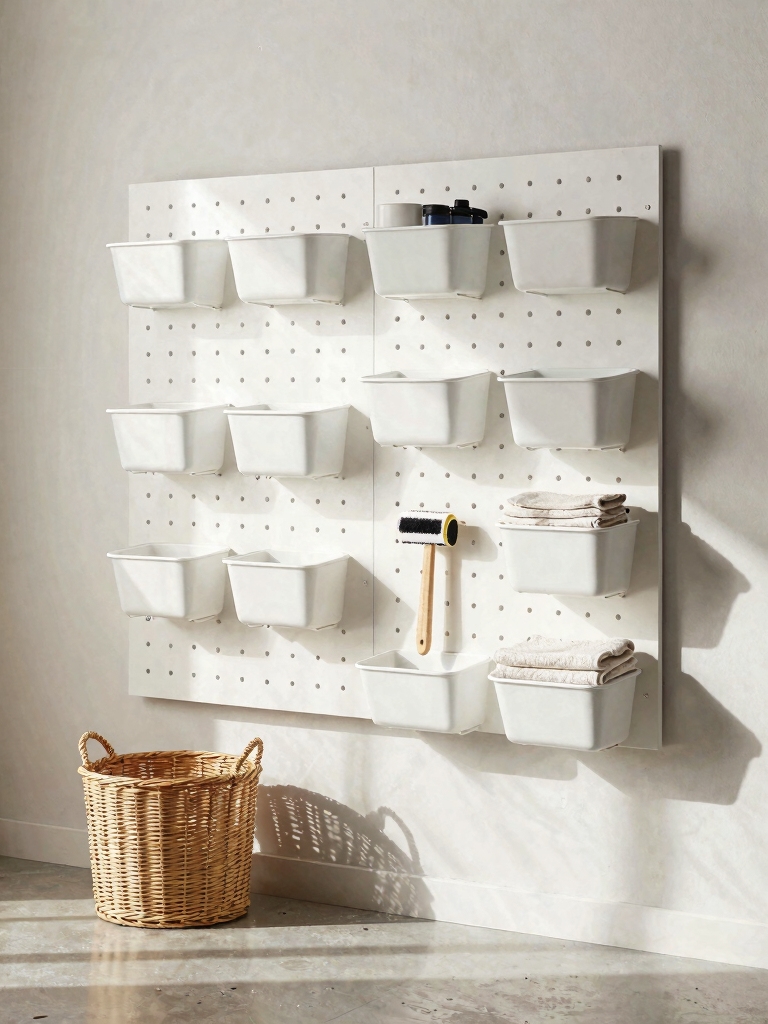
First, I measure my wall to choose a pegboard size that fits my laundry nook perfectly.
Then I install it using removable hooks that won’t damage my walls.
I finally arrange my baskets and tools for a storage layout I can change anytime.
Adding vertical storage solutions like pegboards helps maximize space and eliminate clutter in small laundry rooms.
Choose Your Board Size
You can start customizing your wall system by choosing a pegboard size that best fits your available wall space and storage needs.
I measure the exact width between my washer and dryer, aiming for a flush fit. Standard 24″ x 48″ panels offer ample room, but I often cut a smaller 16″ x 32″ board for a narrow, floor-to-ceiling column.
This precise sizing prevents a cramped look and maximizes every inch.
Install With Removable Hooks
Securing the board with removable hooks lets me instantly customize the layout without a single nail hole.
I use strong, damage-free strips rated for the board’s full weight. First, I level the board meticulously on the wall, press firmly for thirty seconds, then wait an hour before loading it.
My hanging system includes:
- Steel S-hooks
- Small wire baskets
- Mini plastic shelves
- Clamp-on light clips
- Custom 3D-printed holders
Arrange Flexible Storage Layout
A single pegboard transforms my cramped laundry nook into a highly adaptable storage hub. I mount my SKÅDIS board using removable hooks.
Its array of clips, baskets, and shelves holds everything—detergent bottles, ironing supplies, a lint roller. I constantly rearrange these accessories; today’s iron holder might become tomorrow’s drying rack.
This modular system eliminates fixed shelving, letting my storage evolve with my needs in my rental.
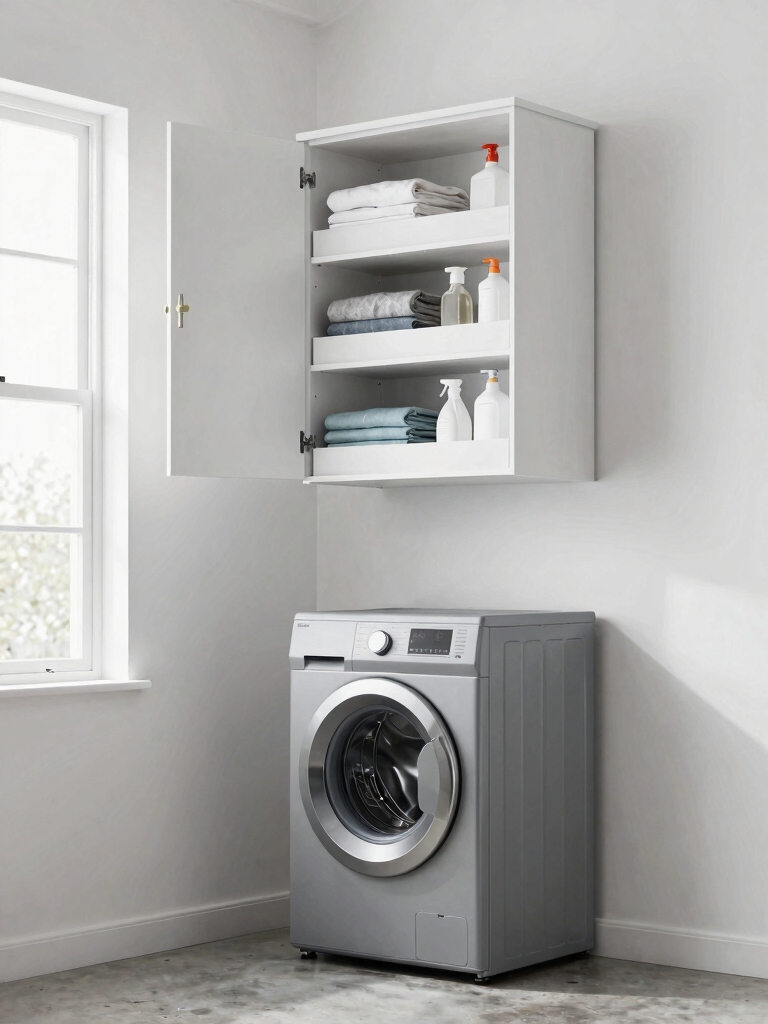
Build a Folding Station Using a Wall-Mounted Shelf
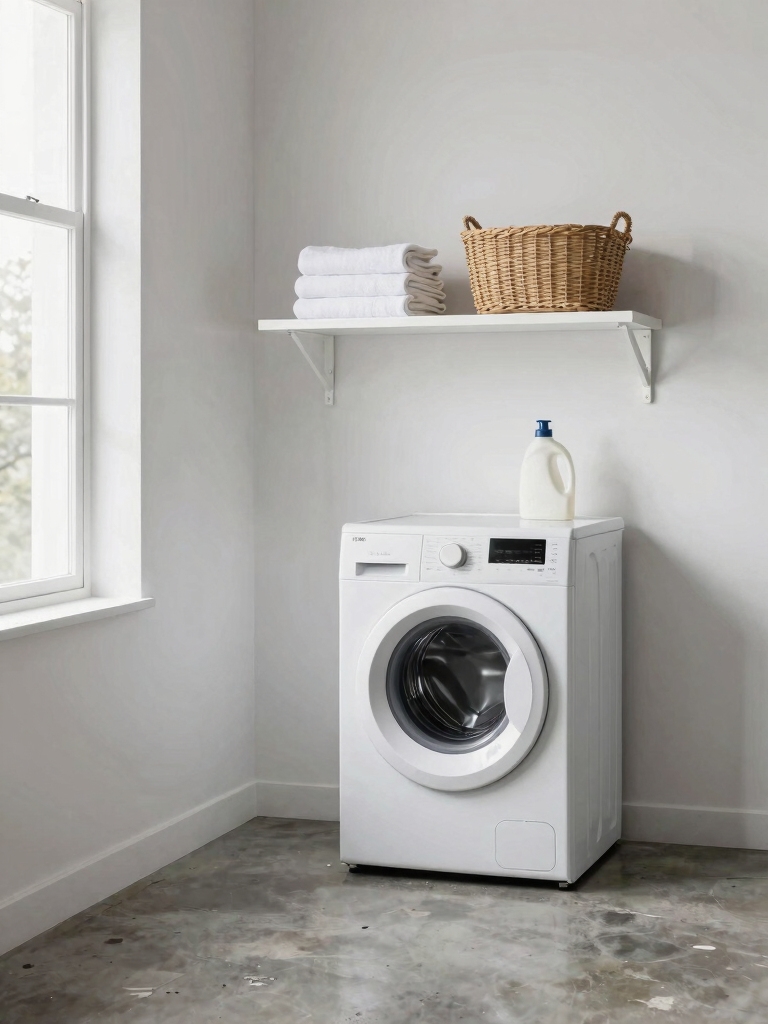
I’ll start by choosing the right shelf, as I measure my wall for something deep enough to fold clothes on comfortably.
I mount a sturdy IKEA board with brackets, making sure I check that it’s perfectly level.
I then integrate a fold-down drying rack directly beneath it, which maximizes every inch and keeps my laundry process streamlined.
To keep things organized, I incorporate clever storage solutions that make the most of limited space in my mini laundry room.
Choosing The Right Shelf
Our shelf choice is critical; I need a wall-mounted one sturdy enough to serve as my folding station.
I’ll measure my wall space first, then I’m checking IKEA for a deep, solid model. I verify its weight rating and confirm my wall can support it.
Here’s my checklist:
- Minimum 12-inch depth for folded stacks
- Solid wood or reinforced metal construction
- Robust, hidden bracket system
- Smooth, easy-to-clean laminate surface
- Straight edges for aligning folded clothes
Wall-Mounted Drying Rack
Two clever modifications can transform that sturdy shelf into a combined folding and drying station.
I first install a tension rod across its underside for hanging delicates. Then, I mount a slim, foldable rack on the adjacent wall using heavy-duty hooks.
This pair lets me air-dry items without sacrificing the folding surface below. The rack tucks flat when not in use, keeping my small space clear.
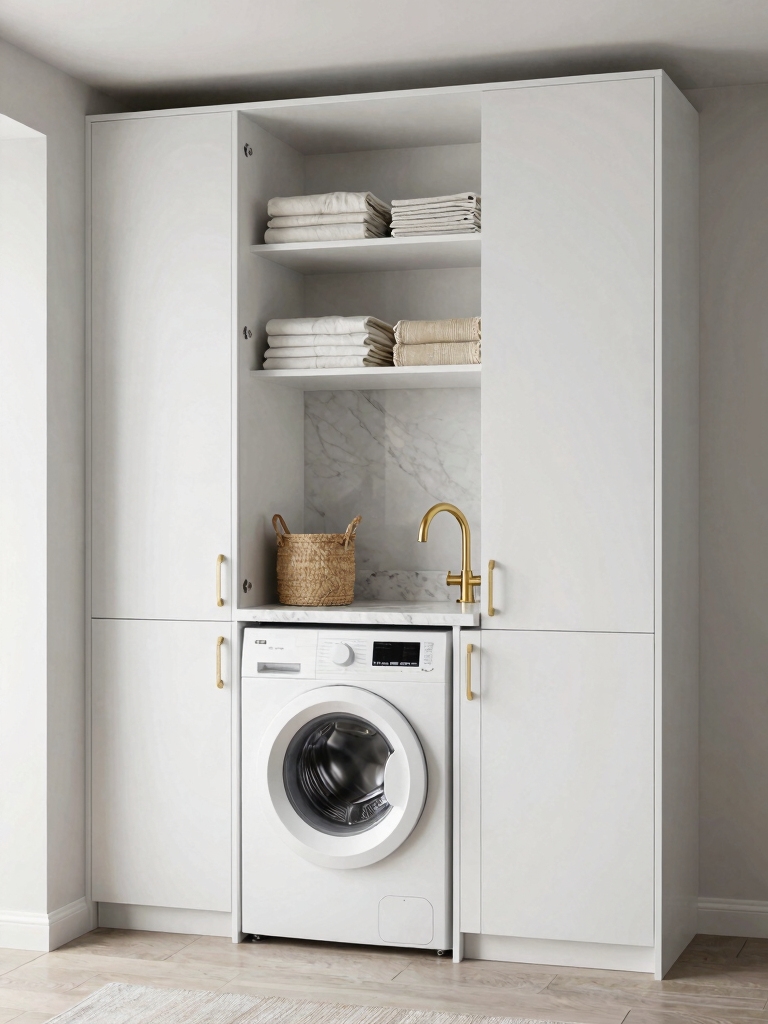
Create a Hidden Hamper System Inside a Cabinet
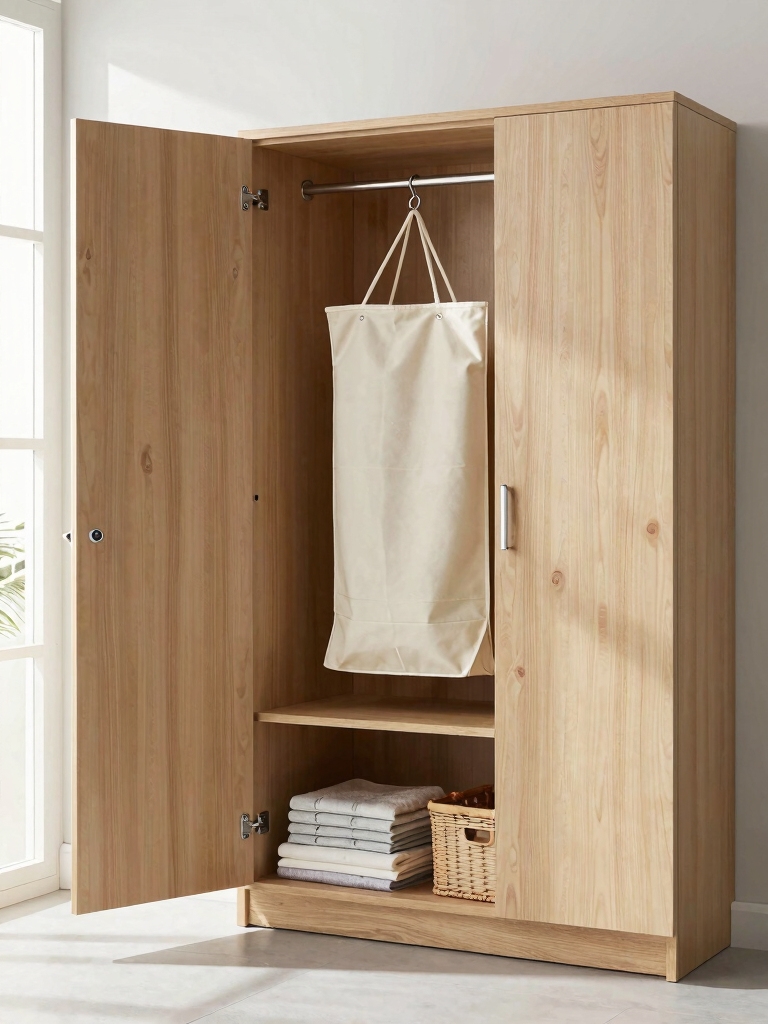
Since a laundry hamper can eat up precious floor space, I’m tucking ours inside a lower cabinet to keep the room looking orderly.
I’m using an IKEA SEKTION base cabinet to build a custom pull-out system.
- Install sturdy, full-extension drawer slides.
- Mount a simple wire basket or lightweight bin.
- Label the front panel for darks or whites.
- Ensure the door clears the hamper when opened.
- Consider a divided bin for immediate sorting.
For tight spaces, incorporating creative laundry room solutions can maximize functionality without sacrificing style.
Sort Laundry With a Small IKEA Dresser
Moving from a concealed hamper to a dedicated sorting station, I’m setting up a small IKEA dresser to handle laundry as soon as it comes off.
I’ll label three drawers for darks, lights, and delicates. This makes pre-sorting automatic and keeps piles off the floor.
I’ll mount it on the wall for floor cleaning or just tuck it into an unused corner.
This setup helps maximize space and creates a laundry room oasis even in small areas.
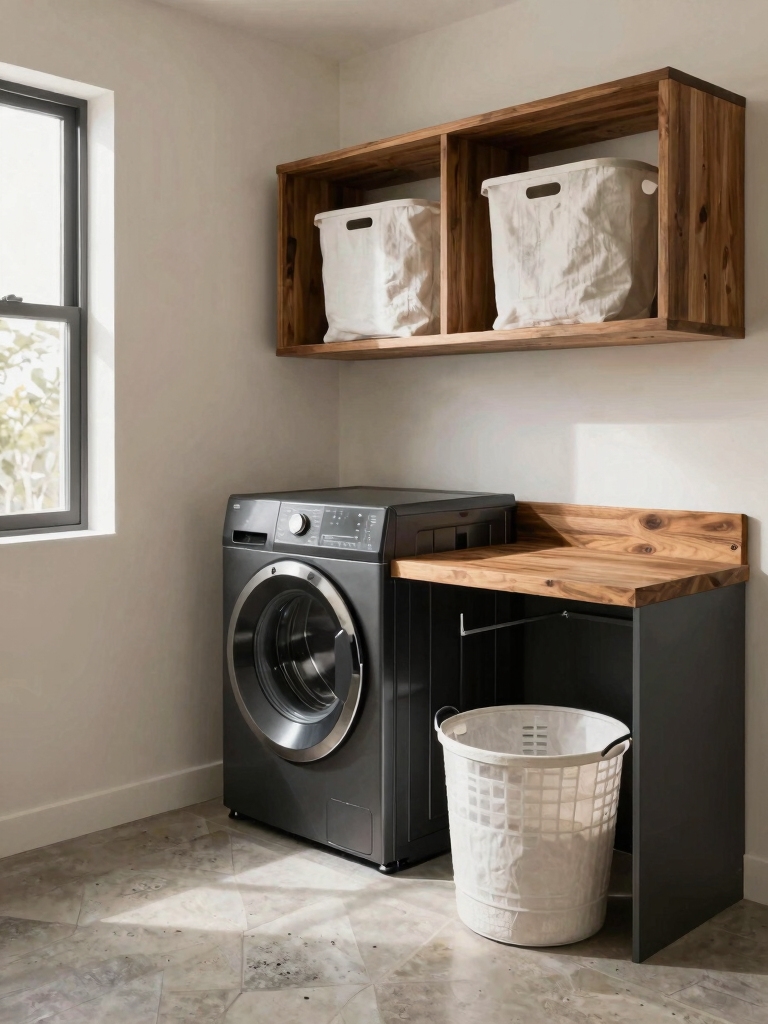
Corral Supplies on a Versatile IKEA Utility Cart
Because I’ve now got my sorting system in place, my next step is to tackle the jumble of detergents and supplies with a rolling IKEA utility cart.
I love its mobility and how I can visually organize everything.
- Load the bottom shelf with bulky detergent bottles.
- Use the middle for fabric softener and stain removers.
- Keep a dedicated spot for my dryer balls.
- Add a small bin for lint roller refills.
- Top it with a cute, wipeable tray for loose items.
This clever solution really maximizes space and keeps everything cozy and accessible, which is essential for small space ideas.
Stash Detergent Pods in Clear IKEA Boxes
For a neat and instantly visible stash, I’m corralling my detergent pods in clear, stackable IKEA boxes with tight-fitting lids.
I place one box, filled with a single color of pods, on my utility cart for daily access. A second matching box holds my surplus inventory, stacking neatly on a shelf.
This system keeps everything contained, prevents moisture exposure, and lets me see my supply at a glance.
Using stackable boxes is one of the best small laundry room organization ideas that transform the chaos into a tidy and efficient space.
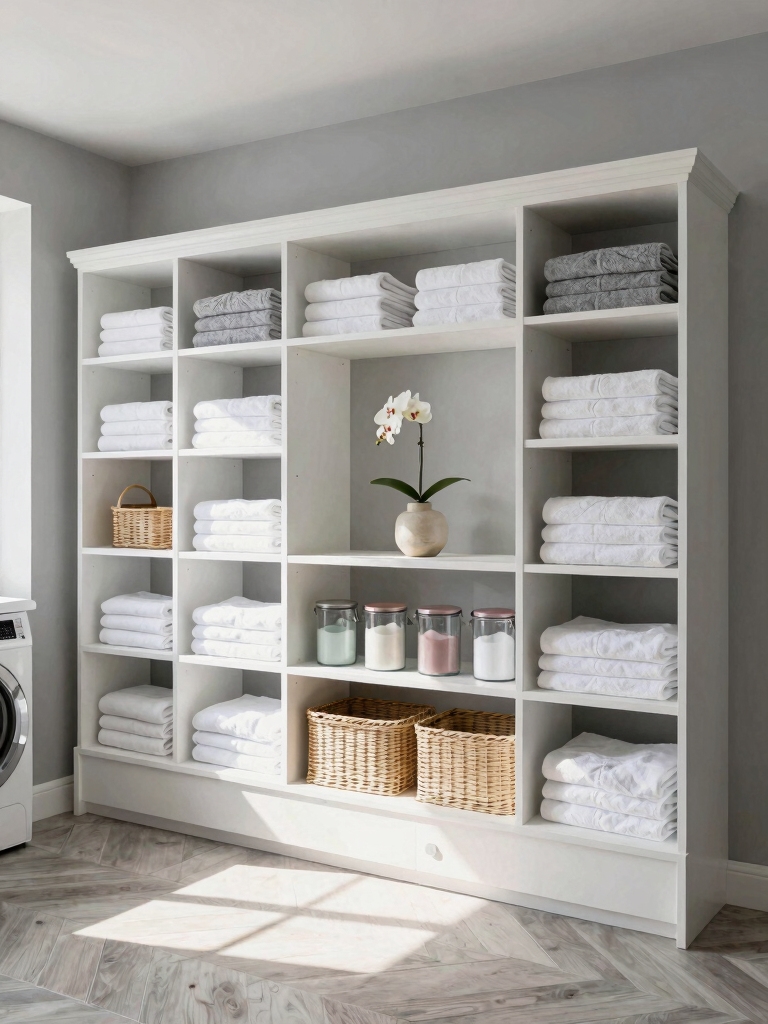
Fold and Store Linens in Deep IKEA Storage Bins
After organizing laundry pods, I tackle our linens by folding them neatly into deep IKEA storage bins.
These bins maximize vertical space in my laundry closet. I categorize everything for instant retrieval.
- Store flat-folded sheets to prevent wrinkles.
- Group similar items, like all pillowcases.
- Label each bin’s front edge clearly.
- Use taller bins for bulky towels.
- Stack bins securely on a sturdy shelf.
Optimizing storage solutions is essential in small narrow laundry rooms to make the most of limited space.
Install a Non-Permanent IKEA Towel Bar Drying Rack
I love how a basic towel bar transforms into a drying rack over my laundry sink.
Finding a stud in the wall guarantees it’s stable without permanent mounting.
I’ll use heavy-duty adhesive strips on the brackets if I can’t drill, keeping the finish intact.
This simple setup is perfect for maximizing space in a small laundry room without sacrificing functionality.
Choose The Right Spot
Since laundry day demands a spot for air-drying, let’s find the perfect wall for a non-permanent IKEA towel bar rack.
I visually map my laundry area, prioritizing open wall space that maximizes airflow.
My checklist includes:
- An unused wall section near the washer
- Vertical clearance for longer items
- Proximity to a vent or fan
- Avoiding door swing paths
- A flat surface for stable mounting
Secure Without Damage
Though a damage-free installation is essential for a rental-friendly space, I’ve found that using a couple of IKEA’s RACKA towel bars and some sturdy Command™ strips gets the job done perfectly.
I clean the wall surface thoroughly, apply the strips directly to the bar’s flat mounting plates, and press firmly for thirty seconds. They hold washcloths and lightweight delicates securely without leaving a mark.
Repurpose an IKEA Kitchen Rail for Hanging
While planning your compact laundry area, consider transforming the IKEA VARIERA rail, originally for kitchen utensils, into a clever vertical hanging system. I install mine above my washer.
Then, I add S-hooks and various attachments to instantly organize essentials off the floor.
For example, I’ll hang:
- Wire baskets for stain-treatment supplies.
- Hooks for my lint brush and measuring cups.
- Clips to secure a drying rack for delicates.
- Small containers holding clothespins.
- A narrow rail for hanging ironed items.
Utilize Appliance Sides With Strong Magnetic Hooks
Beyond the hanging rail, another surface to exploit is the blank metal side of your washer or dryer.
I attach strong magnetic hooks there to hold a spray bottle, lint roller, and my ironing essentials. It keeps tools off the floor and instantly within reach.
Just verify your appliance is truly magnetic first. This trick adds serious utility without a single screw or damage, perfect for my rental.
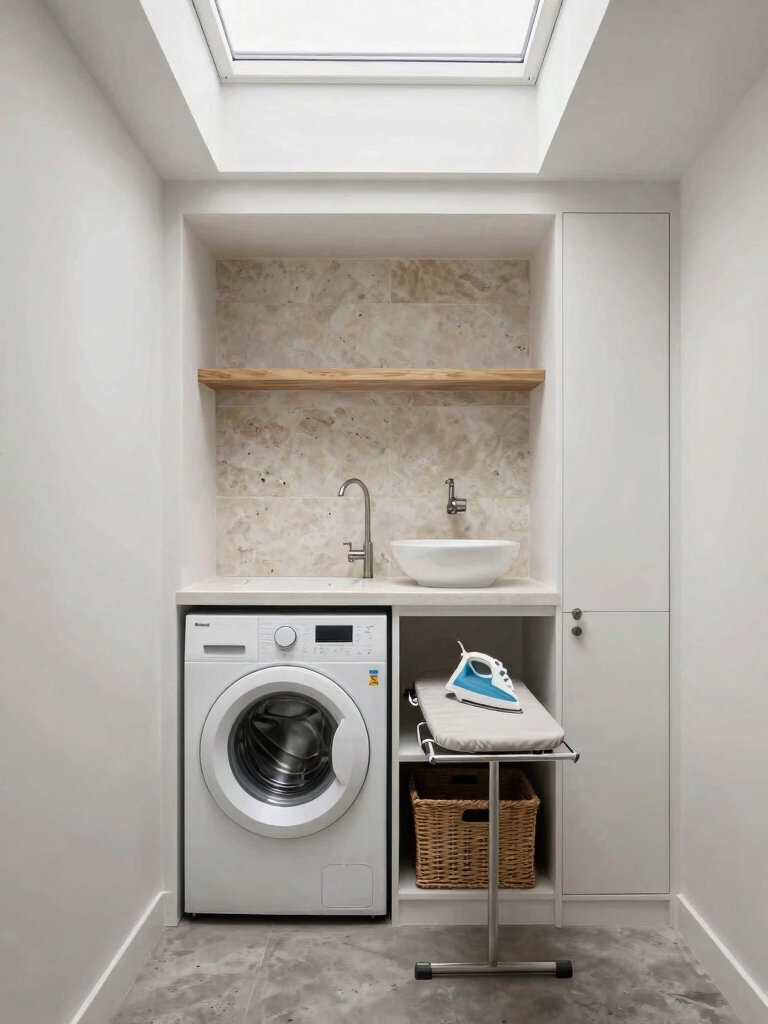
Craft a Slim Ironing Board Nook Between Appliances
I’m squeezing a storage nook for my ironing board into the slim vertical gap between my washer and wall.
I’ll mount a simple hook to secure a super-slim, collapsible board I found, which tucks perfectly against the appliance.
This transforms that awkward, forgotten space into a dedicated spot for a chore I need to do.
Utilize Awkward Vertical Space
Conquer that skinny gap between your washer and dryer by building a custom ironing board cabinet.
I measure my appliances and design a floor-to-ceiling unit from IKEA’s BESTÅ frames for a perfect, built-in look.
- Mount frames directly to wall studs for stability.
- Choose a shallow 15″ depth to maintain walkway space.
- Add a tall, narrow door for concealed storage.
- Install a sturdy pull-out shelf for board deployment.
- Utilize interior for spray starch and hangers.
Choose A Collapsible Board
Once my ironing board cabinet was built, selecting the board itself became key.
I chose a slim, collapsible model that tucks perfectly into its narrow nook. Its slender profile lets it slip right between my washer and dryer without a fuss.
The folding legs lock securely when I’m pressing clothes, then collapse flat for seamless storage.
This choice makes the whole DIY system functional and space-tight.
Tame Laundry Room Cords With IKEA Management Clips
Since tangled cords can turn your laundry nook into a frustrating mess, I rely on IKEA’s SIGNUM cable management clips to create order.
They’re perfect for a renter-friendly, DIY fix. I mount the metal track discreetly along the cabinet’s inner wall, then use the clips to route each cord neatly.
- Secures washer and dryer power cords
- Manages iron and steamer cables
- Holds my utility vacuum hose
- Tidies the sensor cord from my washer
- Prevents dangerous underfoot tangles
Define Your Space With a Removable IKEA Mat
After conquering cord chaos, the next step in organizing my small laundry area is defining its footprint with a durable, removable DOBBYTA mat from IKEA.
I unroll its ribbed, rubber-backed surface directly onto the floor—it’s perfect for catching drips from wet loads. The mat’s clean lines visually anchor my machines, and since it’s not adhesive, I can lift and clean underneath it anytime, which is essential.
Brighten the Space With Removable Peel-and-Stick Wallpaper
Because my laundry area still felt a bit stark, I decided to add pattern and light with IKEA’s removable peel-and-stick wallpaper. I love that it’s a renter-safe DIY.
My installation tips are:
- Prep Surfaces: Clean walls thoroughly for maximum adhesion.
- Measure Twice: Pre-cut strips against the wall height.
- Use a Squeegee: Smooth out every air bubble meticulously.
- Overlap Slightly: Align patterns and overlap edges.
- Trim Edges: Use a sharp utility knife for clean cuts.
Add Softening Touches With IKEA Plant Pots and Jars
While the wallpaper introduced a vibrant backdrop, I still sought organic texture. So, I turned to IKEA’s simple plant pots and glass jars.
I filled some with trailing pothos for the shelf and tucked air plants into others. A large jar now corrals detergent pods beautifully.
These green touches soften all the hard appliances, and the glass reflects light, making my compact laundry nook feel fresher and more inviting.
Keep an IKEA Step Stool Tucked Away for Access
Even when tackling my own modest laundry space, I’ve found a collapsible IKEA step stool to be a game-changer for reaching high shelves.
I keep one folded against a wall or inside a cabinet, instantly creating vertical storage.
It’s perfect for:
- Accessing top-shelf detergent
- Reaching awkward wall-mounted rods
- Clearing the top-loading washer lip
- Dusting high corners safely
- Hiding neatly when folded flat
Assemble a Complete System With the IKEA ENHET Series
Just like a good step stool creates vertical access, building a complete storage system requires smart foundations, and that’s where the IKEA ENHET series becomes my go-to modular framework.
I assemble its durable steel rails directly onto my wall, then mix-and-match cabinets and open shelves to slot in.
I finish by adding doors, a pull-out tray for supplies, and a rod for hanging—it’s a custom station built piece by piece.
Combine These Hacks for Your Ideal Laundry Nook
I’ve found you can weave practical, multi-functional solutions like a wall-mounted drying rack right above your units.
Let’s pair that with aesthetic and budget-friendly upgrades, such as swapping standard cabinet knobs for vintage brass pulls.
These combinations transform every inch into a space that’s both efficient and uniquely yours.
Practical, Multi-Functional Solutions
Because a small laundry area needs to work twice as hard, I’ll show you how to combine practical hacks for a truly multi-functional nook.
Focus on stacking functions with DIY details.
- Mount an EKBY wall shelf above the machines for drying racks and supplies.
- Use a RÅSKOG cart on casters for a mobile sorting station.
- Install a SKÅDIS pegboard for irons, tools, and detergent bottles.
- Add a KALLAX unit with bins to hide cleaning supplies.
- Fit a tension rod under a shelf for immediate hanging space.
Aesthetic and Budget-Friendly Upgrades
While functionality is key, I’m a firm believer that even the most compact laundry nook can look genuinely great without blowing your budget.
I swapped basic knobs for vintage-style IKEA TÅRENDÖ handles. A RENS sheepskin rug hides flooring and adds softness.
A GRUNDTAL rail and S-hooks hold supplies stylishly.
Finally, I framed matching IKEA FISKBO prints for a custom, cohesive look anyone can DIY.
Conclusion
So, my final nook proves a small space can be smart. I stacked cabinets to the ceiling, hung tools on the pegboard, and tucked hampers behind a door. I built a folding station, organized every supply, and softened the look with greenery. Now, I wash, I dry, I fold—all in one perfectly orchestrated, renter-friendly corner.