I’ll show you how to make a stunning living room that hides its budget-friendly secrets. I build statement walls with thrifted frames and washi tape, then add DIY trim for custom architectural flair. By layering cozy textiles, updating light fixtures, and crafting my own art, I’ve created spaces full of personality for very little. I bet you’ll find a few more clever surprises waiting for you just ahead.
Start With a Statement Wall for Almost Nothing
If you’re looking to make a big impact without spending big, creating a statement wall is your most powerful tool.
I start by gathering what I already own. I’ll arrange a gallery of mismatched frames or craft a bold shape with washi tape.
Even a dramatic shelf display of books and collected objects turns a blank space into a focal point.
It’s all about creative curation, not cash.
In small living spaces, a well-designed statement wall can transform your room and maximize visual interest without overcrowding.
Refresh Your Walls Without a Drop of Paint
Ever wondered how to give your walls a major refresh without opening a single can of paint?
I rely on clever, no-commitment cover-ups. They add instant texture, color, and personality for pennies.
- Hang a large, patterned textile as a tapestry.
- Create a gallery wall with thrifted plates and frames.
- Apply removable peel-and-stick wallpaper to a single focal area.
Another popular choice is to explore inspiring wall decor ideas for your living room couch to create a cozy and stylish focal point.
Add DIY Trim for Instant Architectural Detail
Because you want instant architectural detail without major expense, let’s apply some DIY trim that transforms plain walls.
I mimic expensive wainscoting using simple pine boards. Paint them to match your wall for a seamless look.
You can create a classic picture rail or a chic geometric pattern with affordable molding. A miter saw helps, but careful measuring and a hand saw will work, too.
It’s impactful custom work you’ve done yourself. Refreshing your home this weekend with fresh room decor ideas can make a big difference without breaking the bank.
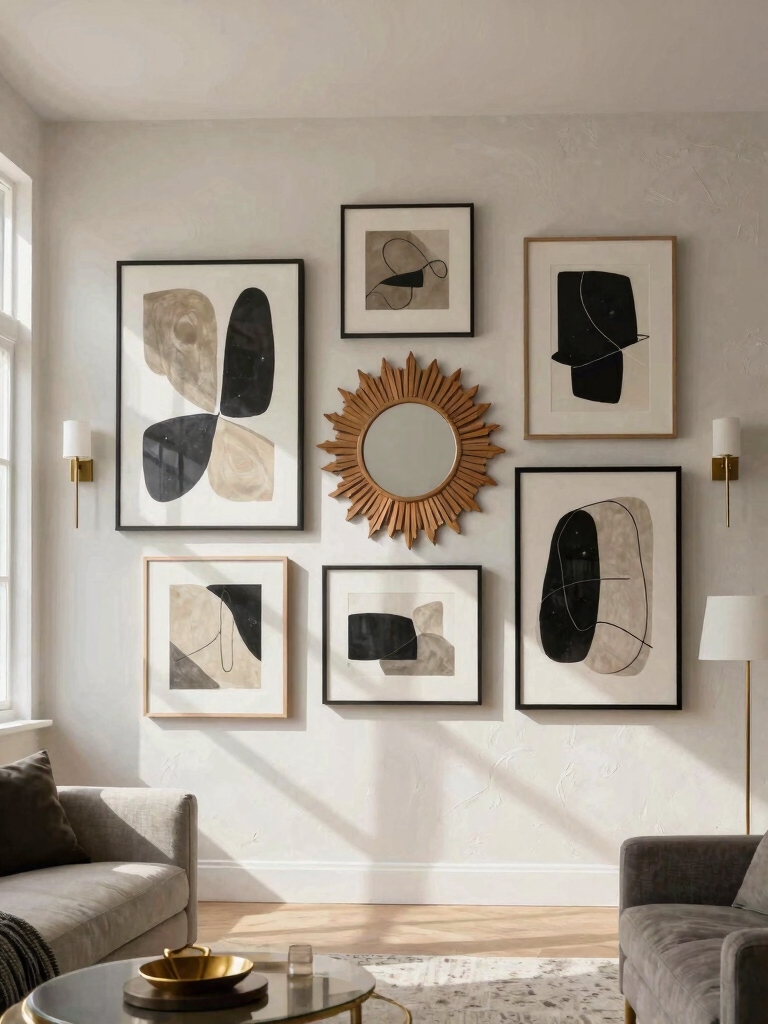
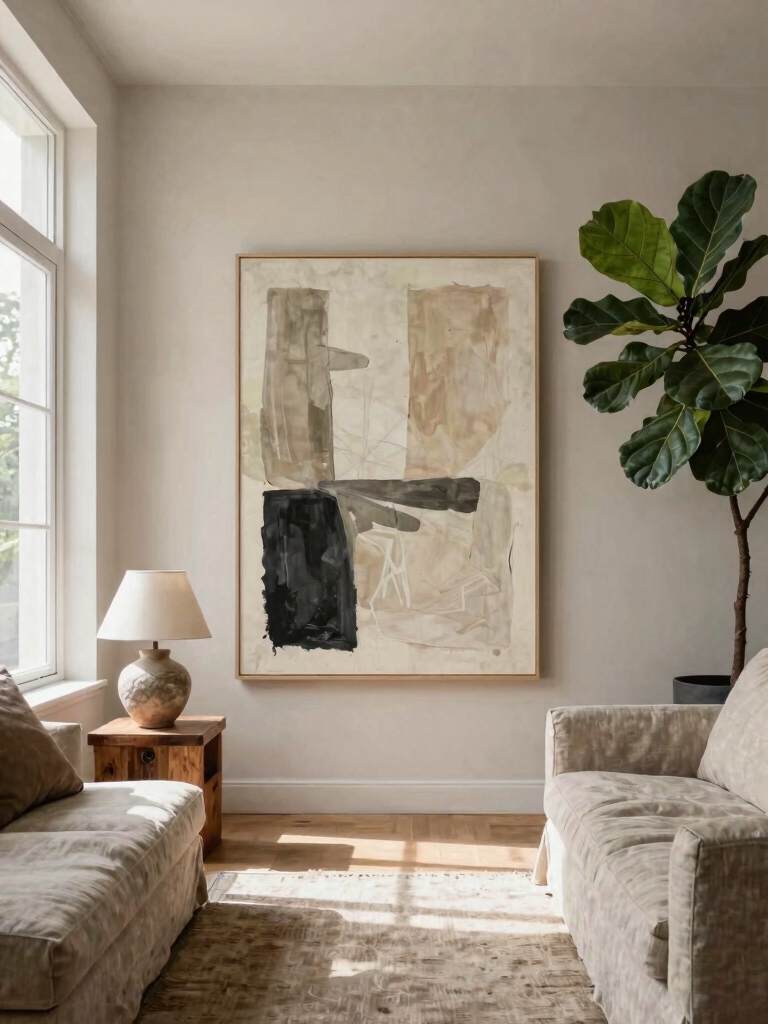
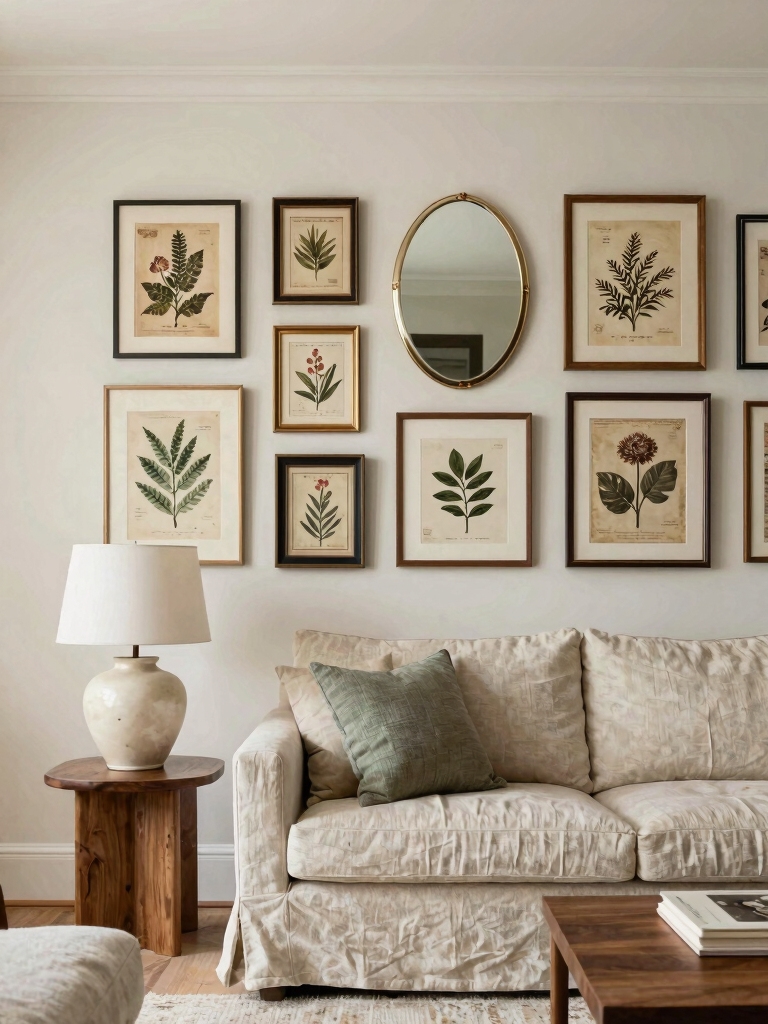
Create a Gallery Wall With Thrifted Frames
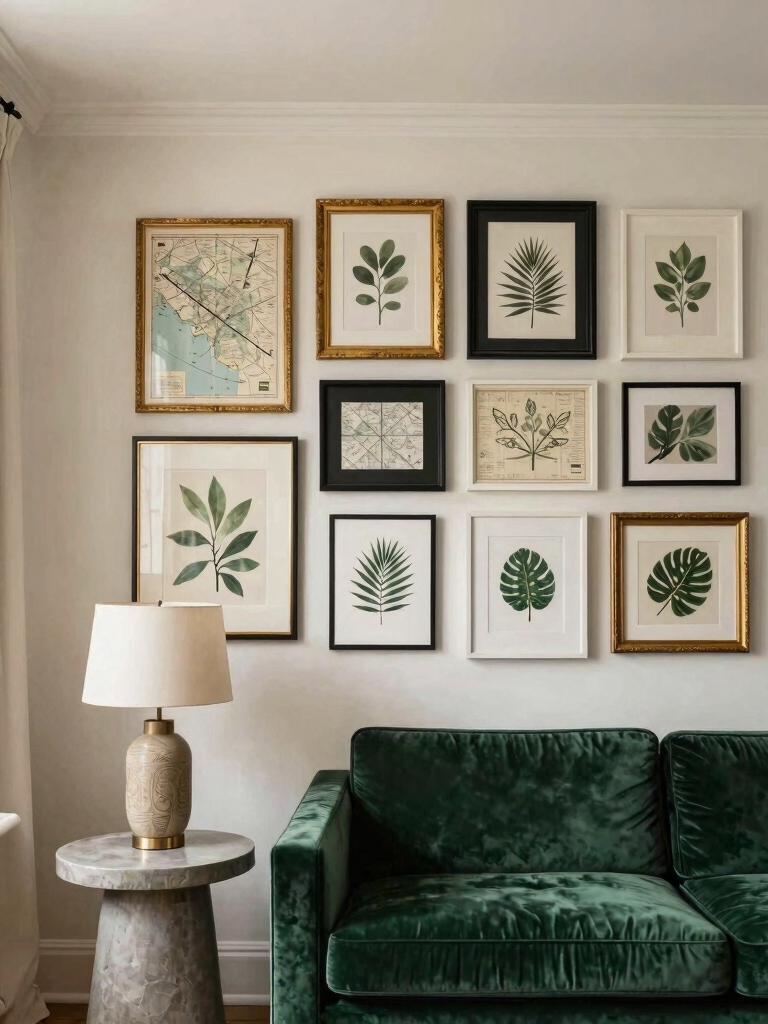
While our DIY trim added architectural flair, we can fill those walls by hunting for budget-friendly art. I scour thrift stores for mismatched frames, then unite them with a common color.
A gallery wall tells your story without costing a fortune. I’ll lay out my finds on the floor first, arranging until it feels right.
My thrifted collection includes:
- A rustic wooden frame for a vintage botanical print.
- A sleek black frame to highlight a modern abstract.
- A gilded oval frame holding a cherished family photo.
Incorporating a stylish bookcase nearby can elevate the living room decor by adding both function and aesthetic appeal, making it a perfect complement to your gallery wall. This approach aligns with Stylish Bookcase Ideas to enhance your space on a budget.
Fake a Fireplace From Painted Plywood
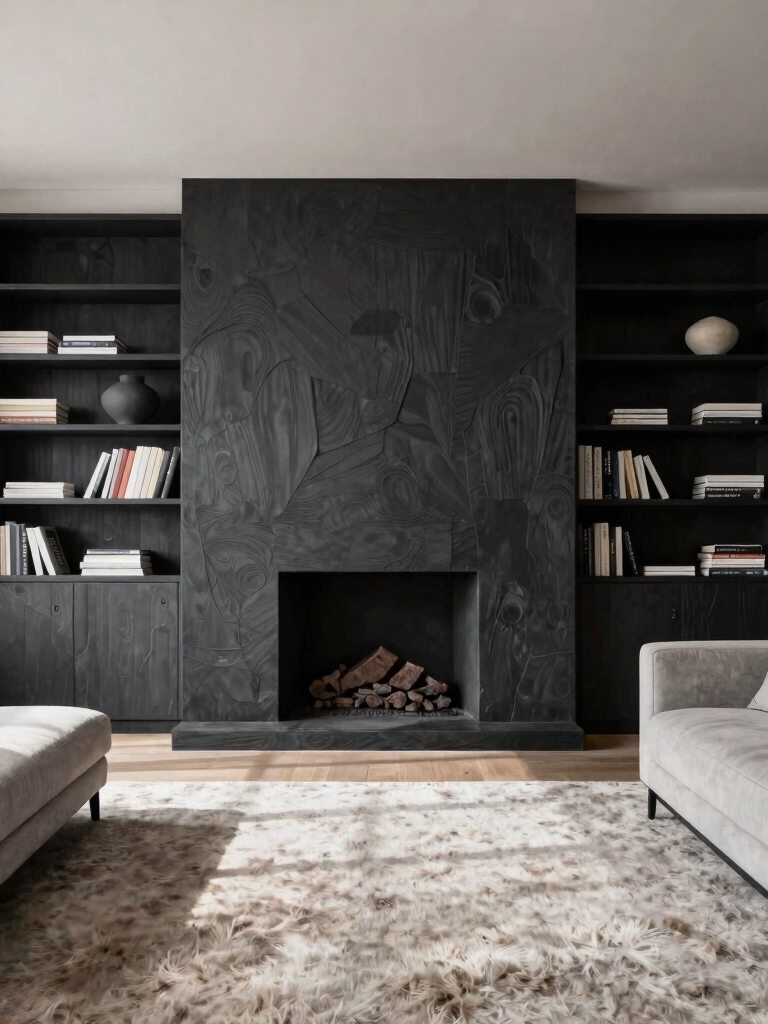
My next budget-friendly project builds a cozy focal point from simple plywood.
I cut three panels to form the mantel, legs, and hearth. After assembling them with screws, I paint it all a classic matte white.
I even add faux tile stickers to the hearth for detail.
Now I’ve a charming, convincing fireplace where I can display candles or decorative logs for instant ambiance.
This creative approach is a great example of how living room decor ideas can transform any space without breaking the bank.
Layer Rugs for a Luxe, Budget-Friendly Feel
To instantly elevate your space without a major investment, consider layering rugs.
I’ve found this trick adds incredible texture and warmth. You can combine inexpensive finds for a custom, high-end look.
Here’s my thrifty approach:
- Start with a large, neutral jute or sisal rug as your base.
- Top it with a smaller, patterned vintage or tribal-style rug.
- Offset the smaller rug to create a dynamic, collected feel.
For an added touch, try incorporating wallpaper ideas for living room accent walls to complement your layered rugs and create a cohesive design statement with stylish wallpaper.
Give Old Furniture a New Life With a Swap
Another budget-friendly decor strategy doesn’t require buying anything new at all.
I often swap existing pieces between rooms! That tired bookcase from the bedroom might be the perfect media console. An accent chair from the office can become a fresh living room focal point.
This simple, no-cost reshuffle instantly changes your space’s energy and function, making every piece feel purposefully chosen again.
Small living room ideas like these are especially popular among apartment renters looking to maximize their limited space without extra expense.
Recover Your Sofa With a Draped Linen Duvet
One clever trick I love for transforming a sofa is draping a linen duvet over it. It’s a thrifty, instant cover-up that feels custom. I just tuck and fold for a relaxed, textured look that hides wear beautifully.
- The natural rumple of linen adds effortless chic.
- Its neutral color acts as a perfect canvas for colorful pillows.
- I can easily remove and wash it anytime.
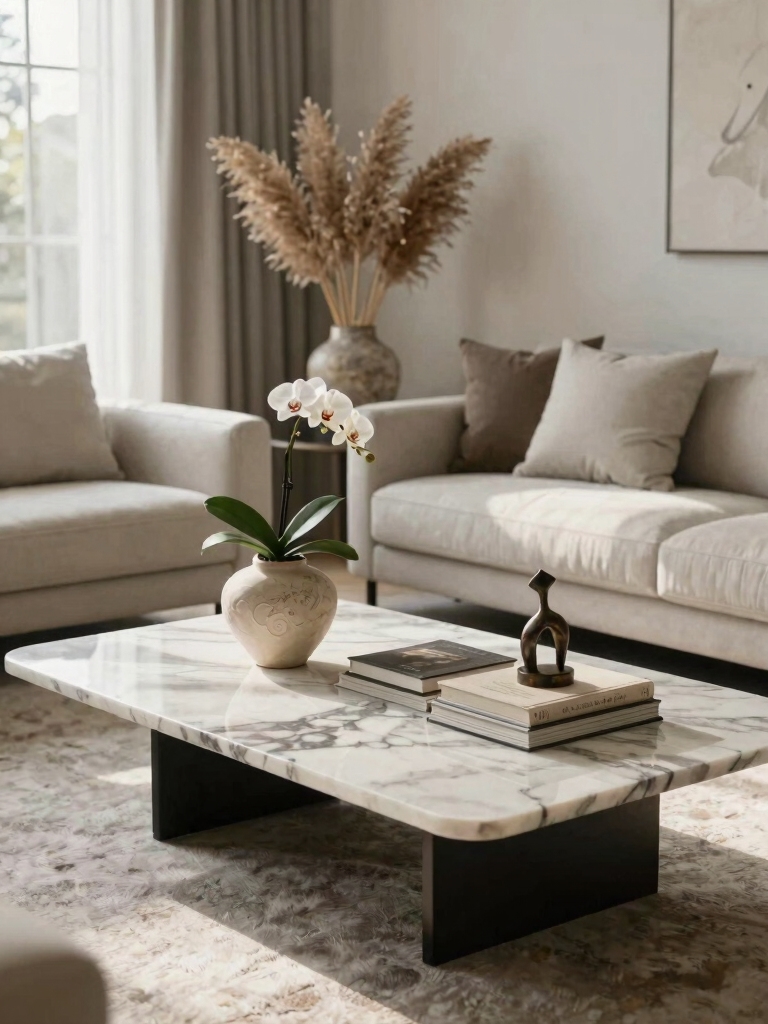
Adding stylish coffee table decor nearby complements the look and ties the whole living room together with perfect balance.
Hack a Coffee Table From Crates or Cinder Blocks
Sofas aren’t the only furniture you can revamp without a splurge; I often build my own coffee tables using simple crates or cinder blocks.
Stack them to your preferred height, then top with a salvaged wood plank or an inexpensive glass cut to size. A quick sanding or coat of paint personalizes it instantly.
This hack costs almost nothing but looks incredibly intentional and stylish in your space. Incorporating creative room ideas like this can truly transform your space on a budget.
Build Floating Shelves on a Tight Budget
Let’s elevate your walls and organize your space with DIY floating shelves that won’t drain your wallet. I start by grabbing inexpensive pine boards from the hardware store, cut them to size, and attach hidden wooden cleats directly to my wall studs.
It’s a project that uses simple materials to create a clean, custom look.
- The hidden bracket: A strip of wood screwed into the wall acts as the shelf’s invisible, sturdy anchor.
- The shelf itself: A sanded and painted board slides seamlessly over that bracket, creating the ‘floating’ illusion.
- Final flourish: A few coats of paint or stain transforms basic lumber into a stylish, functional display.
Incorporating stylish storage solutions into your floating shelves can enhance both the functionality and aesthetic of your living room.
Style Your Shelves Like a Pro for Under $50
After building your floating shelves, mastering their display is what truly reveals their potential.
I start by arranging books both vertically and horizontally. Then, I layer in thrifted vases, family photos, and small plants—all found for under $50 total.
Remember the rule of threes for visual balance. I mix textures and heights, leaving some empty space so it feels curated, not cluttered.
It’s amazing what a little intentional styling can achieve.
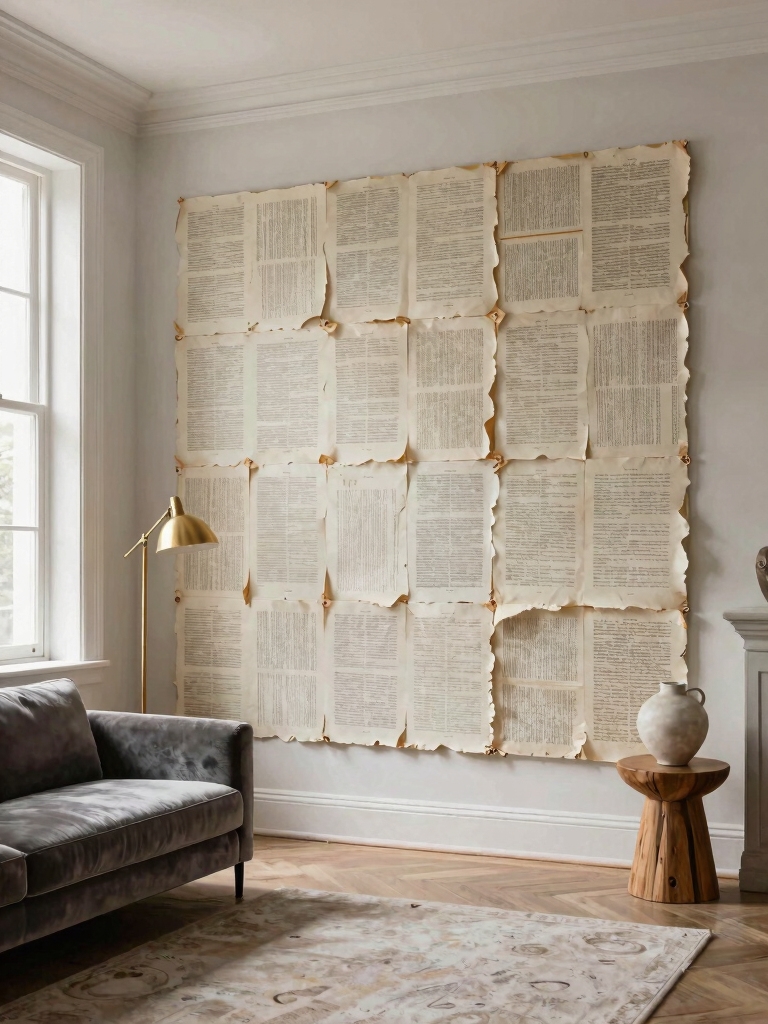
Craft Statement Art From Scrap Materials
I love turning scrap materials into gallery-worthy art for my living room.
You can repurpose unexpected found objects, like old hardware or vintage textiles, and frame them for instant texture.
Another favorite of mine is to assemble geometric wood scraps into a dynamic wall sculpture that costs almost nothing.
Repurpose Unexpected Found Objects
When you’re looking to create unique wall art without spending a dime, I often find that my most eye-catching pieces begin as overlooked scrap materials.
I just give them a new purpose and a good clean. You’d be amazed at what you can transform.
- A cracked vinyl record becomes a striking geometric wall sculpture.
- Bent silverware twists into a beautiful, textured sunburst mirror frame.
- Torn book pages collage into a delicate, layered botanical print.
Assemble Geometric Wood Scraps
Several geometric wood scraps can unite into a modern statement piece you’ll love.
I gather leftover pieces from past projects or thrift store finds. I sand them lightly, then arrange them into a dynamic abstract pattern on my wall. I secure them with strong adhesive.
This freeform sculpture costs nothing but my time and instantly becomes a focal point, proving high style doesn’t need a high price.
Update Lighting Without Any Rewiring
I’ve found my living room’s mood is easily transformed by working with what I already have.
First, I swap my outdated lampshades and switch to warm-toned bulbs for an instant glow.
Then I plug in a couple of accent lamps to create cozy layers of light.
Use Existing Plug-In Sockets
You don’t need an electrician to dramatically change your lighting. Your existing outlets are secret weaponry. I plug smart bulbs into regular sockets for voice-controlled ambiance.
A simple plug-in pendant lamp instantly creates a focal point. Even a basic floor lamp gets a new life with a thrifty, stylish shade.
- Smart Bulbs: Swap standard bulbs for smart ones in any lamp for color and schedule control.
- Plug-In Pendants: Hang a stylish cord-and-shade kit from an outlet for an instant statement.
- Lamp Revival: Breathe new life into an old floor lamp with a budget-friendly shade swap.
Swap Outdated Lampshades And Bulbs
Taking full advantage of those existing sockets starts by looking at what’s already plugged into them.
I often find my room’s biggest lighting upgrades are just swapping old shades for fresh, modern ones from thrift stores or clearance.
Then, I replace harsh bulbs with warm, dimmable LEDs. This instantly transforms the fixture’s whole feel and light quality without touching a single wire.
Add Accent Lamps For Layers
A simple way to update your lighting without any rewiring is to add a few accent lamps.
I create cozy layers by placing them in neglected corners and on shelves. This adds depth and a personal touch without breaking the bank.
- A small brass lamp warming a dark bookshelf corner.
- A thrifted ceramic base on a side table, casting a soft glow.
- A modern cordless lamp tucked on a console, offering flexible ambiance.
Transform Windows With DIY Treatments
Since window treatments can get expensive quickly, I’m thrilled to share a few of my favorite DIY solutions that add character without costing a fortune.
I sew simple linen rod-pocket panels from remnants. I also stain inexpensive wooden dowels for a rustic curtain rod.
For a modern look, I hang a natural fiber roller shade I’ve woven from jute twine. Each project personalizes my space on a shoestring.
Layer Pillows and Throws for Maximum Coziness
Now that we’ve dressed the windows, let’s make the seating irresistibly snug by layering pillows and throws.
I scour thrift stores for textured covers and mix sizes for a designer look. This trick adds instant warmth without a hefty price tag.
- A large, patterned lumbar pillow for support
- Two plush square pillows in coordinating solids
- One beautifully worn, chunky knit throw casually draped
This layered look invites everyone to sink right in.
Add Life With Realistic Fake Greenery
I always look for convincing materials, as cheap fakes can spoil the whole effect.
I pick low-maintenance faux plants like olive branches for that chic, permanent look.
Then I place them in bright spots where they’ll catch your eye and make the room feel instantly fresher.
Choose Unconvincing Materials
- Silk leaves that rustle softly and have subtle veins.
- Dusty-green ceramic pots with authentic-looking imperfections.
- Bendable stems that mimic a plant’s natural, asymmetrical growth.
It’s thrifty magic.
Select Low-Maintenance Plants
Since you’ve already chosen convincing materials, let’s find the right low-maintenance plants to bring that thrifty magic to life.
I always start with realistic fake ferns or a tall fiddle leaf fig; their silk or plastic versions won’t demand water or sun.
Scour discount home stores for quality stems. Avoid overly shiny or uniform greenery—subtle color variations and textured leaves sell the authentic, effortless look perfectly.
Place For Maximum Impact
Three simple placement tricks can make your realistic greenery look anything but fake.
I always start by tucking a few sprigs into unexpected spots that real plants would naturally occupy.
- Layer them on bookshelves next to your favorite novels, as if they’ve been thriving there for years.
- Pop a potted fern in an empty corner that rarely sees sunlight.
- Drape a vine from a high shelf to add vertical interest and softness.
Conclusion
So, my budget-friendly, beautiful transformation is complete! My clever, cost-conscious choices collectively crafted a character-filled space. Painted plywood panels, thrifty textile layers, and salvaged, stylish frames proved you don’t need a pile of pennies for a polished, personalized room. Remember: with a little DIY daring, you can design a delightful domain that’s distinctly, definitively yours.