I’ve discovered that throwing a memorable birthday party doesn’t require a big budget, just a bit of creativity and some clever DIY spirit. I start with a simple theme and color scheme, then raid my home for supplies. I love making balloon garlands from leftovers and crafting banners from scrap paper. A personalized playlist sets the perfect mood. My favorite touches, like upcycled centerpieces, truly make the celebration shine. There are even more simple ideas where these came from.
Start With a Budget-Friendly Theme and Color Scheme
Because I always work within a budget, I start every party by picking a simple theme and a two-color palette.
For my nephew’s dinosaur party, I chose green and brown. I shopped my house first, finding tablecloths and toys in those hues.
This limited palette made shopping for extra streamers and plates super easy and affordable. It’s my secret for making any space look cohesive without spending a fortune.
Incorporating DIY room decor ideas can further enhance the celebration while keeping costs low.
Create a Focal Point With a DIY Balloon Garland
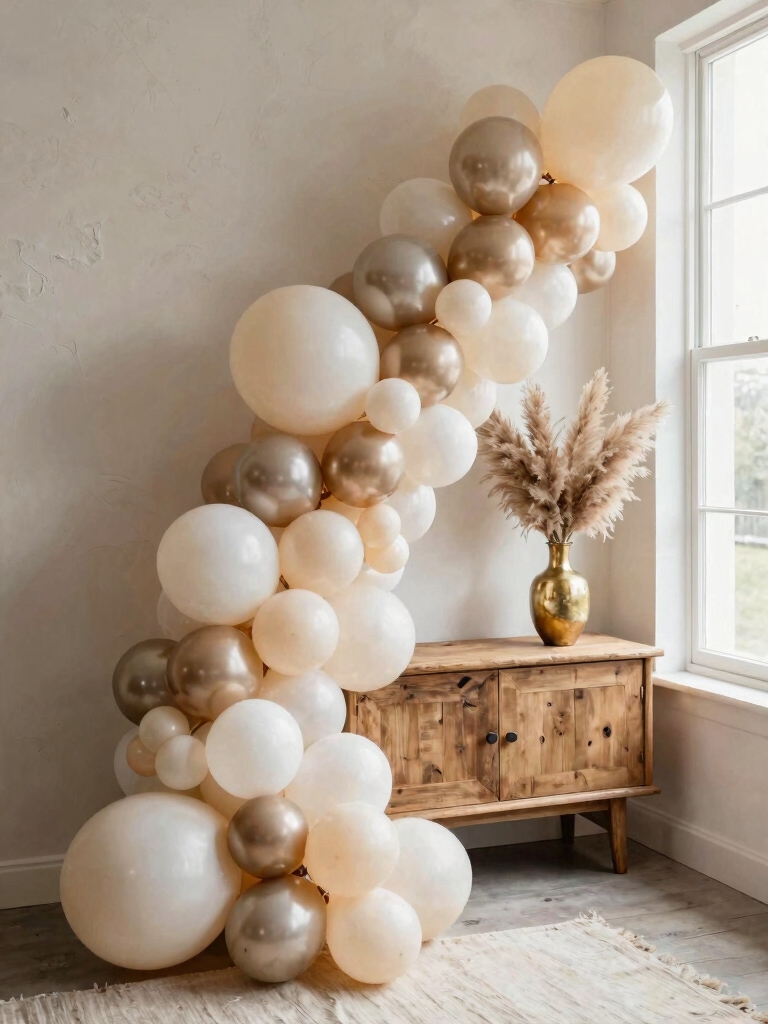
Next, I build a stunning focal point using a DIY balloon garland.
I grab leftover balloons from my theme’s palette and a long piece of fishing line or twine. It’s surprisingly easy—I just knot each balloon onto the line, spacing them out.
The garland drapes beautifully over a doorway or behind the cake table, creating an impressive, custom look that feels luxe without the cost.
This simple yet creative birthday decor idea is sure to wow your boyfriend and make the celebration unforgettable.
Design Your Own Banners and Garlands With Scrap Paper
I love making my own banners because I can raid my craft drawer for leftover scrap paper.
I just cut the pieces into simple shapes and string them together with twine. Arranging them around the room really brings my whole handmade party vibe to life.
This is a great way to transform your space creatively without spending much.
Gather Your Materials
First, we’ll gather our scrap paper stash—think old magazines, leftover gift wrap, or even colorful shopping bags.
I love this treasure hunt! Now, let’s get our other essentials.
You’ll need:
- A reliable pair of scissors.
- A hole punch for easy stringing.
- Some sturdy string or twine.
- Clear tape or a glue stick for any repairs.
Finding these at home is part of the fun and keeps costs zero.
Craft The Paper Shapes
Once you’ve got your materials ready, the real magic begins as we turn those scraps into festive banners and garlands.
I grab my scissors, tracing classic shapes like triangles and stars or cutting free-form abstract pieces. There’s no pressure for perfection!
I often layer different colored papers, creating unique silhouettes. This process feels wonderfully playful, and I’m amazed by the beauty hidden in leftover paper from my own stash.
Arrange And Hang Decor
After crafting your paper shapes, arranging them into a banner or garland allows your unique design to come to life.
I love laying everything on the floor first. For a sophisticated finish, I follow a simple system.
- Space shapes evenly along twine for balance.
- Alternate colors and sizes for visual rhythm.
- Secure pieces with double-sided tape or glue dots.
- Hang with painter’s tape to protect walls.
Make Budget-Friendly Paper Pom Poms and Tissue Tassels
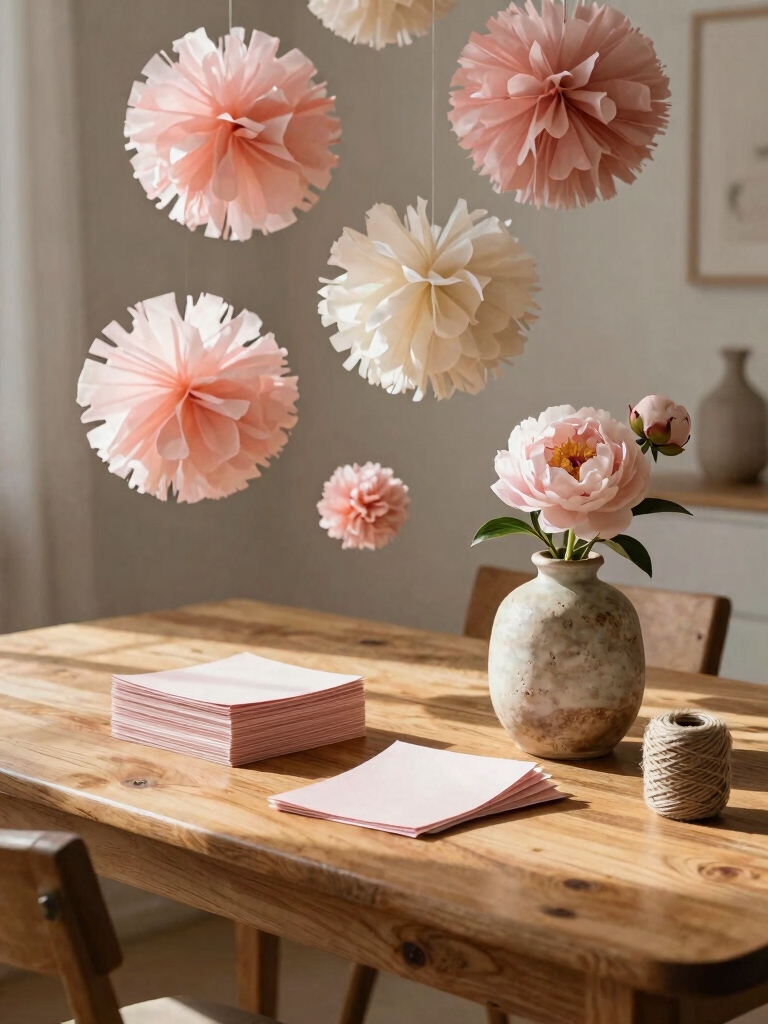
Creating a festive atmosphere doesn’t have to drain your wallet, as I discovered when I turned simple tissue paper into fluffy pom poms and playful tassels for my best friend’s party.
I layered sheets, accordion-folded them, tied the centers with string, and gently shaped the petals.
For tassels, I simply cut strips and fringed the ends.
It’s such a vibrant, inexpensive way to add color and texture everywhere.
These budget-friendly decorations are perfect to revitalize your space and bring fresh cheer to any celebration.
Hang a Happy Birthday Sign With Clothespins and Twine

If you want a fun, personalized focal point without spending a fortune, you can craft a charming birthday sign using just twine, clothespins, and your own creativity.
I adore this method because I can reuse everything next year!
My process is:
- Cut cardstock into festive shapes.
- Write letters or messages on each piece.
- Clip them onto a long twine line with clothespins.
- Hang it proudly as your main banner.
This budget-friendly approach is perfect for adding a festive touch without breaking the bank, making it one of the best room decoration ideas on a budget.
Turn Old Greeting Cards Into Wall Art
Those personalized banners are a perfect way to set a celebratory mood, and I’ve found a related trick to decorate even more wall space without buying new supplies.
I always keep the lovely birthday cards my daughter receives. I use clothespins and twine to clip and hang their beautiful fronts in a line.
It creates a colorful, sentimental gallery of well-wishes that truly personalizes the party space.
For a quick and charming touch, consider incorporating simple anniversary room decoration techniques that can be done in under an hour to enhance the festive atmosphere.
Craft a Photo Booth With a Simple DIY Backdrop
Since you’ll already be hunting for a personal touch after hanging those greeting cards, I found that building a simple photo booth backdrop is my secret for guaranteeing great party pictures.
I use an old curtain rod and thrifted fabrics. Add these elements for flair:
- Fringe from shredded plastic tablecloths.
- Cardboard letters spelling “Celebrate”.
- A garland of leftover birthday cards.
- Bunting cut from construction paper.
For added charm, consider incorporating elements inspired by popular aesthetic room inspirations to make your space feel truly special.
Frame Memorable Photos for a Heartwarming Touch
I love crafting a themed collage from sentimental pictures I’ve collected over the years. Selecting those special moments is the most heartwarming part of my prep. I then hang them using simple, budget-friendly methods like string and clothespins for an instant nostalgic display. Incorporating creative DIY ideas can easily elevate the look without adding to your expenses.
Craft A Thematic Collage
One of my favorite budget-friendly ways to personalize a birthday space is to craft a thematic photo collage. I grab a poster board, gather prints, and create a visual timeline or theme.
Here’s my simple approach:
- Establish a Core Theme (e.g., “Through the Years”).
- Use a Unified Backing like a thrifted frame or painted cardboard.
- Arrange with Purpose for a dynamic, intentional look.
- Secure with Craft Glue for a polished finish.
Selecting Sentimental Pictures
Building on a thematic collage, framing a few standout photos adds a heartwarming touch.
I just choose the images that tell our best stories. That hilarious cake-smash shot from their first birthday always makes us laugh.
I’ll grab some simple frames from a thrift store or even make my own from cardboard.
Placing these personal gems around the room makes the celebration feel uniquely ours without costing much.
Choosing Simple Display Methods
For an easy and affordable display, string photos along a twine line with simple clothespins. I’ve done this for years, letting the memories tell the story.
To elevate your gallery, consider these elements:
- Mix portrait and landscape orientations for dynamic flow.
- Incorporate small birthday milestone cards between pictures.
- Use vintage-style photo corners for a classic feel.
- Add tiny fairy lights to create a magical glow after dark.
Create Festive Centerpieces From Old Jars and Bottles
When I decorate for a birthday party, I always turn to my collection of old jars and bottles because they’re my secret weapon for creating unique, budget-friendly centerpieces without buying anything new.
I simply clean them, fill them with colorful scraps of paper, dried flowers from my garden, or a handful of colorful buttons.
Then, I tie a ribbon around each for a festive pop that looks completely custom.
These personalized touches are perfect for creating creative birthday room decor ideas that your husband will absolutely love.
Use What’s in Your Cupboard for a Sweet Dessert Table
I often start by raiding my pantry for pretty cake stands—I’ve stacked plates on overturned bowls for instant tiers.
Those plain canisters in my cupboard? I’m repurposing them to hold candies and cookies for a lovely, varied display.
It’s amazing what a bit of creative arrangement can do with items you already own.
Adding simple, stunning decor elements can truly transform your setup and make it feel special, even on a budget, as suggested by laundry room decor ideas.
Raid The Pantry
You can craft a stunning dessert table without a single extra shopping trip by raiding your own pantry. I love this approach; it’s like a creative puzzle. Last month, I used my staples to build a gorgeous spread that felt special and saved my budget.
- Layer cookies, crackers, and nuts in jars for visual height.
- Melt chocolate to dip dried fruit for instant candy.
- Stack homemade rice cereal treats on a cake stand.
- Spoon jam over plain yogurt for a quick parfait bar.
Repurpose Household Items
While the pantry provides the ingredients, your cupboards likely hold the hidden tools for a dessert table that’s both beautiful and budget-friendly.
I once turned a vintage biscuit tin into a cupcake stand and used my grandmother’s glass compote dishes to elevate treats.
A few mismatched saucers make perfect, eclectic serving platters.
Don’t buy new risers; just stack those sturdy mugs and bowls you already own!
Create Tiered Displays
Three mismatched saucers stacked with a vintage teacup between each can build a delightful tiered stand in minutes.
I use this trick for my dessert table, turning ordinary treats into a beautiful centerpiece without spending a dime.
Just raid your cupboards and arrange your sweets thoughtfully.
- Fondant-topped cupcakes
- Homemade sugar cookies
- Dainty chocolate truffles
- Fresh berries in small bowls
It’s chic, personal, and perfectly affordable.
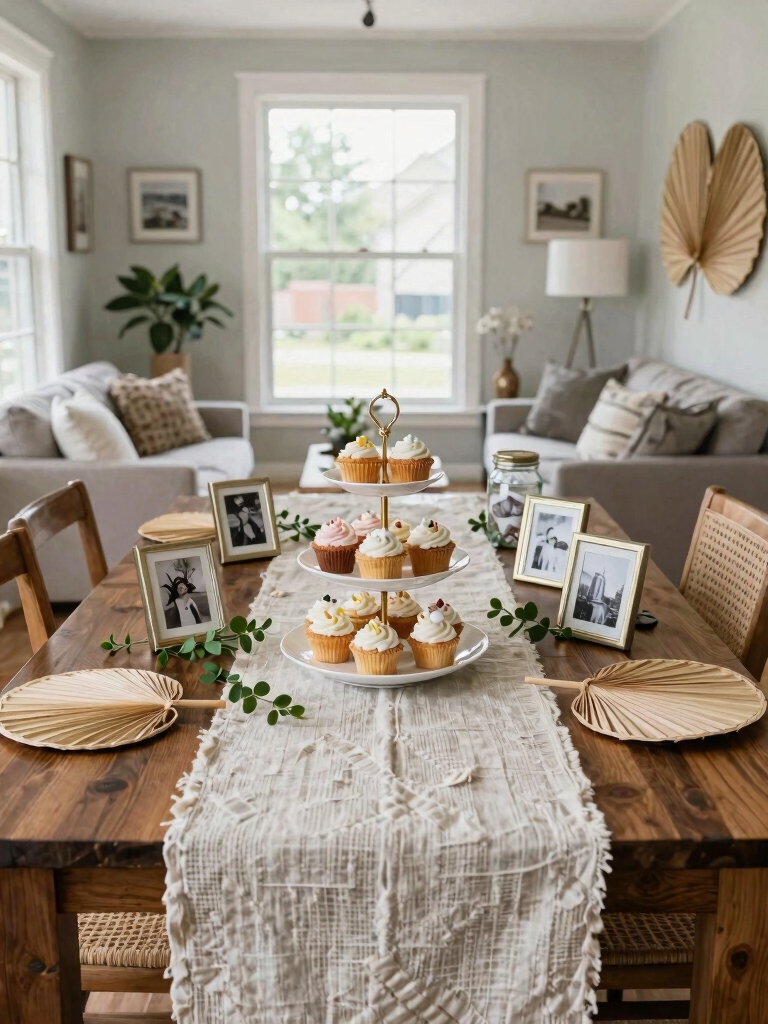
Arrange Snacks and Treats as Decor on Tiered Stands
Since I often entertain on a tight budget, I’ve found that tiered stands let me turn my snacks into part of the decor.
I’ll arrange cupcakes, cookies, and colorful candies on different levels. It’s a creative, functional centerpiece that saves money.
By mixing textures and colors, I build visual height and interest, making the table look fuller and more festive without buying separate decorations.
Guests can grab a treat right from the display.
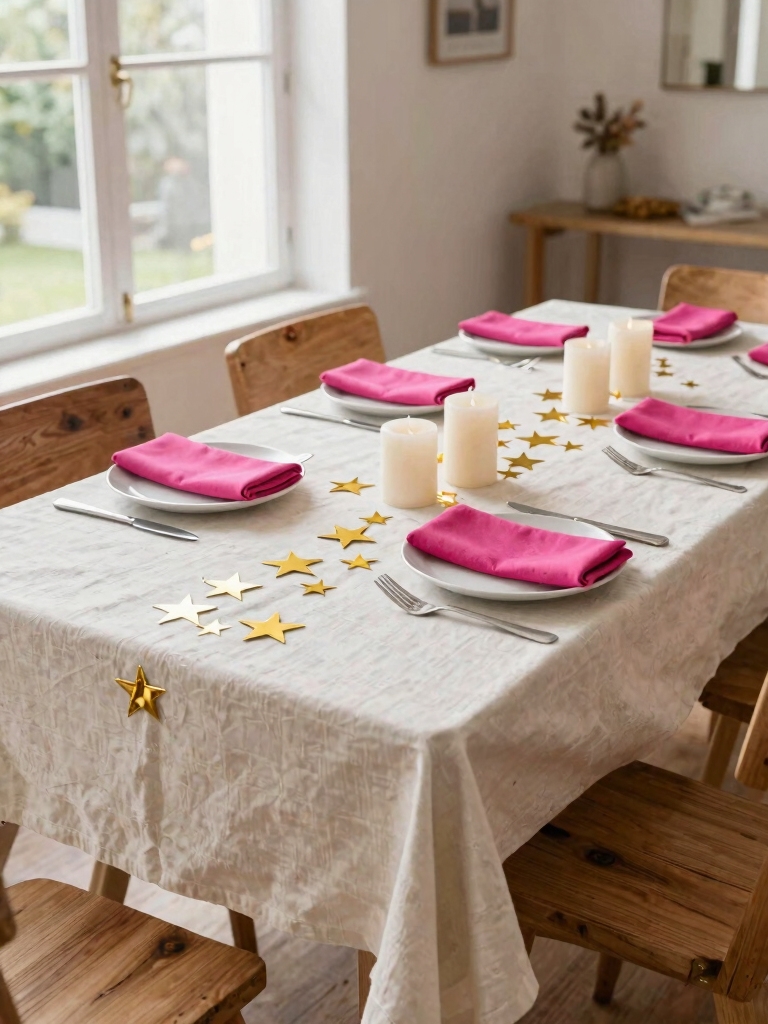
Transform the Room With a Color-Coordinated Tablecloth
Moving beyond edible displays, I’ve learned that a color-coordinated tablecloth instantly sets a party’s whole mood.
My trick is using fabric from my stash or an old bedsheet. I simply dye it or add a trim ribbon for a polished look.
The key is choosing a hue that ties all my other decorations together.
- Source fabric from existing linens.
- Customize with dye or trim.
- Select a unifying color.
- Iron for a crisp finish.
Make Confetti From Scrap Paper for a Fun Sprinkle
I first gather my leftover scrap paper, choosing colors that pop against my party’s backdrop.
Next, I cut the paper into various shapes with my trusty scissors, focusing on small bits that will catch the light.
Finally, I sprinkle this homemade confetti across tables for an instant, budget-friendly burst of celebratory color.
Select Paper and Colors
To add a burst of joy for zero cost, you can transform leftover gift wrap, colorful magazine pages, or even old drawings into your own handmade confetti.
I love raiding my craft stash for this. My selection process focuses on color and texture to create a vibrant mix.
- Coordinate with your party’s color palette.
- Seek out metallics for a festive sparkle.
- Mix matte and glossy finishes.
- Include bold patterns for visual pop.
Cutting and Shaping Tips
Once you’ve gathered your paper rainbow, it’s time to shape that joy into confetti. I use scissors for classic squares or fringes.
For a faster sprinkle, a paper shredder makes wonderful strips. My favorite is a hole punch—it’s so satisfying clicking out perfect circles.
I store each color in its own jar, mixing them right before the party for a vibrant, budget-friendly cascade of celebration.
Upcycle Shipping Boxes Into Themed Decorations
Because that pile of delivery boxes seems to multiply on its own, I’ve discovered transforming them into birthday decor is my ultimate budget-friendly win.
I just grab my paint, scissors, and imagination. Here’s my simple process:
- Flatten boxes and sketch shapes for your theme.
- Cut out pieces like castles, numbers, or giant stars.
- Paint them in bold, coordinating colors.
- Assemble with tape for stand-up centerpieces or wall art.
Use Free Natural Elements Like Leaves and Flowers
My garden and local park have become a secret treasure trove for my birthday decorating, offering leaves and flowers that don’t cost a dime.
I create stunning centerpieces by filling jars with blooms and frame doorways with leafy garlands.
For a party backdrop, I press colorful petals into simple picture frames.
It’s amazing how much beauty and personalized charm you can gather for free right outside your door.
String Up a Magical Budget-Friendly Light Display
While nature’s free finds add organic charm, lights can truly spark a festive mood. I create magic with strands I already own, draping them for a soft glow that rivals any store-bought kit.
My go-to strategy involves:
- Wrapping fairy lights around greenery.
- Filling clear jars with battery-operated strings.
- Hanging curtain lights behind a sheer fabric backdrop.
- Using colored bulbs to match the party’s theme.
Set the Mood With a Curated Playlist
Nothing transforms a space quicker than the perfect soundtrack. I always craft a playlist weeks ahead, scouring free platforms for nostalgic hits and fresh beats that scream the guest of honor.
This sonic backdrop is my favorite free decor—it instantly energizes the room and gets everyone laughing. I’ve found that curating those three-hour mixes makes the whole celebration feel incredibly personal and planned, without spending a dime.
Conclusion
I hope my personal ideas showed that a memorable party is like a balloon garland—built piece by piece without bursting your budget. Remember, your own creativity is the most valuable decoration you own. Start with one small, joyful project; it truly can transform a room and make your celebration feel special. Now, go create your own magic