I’ve found my best decor ideas were already in my room. I started with a deep clean and furniture shuffle for a free refresh. Then, I curated my favorite things as displays and framed postcards. A bold accent wall with leftover paint made the biggest impact. I upcycled thrifted furniture with new paint and swapped hardware for personality. There’s plenty more where that came from to spark your own transformation.
Start With a Free Space Refresh: Clean and Rearrange
I always begin my budget makeovers not with a purchase, but by clearing everything out of the room.
It’s shocking what a deep clean reveals—space I’d forgotten, natural light I’d blocked.
Then, I play with the furniture layout. Facing a sofa toward a window instead of the TV can feel like a free new perspective.
A fresh start costs nothing but a little sweat and imagination.
Exploring creative room ideas can help you transform any space without breaking the bank.
Declutter and Curate Your Existing Possessions
Before diving into storage bins, take a deliberate inventory of what you own.
I always ask, “Does this bring me joy or serve a purpose?” You’ll find hidden gems!
I’ve framed postcards as art and stacked vintage books for an end table.
Don’t just hide clutter; thoughtfully curate.
Displaying your favorite, functional pieces transforms them into decor.
It’s my favorite free design hack.
One easy way to refresh your space is by incorporating creative DIY ideas, which add personal style without breaking the bank.
Paint a Budget-Friendly Accent Wall
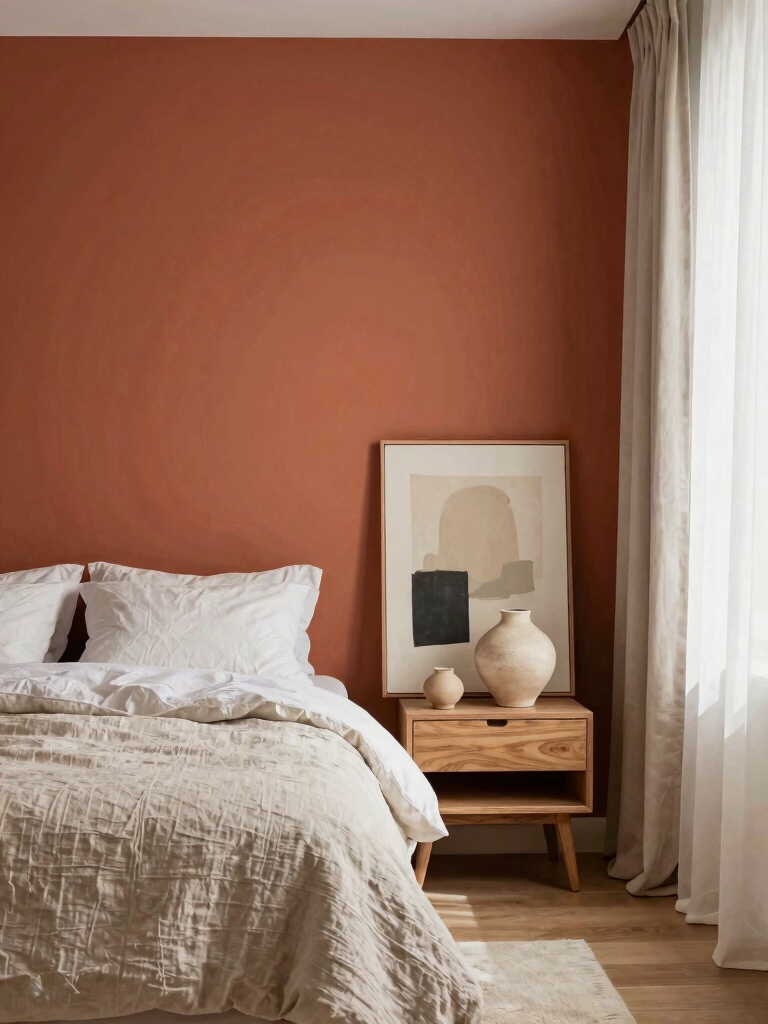
When I finally chose that blank wall behind my bed, I grabbed a can of leftover paint to create a bold, new mood.
I’m mixing in some creative techniques, like using painter’s tape or a sponge, to add texture for free.
It’s amazing how a little color and imagination can completely transform a room’s energy without costing much.
Refreshing your home this weekend with room decor ideas can make a big difference without breaking the bank.
Choosing Your Wall
Since you’re ready to add personality without a major overhaul, painting a single accent wall is your smartest first move.
I choose my wall based on my room’s existing focal points.
- The wall behind my headboard or sofa.
- The one with the most interesting architectural detail.
- The longest, unbroken wall to create drama.
- The wall I face when I first enter the room.
Selecting Paint Color
How do I pick a color that transforms my space without emptying my wallet? I consider the mood I crave—calming blues or energizing citrus.
My tip? I test samples directly on my chosen wall, observing them at different times of day. A bold, single-gallon accent wall makes the biggest impact for the least cost.
I often find my perfect hue in a mistinted can at the hardware store.
Creative Painting Techniques
Painting a whole room is one option, but I find that focusing that energy and paint on a single accent wall creates a fantastic focal point for pennies.
I love using upcycled tools for unique textures. Imagine:
- A geometric pattern made with painter’s tape.
- A sponge-dipped ombré effect.
- Faux wainscoting painted with a sample pot.
- A mural stenciled from a thrifted lace curtain.
Create a Statement With Removable Wallpaper
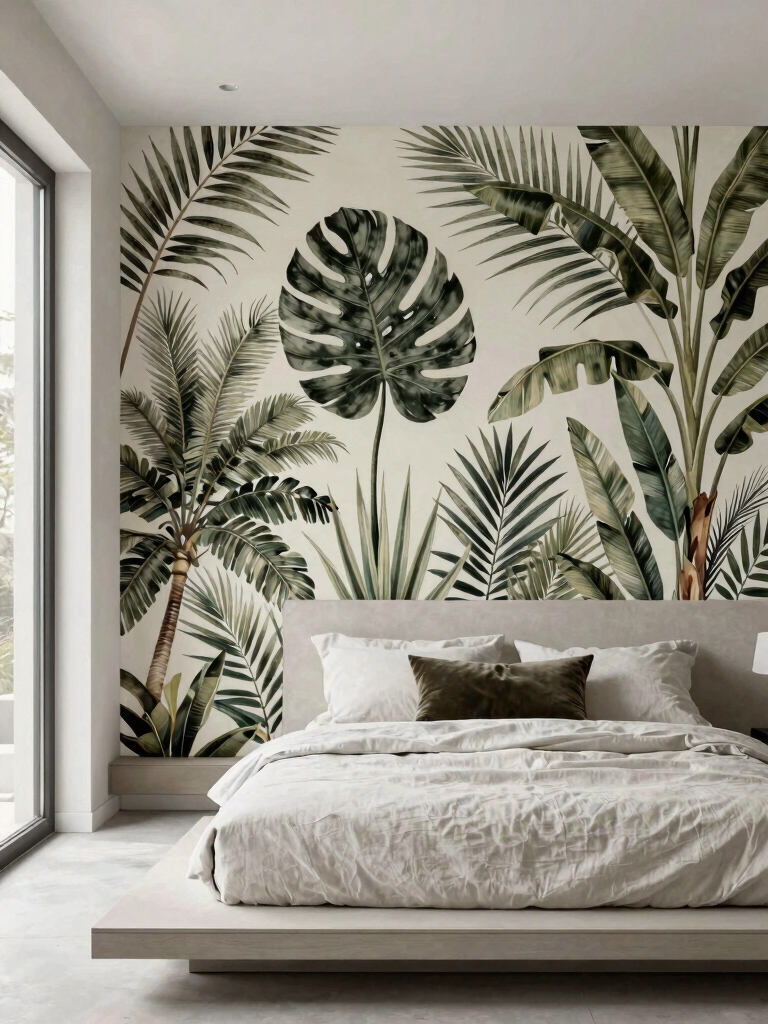
If you’re looking to refresh a space without a major commitment, I’ve found removable wallpaper to be a game-changer for crafting a bold focal point affordably.
I love using it just behind my bed or on a single wall. Its peel-and-stick nature lets me experiment wildly with patterns I’d never dare paint, transforming a room instantly without harming the original surface for future upcycling.
For a truly stylish effect, consider choosing from a variety of accent wall wallpaper ideas to elevate your living room’s design without breaking the bank.
Frame Inexpensive Art From Prints or Fabric
Once your wallpaper has set the stage, consider stretching your budget further by creating custom artwork.
I love framing found beauty! My favorite sources are:
- Vintage book illustrations or maps.
- Fabric swatches with bold patterns.
- My own simple sketches or watercolors.
- Beautiful, free printables from online libraries.
I pop them into affordable frames, often from discount stores, for a polished, personal look. Incorporating stunning DIY decor ideas can elevate your space without breaking the bank.
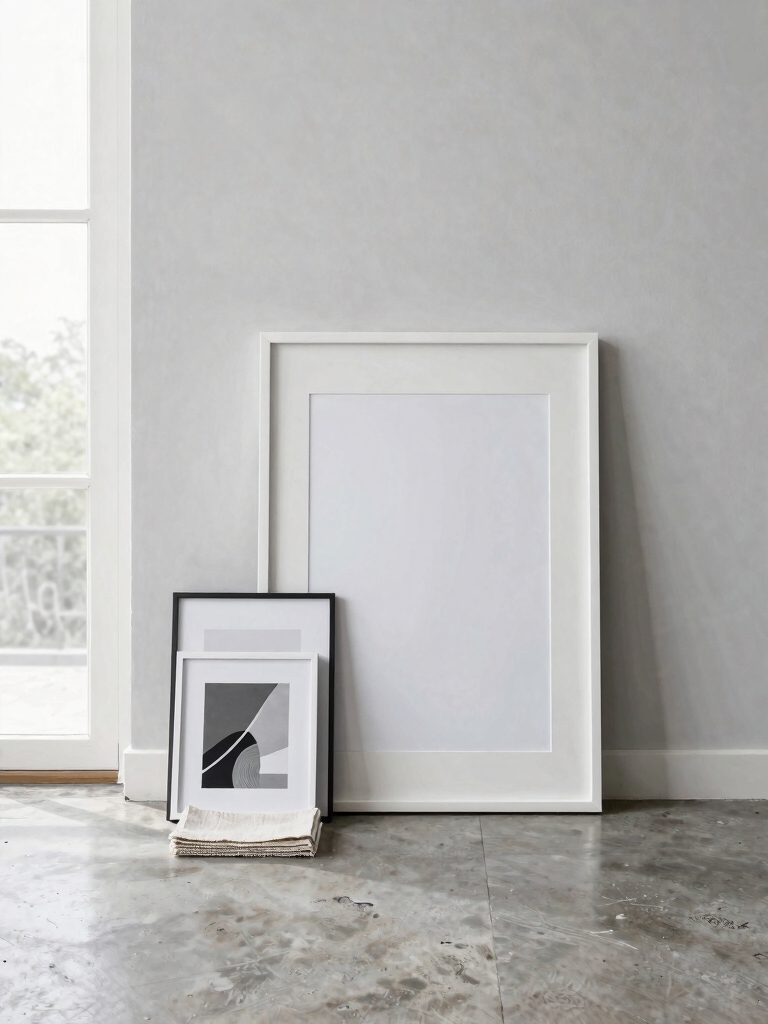
Build a Gallery Wall With Thrifted Frames
While framing single pieces adds charm, I’ve found building a gallery wall with thrifted frames multiplies the impact without multiplying the cost.
I hunt for mismatched shapes at garage sales, then unify them with a single coat of paint.
Arranging them on the floor first lets me play with the composition.
Filling them with personal photos or simple prints creates a curated, artistic statement that feels uniquely mine.
Using thrift store treasures can truly transform your space and add character through DIY room decor ideas.
Shop Secondhand Stores for Unique Furniture Finds
I love hunting in secondhand shops because I always spot hidden gems that no one else owns.
When I’m looking, I don’t just check for style; I also run my hands over the wood to prioritize real quality and craftsmanship.
Finding a solid piece with good bones means I can sand it down, paint it, and make it perfectly mine.
This approach is perfect for those wanting to transform their space without breaking the bank.
Browse For Hidden Gems
Several secondhand stores hold the potential to completely transform your space with unique furniture finds.
I hunt for pieces with solid bones I can personalize. Look past surface flaws and envision the possibilities!
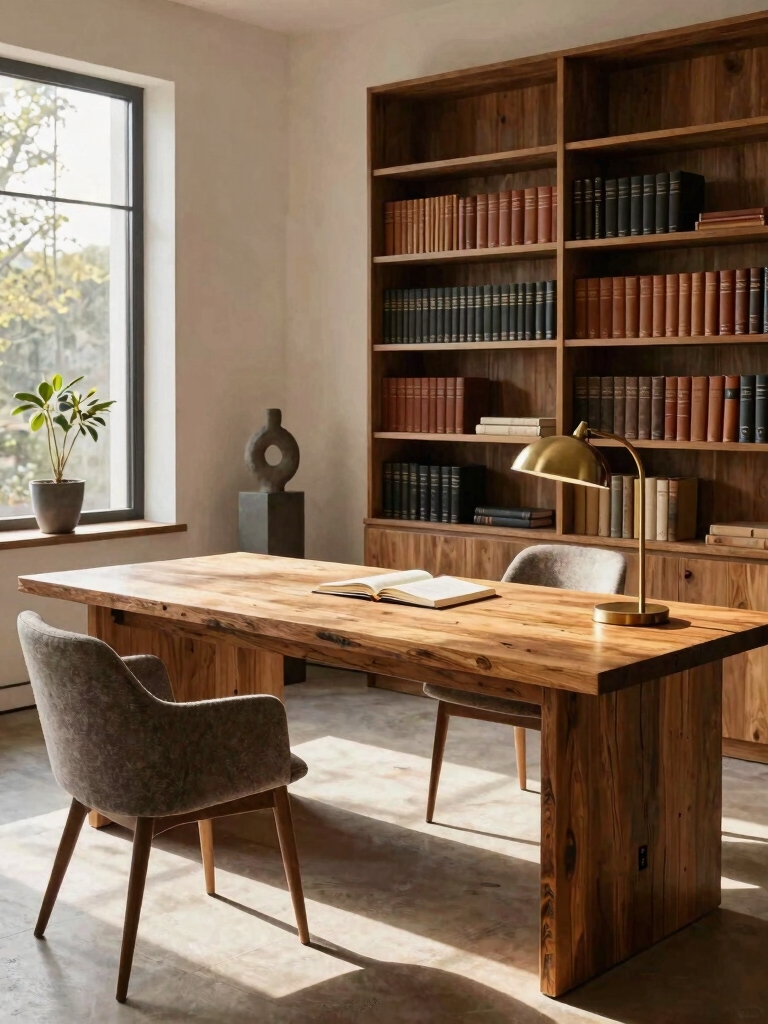
- A sturdy oak desk awaiting a fresh stain.
- Ornate wooden frames perfect for new art.
- A quirky lamp base begging for a new shade.
- Vintage suitcases to stack as a side table.
Prioritize Quality And Craftsmanship
Finding those gems is only the first step; what truly brings them to life is respecting their inherent durability and design.
I don’t just buy an old chair; I appreciate its solid wood frame. My creative process honors that craftsmanship. A simple sanding and fresh stain reveal its soul, proving that true quality, once uncovered, becomes a timeless foundation.
It’s about thoughtful restoration, not just a quick fix.
Upcycle Furniture With Paint and New Hardware
Transform tired, old furniture into showstopping pieces by wielding the simple power of paint and new hardware. I see potential in every scuffed thrift-store find.
My process is straightforward:
- I give pieces a good sand and clean.
- I choose a bold, modern paint color.
- I replace dated knobs with sleek, contemporary pulls.
- I protect it all with a durable clear coat.
The result feels entirely new. Affordable elegance can be achieved by focusing on low budget room decor ideas that look wildly expensive.
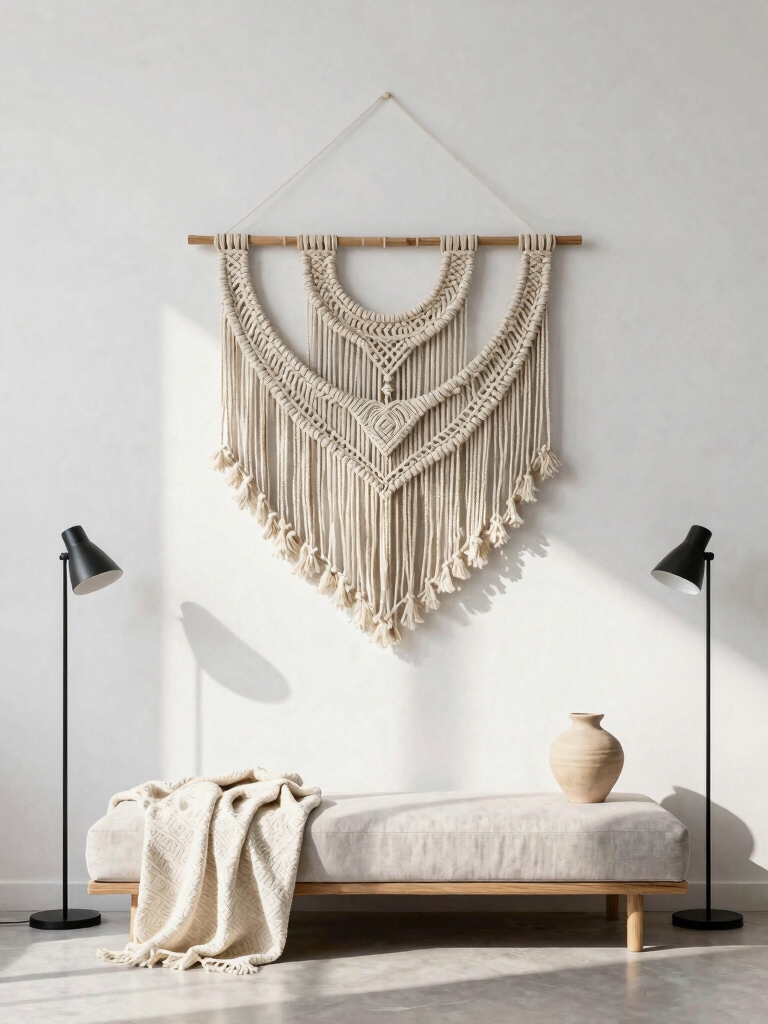
Swap In Modern, Budget-Friendly Light Fixtures
I’ve found treasure in thrift stores for lighting—it’s just waiting for a good wipe down.
Sometimes a fixture’s base is perfect, but I’ll give its shade a fresh coat of paint to match my room. That simple swap can make a dated piece feel completely modern and personal.
Incorporating smart storage solutions can also help keep your laundry room organized and clutter-free, complementing your updated lighting fixtures.
Shop Secondhand Markets
One incredible way to give a room an instant facelift is swapping outdated lighting with modern fixtures from thrift stores or online resale sites.
I hunt for great shapes that just need a little love.
Look for:
- A sculptural brass pendant with a simple cord.
- Clean-lined sconces missing just their glass.
- A vintage ceramic base for a bold new shade.
- Industrial cage fixtures begging for a modern bulb.
Paint A Fixture Shade
Give a tired lamp shade a bold new identity with nothing more than a can of spray paint.
I transformed a dated thrift-store find with a coat of matte black. It now looks modern and custom.
Just use paint specifically for fabric or metal, apply light coats, and let it dry completely.
You’ll swap the fixture’s entire vibe for just a few dollars, proving high style doesn’t need a high price tag.
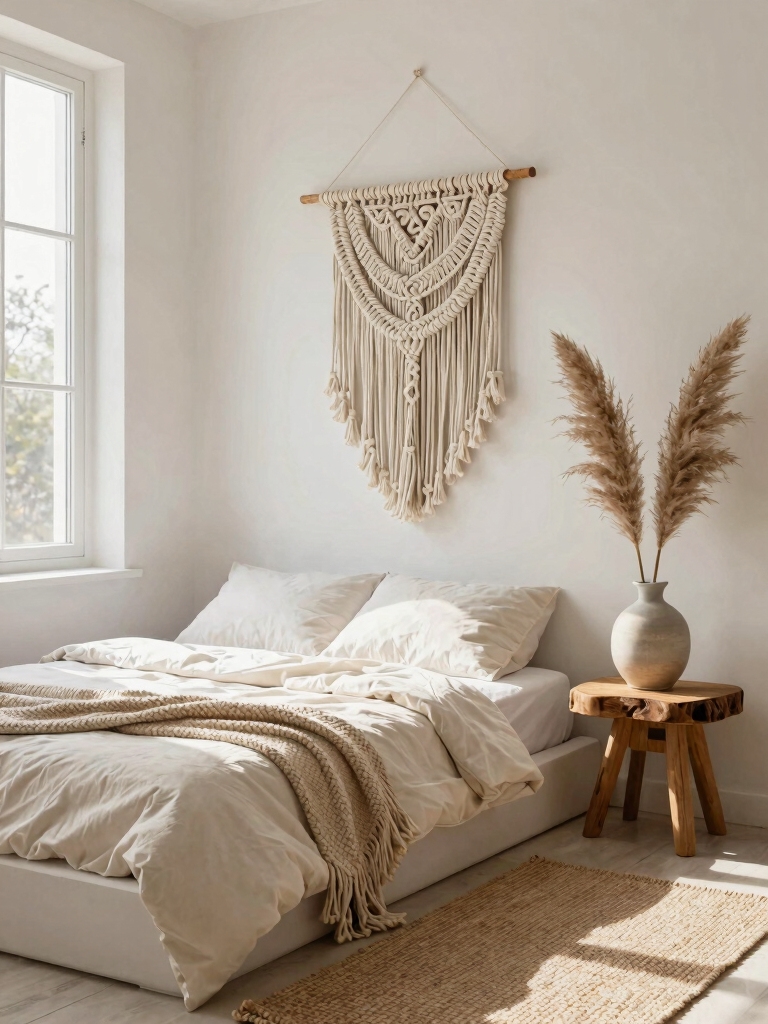
Layer Rugs to Add Texture and Define Spaces
Because you’re working with a tight budget, layering rugs is a fantastic trick I use to add instant texture and visually carve out separate areas in a room.
Get creative with what you already own! I love my thrifted finds for this.
- Anchor a large, neutral sisal as your base.
- Top it with a smaller, patterned vintage kilim.
- Tuck a soft sheepskin by the bed.
- Use a flat-weave rag rug to define a reading nook.
This simple layering technique is one of many small room decor ideas that make any space feel finished without overspending.
Sew or No-Sew Your Own Throw Pillow Covers
I’ll guide you through choosing fabric and color from your own stash.
I prefer basic no-sew techniques like fabric glue when I’m short on time.
Once you’ve got that down, I’ll show you some simple sewing stitches that even I can manage as a beginner.
Choosing Fabric And Color
Fabric choice transforms the ordinary into personal expression, and I love that a pillow cover project can start with something as simple as a thrifted tablecloth or leftover curtain fabric.
I look for character first! My personal checklist is:
- A beloved, worn-out flannel shirt.
- A vibrant, patterned tea towel.
- Textured wool from an outdated skirt.
- Crisp, contrasting linen napkins.
Color comes from what already sparks joy in my space.
Basic No-Sew Techniques
While you might think creating custom pillow covers requires a needle and thread, several clever no-sew methods let you achieve a polished look with just fabric, scissors, and a few simple tools.
I love transforming an old shirt into a pillow using iron-on hem tape for clean edges.
I’ve also used colorful fabric glue to embellish plain covers or knot corners on a square of cloth for a rustic feel.
Simple Sewing For Beginners
Because I’m a firm believer that a little stitching can make a huge difference, let’s explore some basic sewing techniques that I use to create custom throw pillow covers.
I upcycle old fabric, like a beloved but worn tablecloth.
My simple method:
- Cut two fabric squares.
- Sew three sides inside-out.
- Turn right-side out, insert pillow form.
- Hand-stitch the final opening closed.
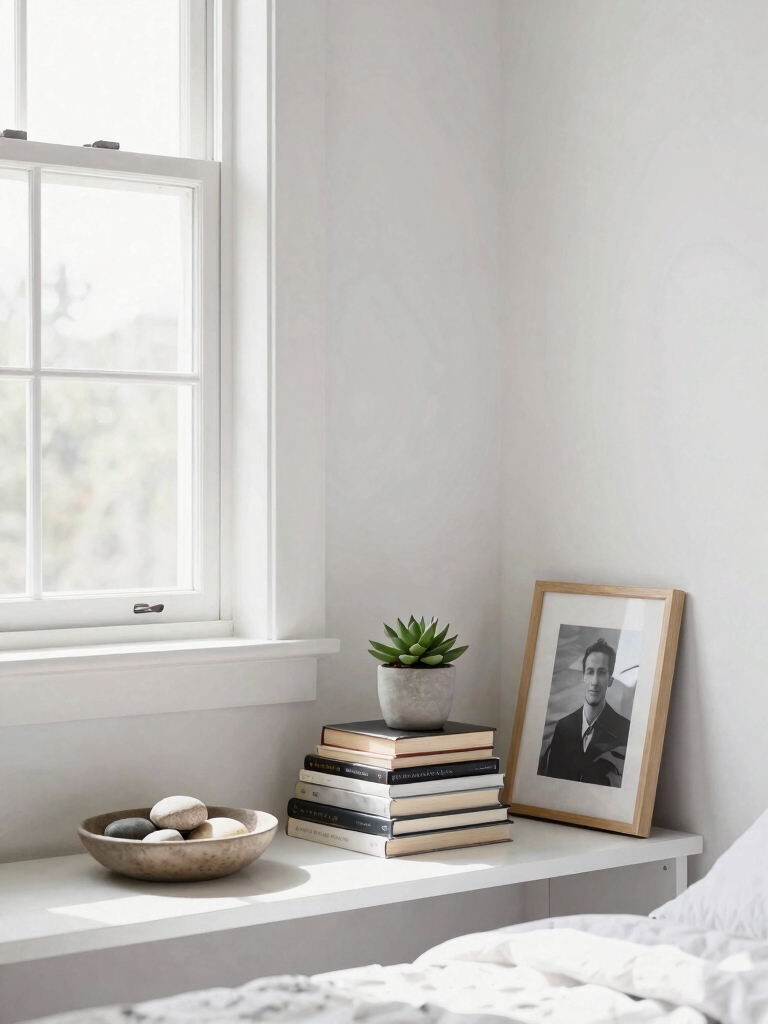
Style Books and Collections as Free Decor
Now, let’s turn to the shelves you already have and see the potential right at your fingertips.
I use my favorite novels, arranging them by color or stacking some horizontally. An old camera collection becomes a sculptural display, and I’ll prop a beautiful vintage book open on a stand.
It’s free decor that tells my story. Look at your own treasures not just as objects, but as instant art.
Forage Natural Branches and Greenery
Sometimes the most striking decor is just outside your door. I love foraging branches and greenery; it feels like gathering free art. Find an interesting vase or upcycle an old bottle for a vessel.
- A sculptural bare branch in a corner.
- Eucalyptus bundled in a reused jar.
- Berry-laden twigs on a mantel.
- Pressed leaves in a thrifted frame.
Nature’s textures add instant, personal warmth.
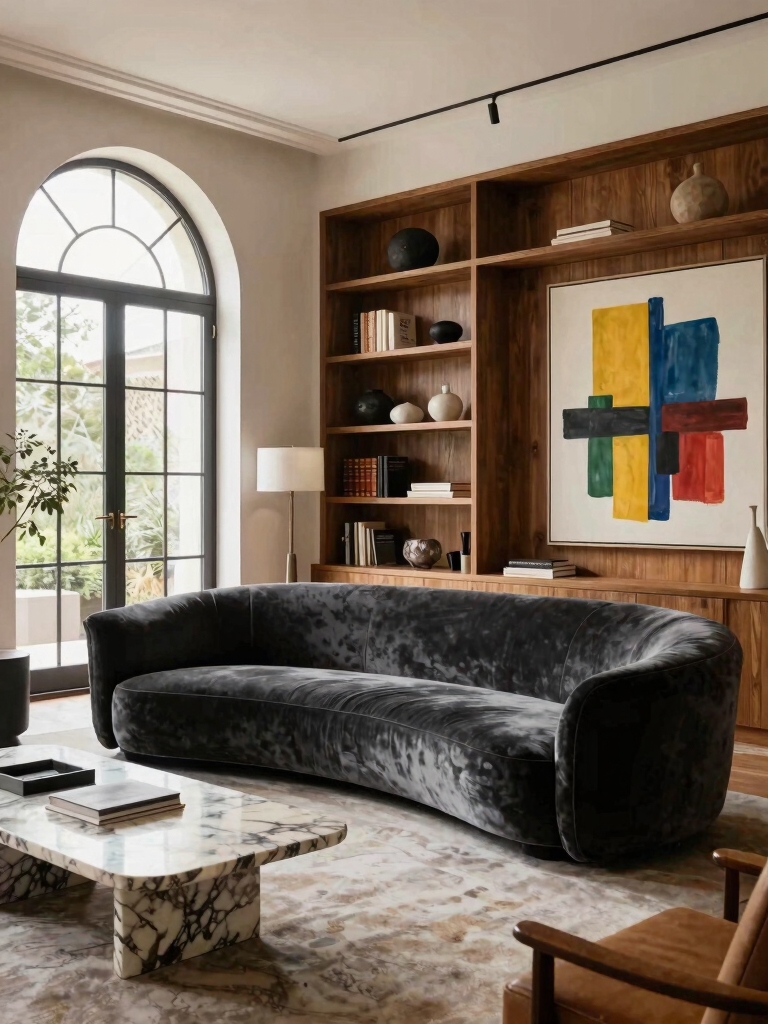
Craft Your Own DIY Abstract Art
Moving from nature’s free art to the living room wall, I’ve found that making my own abstract pieces is just as accessible and surprisingly satisfying.
I raid my recycling bin for cardboard canvases and use leftover paint samples. A bold swipe, a textured dab with an old sponge—there are no mistakes.
This personal, upcycled art adds a vibrant, one-of-a-kind focal point that truly makes a room feel like my own.
Use Mirrors to Brighten and Enlarge the Room
If you’ve got a small or dark space, mirrors can be your secret weapon, and I love hunting for cheap ones at thrift stores or garage sales.
I’ve turned my finds into magic with a little upcycling. Just look at what I’ve done:
- A sunburst mirror I made from painted wooden spoons.
- Old windowpanes fitted with mirrored tiles.
- A mosaic from broken glass on a plywood backing.
- An ornate frame, spray-painted gold, around a plain glass sheet.
Refresh Furniture With New Knobs and Pulls
Since the previous subtopic focused on making your own decor, you can apply that same DIY spirit to furniture by swapping out its hardware, which is a surprisingly quick way to personalize a piece.
I’ve transformed a bland dresser with mismatched, vintage drawer pulls from a thrift store. They’re like jewelry for your furniture!
It’s a simple change, but you’ll be amazed by the visual impact it makes.
Add Clever Storage to Maintain Your Makeover
One great trick I’ve learned to keep my redecorated space looking its best is building in clever storage.
It prevents clutter from ruining my new look. I get creative with upcycled finds:
- A vintage suitcase becomes a side table with hidden space.
- I hang baskets on the wall for pretty blanket storage.
- Crates stacked sideways turn into a rustic bookshelf.
- A painted ladder holds towels or magazines stylishly.
Conclusion
Just remember, the most beautiful room isn’t built with money, but with intention. Think of it like my favorite thrifted vase—a little chipped, holding wildflowers from the park. Its value is in the story. So let your space be that vessel, filled with the light you’ve reflected and the calm you’ve curated. That’s a richness no budget can ever define.