An activity room does not have to mean a primary-colored plastic explosion you hide whenever guests come over. The current take is calmer and more grown-up: interactive walls, flexible zones, and good storage that look like part of the home and still keep the kids, and honestly the adults, busy for hours.
The best activity rooms are built around things you can change and use over and over, not a pile of single-use toys. Here are the decoration ideas that actually earn their square footage, from drawable walls to a craft station, with how to set each one up and roughly what it takes.
What Makes an Activity Room Work
- Build in things kids use over and over: drawable walls and flexible zones beat single-use toys.
- Keep it changeable, since bins, pegboards, and floor tape let the room shift as kids grow.
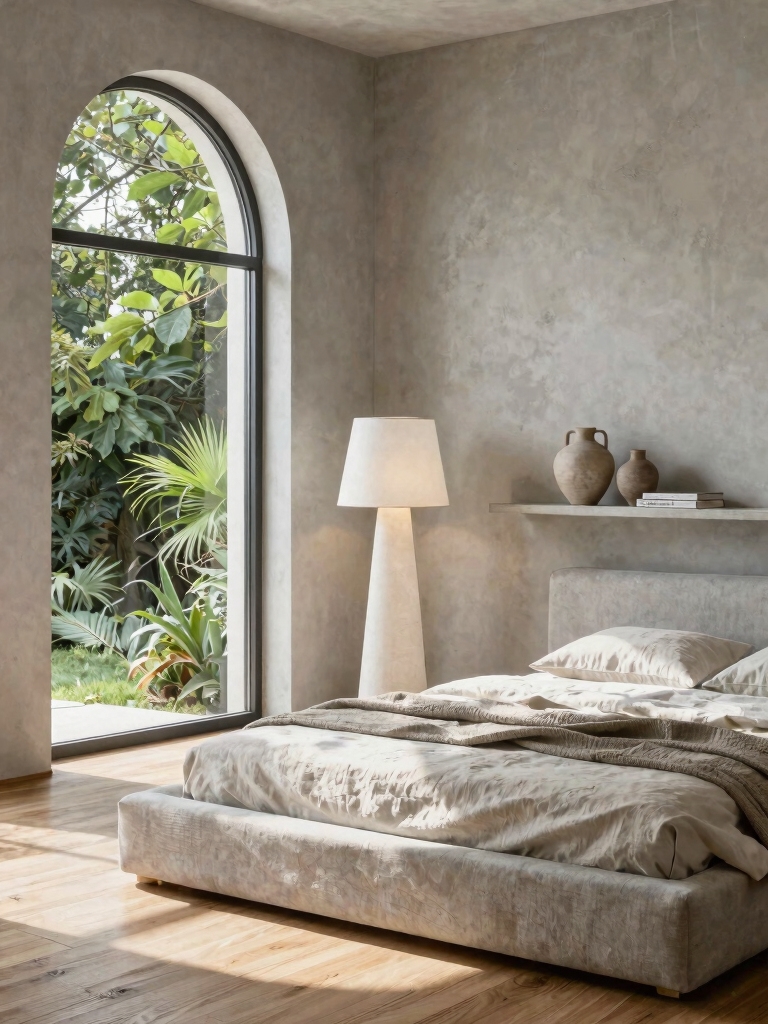
- Calm the base so the activity, not the decor, brings the color; a neutral backdrop ages far better.
Start With a Magnetic or Chalkboard Wall
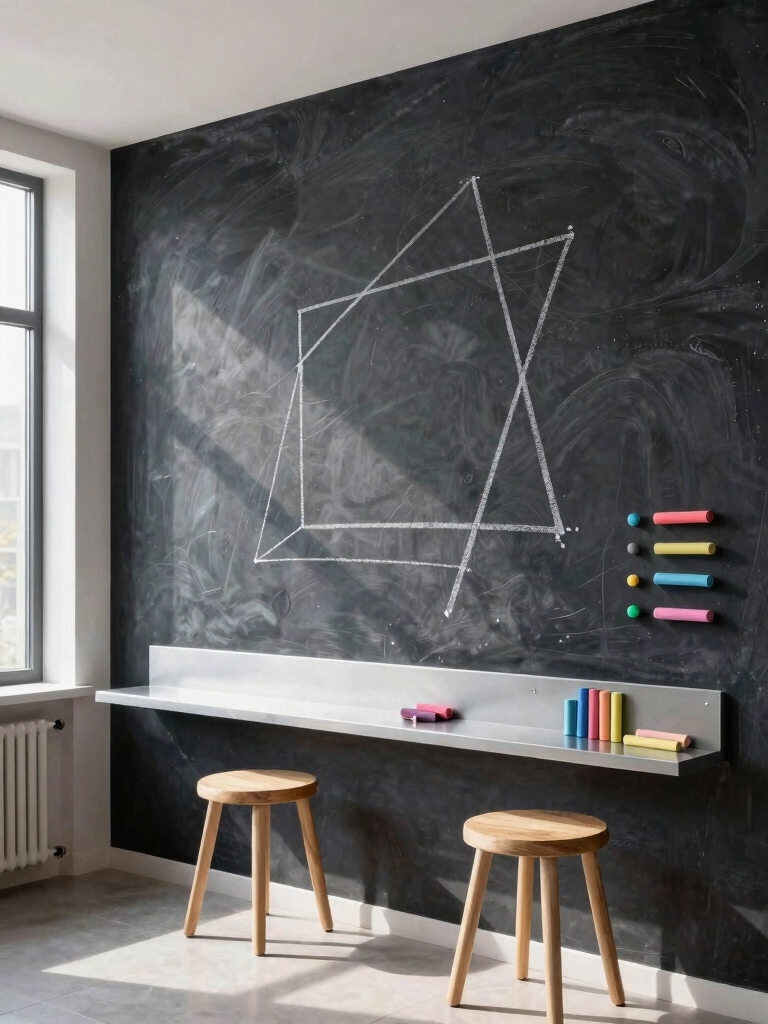
The highest-impact move in an activity room is a wall you can actually draw on. Magnetic chalkboard paint turns a plain wall into a surface for drawing, magnets, schedules, and art that changes daily, and it is one of the cheapest big upgrades here, since a quart covers a good-sized wall for under forty dollars. Get it right with a few steps:
- Roll on magnetic primer first, two or three coats, then top it with chalkboard paint so the wall holds both magnets and chalk
- Pick a low, kid-height section so little ones can reach, and frame it with simple trim to look intentional
- Keep a tray of chalk and a damp cloth nearby, and tape the edges before painting for a crisp line
- Go for a soft charcoal or a deep green over true black, since it suits a calmer, more grown-up room
Design a Floor-to-Ceiling Whiteboard
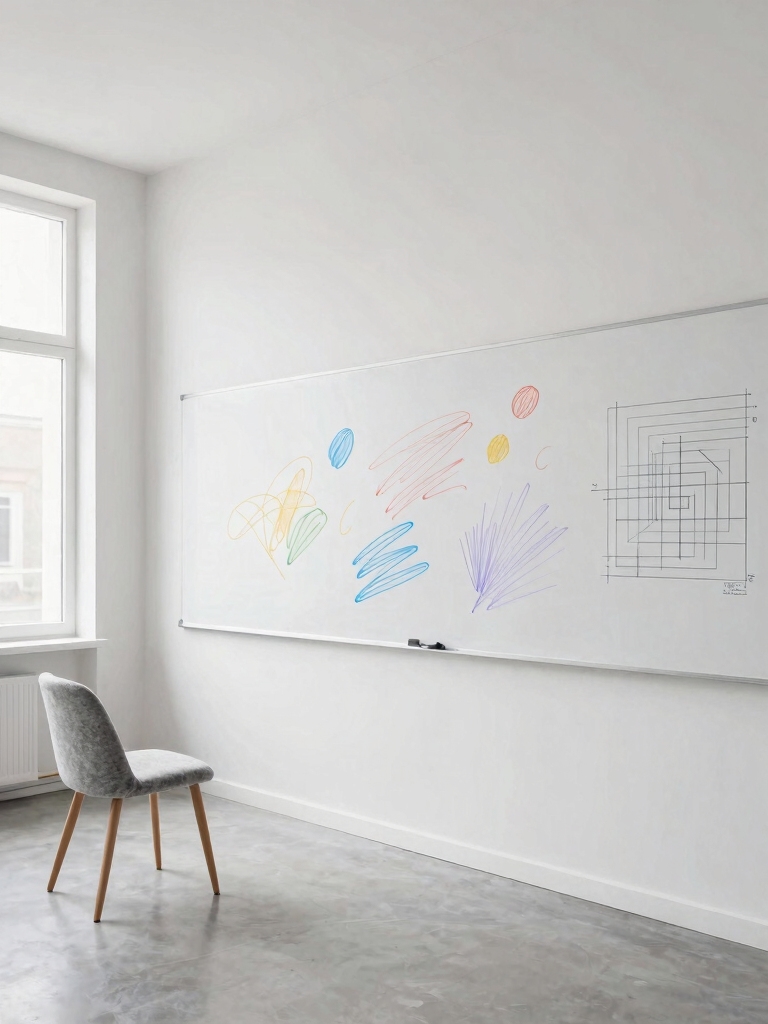
If chalk dust is not your thing, a large whiteboard wall gives the same draw-anywhere freedom with cleaner cleanup. Dry-erase paint or big sheets of whiteboard panel turn a wall into a giant canvas that wipes clean in seconds, which kids find endlessly satisfying.
Big enough to think on
Scale is what makes it special. A floor-to-ceiling stretch invites the kind of big, loose drawing a small pad never will, and up high it doubles as a family planner or a homework wall. Dry-erase paint runs about fifty to eighty dollars for a wall-sized kit.
Stick to proper dry-erase markers and wipe it now and then with a little rubbing alcohol so old marks do not ghost. For older kids, the same wall folds neatly into a focus-friendly study space when homework season hits.
Set up an activity room in four steps:
1Pick the anchor wall
Choose one wall for the big interactive feature, a chalkboard, whiteboard, or pegboard, and build the room out from there.
2Zone the floor
Use a rug and floor tape to mark a few areas, a quiet craft spot, an active zone, a building corner, so one room does several jobs.
3Sort the storage
Give every kind of activity an easy-access home in low, open bins and labeled jars, so kids can both find things and reset them.
4Add the extras
Layer in the smaller stations, music, dress-up, a light wall, one at a time as you see what your kids actually reach for.
Install Clear Panels for See-Through Drawing
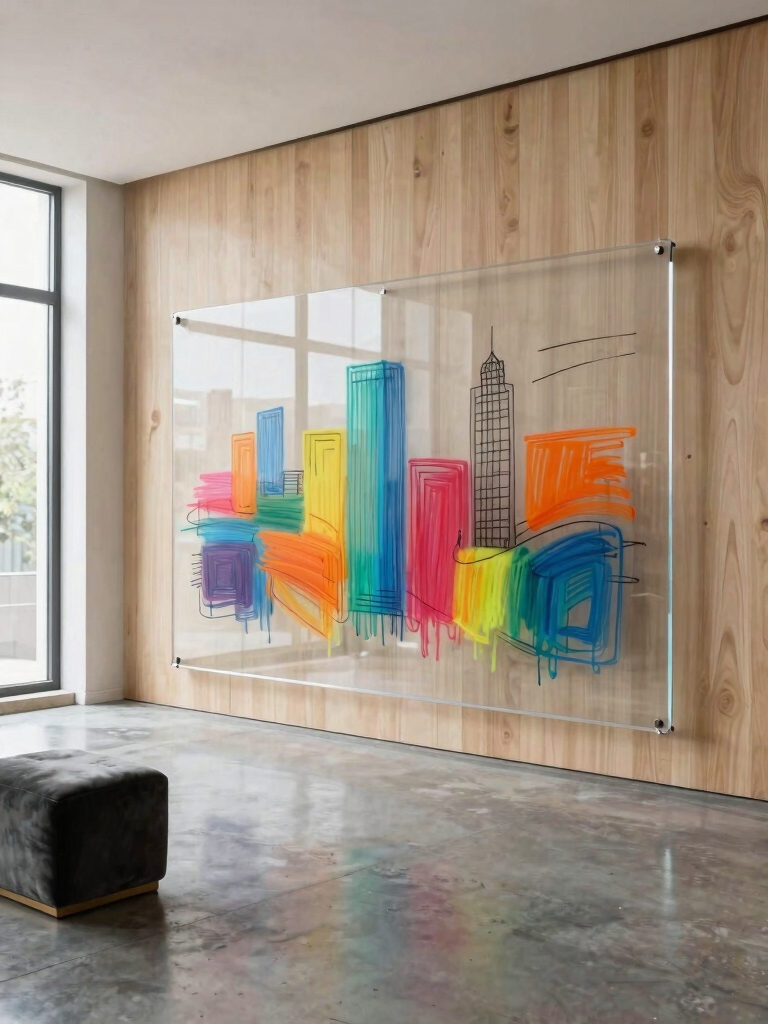
Clear acrylic or glass panels mounted on the wall let kids draw with dry-erase markers on a see-through surface, which feels like magic and holds their attention far longer than paper. Light passes through, so it brightens the corner it sits in, and drawings layer over whatever is behind it. A few pointers:
- Mount a sheet of clear acrylic a few inches off the wall so both sides are usable
- Round or sand the corners and fix it firmly into studs so it stands up to rough play
- Set it near a window or a light so finished drawings catch a glow
- Use bright, opaque dry-erase markers, since standard ones barely show on glass
Hang a Giant Pegboard for Endless Display
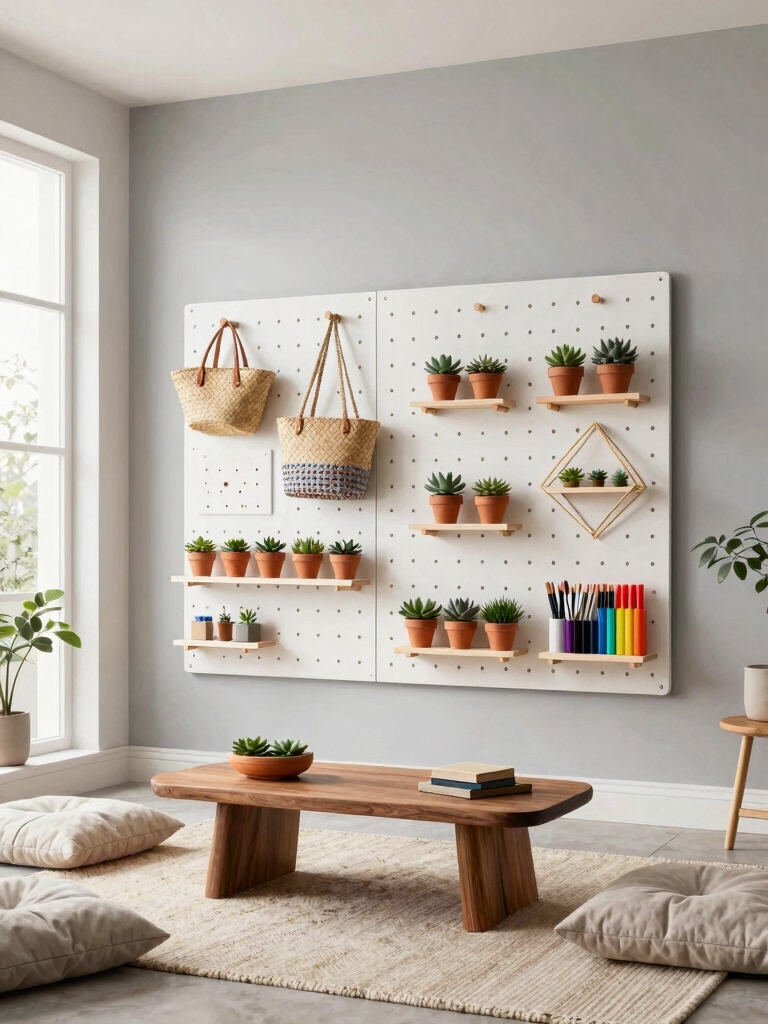
A wall-sized pegboard is the most flexible storage and display you can give an activity room, since it rearranges as fast as a kid’s interests do. Hooks, small shelves, bins, and baskets all clip on and shuffle around, so today’s art station becomes tomorrow’s building zone with nothing new to buy.
Paint it a soft, single tone so the board recedes and the contents pop, then mix hooks and little cups to hold everything from markers to figurines. It keeps the floor clear, which is the whole battle in a kids’ space, and our genius craft-room organization ideas lean on the same logic. The pegboard is the one piece I would never skip in a room like this.
Mount it into studs or with heavy-duty anchors, since a loaded pegboard pulls hard on plain drywall. Keep the lowest row at kid height so they can reset the room themselves, which is half the point of a setup like this.
A few terms worth knowing before you shop:
📖Magnetic primer
A metallic base coat you roll on before chalkboard or regular paint so the wall holds magnets; two or three coats make it strong enough for lightweight magnets.
📖Dry-erase paint
A clear or white coating that turns a smooth wall into a whiteboard. It cures over a few days before you can draw on it.
📖Pegboard
A perforated panel that takes hooks, shelves, and bins anywhere there is a hole, so one board can hold whatever the current obsession happens to be.
📖Low-voltage
Battery, USB, or transformer-powered lighting that is safe for kids to handle, unlike mains-wired fixtures, which need an electrician.
Build an Interactive Light Wall
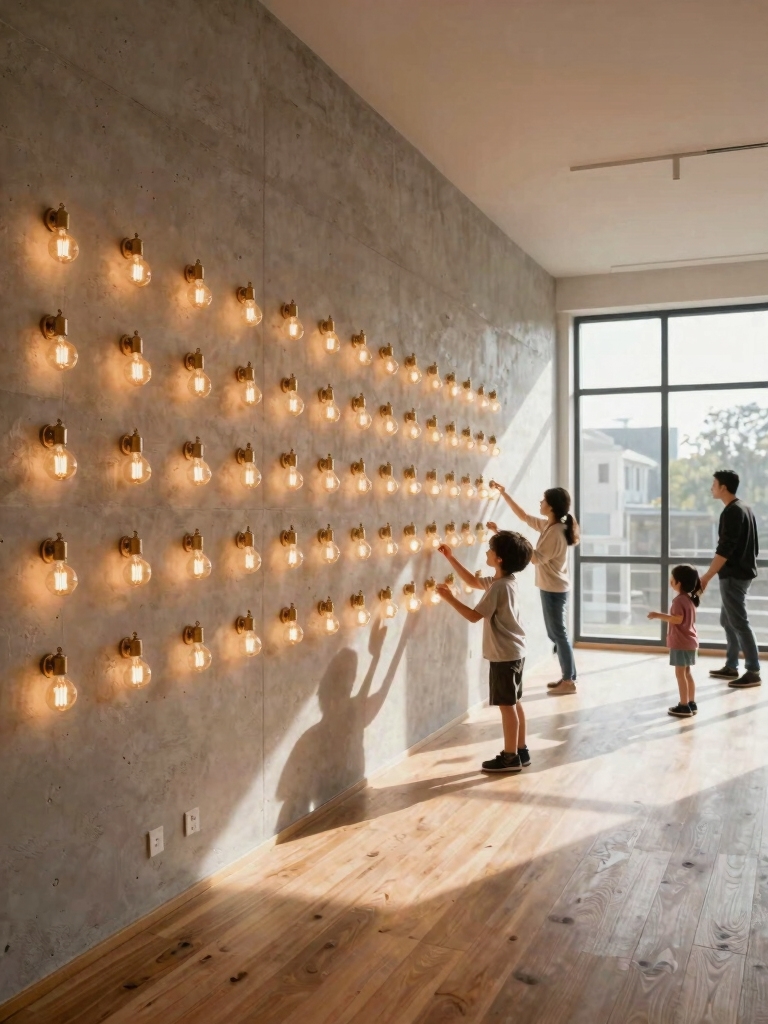
A light wall, a panel of buttons, switches, and color-changing bulbs kids can control, turns cause-and-effect into play and looks genuinely cool after dark. Keep it safe by sticking to low-voltage, battery, or USB-powered LED kits and skipping anything mains-wired, and for any hardwired fixture, bring in a licensed electrician.
The wow factor is in the interaction, so choose elements kids can actually operate and change. Color-changing LED strips on a remote, big arcade-style buttons, and a few touch lights deliver all the magic with none of the risk.
- Use low-voltage or battery LED kits so little hands stay safe, and leave any mains wiring to a pro
- Mix color-changing strips, push lights, and a remote so kids control the room’s mood
- Mount everything securely and tuck cords into channels so nothing dangles
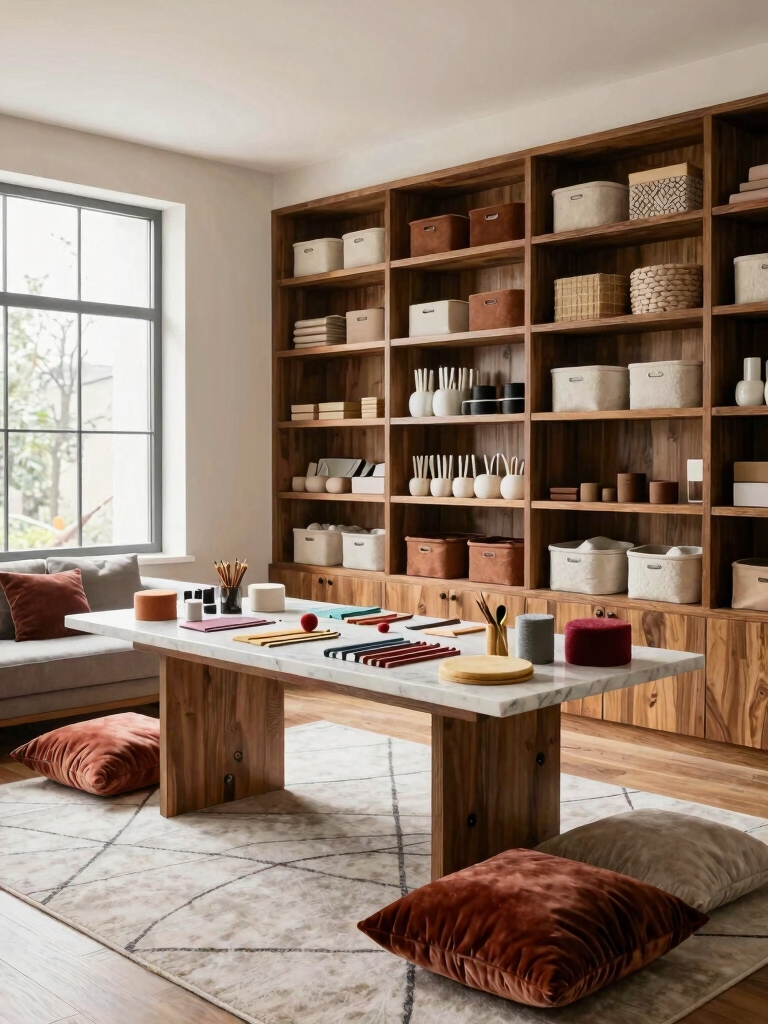
Set Up a Permanent Craft Station
A craft corner that stays set up gets used ten times more than one you drag out of a closet. A small table, a wall of labeled supplies, and a wipeable surface mean a kid can sit down and make something in the two free minutes they actually have, with no setup to wait through. It is the first station I set up in any activity room I plan, because it gets the most use for the least money.
Organization is what keeps it from sliding into chaos, so give every supply a clear home in jars, a paper-craft-friendly setup, or a rolling cart you can wheel away. A washable mat under the table and a smock on a hook handle the mess, and the whole station fits a corner for well under a hundred dollars.
Create a Building-Block Zone With Easy Bins
Blocks and bricks are the rare toy kids come back to for years, so a dedicated, easy-access zone earns its keep. A soft rug to build on, low open bins sorted loosely by type, and a flat shelf for works-in-progress turn scattered pieces into a real station kids can tidy themselves.
- Use shallow, open bins at floor level so kids can see and reach everything
- Sort loosely by color or size, since over-organizing just guarantees it never gets put back
- Add a low shelf to park half-finished builds so they survive until tomorrow
Add a Dress-Up and Pretend Corner
A little dress-up area is pure imaginative fuel, and it needs almost nothing: a costume rail, a few hooks, a basket of props, and a fun mirror. Kids will invent whole worlds from a cape and a hat for hours, and the corner photographs adorably too.
Hang the rail and a child-safe mirror low so everything is reachable, and rotate the costumes now and then to keep it fresh. A simple fabric backdrop, or a shadow-play corner with a sheet and a lamp, stretches the same pretend play into the evening, and it all folds away small when you need the floor back.
Map Active Zones With Colorful Floor Tape
When one room has to do everything, colorful floor tape is the cheapest way to carve it into zones: a hopscotch grid, a road for toy cars, a circle for story time, a start line for races. It costs a few dollars, peels up clean, and lets a single room flip from quiet crafting to active play in seconds.
- Lay out a hopscotch grid, a car road, or a balance line with bright removable tape
- Mark a tidy-up boundary with it so kids know where the toys live
- Redesign the layout anytime, since it lifts off without marking the floor
Tuck In a Simple Music Corner
A small music corner adds a whole new kind of play for very little. A few durable instruments, a hand drum, an egg shaker, a small xylophone, on a low shelf or a wall rack invite kids to make noise on purpose, which beats them drumming on your good furniture.
Keep it to a handful of sturdy, washable pieces and hang them on hooks or a pegboard so they double as decor. A soft rug underneath takes the edge off the volume, and swapping the instruments now and then keeps the corner interesting without buying anything new. In my experience it is the corner kids drift back to when they have run out of other ideas.
What to Expect: Budget, Mess, and Upkeep
A few honest expectations before you start. An activity room is cheaper to build than it looks, since the high-impact pieces, drawable walls, floor tape, a pegboard, are all low-cost, and most of the budget is just paint and storage. You can set up a genuinely engaging room for a couple hundred dollars and add zones over time.
The trade-off is upkeep. An activity room is built to be used, so it will look well-loved, and the real work is teaching the reset; bins and pegboards turn tidy-up into a two-minute job kids can do themselves. Choose washable surfaces everywhere, plan the storage before the toys arrive, and the room stays fun instead of becoming the household dumping ground.
Build a Room That Grows With Them
The best activity rooms grow with the kids who use them, so build in flexibility now and the room keeps earning its place for years. Drawable walls, a pegboard, and bins you can rearrange will outlast any trend or toy in the catalog.
So before you buy a single bright plastic thing, watch what your kids actually gravitate to and build the room around that. What would your family come back to over and over, and what would just look good in a photo?
More Hair Inspiration