I discovered you can decorate a birthday room for almost nothing! I’ll use leftover paper streamers to build a vibrant backdrop and craft a custom banner from scrap paper. I’m making a balloon garland without a kit and creating mood lighting with fairy lights and paper lanterns. I’ll personalize with cut paper letters and style a sweet treat display. There are even more clever ideas to make the day feel totally special without spending much at all.
Set the Scene With a Paper Streamer Backdrop
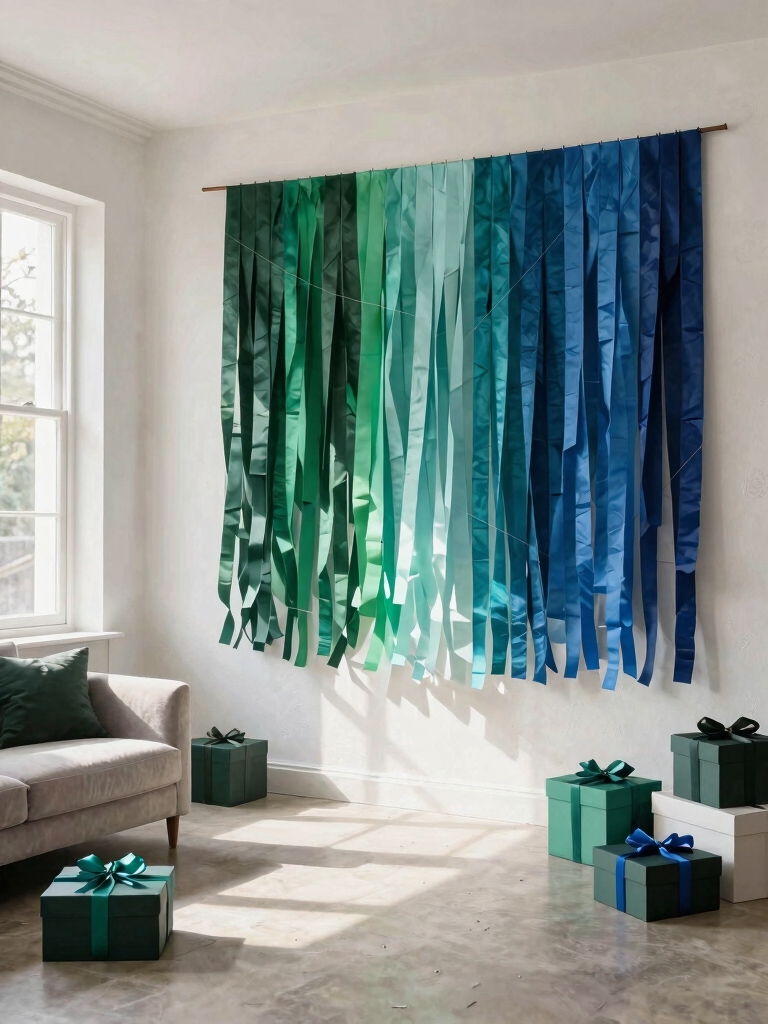
A paper streamer backdrop gives your party a vibrant focal point without spending a fortune.
I just tape one end to a wall and walk the streamer across, taping as I go. I layer different colors for a lush, textured effect.
Crisscrossing them creates a cool geometric pattern. It’s my favorite quick trick; the whole wall transforms in minutes, and leftover streamers from other projects work perfectly.
This simple idea is a great way to revitalize your space with fresh room decor ideas.
Craft a Custom Banner From Scrap Paper
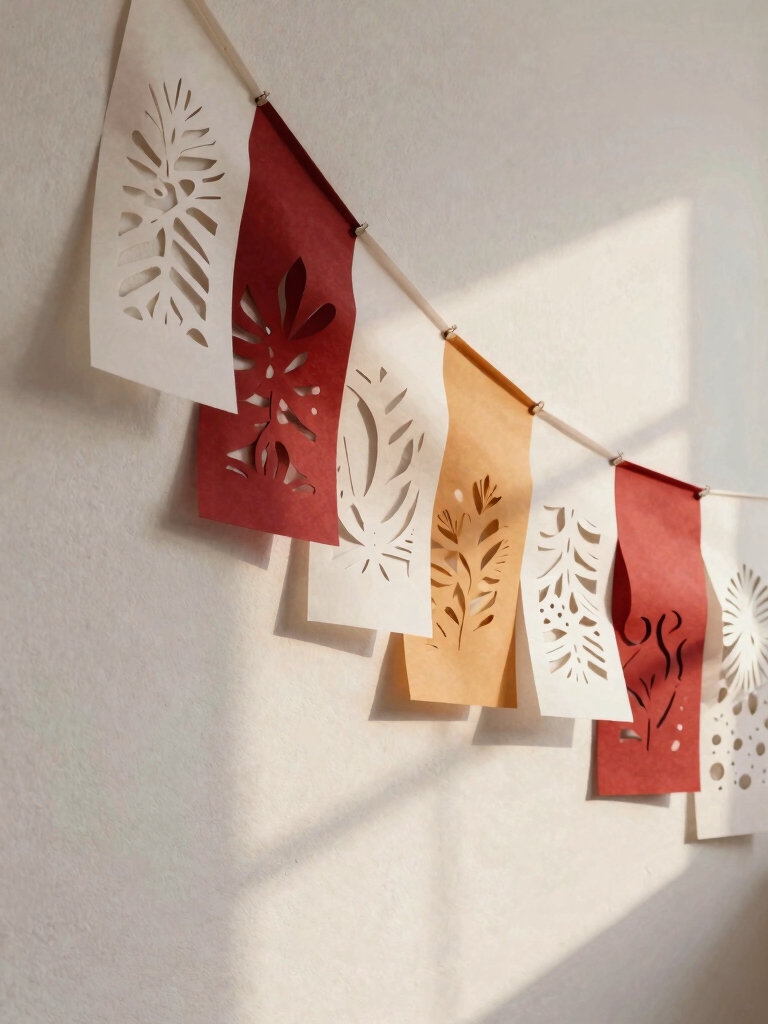
Custom banners from scrap paper add a unique, personal touch without any extra cost.
I gather leftover construction paper, old magazines, or even junk mail. I cut simple triangles or flags and punch holes at the top.
Then I string them together with yarn or twine. I personalize them by writing a name or message.
It’s a perfectly frugal way to create celebratory focal point. Using creative room ideas like this can transform any space on a budget while adding charm and personality.
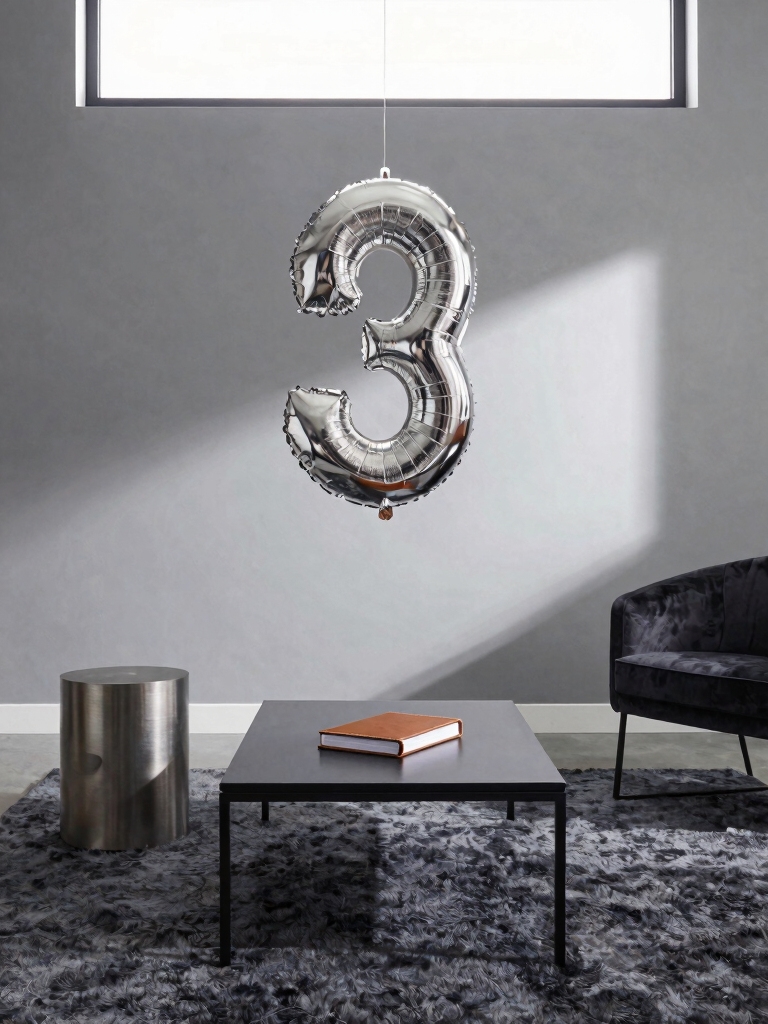
Build a Balloon Garland Without a Kit
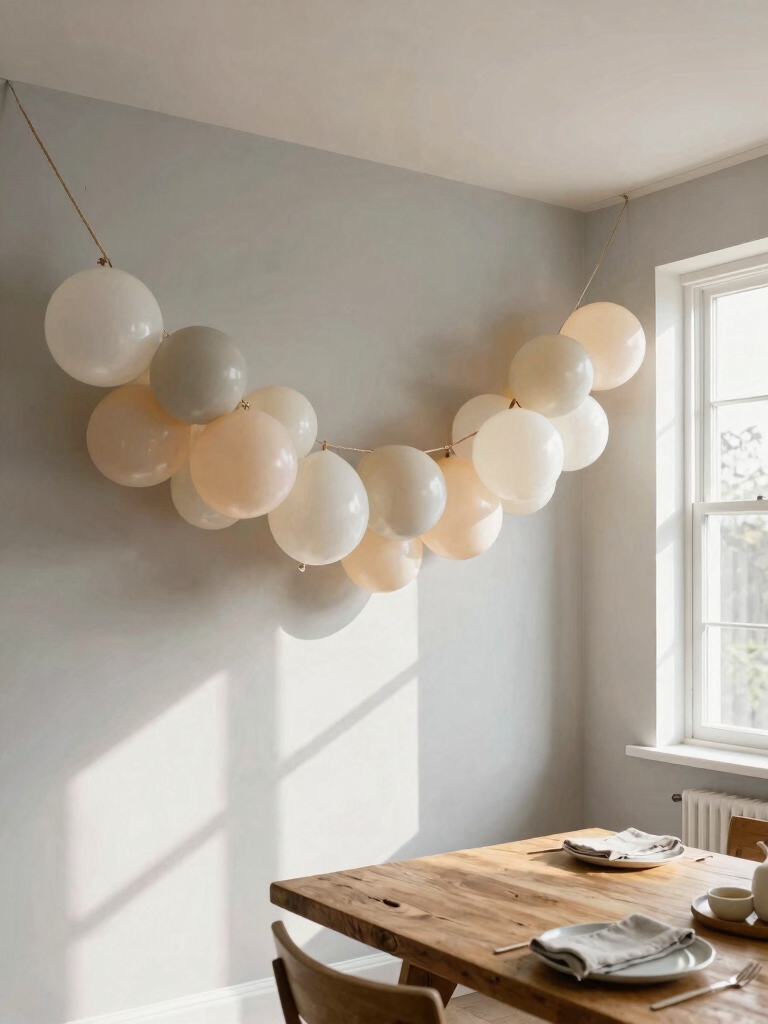
Instead of paper banners, you might want to elevate the decor with a balloon garland, and you can build one using basic supplies instead of a pricey kit.
I gather varying balloon sizes, fishing line, and tape. I blow them up and tie them onto the line. I overlap and twist them tightly to hide the string.
The key is clustering them for a full, seamless look that feels extravagant for pennies.
To truly transform your space and create memorable moments, consider how these balloon garlands can enhance your dining room ambiance.
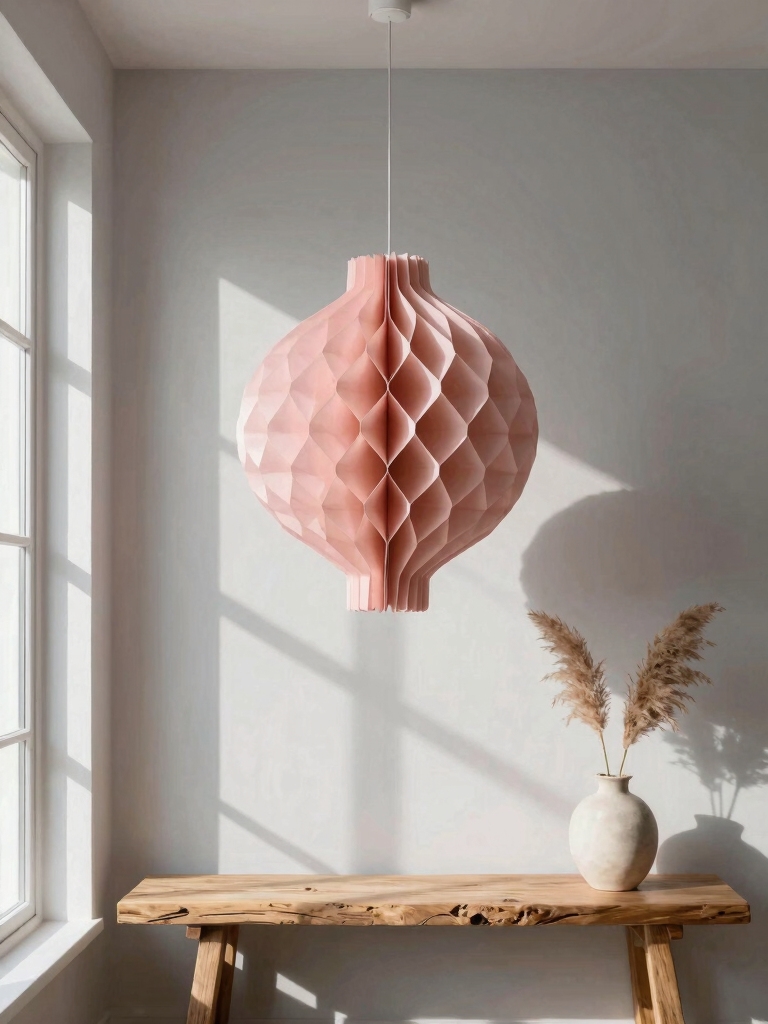
Make Hanging Paper Lanterns From Scratch
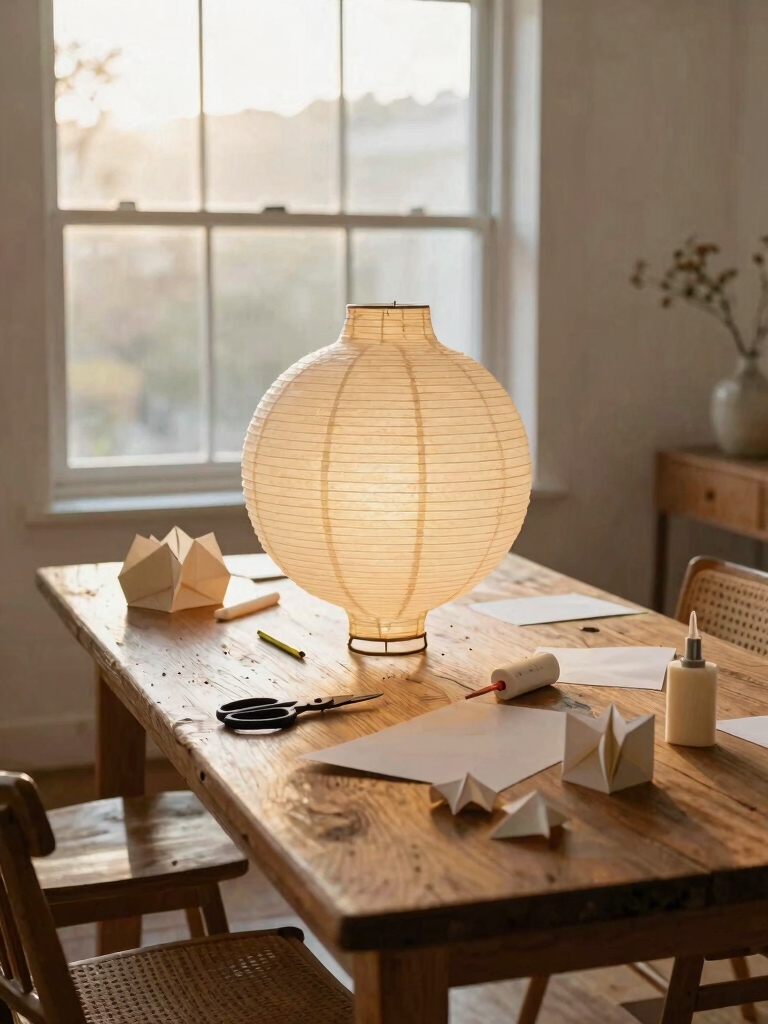
First, I’ll show you how to gather your basic craft supplies to keep costs low.
Then, we’ll focus on folding and assembling simple paper shapes to build our lanterns.
Finally, I’ll share my favorite tricks for adding color and texture with stuff I already have at home.
These affordable DIY projects are perfect for creating a stylish home without breaking the bank, emphasizing the importance of cost-effective materials.
Gather Essential Materials
Four essential items I’ve gathered to craft these hanging lanterns are construction paper, scissors, a ruler, and string.
I look for paper that’s colorful but sturdy, and I often repurpose old gift wrap. My scissors must be sharp for clean cuts, and I use the ruler to guarantee my strips are even.
The string is any leftover bit I’ve saved, making this project wonderfully economical and creative.
Fold And Assemble Shapes
To make our hanging lanterns, let’s fold and assemble the paper into beautiful, functional shapes.
I start by scoring crisp lines for sharp folds, creating geometric panels or gentle curves.
I then overlap the ends, securing them with a dab of glue to form a cylinder, cube, or diamond.
A final, sturdy thread loop is anchored at the top.
This structural base is now ready for your personal artistic touch.
Add Color And Texture
Now I’ll bring our structural shapes to life with vibrant color and rich texture.
I raid my recycling for old magazines and fabric scraps. I glue these onto my lanterns, layering patterns for depth.
I’ll also try splatter painting with leftover acrylics for a fun, messy look. You can even crumple tissue paper before attaching it.
These free materials add incredible visual interest without costing a dime.
Create Mood Lighting With Fairy Lights
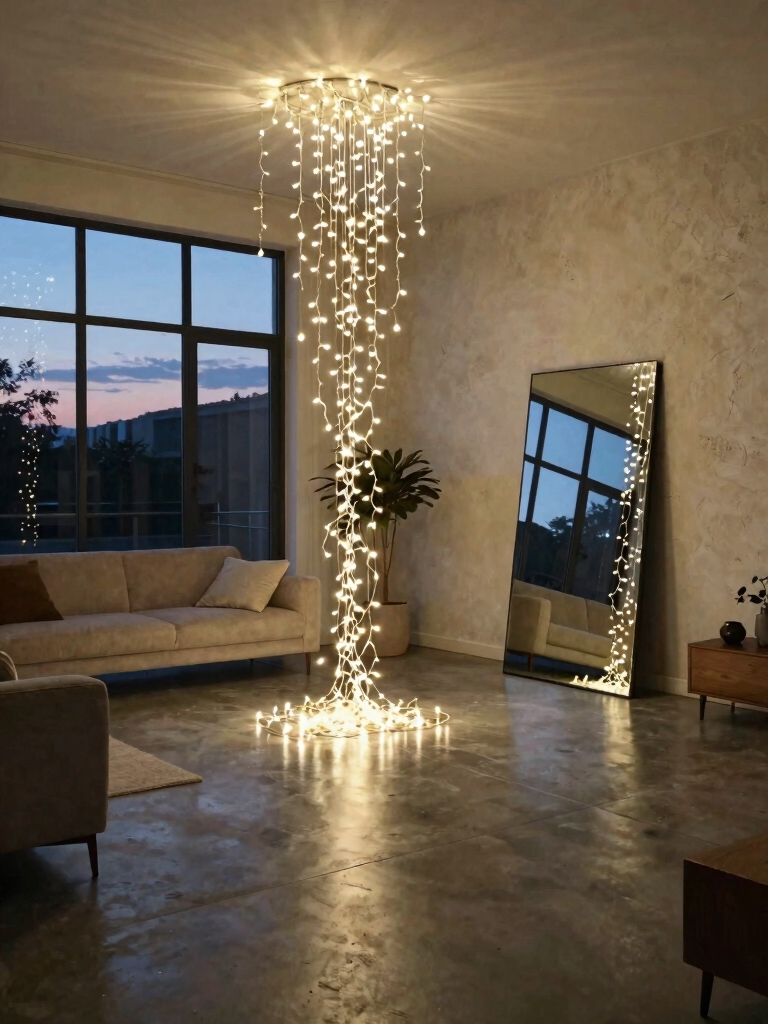
For setting a dreamy, festive mood, I find fairy lights are one of the most versatile and affordable tools.
I’ll string them across the ceiling, wrap them around a headboard, or stuff them into clear jars for glowing lanterns. Battery-operated sets let me place them anywhere.
This soft, twinkling light instantly transforms a plain room into a magical party space without much effort or expense.
Using fairy lights is a great way to bring enchanting Christmas decor ideas into any living room, adding a cozy and festive atmosphere.
Set up a Photo Booth With Borrowed Props
I love making a photo booth feel special without spending a dime.
I’ll ask a few friends to bring over fun hats or costume jewelry from their own closets.
Then, I’ll raid my kitchen for silly props like a wooden spoon or a colander to add some homemade charm.
Using budget-friendly decorations can make the space festive without breaking the bank.
Props From Friends’ Homes
Scavenging for photo booth props in your friends’ homes is one of the most economical and creative ways to personalize the experience.
I’ll send a group text asking for funny hats, vintage glasses, feather boas, and quirky costume jewelry.
Picking up these finds creates a wonderfully eclectic prop box that feels unique.
It’s amazing what character you’ll discover in a shared collection of oddities from your crew.
Use Everyday Household Items
Next, gather everyday items from your own home to expand that prop box without spending a dime.
I love turning ordinary objects into fun photo booth accessories.
- Funny Glasses: Use sunglasses or reading glasses and decorate the frames with washi tape.
- Silly Hats: Grab a colander, a mixing bowl, or a fun winter hat.
- Signage: Write funny phrases on cardboard from old boxes.
Design a Memory Wall With String and Clothespins
Creating a memory wall with string and clothespins lets you showcase your favorite photos and notes without spending a fortune.
I simply hang twine across my wall, securing it with pushpins. Then, I use clothespins to clip up pictures, birthday cards, and even little mementos.
It’s a totally personal and changeable display. I love that I can easily add new memories from the celebration as they happen.
This simple setup is a great way to maximize your space while keeping your room decor creative and meaningful.
Turn Glass Jars Into Elegant Candle Holders
I’ll show you how to gather a few simple materials and turn them into something beautiful.
This project’s assembly is super easy, and the display makes for a wonderfully atmospheric glow.
You won’t believe the elegance you can achieve with just old jars, some paint, and a candle.
These bday room decoration ideas for boyfriend are sure to make him speechless with joy.
Gather Your Materials
One key to this elegant upcycle is gathering a few simple items you likely already have at home.
I’ll raid my recycling bin and craft drawer first. I need just three things:
- Clean, empty glass jars (any size works!)
- A length of twine, ribbon, or lace
- A small votive or tea light candle
With these gathered, I’m ready to transform my jars.
Assembly And Display
Now that I’ve my jars and trim, I can quickly turn them into elegant candle holders.
I’ll securely wrap the lace or ribbon around each jar’s neck, tying or gluing it neatly.
Then, I simply place a tea light candle inside.
I arrange the glowing holders in clusters across tables or along windowsills.
Their soft light creates a beautiful, festive ambiance for almost no cost at all.
Make Confetti From Old Magazines
Transform your stack of old magazines into vibrant confetti with just a pair of scissors or a hole punch. I love this because it’s free, colorful, and keeps scraps out of the trash!
For the best results, I follow a simple process.
- Select Colorful Pages: I tear out pages with bright ads or photos.
- Cut or Punch Shapes: I use scissors for strips or a punch for circles.
- Mix and Store: I combine all the colors in a bag until I’m ready to decorate.
This DIY approach is a great way to elevate your space with stunning decor that looks anything but handmade.
Craft Centerpieces From Old Books
I love finding a new use for old books I’d otherwise recycle.
You just need to grab a few inexpensive supplies before you start.
With a simple fold and a bit of stacking, you can transform their pages into stunning 3D pieces for the birthday table.
Gather Your Materials
First, let’s grab those old books you’ve been meaning to repurpose. I’m talking about worn paperbacks, an outdated textbook, or that novel you’ll never reread.
Don’t worry about damaging valuable editions! We’ll also need a few simple supplies you likely own already:
- A hot glue gun or strong craft glue.
- A pair of sharp scissors.
- A ruler for measuring folds.
That’s our entire material list!
Shape And Stack Pages
Take your chosen book and decide on a simple shape you’ll cut into its pages—a heart, star, or circle works perfectly for a birthday theme.
I clamp the pages together, then carefully cut through many at once with a craft knife.
After I’ve cut the shape through most of the book, I release the clamp and fan the pages out to create a beautiful, dimensional stacked-paper sculpture for my table.
Use Branches and Flowers for Free Decor
If you’re looking to add a touch of natural elegance without spending a dime, consider foraging branches and blooms from your own backyard or a local park.
I arrange them in simple vases, creating stunning free decor. My favorite DIY tricks are:
- Weave blossoms into a twig wreath.
- Hang flowering branches above the table.
- Cluster small jars of wildflowers for a centerpiece.
Incorporating these natural elements can transform your space into a cozy library room that any book lover would appreciate, blending library room ideas with nature’s charm.
Drape Linens for Instant Luxury
Three effortless moves with spare linens can elevate your room to luxury status.
I first swag a light tablecloth from a central ceiling point.
Next, I hang a pretty sheet behind my table for an instant, dreamy backdrop.
Finally, I twist a long towel into a rope and drape it along a mantel. It creates a soft, textured garland costing me absolutely nothing.
Cut Paper Letters for Personalization
Just one sheet of cardstock lets me create custom letters for any birthday banner.
I sketch them freehand for a charming look, then carefully cut them out. This adds such a personal, festive touch for practically nothing.
- Sketch freehand for unique, playful shapes.
- Cut carefully with scissors for clean edges.
- String them with twine for a quick, adorable garland.
Style a Sweet Treat Display With Tiered Trays
While I’m pulling together the desserts, I’ve found that my tiered trays are perfect for making even a simple spread look really special.
I’ll grab cake stands or plates and prop them up on sturdy cups for height. Then, I artfully arrange store-bought cookies, candies, and cupcakes.
It creates a gorgeous focal point that feels lavish, but it’s just clever stacking using things I already own.
Make Napkin Rings From Paper Tubes
Transform leftover paper tubes into charming napkin rings with a few simple supplies.
I cut the tubes into rings, decorate them, and then slip them onto my napkins. Here’s my quick process:
- Cut toilet paper or wrapping paper tubes into 1-inch rings.
- Decorate the rings with paint, washi tape, or glued-on fabric scraps.
- Let them dry completely before gently folding a napkin through each center.
Create a No-Sew Table Runner
Four easy steps turn a plain piece of fabric into a custom table runner without a sewing machine.
First, I find a pretty scrap of cloth. I cut it to my table’s length, adding a few inches for overhang.
Then, I fold and iron under the raw edges. Finally, I secure them with fabric glue or iron-on hem tape.
It’s a chic, personalized touch that costs next to nothing.
Conclusion
I hope my frugal tricks spark your own party magic. It proves you can be the architect of a fantastic celebration without spending a fortune. Remember, like the great makers of DIY lore, your creativity is the most valuable tool in the box. Now go build something wonderful.